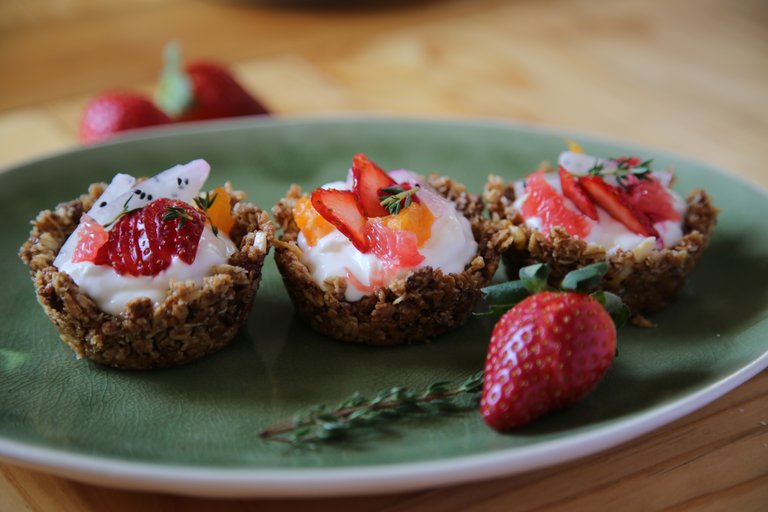
The settings for this shot
Canon 5D and a Canon 24-105mm lens.(Indoors, window key-light, 1 hour after sunrise:
ISO: 100
WB: 3900
Shutterspeed: 80
F/4.5
Helloooo!
So lovely @foodforsoul suggested I do a little post about my setup at home and how I photograph my food for this blog.
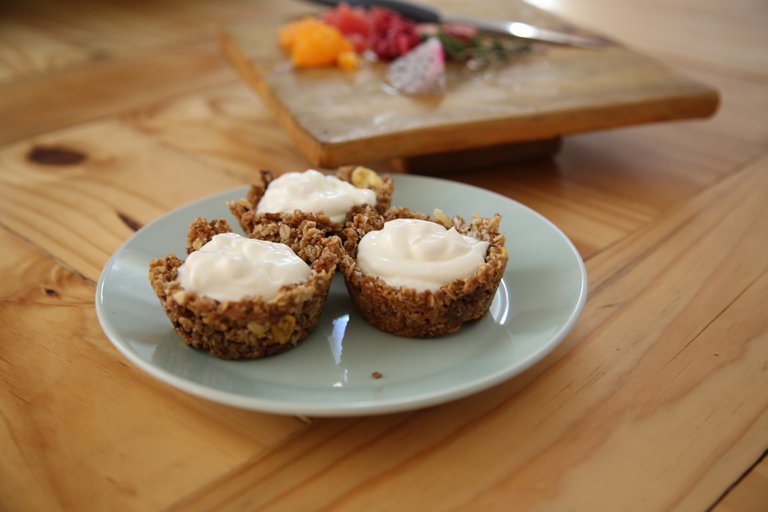
I had a cup of granola and some fruit, and figured a quick little granola cup as a vessel for yoghurt would be a great way to demonstrate my process behind the lens.
I only started photographing a couple of months ago, so don't claim to be a professional at all! But have learned some really handy tips along the way I think would help any new photographers.
I've broken them up into point form as follows:
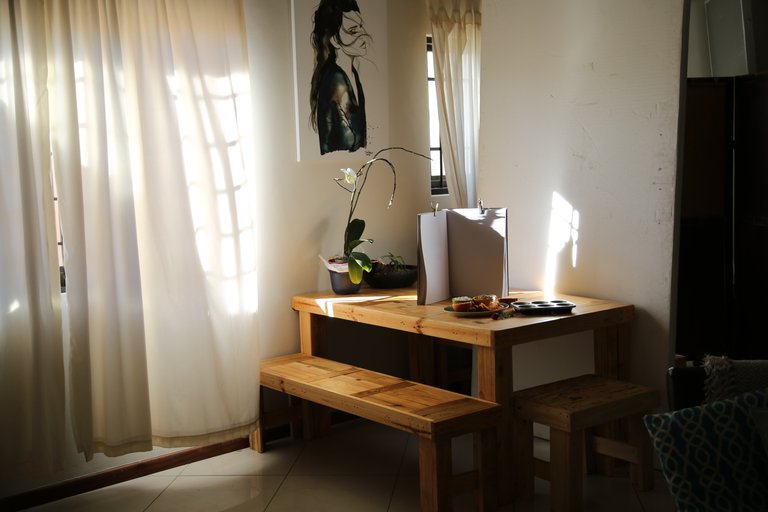
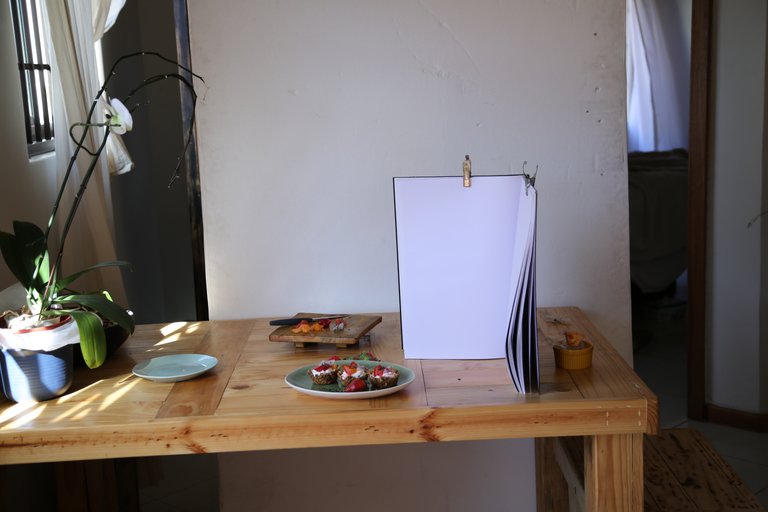
Key Light: Window. Fill: Large white poly sheet. Accent Fill: Book held open with clips (we improvise in this house!)
1: Light.
After trying every room in my house, I learned the best light source is in my dining room, between 7 and 9am, or 1-3 hours after sunrise (this changes with the season, so keep an eye on it.)
I also didn't have to splurge on diffusers as I have sheer white curtains on the windows. When the light is still too harsh, I stick white greaseproof paper on the windows with a little masking tape. (hacks for days!)
I try to keep my subject between 90 and 110 degrees from the key light, and use a large white polyboard to help reflect and fill the light. When it's particularly sunny (like this morning) a large sketch book held open with some metal clips helps me fill out any shadows that might be too harsh.)
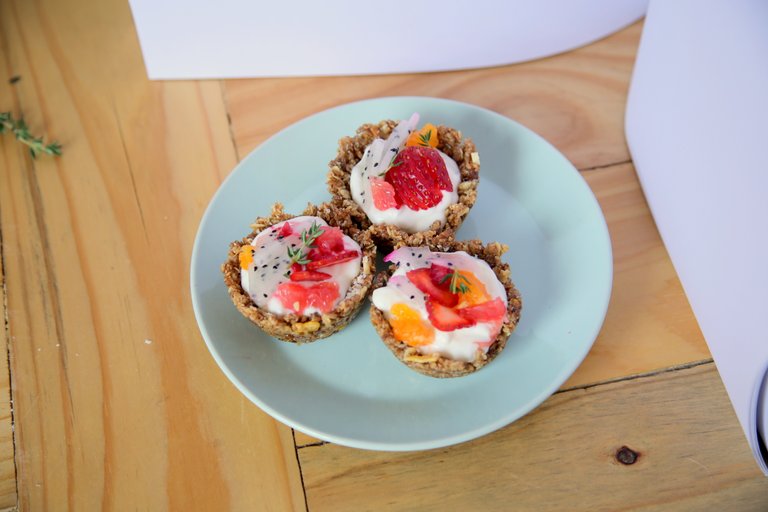
The difference it makes is pretty big:
Without the sketchbook accent fill:
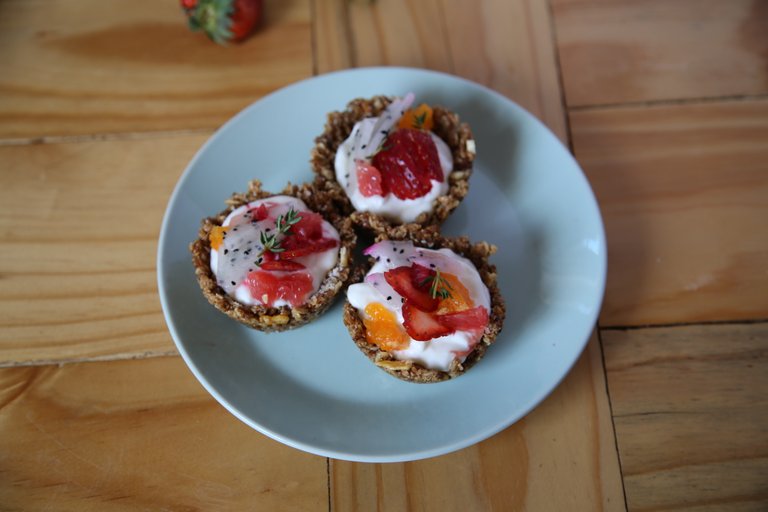
With the accent fill (left the book in frame to help see where I placed it)
2. Context:
My earlier blogs tended to only show the 'beauty shot', the perfectly plated final product. I've since learned the importance of context. Even when not showing the full recipe process, it's nice to add elements that tell the story: What raw ingredients went into the dish? How did you achieve that shape? Was it cut? Add a knife. Whisked? Add a whisk! It seems silly, but helps reveal that an actual human made the dish, and also adds a little home-ness. (The best food comes from home, IMO)
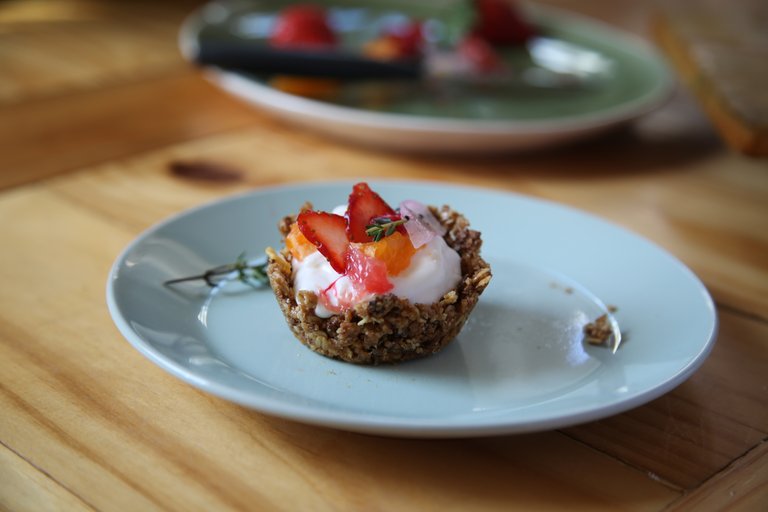
and while no one wants fingerprints on their plate, a bit of crumbs add real-ness. Food is messy. It's a good thing.
3. Composing
I originally started shooting using a tripod, but realised that I'd have to move the whole setup every time I wanted a different angle. For me, moving the camera is much easier, and lets me move things around without having to worry about where the camera is. While the final product may look like I always know what I'm doing, most blogs end up with 5 or 6 different platings before I'm happy with the colour contrast, the composition and the general feel of the dish.
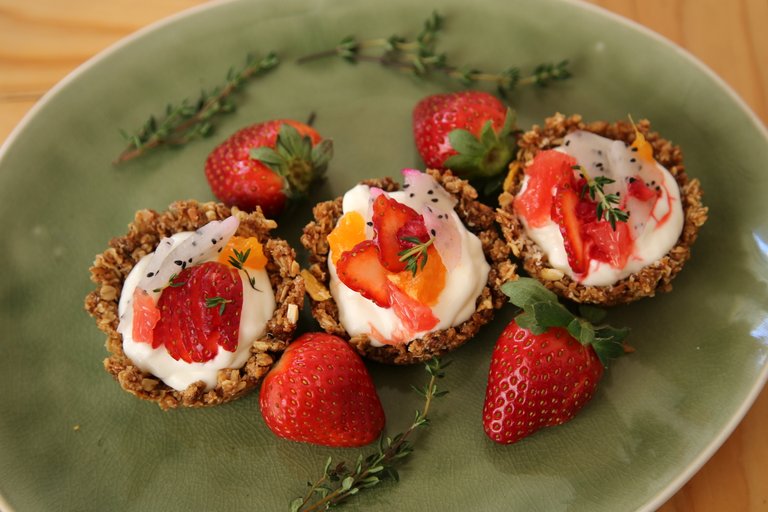
Here's a selection of the 'bloopers' I took before I settled on the green plate, with a lone strawberry and sprig of thyme as the decor.
I also added some progress photos to see how I end up with a shot I'd ultimately use.
The colour is fine, but the plate is too small and the tartlets look crowded. It also doesn't leave much room for adding pretty bits and bobs.
Too much to distract from the tarts
While I like the composition, the wood flattens the picture- it's too close to the colour of the granola cups

4. Props and Layout:
Anyone who knows me, knows all my crockery is white. It makes for pretty boring pictures though.
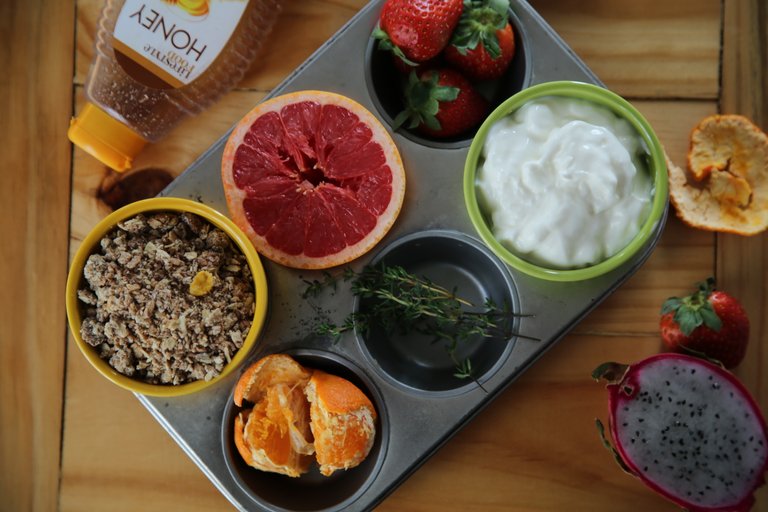
As for layout, I try to use props that compliment the colours of the ingredients , and thrift stores are a photographer's friend, I picked up the muffin pan, ramekins and plates for under R100- that's less than $10! If I decide to buy new props and the ones I have are out of vogue, I just sell them back to the thrift store or exchange them for new ones.
A little imperfection, like the marks on the muffin pan, add to the charm of the home-ness I mentioned earlier.
Once I've selected my props, I play around a little until I get the effect I want.
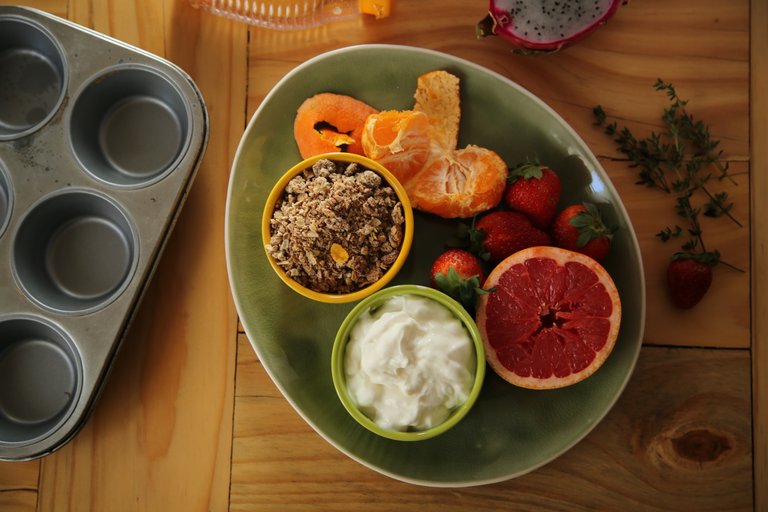
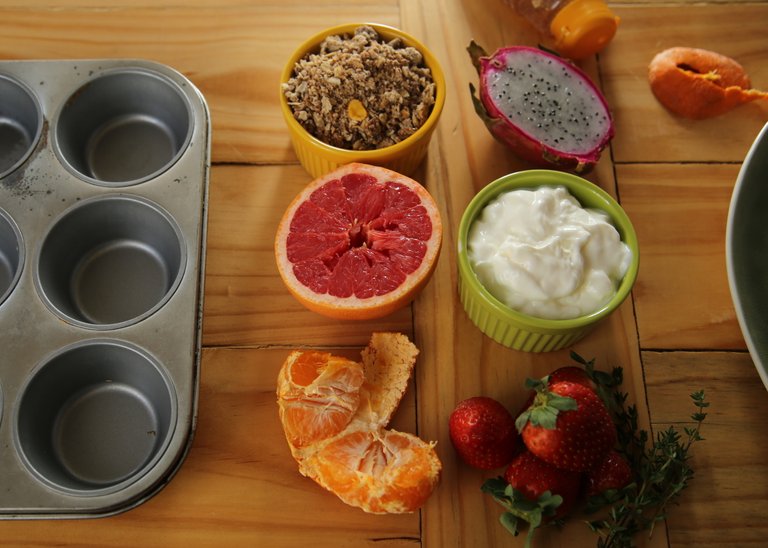
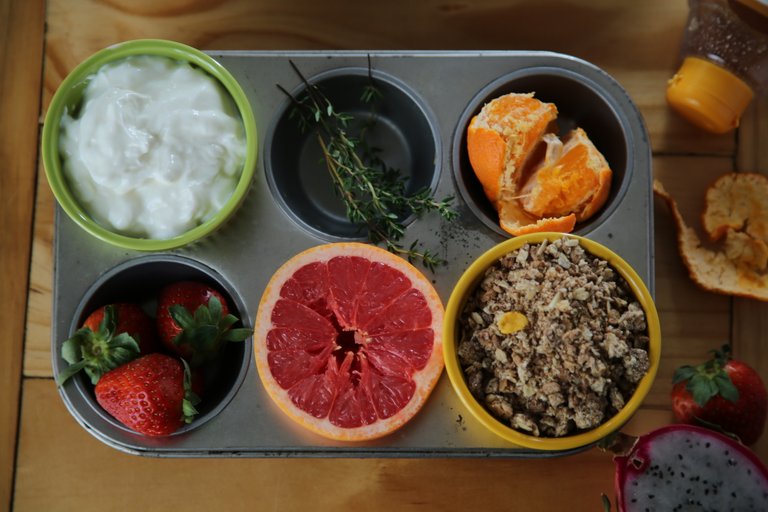
Finally, I settled for the 'all in the muffin pan' look, just at a more interesting angle:
So that's what I've got for ya today, folks.
In the meantime, if you want to make these yum granola cups, here's how to do it:
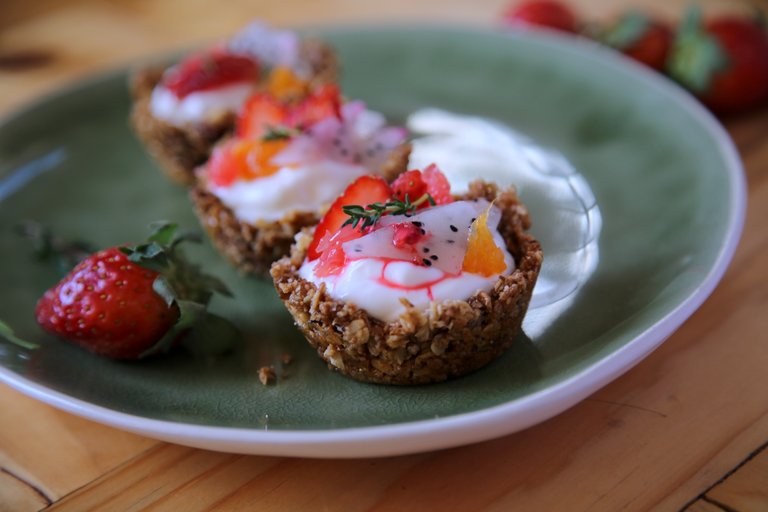
Granola Yoghurt Cups:
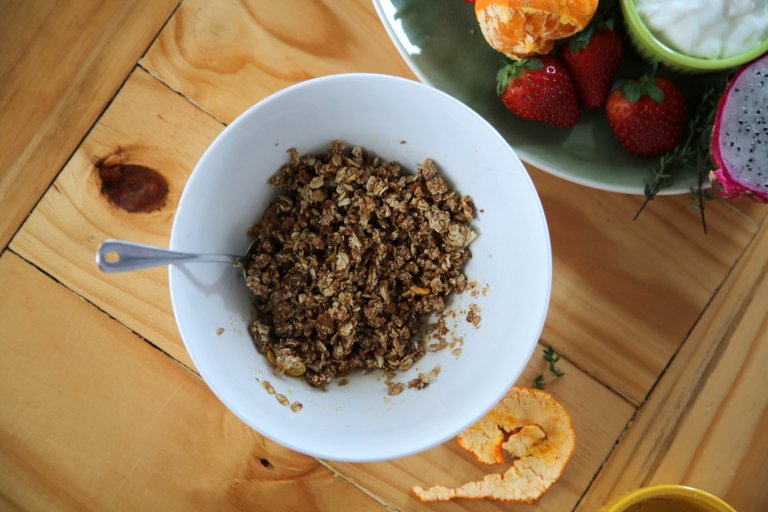
- 1 Cup Granola (I used a home-made batch of toasted oats, nuts, dried fruit and coconut drizzled with a little coconut oil and honey before baking it off for 20mins at 180 C)
- 1/4 Cup Coconut Oil
- 1 Tbsp Honey
To Fill:
- Yoghurt of choice (I used full-fat plain yoghurt)
- Fruit (I used dragon fruit, strawberry, grapefruit, tangerine and raspberry with little sprigs of thyme)
##Method:
- Melt coconut oil and honey, stir in granola and press into muffin tins. I cover the pan with clingfilm and use a shotglass to press a hollow.
- Bake for 15 mins at 180c and allow to cool before removing and filling with yoghurt and fruit of choice.
To all photographers, if you have any tips or tricks you could share, please feel free to drop them in the comments or tag your next tip tutorial with #phototips .
Here are some progress shots, so y'all can see how it was done:
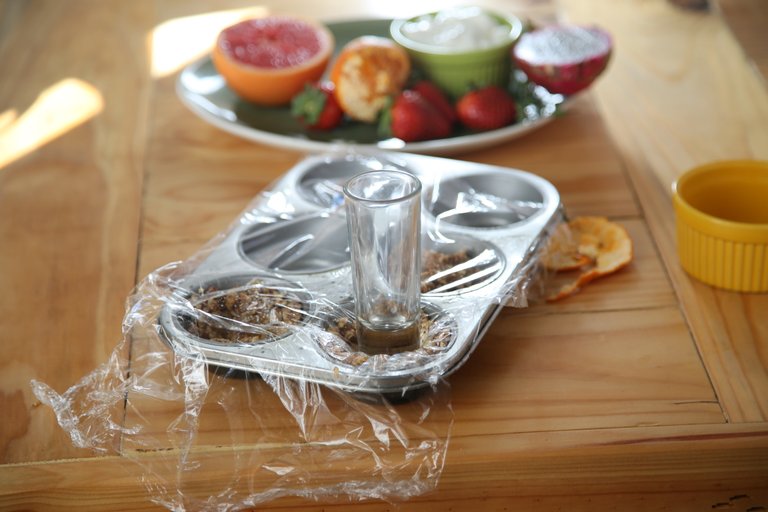
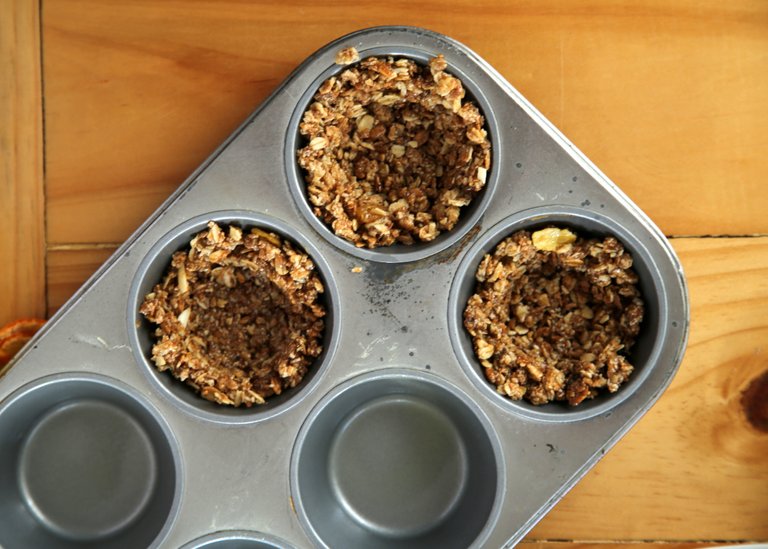
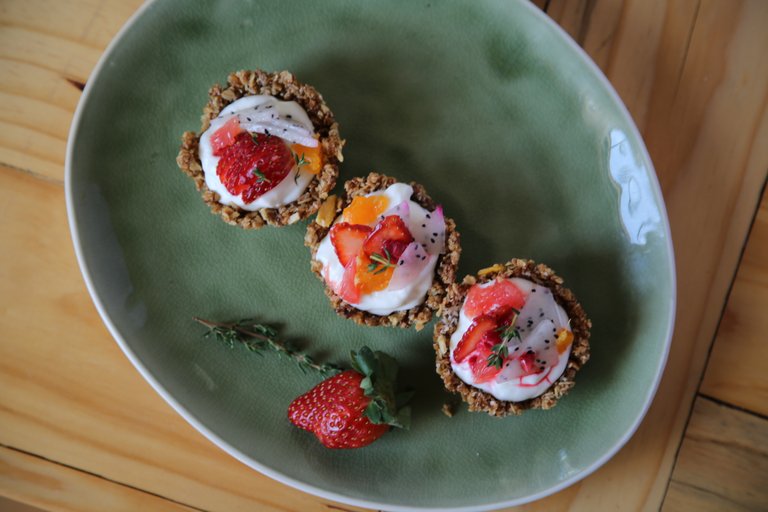
As always, if you'd like to try any of my recipes and you get stuck- feel free to drop a comment or DM me on Instagram and I'll Skype or Whatsapp you through it.
Here's my personal Insta
or the Official Viral Crowd Insta
Happy cook'n!
Thank you so much for posting this particular article. It is absolutely amazing and what I was hoping I’ll find. Having read and understood your past advices to me I must admit that I was not too far off in the way I’ve started to set up and my my dishes. And the morning sun is definitely a big addition to how every picture turns out. I’m sure to be even more inspired to take even better and greater pictures moving forward. You’re a legend @whattheduck!! And I’m sure a lot of your followers will be thankful for this post.
Happy it helped! If you ever have a moment would you share how you compose your pics- they're always beautiful. Get a little phototips thread started for new food photographers!
I will certainly love to do that. Let’s see what I’ve got planned next on my list. Take care.
Thank you for the great tips in taking food photos. I'm trying to learn so I can post a prettier food shots! :)
Happy to help @linlee888. Would love to see how your shots turn out, tag me when you next post!
Hi, we have voted on your post because you have posted your article to either food, recipe, recipes, cooking or steemkitchen #tag. Steemkitchen is a brand new initiative where we want to build a community/guild focused purely on the foodie followers and lovers of the steem blockchain. Steemkitchen is out of the conceptual phase and growing each day. We would love to hear your thoughts and ideas.
We are almost ready to Launch the first Decentralized Recipe and Food Blog Website that will utilize the Steem BlockChain and its community to reward contributions by its members.
Please consider joining us at our new discord server https://discord.gg/XE5fYnk
Also please consider joining our curation trail on https://steemauto.com/ to help support each other in this community of food and recipe lovers.
Kind Regards
@steemkitchen
Ps. Please reply “No Vote” if you prefer not to receive this vote and comment in the future.
Very nice shots and tips. Also great cooking. Nice to check something this good on Steemit. Cheers!
thanks @vonaurolacu!
World of Photography
>Visit the website<
You have earned 6.50 XP for sharing your photo!
Daily photos: 1/2
Daily comments: 0/5
Multiplier: 1.30
Block time: 2018-06-11T14:31:39
Total XP: 110.50/200.00
Total Photos: 17
Total comments: 0
Total contest wins: 0
Follow: @photocontests
Join the Discord channel: click!
Play and win SBD: @fairlotto
Daily Steem Statistics: @dailysteemreport
Learn how to program Steem-Python applications: @steempytutorials
Developed and sponsored by: @juliank
Really great job! Very useful for beginners who want to get some professional food pictures :D
Thanks @gabrielatravels, I do hope it helps new photographers!
Howdy partner, I'm @photocurator, a curation bot; I keep an eye on the photo feeds, I vote random photos of my followers and at the end of the day I publish a post with links to the best photos. Follow @photocurator to get your photos curated in the future!
Hola que rica y apetitosa de ven esas tartaleas me fascinar solo con verlas ,me gustaria privarlas,la haré este fin de semana ,saludos
Did you get to eat your little creations @whattheduck ? They look yummy.
Sure did! Wouldn't bother if I couldn't enjoy the spoils (though they are a tad on the healthy side to truly be considered 'spoils') Saving your next installment for after work. So excited to read it!
No se que me gusta mas si la comida o lo encantador y perfecto de las fotos.