Hello Steemians! On this first part of the tutorial, I am going to show you how to set up your slack bot using Glitch free hosting and Howdy's BotKit.
1. Create a Slack account, if you already have one login to your workspace.
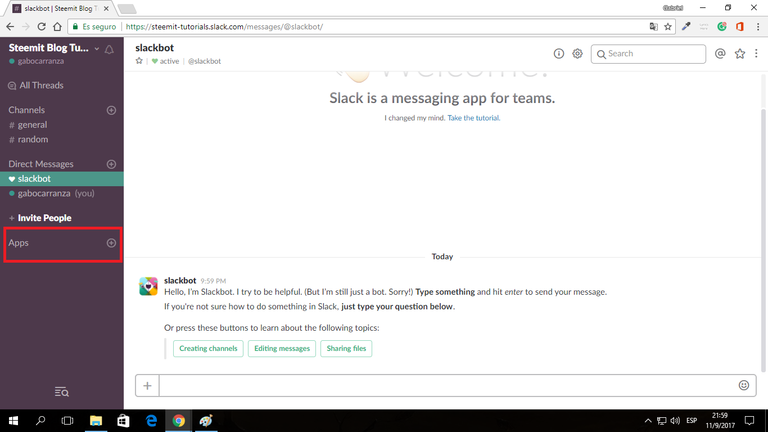
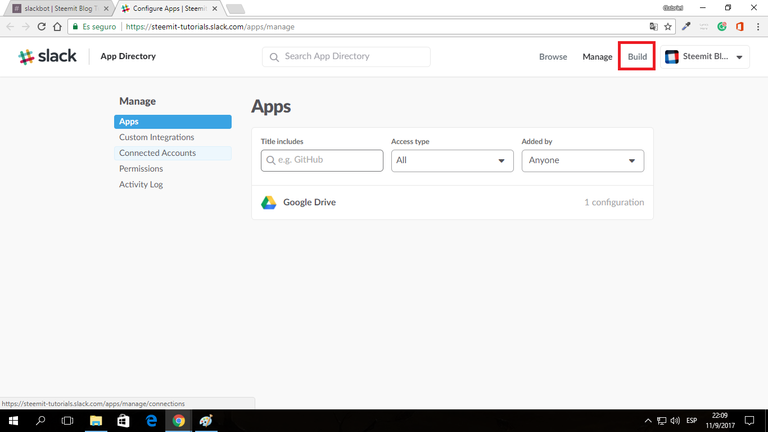
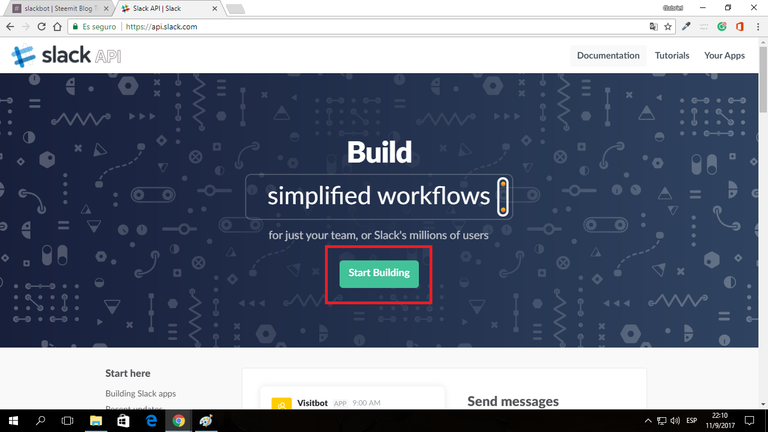
2. Look on the red square, click where it says Apps, on the new window the upper left corner click on Manage apps and then click Build and then click Start Building.
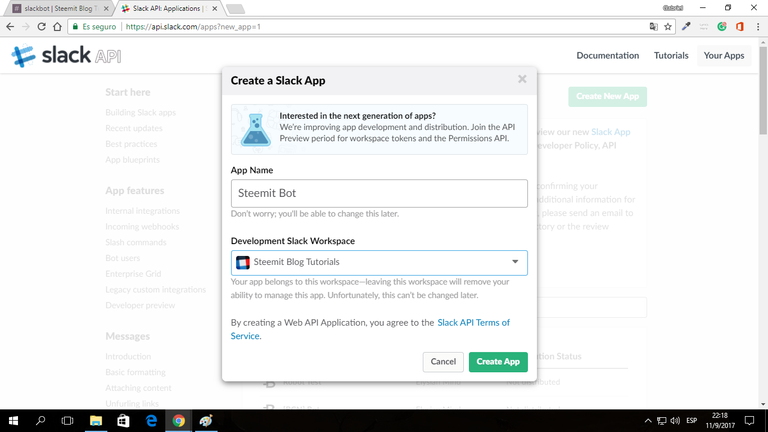
4. In this tutorial, I am going to name it Steemit Bot, so choose the name for your app, choose your workspace and click create app.
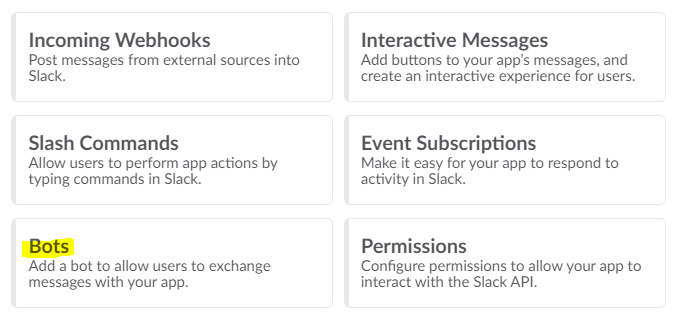
5. On the following window choose the option "bots" then add bot user.
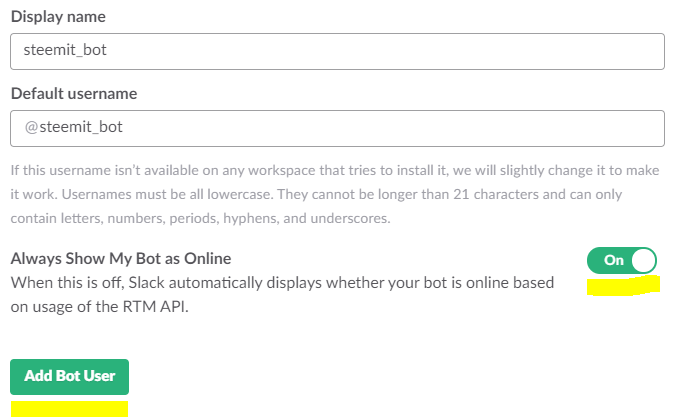
Name it and make sure "Always Show My Bot as Online" is enabled, then click on add bot user.
6. On settings tab choose install app and click "Install app to workspace.

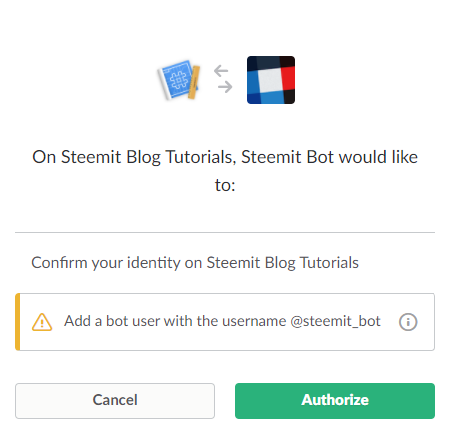
you should see an authorization screen, click on authorize
7. Now go to the Botkit Studio and set up your user or connect with GitHub

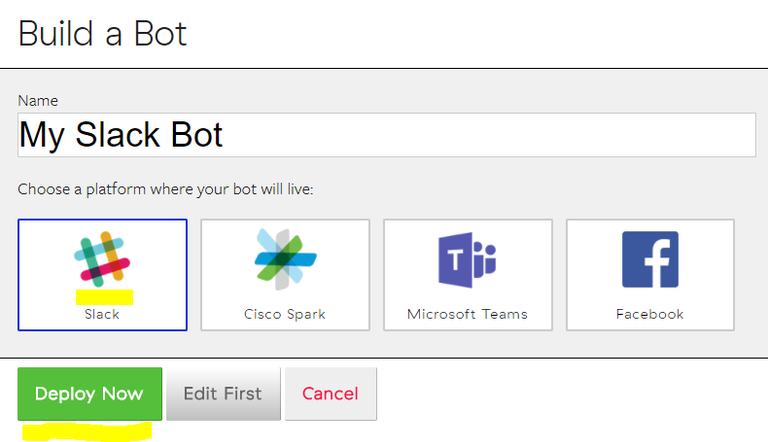
after you logged in click on new bot, choose slack and then Deploy
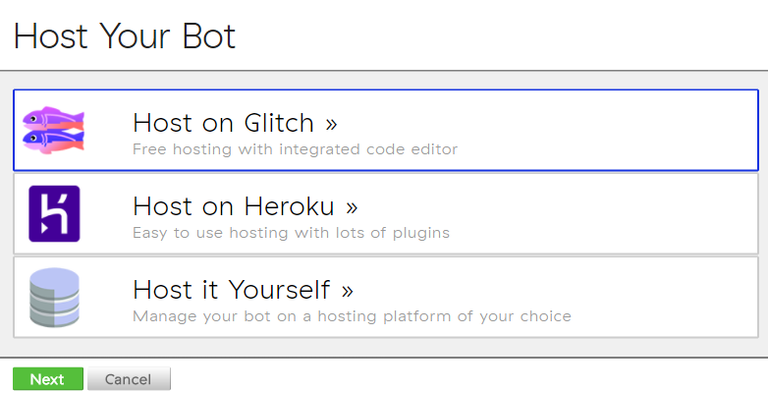
Choose the Glitch hosting option and then click next.
8. Is going to ask you for the app Keys.
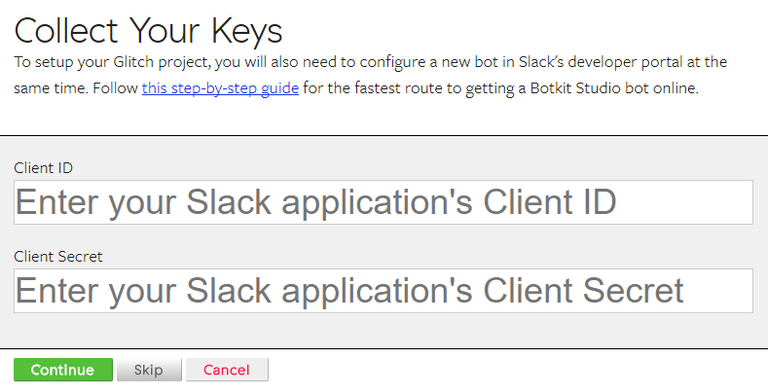
They are stored on your Slack Apps Page that we were before, is located on Settings tab - Basic Information

Copy and paste your credentials and click continue and start Glitch Deploy
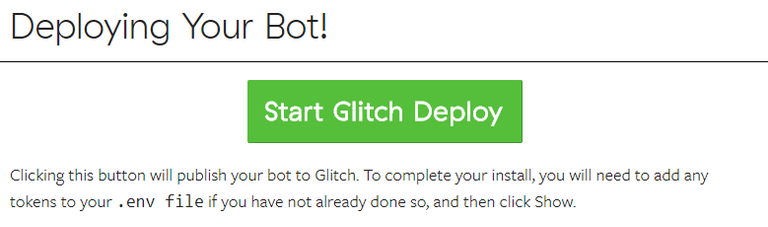
9. Is going to open a new tab with the glitch server, let it load until it says "Show Live" on the upper left corner.
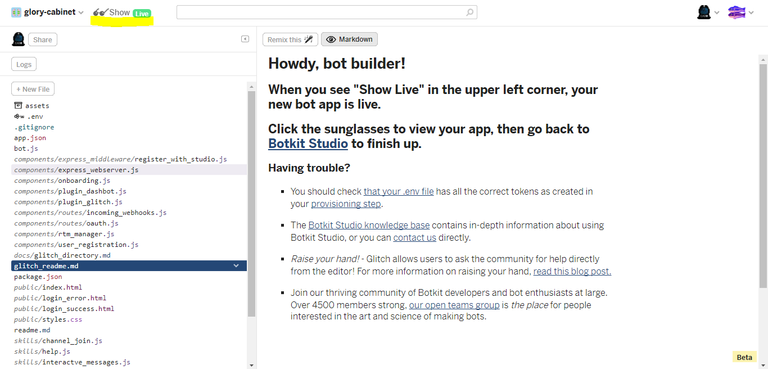
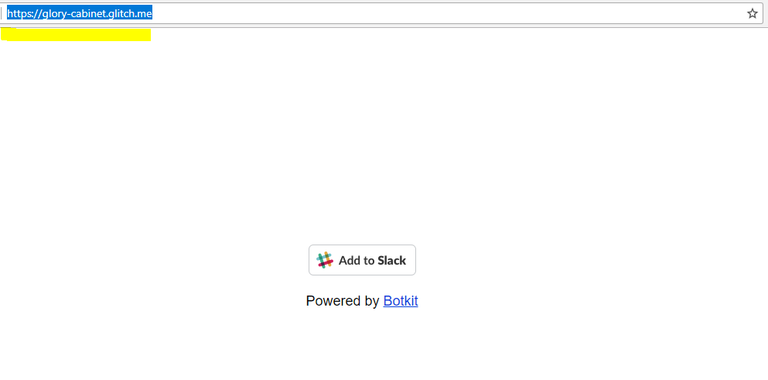
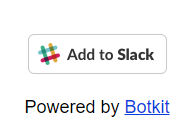
You should see the following page, but don't click on "add to slack" yet, we need to copy the URL for your app wich in my case is https://glory-cabinet.glitch.me/ but yours will be different
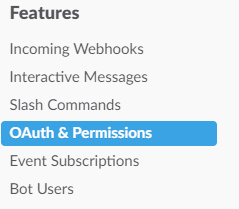
10. Go back to your slack app manager, go to Features Tab - OAuth & Permissions
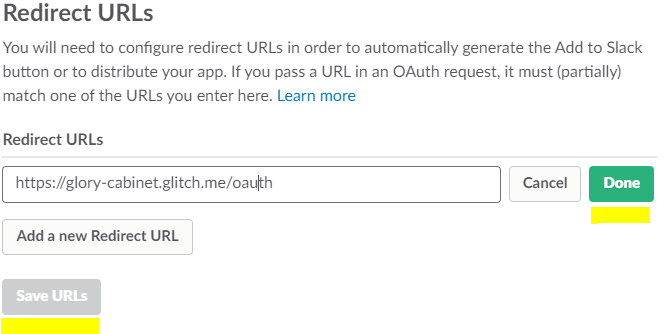
Go to Redirect URLs and paste your app URL followed by "oauth" and the end of the link, in my case mine will be https://glory-cabinet.glitch.me/oath, click add and save URLs.
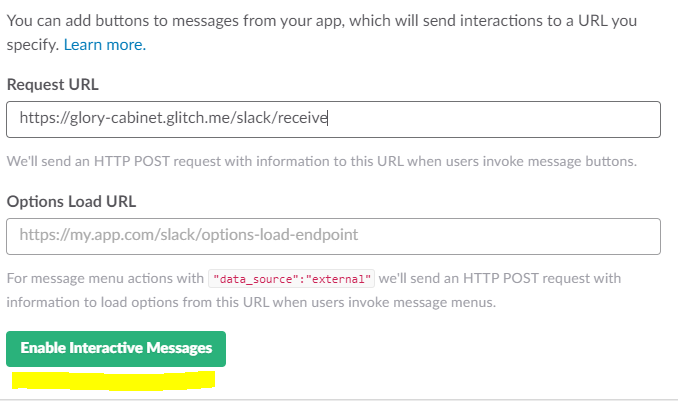
11. Now go to Features - Interactive Messages.
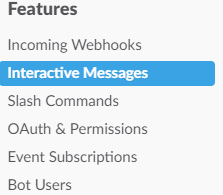
Click enable interactive messages, paste your server link in the Request URL field and add /slack/receive at the end, mine looks like this https://glory-cabinet.glitch.me/slack/receive, then click on enable.
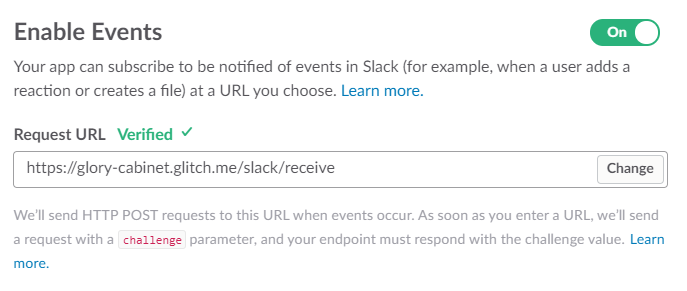
12. Now go to Features - Event Subscriptions.
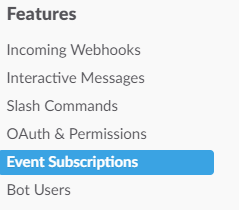
Enable the event subscriptions and paste the same link from previous step
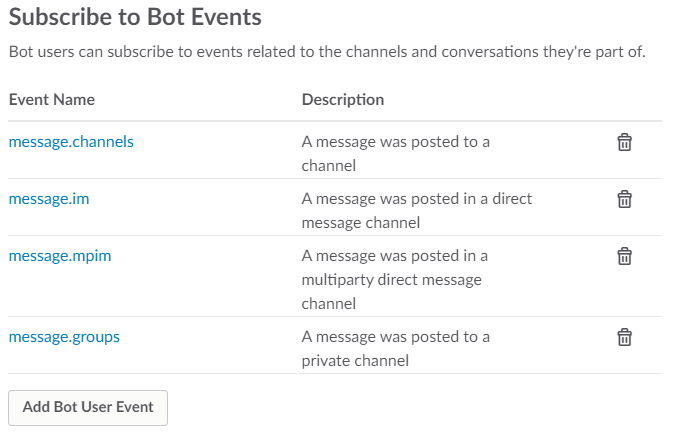
13. Scroll down to Subscribe to Bot Events, and add the following four:
- message.channels
- message.im
- message.mpim
- message.groups
And save your changes.
14. Go to your app URL refresh the page and now you can click on "Add to Slack"
It is going to ask you for permission, just click authorize.
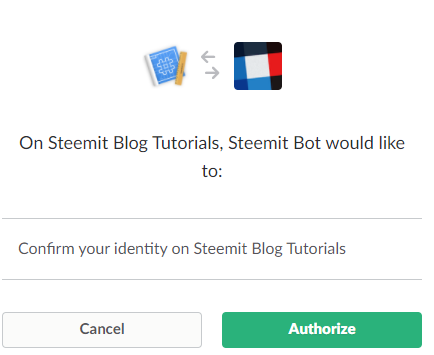
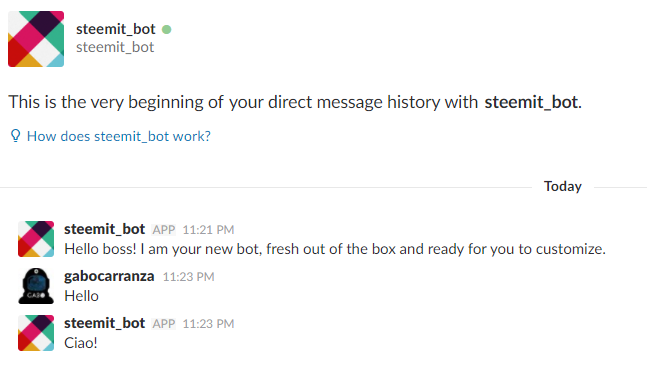
You should see the following message

Go back to your slack messenger and your Bot should be waiting for you!