
Disclaimer!
If you find any mistakes in this post or you don't know what to do at a specific point? Feel free to write me a comment! 👍
Greets from Germany ✌️
| Next Part |
|---|
First of all, before you start doing anything, make sure you have the downloaded and installed the latest version of Java JRE and Java JDK.
1. Download the Eclipse IDE
(Integrated Development Environment )
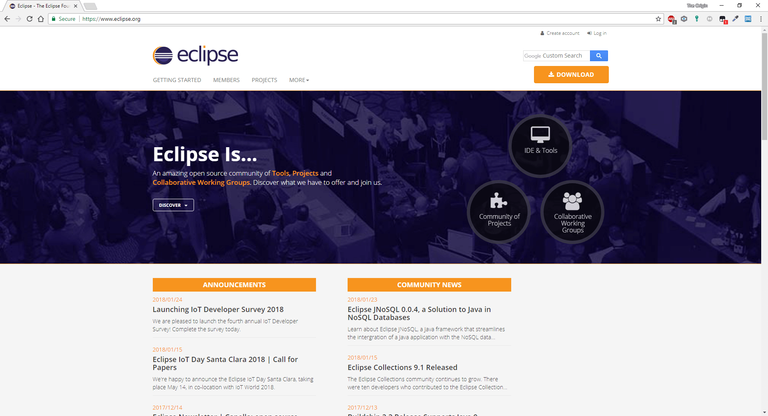
Go to the website https://www.eclipse.org/. It should look like this:
Click on the download link on the top-right corner. Then a new page will show up, it could look like this (It is important that you don't click on the download button, just follow the steps till the end):
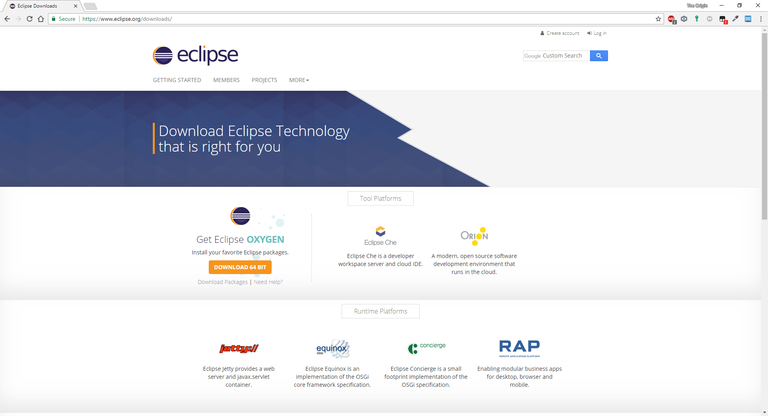
Now you have to take a closer look. Under the "Download 64 Bit" is a text, that says "Download Packages". Click at it and get directed to this site:
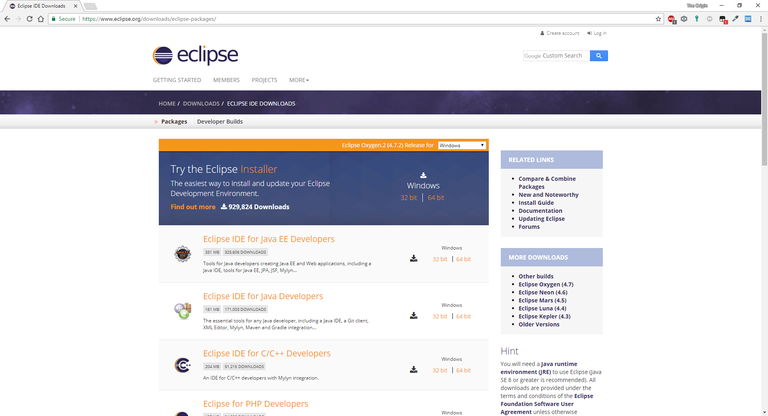
The only thing you have to do now, is to click inside the blue box on the right side, on the 32 bit or 64 bit download link.
After you chosen the right version, you get directed to a new site, where you have only to click on the big "Download" button at the top-middle on the page.
Now you have to wait till the file is completely downloaded.
2. Installing the Eclipse IDE
After downloading the file, I would recommend to drop it onto your desktop. Then run the file.
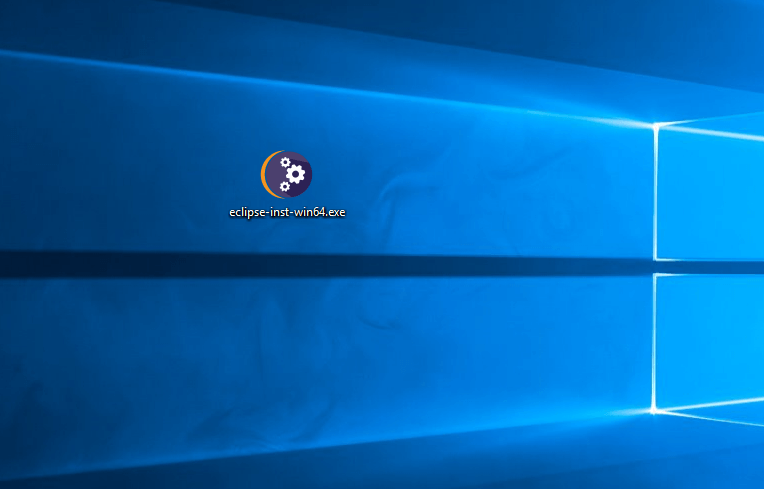
After loading, the eclipse installer should appear, looking like this:
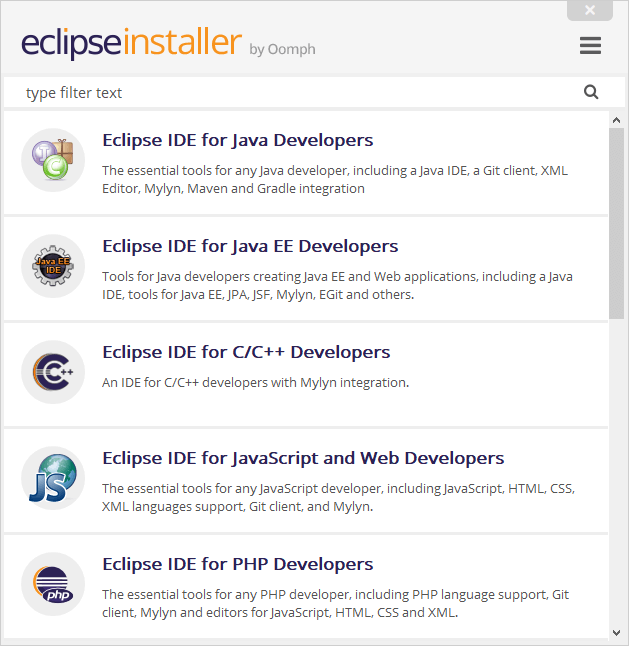
Just click on "Eclipse IDE for Java Developers" (In the image, the top one) and enter on the next page your install directory and choose if you want to create a start menu entry and/or a desktop shortcut.
When you have all configured, than click on "Install" and wait till the installation is completed. After it is completed it should look like this (Note: I got an another path than you):
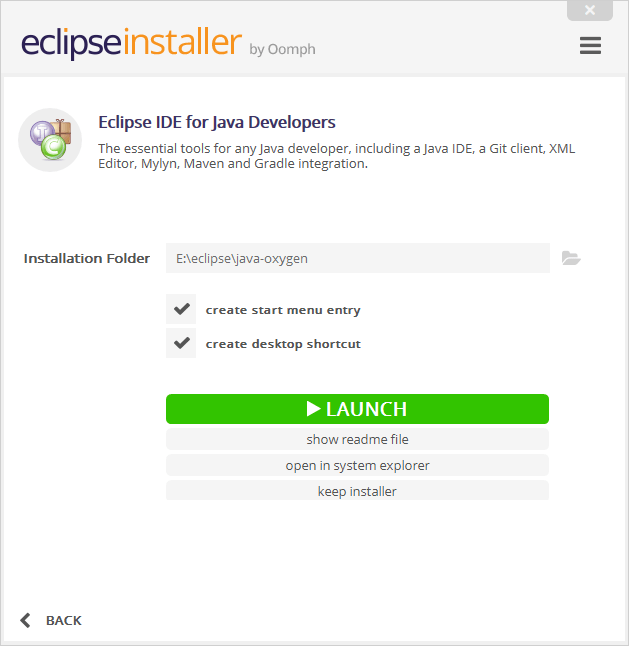
3. Launching the Eclipse IDE
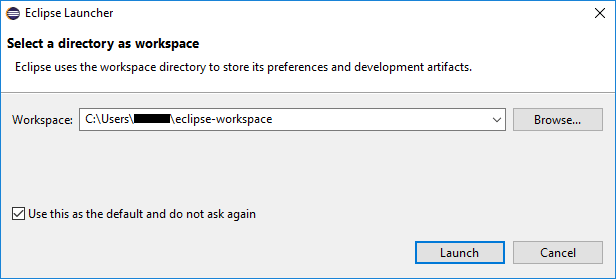
Click on launch and then the Eclipse IDE will be launched. A small window should appear, asking for the default directory as a workspace. The default is path completely ok to use (Change it if you want, but you don't have to) and then check the box saying "Use this as the default and do not ask again" so you don't have to do this every start.
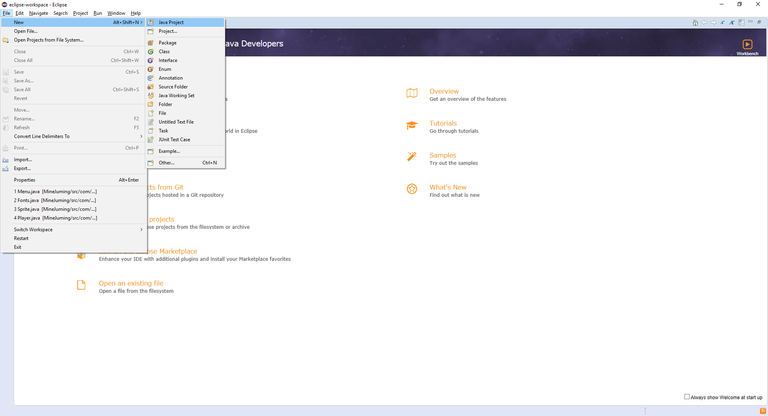
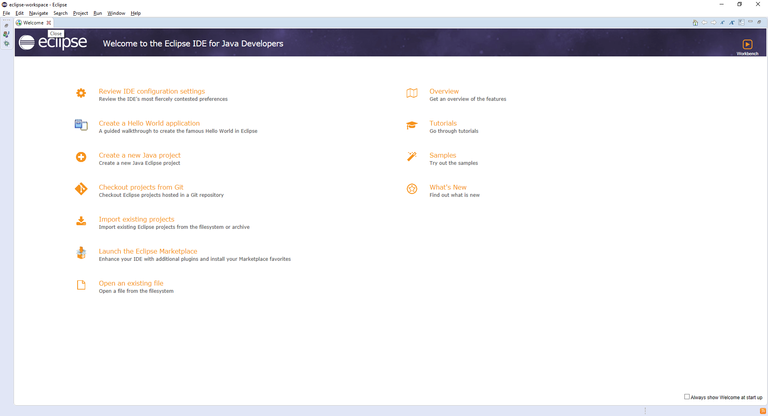
After a short loading time, a window "Welcome" should appear. But that's no problem, just click on the top left side on File, then go to New and there to Java Project.
Now enter in the project name field you name for the project. In my case I will use the name "My first Java Project".
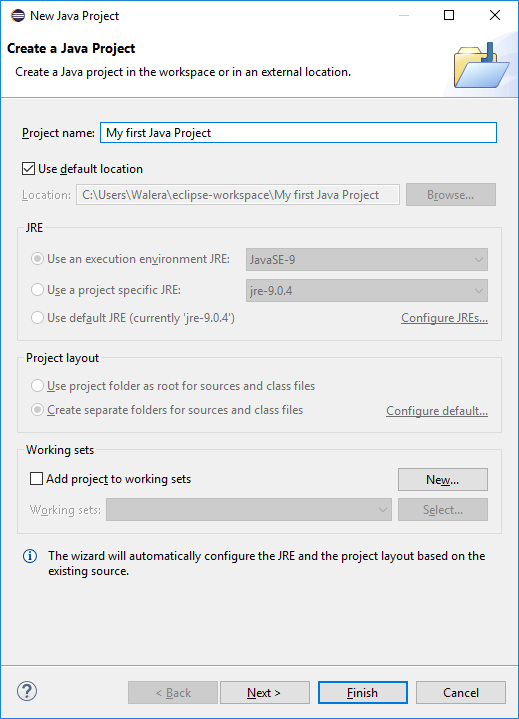
The other fields are now unnecessary for you, just go ahead by clicking on finish. After that still no change to the "Welcome" window? Then simply close it with the taskbar on top.
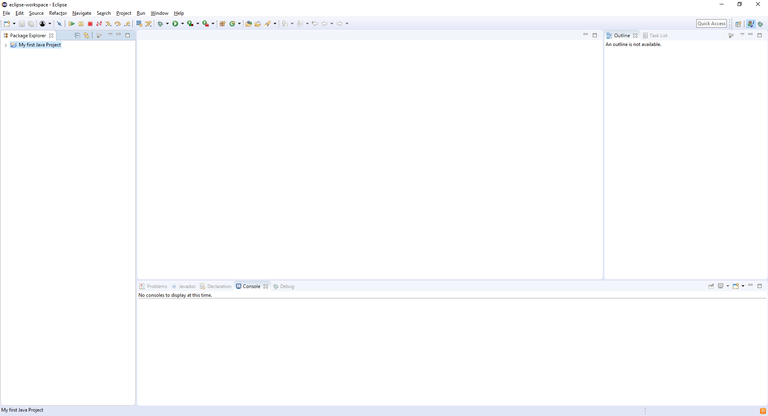
Then finally a window with your project should appear and it should look like this:
But for my part, I don't like this look very much, so I move the little window on the top-right to the bottom-left corner. It should then look like this:
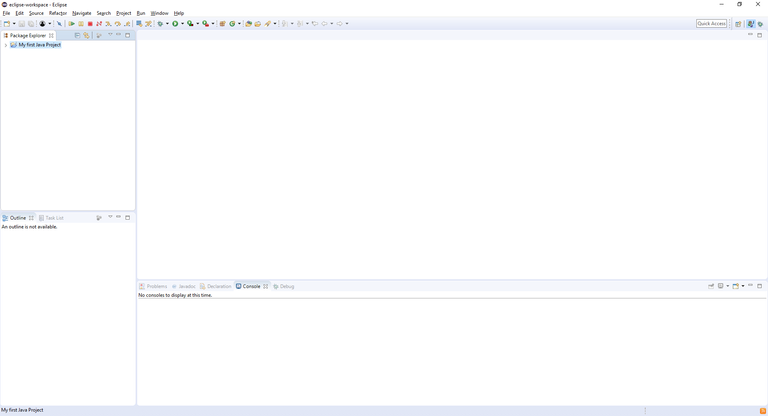
With this layout, you have more space to write and a better view over your text. And you won't use the outline and the file explorer so much either. When we go more to the advances sites about Java programming, then we will need to use them more often, so I could say that this is my favorite "beginners" layout.
This was the first part of my Java Tutorial series. Now with Java and Eclipse installed, you can write your own programs, that can be very complex. But always think about the site, that you have to learn SOOO MUCHHH. So it could take some time, but I hope that much people will go ahead with this tutorial till the (I hope there will be one) end.
Support this project by upvote this post and commenting ^^
| Next Part |
|---|
Remember: I'm not a genius too! I'm 16 years old but I know quite a lot, because Java or programming in general is fascinating me so much (and yes I have friends and other hobbies :)). So don't give up! Follow you dreams and in some day, they will get true.
I know making a tutorial can take a lot of time! Thanks for doing this! Even though I had eclipse up and running already I'm looking forward to getting into some Java. Keep up the good stuff!
Thank you so much! I really appreciated this comment :)