I've been building an SaaS suite and a set of APIs and found I really needed to take the time to learn Django.
Django is a lot bigger and more capable than my usual go-to Python web framework, Flask, so I thought as I was making my own documentation I would tidy it up and share for other developers to also get started with Django.
We'll cover the basics today. Set up an environment, build a simple application, and work with returning web pages ('routes').
What is Django? (and Why Should You Care)
Django is a high-level Python web framework designed for rapid development and clean, practical design. Developed by experienced programmers, it handles many common web development tasks, letting you focus on your application's unique features.
Baked right in it provides a lot of useful tools:
- Object-Relational Mapper (ORM) for database work
- User authentication
- Backend admin interface
- Form handling
- Templating engine
- Security features (like CSRF protection and XSS prevention)
- and more.
Django generally follows the Model-View-Template (MVT) pattern.
Model: Defines your data structure, usually mapping to database tables via the ORM.
View: Contains the request handling logic. It takes an HTTP request, potentially interacts with models, processes data, and returns an HTTP response, often using a template. (This is similar to the "Controller" in MVC).
Template: Defines the output structure (typically HTML), mixing static parts with placeholders for dynamic data from the view.
Django encourages writing reusable code, AKA DRY (Don't Repeat Yourself).
While up to now I have largely focused on Flask, because my needs were humble, I have chosen Django because it is used for projects of all sizes, from small sites to very large applications like Instagram and Pinterest.
Yep, you read that right, those massive sites were built on Django. Instagram transitioned some features to a microservices architecture since integrating more and more with Facebook, but they still use Django and Instagram and are still contributing back to the Django and Python communities.
Django Compared to Other Options
I already said I have decided on Django for this SaaS project, but why?
How does Django fit in with other options?
Django vs. Flask/FastAPI (Python Microframeworks):
Flask/FastAPI: Are minimalist and flexible. You start small and add libraries as needed (like SQLAlchemy for database work or WTForms for forms). They offer more control but require more initial setup for common features. FastAPI focuses on performance and automatic API documentation, making it excellent for APIs specifically.
Django: Philosphy is consiodered "batteries-included" with a more defined structure. It provides more features out of the box, speeding up development for full applications, especially those needing database interaction, user accounts, and an admin panel.
Choose Django if: You need a full-featured framework, value built-in components, require database integration, user authentication, or an admin interface, or are building a larger, conventional web application.
Choose Flask/FastAPI if: You prefer flexibility, are building a smaller app or microservice, need high performance for an API (FastAPI), or want to select your own components.
Django vs. WordPress/Drupal (PHP CMSs):
WordPress/Drupal: Are Content Management Systems (CMSs), built mainly for creating and managing content (like blogs or company websites) using themes and plugins. They are generally easier for non-programmers to build out full sites.
Django: Is a web framework. You build custom applications using Python, offering much more control for complex logic but requiring programming skills.
Choose Django if: Your application needs custom logic, complex database work, or features beyond standard CMS capabilities.
Choose WordPress/Drupal if: Your main goal is content management, and existing themes/plugins cover most needs.
Django vs. Node.js (JavaScript Runtime + Frameworks like Express):
Node.js: Is a server-side JavaScript runtime, often used with frameworks like Express.js (which is more like Flask). The main differences are the language (JavaScript vs. Python) and ecosystem (NPM vs. Pip). Node.js is strong for I/O-heavy applications due to its asynchronous nature.
Django: Is Python-based and primarily synchronous (though asynchronous support is available). It offers a more integrated package compared to a typical Node.js/Express setup where you often combine more individual libraries.
Choose Django if: You prefer Python, want an integrated framework, or your team knows Python.
Choose Node.js/Express if: You prefer JavaScript, are building a full-stack JavaScript application, need high concurrency for I/O tasks, or your team knows JavaScript.
Django vs. Laravel (PHP Full-Stack Frameworks):
Laravel: Is a modern PHP framework with elegant syntax and strong community support. Like Django, it follows the MVC pattern and includes built-in features like routing, ORM (Eloquent), authentication, and templating. Laravel emphasizes developer experience, with tools like Artisan (CLI), Blade (template engine), and Laravel Forge/Vapor for deployment. PHP has a larger install base on shared hosting, though Laravel often benefits from more modern setups.
Django: Is Python-based and also full-featured out of the box. Its admin interface is more powerful by default, and it tends to be favored in data-heavy or research-driven environments due to Python’s ecosystem. Django has a mature, consistent structure with strong security defaults.
Choose Django if: You prefer Python, want a robust admin panel from the start, or your project leans into data processing, AI, or research integration.
Choose Laravel if: You prefer PHP, want a modern and expressive syntax, or your team has experience with the PHP ecosystem and tools like Composer, Forge, or Blade.
What You Need Before Starting
Make sure you have:
Python: Version 3.8 or newer recommended (python --version or python3 --version).
pip: Python's package installer (pip --version or python -m pip --version).
Command Line/Terminal: Basic ability to navigate directories (cd), list files (ls or dir), and run commands.
Text Editor or IDE: Such as VS Code, PyCharm, Sublime Text, etc.
Setting Up Your Development Environment
Using virtual environments is important to keep project dependencies separate.
Creating a Virtual Environment
Open your terminal, go to your project directory, and run:
# Create a directory for your project
mkdir django_tutorial
cd django_tutorial

# Create a virtual environment named 'venv'
python3 -m venv venv
This creates a venv folder with a local copy of Python and pip.
Activating the Virtual Environment
On macOS/Linux:
source venv/bin/activate
On Windows (Command Prompt):
venv\Scripts\activate.bat
On Windows (PowerShell):
venv\Scripts\Activate.ps1
If you get an error about execution policies, you might need to run:
Set-ExecutionPolicy Unrestricted -Scope Process
Then try activating again.
Your command prompt should now start with (venv).
Installing Django
With the environment active, install Django:
pip3 install Django
Check the installation:
python3 -m django --version
This should show the installed Django version.
Creating Your First Django Project
A Django project contains the configuration and settings for a single website or application. It can include multiple "apps".
The startproject command
In your django_tutorial directory (with venv active), run:
django-admin startproject myproject .
Note the dot '.' at the end
django-admin: Django's command-line tool.
startproject: The command to create a project.
myproject: The name for your project's configuration package.
. (dot): Creates the project in the current directory, avoiding an extra folder level.
The Django Project Structure
Your django_tutorial directory now contains:
django_tutorial/
├── venv/       # Virtual environment folder
├── manage.py   # Utility for managing your project
└── myproject/  # Your project's Python package
├── __init__.py # Marks this as a Python package
├── settings.py # Project configuration
├── urls.py     # Top-level URL routing
├── asgi.py     # Entry point for ASGI servers (async)
└── wsgi.py     # Entry point for WSGI servers (sync)
manage.py: Used frequently for tasks like running the server, database migrations, and creating apps.
myproject/ directory: The Python package holding your project's configuration.
settings.py: Contains database settings, installed apps, template locations, etc.
urls.py: The main URL configuration file for the project.
Running the Development Server
Let's check the setup. Run:
python3 manage.py runserver
You should see output like this:
Watching for file changes with StatReloader
Performing system checks...

System check identified no issues (0 silenced).

You have unapplied migrations; your app(s) may not work properly until they are applied.
Run 'python manage.py migrate' to apply them.

April 20, 2025 - 18:05:10 # Example Date
Django version 5.x.x, using settings 'myproject.settings'
Starting development server at http://127.0.0.1:8000/
Quit the server with CONTROL-C.
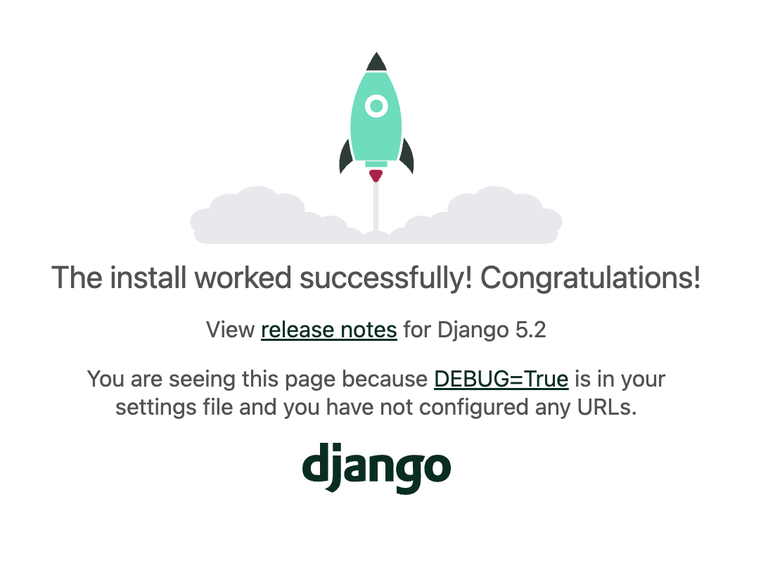
You can ignore the "unapplied migrations" warning for now. Open http://127.0.0.1:8000/ (or http://localhost:8000/) in your web browser. You should see the default Django welcome page. The basic project is running.
Press CTRL+C in the terminal to stop the server.
Creating Your First Django App
A Django project holds the overall configuration. An app is a module within the project focused on a specific function (like a blog, polls, or user accounts, things like that).
It's considered good practice to divide your project into apps.
Projects vs. Apps
Project: The container, settings, main URL routes.
App: A specific feature.
The startapp command
Let's create a 'hello world' app.
From your working directory (eg. django_tutorial), wherever manage.py is, run:
python3 manage.py startapp greetings
This will create a new greetings directory.
The greetings directory will include:
greetings/
├── __init__.py
├── admin.py      # Configuration for the admin site
├── apps.py       # App-specific configuration
├── migrations/   # For database schema changes
│ └── __init__.py
├── models.py     # Database models (tables)
├── tests.py      # App tests
└── views.py      # Request handling logic (views)
We'll mainly work with views.py and we'll add a urls.py.
Registering the App
You need to tell the project about the new app. Open myproject/settings.py. Find the INSTALLED_APPS list and add the app name:
# myproject/settings.py

INSTALLED_APPS = [
'django.contrib.admin',
'django.contrib.auth',
'django.contrib.contenttypes',
'django.contrib.sessions',
'django.contrib.messages',
'django.contrib.staticfiles',
'greetings', # Add this line
]

# ... rest of the file
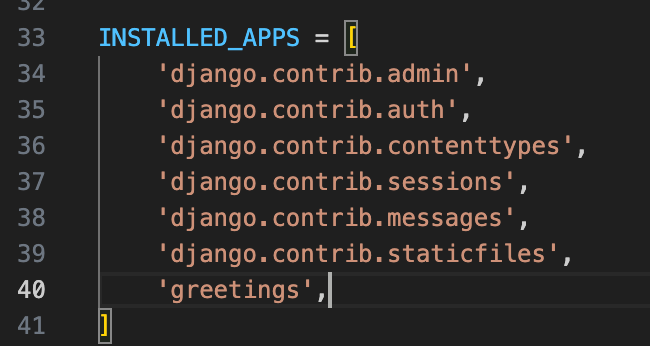
Adding just 'greetings' is usually enough.
How Django Handles Requests
When a browser requests a URL from your site:
Django gets the HTTP request.
It checks the main
myproject/urls.pyfile.It looks for a matching URL pattern.
A match might point directly to a view function or, more commonly, include URL patterns from an app's
urls.py.If directed to an app's urls.py, that file matches the rest of the URL.
The final match points to a view function (in views.py).
The view function runs Python code (maybe interacting with the database).
The view returns an HttpResponse (like HTML, a redirect, or an error).
Django sends the response back to the browser.
Creating Views and Mapping URLs
Let's make our Hello World page.
Open greetings/views.py and add this code:
# greetings/views.py
from django.http import HttpResponse

def home(request):
    # This view handles requests for the app's base URL
    html_content = "<h1>Hello World!</h1><p>This is Django.</p>"
    return HttpResponse(html_content)
We import HttpResponse to send a basic HTML response.
The home function takes the request object as an argument, which holds details about the incoming request.
It returns an HttpResponse containing our HTML.
Next, we connect the project's URL router to our app. Open myproject/urls.py and change it:
# myproject/urls.py
from django.contrib import admin
from django.urls import path, include # Import include

urlpatterns = [
path('admin/', admin.site.urls),
path('greetings/', include('greetings.urls')), # Add this line
# URLs starting with 'greetings/' are now handled by greetings/urls.py
]
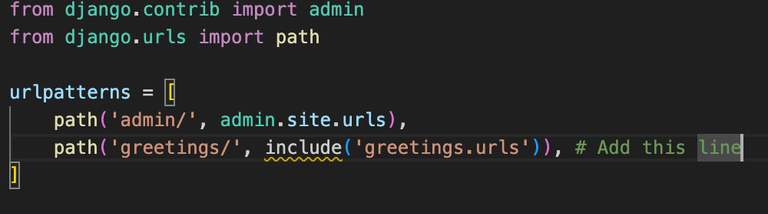
We import include.
We add a path that directs any URL starting with greetings/ to the urls.py file inside our greetings app.
Configuring App URLs
The project urls.py refers to greetings.urls, but we haven't created it yet. Create a file named urls.py inside the greetings directory:
greetings/
├── ... (other files)
├── urls.py # <<< Create this file
└── views.py
Add this code to greetings/urls.py:
# greetings/urls.py
from django.urls import path
from . import views # Import views from this app

urlpatterns = [
# Map the empty path (relative to '/greetings/') to the 'home' view
path('', views.home, name='home'),
# 'name' helps refer to this URL pattern elsewhere in the code
]
We import path and the views from the current app directory (.).
path('', views.home, name='home')maps the base URL of the app (/greetings/) to our home view function.
Testing:
Run the server:
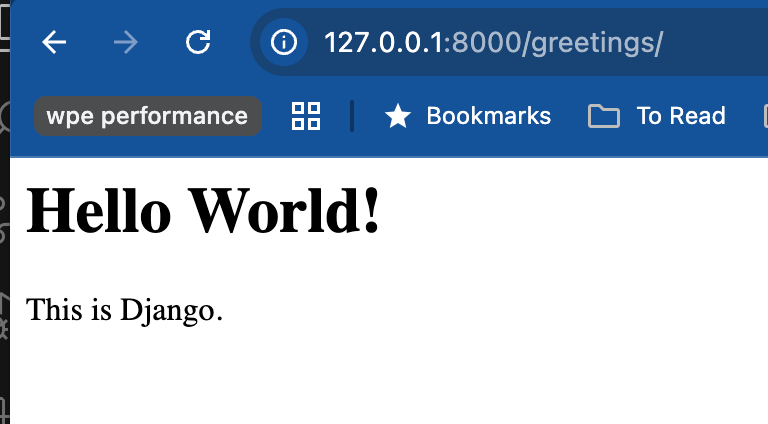
python3 manage.py runserverVisit http://127.0.0.1:8000/greetings/ in your browser.
You should see our greeting.
Congratulations! You've created a Django web app, with a successfully working view and URL route!
Check out the programming & dev community, btw! Might get you some extra readers/followers/curation!
Will do thanks!