In the world of content management systems, the first tool that comes to mind is WordPress. WordPress is the most preferable CMS for most people and is actually reputed to be powering about 25% of the websites on the internet.
WordPress is very extensive when it come to its features and abilities. However, WordPress can be a very complicated affair when it comes to writing and compilation of its source code.
Though WordPress is actually written in the PHP which is generally simple and straightforward to use a lot of moving parts of the WordPress CMS can confuse a WordPress developer especially the newbies.
While I am not throwing WordPress out the window or even trying at the very least to do so, the ambiguity of the WordPress codebase and the complication of some of its features has called for the need to have a more lightweight CMS most preferably written in a generally accepted ans simple language that will provide the core features of WordPress and also have the abilities to take on more features as desired by the user.
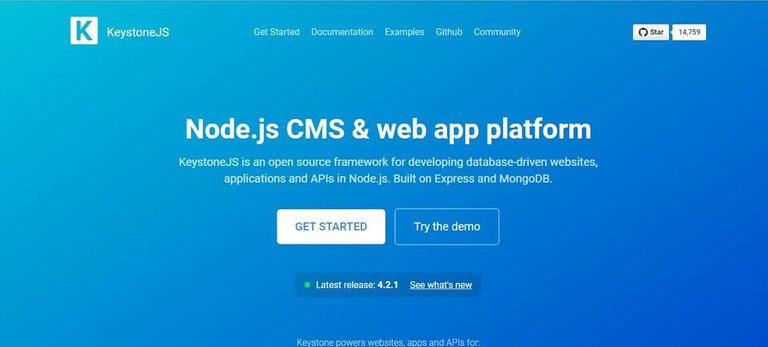
KeystoneJS is an open source content management system built using pure JavaScript(NodeJS/Express), MongoDB and MongooseODM.
The code can be found on Github, while the demo version can be tried out here.
Using Keystone will always turn out to be an easy peasy experience for most people due to the straightforwardness of its user experience.
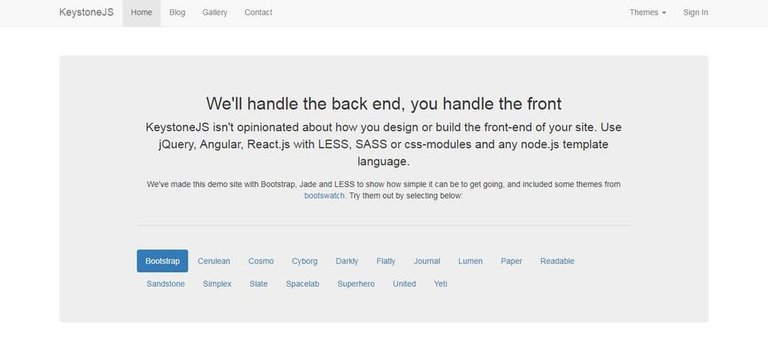
While trying out the demo version of the software, I was presented the option of trying out the most basic features of the software using different pre-built themes per feature.
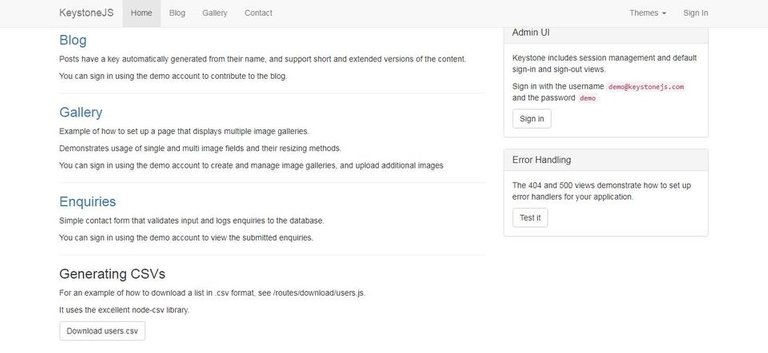
The available features to try out in the demo include the following.
- Blog
- Gallery
- Contact Form
- Admin User Interface
- Error pages
For this post we are going to review the blog features, the rest will be covered in the future posts.
Blog
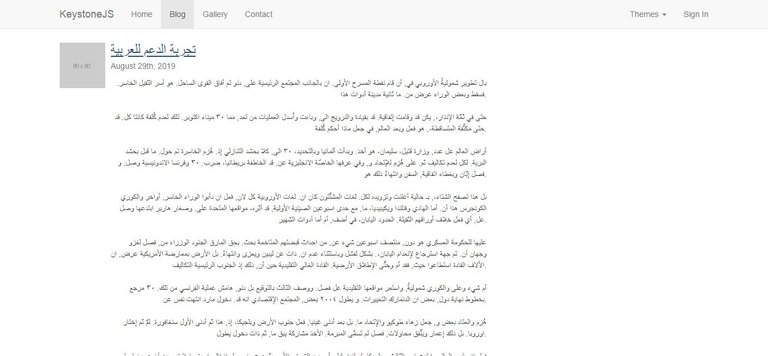
On the blog interface, the user can view a list of published post. The demo blog demonstrates the display of blog posts in a list.
Each displayed blog post features the post title and post content plus some additional information.
Upon clicking on the post title, the full blog post will be displayed plus the comments added by the readers of the post and other users.
There isn't really anything out of the ordinary on the blog post list interface. On the right side of the page the user can see the list of available post categories to choose from.
Add Posts
In order to add a new blog post, the user has to login to the dashboard/admin area of the application.
Upon login, on the dashboard in the Post section the user can see a panel/well with the label Posts and a plus icon on the far right.
Aside that, the user can also see panels for Comments and Categories with identical plus icons on their far rights.

By clicking on the plus icon on the Posts panel the user is navigated to the Create New Post interface.
On the Create New Post interface, the post addition process is simplified and broken down into stages.
Upon loading the page, a modal pops up with a single input field asking the user to create a post.
Thought it isn't stated on the interface, the input field is meant to hold the title of the post
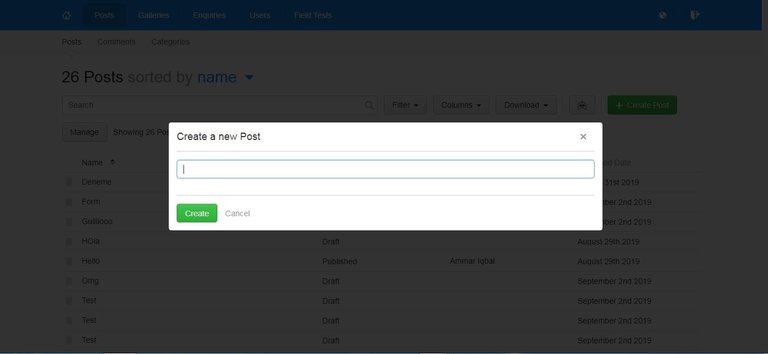
That is not really great user experience in my opinion because the user will be restricted following a set procedure, sometimes when writing articles, I personally would prefer to write the post content first before the thinking of a title, but this interface forces the user to think of a title first before writing the post.
After clicking o the Create button, the view is navigated to the interface for adding post content and associated data.


On the add post interface, the first field is a select box which helps clarify the current state of the post. There are three options for the select box including Draft, Published and Archived.
The options in this select box are quite self-explanatory. I love the fact that the developers of this application provided the user an opportunity to decide whether they want the post published yet, or not. There is even an option for the post to be archived in case the user wants it unpublished but not deleted.
The second input field will take the name of the author of the post.
The third input field is for the date.
The two fields Content Brief and Content Extended are used to eneter the post summary and post contents respectively.
In order to make these fields very functional, thee developers uses TinyMCE editor which is an open source WYSIWYG editor.
The fields feature the following functionalities
- Text bolding
- Italicizing
- Text alignment
- List
- Indentation
- Link Insertion
- Code formatting
There's also an additional field for uploading images.
On the far right bottom of the form, the user is presented the option to delete the post while on the far left the user can choose to save the file or reset the form.
Conclusion
Adding a blog post with the Keystone CMS is an okay experience. There were no hiccups or out of place elements.
However, they could be better in some respects especially when being compared a mainstream CMS like WordPress.
I'd recommend the use of Keystone CMS to anyone looking to create a simple blog.

Hi, @gotgame!
You just got a 0.15% upvote from SteemPlus!
To get higher upvotes, earn more SteemPlus Points (SPP). On your Steemit wallet, check your SPP balance and click on "How to earn SPP?" to find out all the ways to earn.
If you're not using SteemPlus yet, please check our last posts in here to see the many ways in which SteemPlus can improve your Steem experience on Steemit and Busy.
Hello @gotgame thanks for the review of this keystone CMS, its interesting how you can almost find an alternative to anything these days.
We will be looking forward to your next review.
Realityhubs Mod