As I am progressing with my boat restoration I am starting to spot the wee jobs that need done. A pulley here, a block there, a re-rope at the back; the unfortunate thing for me is that I am acutely aware that I have not even put the sails up yet and I already know that there are innumerate tasks to come.
However, I tackle these things one at a time, every job completed is one I do not have to think about (for a while at least). So it was with this attitude in mind that I boarded my boat to have a think about how I was going to rewire the interior. As I clambered aboard I clattered my knee off the block of wood that supports the autohelm. I then realised that it was bloody horrible. Up until then my brain had filtered it out, saving me from the indignity of adding yet another task to the list, but now it was on my radar.
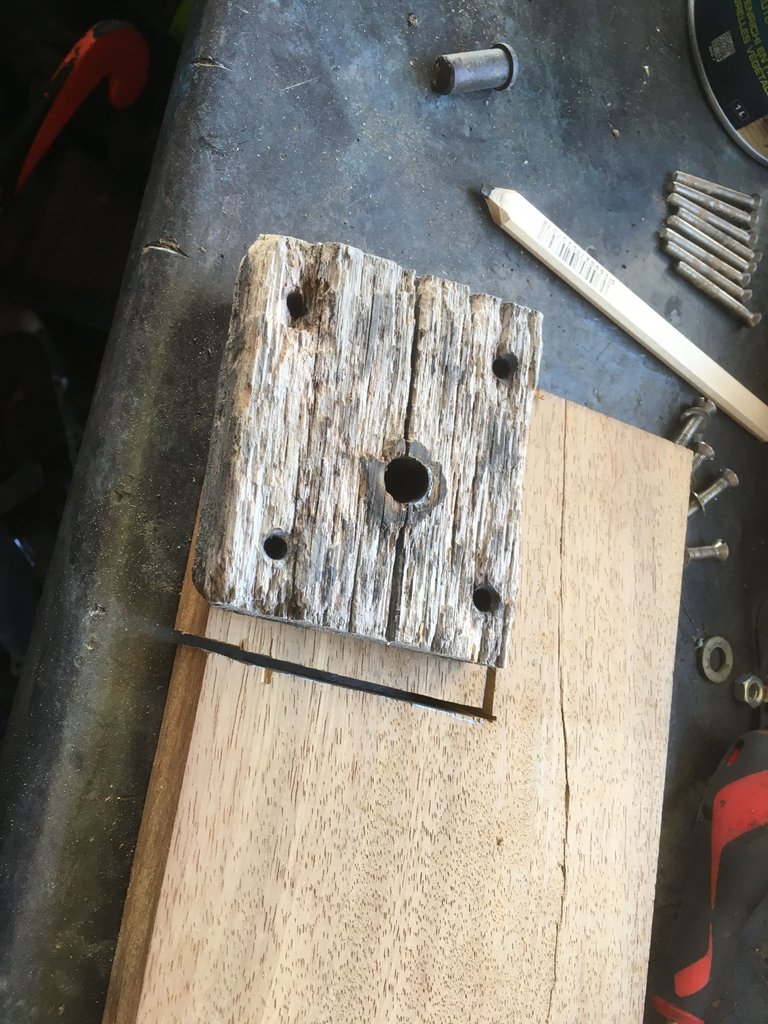
I removed it using my wonderful Teng Pocket Socket set - I literally don't leave home without that, it is so useful, I have another tale on that for another time if you are interested. As soon as I got it into my garage I set to work, removing the bolts and searching for a suitable chunk of wood to replace it.
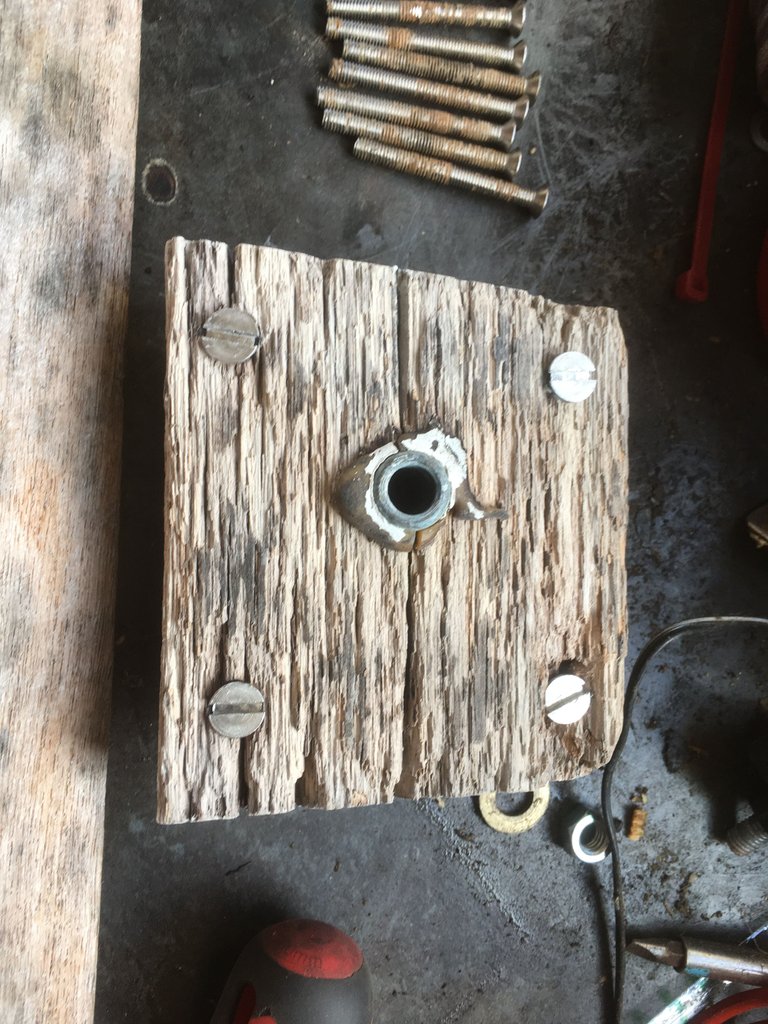
Isn't that the most crappy piece of wood you have ever seen? Ghastly and I am frankly disappointed in myself for not really paying it any attention before now.
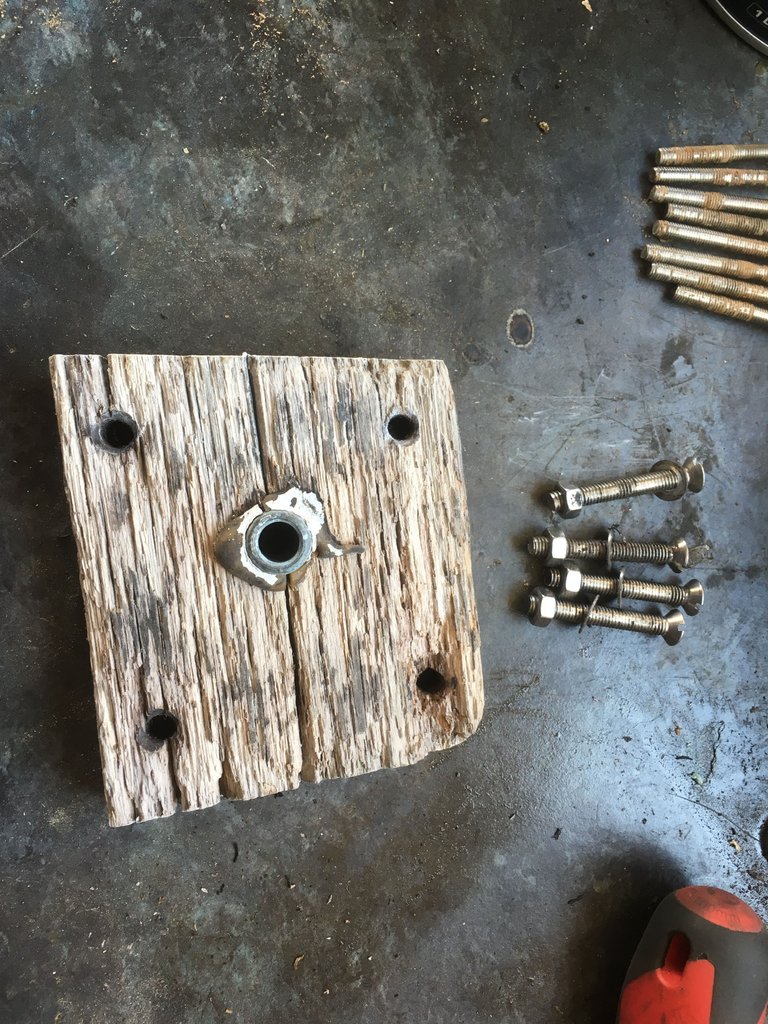
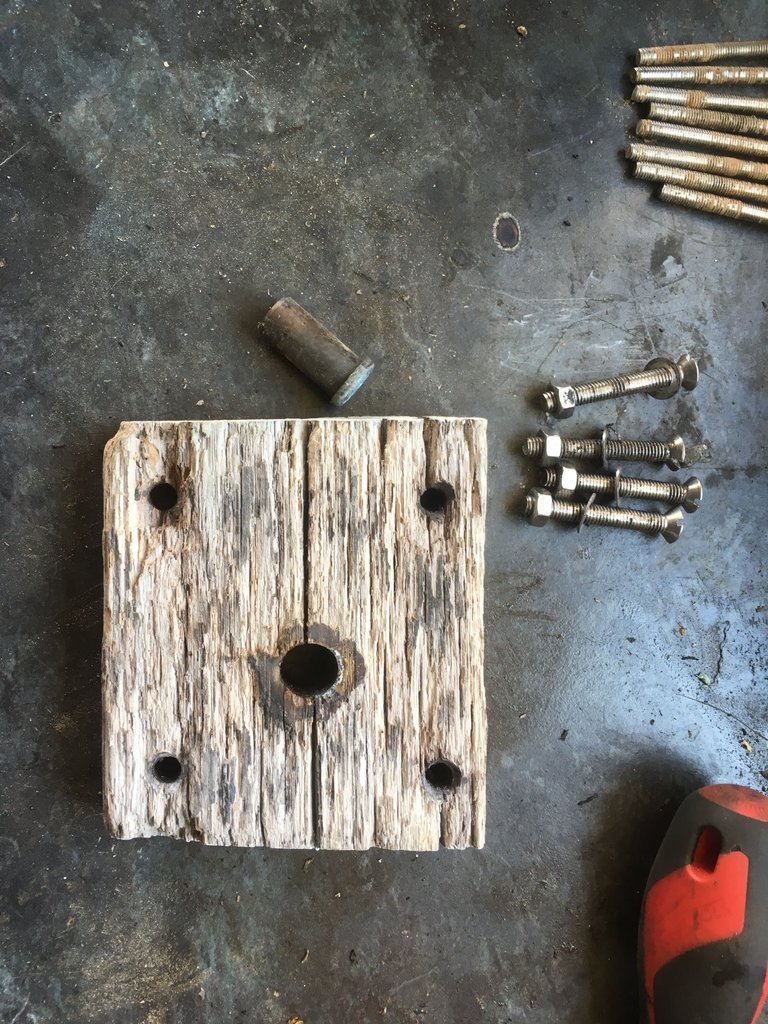
The centre socket, which receives the drop down pin from the autohelm, should have been a nightmare to remove but instead it simply pulled out with a firm twist.
Even the socket is fugly. I did notice that it was brass though and decided to give it a buff up with a wire brush and a bit of elbow grease. Then I set to to find a suitable bit of wood. For those who don't know, the sea is a harsh environment, anything made out of an unsuitable metal will rust, corrode or otherwise dissolve in front of your eyes. Plastic will go yellow and crumble if it is not up for the job and even solid looking ropes will turn to dust if you have the wrong ones. Similarly wood is a variable beast, you really have to get something hard and tough. There are plenty of sites online that will give you advice on which wood to use but as a rule of thumb if it makes you swear when you come to pay for it then you have the right stuff.
I am a legendary eBay crawler, I look for mis-labelled products or undervalued items, so when I spotted a large box of iroko off-cuts for just a few pounds I contacted the seller immediately and made him a direct offer. What a bargain that was! Lots of thick, chunky blocks of variable sizes.
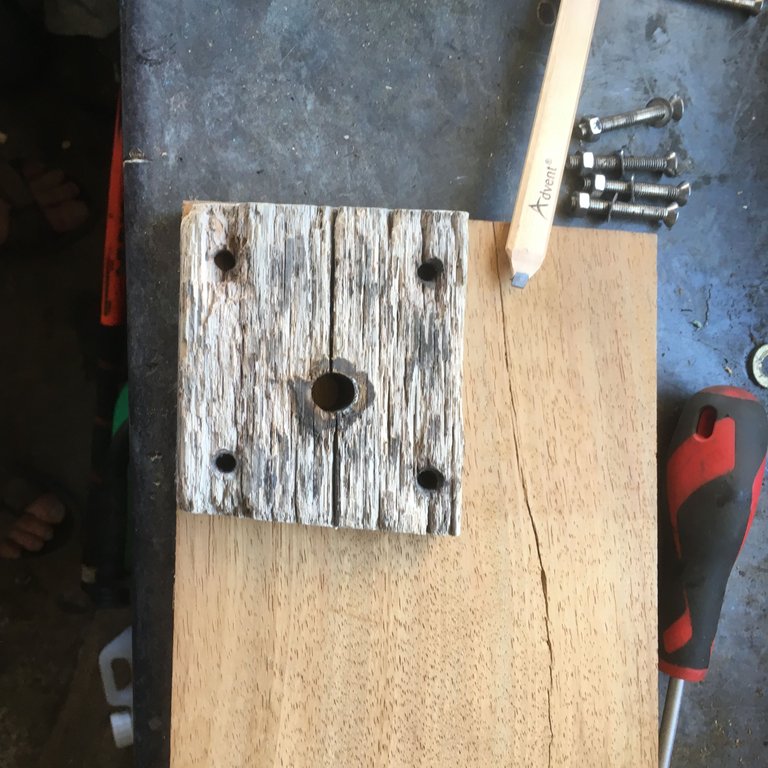
I dropped the block onto a section of the wood that was no use for anything else, it fitted nicely so I marked it up and hacked away with my saw.
Lovely - I use hand tools in preference to power tools, for no other reason than I need the exercise. Apparently the purists will tell you that hand tools gives you a better 'feel' for the objects you are working on. I however am an engineer and my brain tell me that jigs and robots will always be better. Just in this particular case my WoodBot9000(tm) was not available (or in any other damn case unfortunately), so handsaw it was.
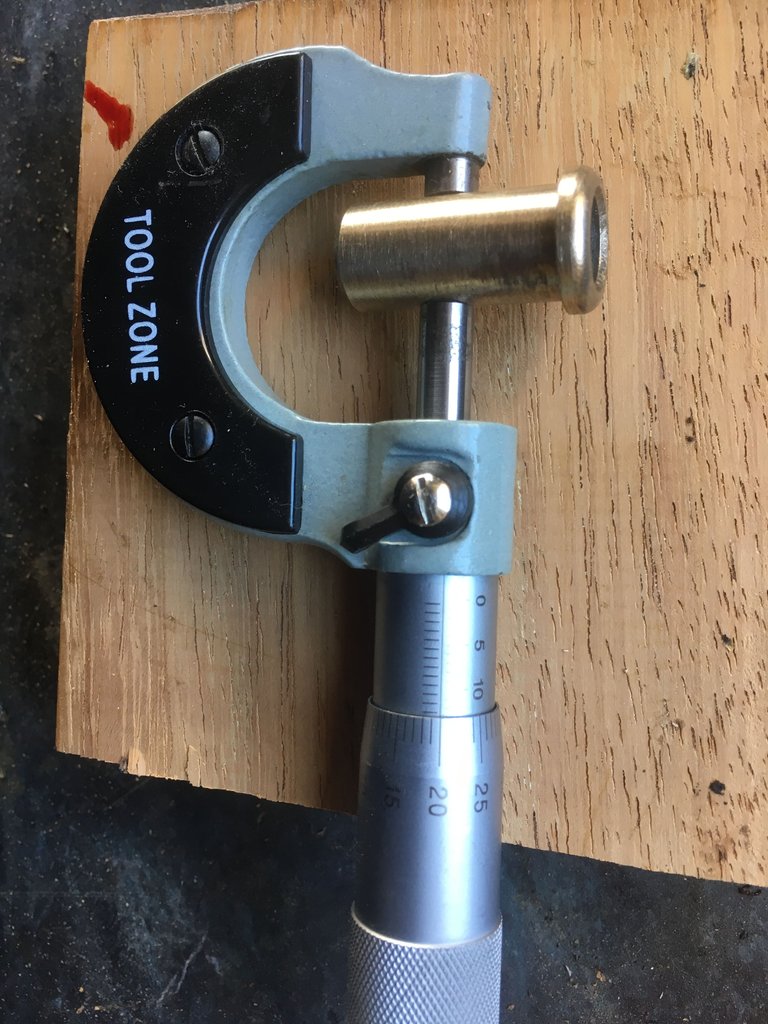
After polishing the socket up a little I measured its diameter and dug around my garage for a suitable drill bit. I used a wire brush to start off the cleaning process. Wire brushes are made from wire. Fine wire. That bends. Fine wire, that bends and slides up your fingernail into your cuticle. The blood at the top left is proof that I suffer for my art.
The micrometer reads 12.7mm (12 on the main scale and 0.5+0.2 on the vernier) so I used a 12mm drill bit and did a tiny bit of filing to get the hole just large enough to press the socket home using my vice. I'm pretty sure that it is going to last for a long time, but if it looks like it has worked loose I will simply squirt some glue in. I don't think it will ever move in reality.
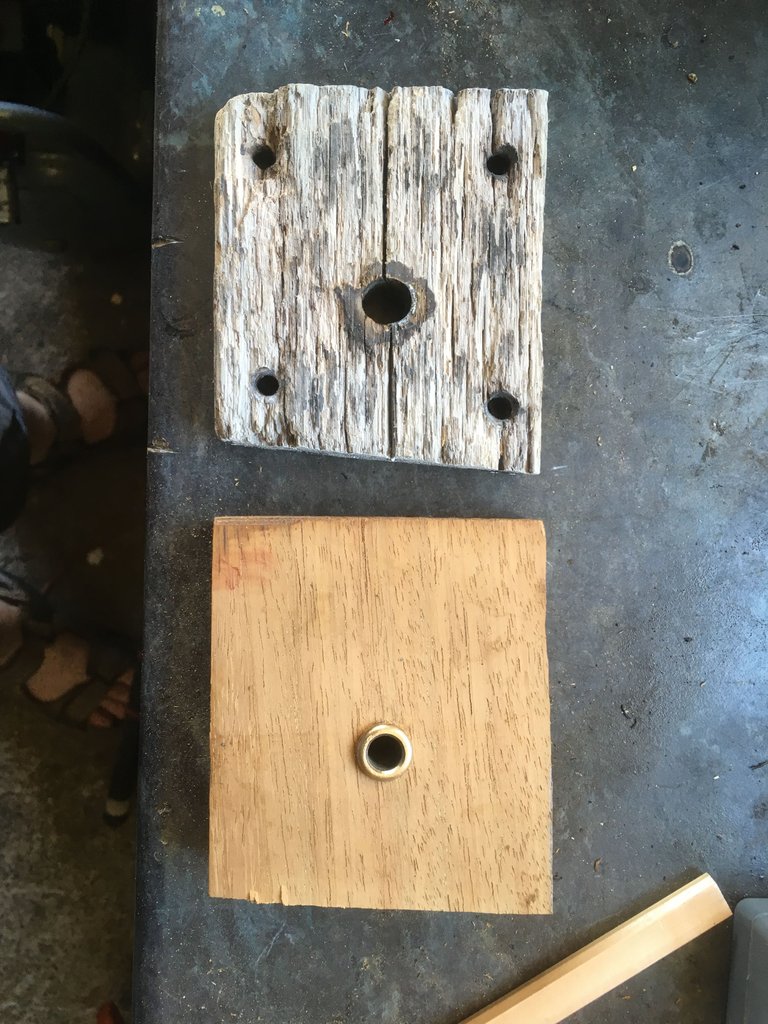
So there you have it - the socket in the hole and the old piece compared to the new one. You'll see that I made an attempt to remove the gore by wiping it off. No matter the next stage is to get rid of those nasty sharp edges. Happily my compressor was working and I made good use of my small random orbital sander to make everything smooth and roundy.
I sanded the block several times after that photo was taken but I was so pleased with my efforts I forgot to take a picture.
Now we get to the reason for the title of this tale. A few years ago I used finest yacht varnish to make some bit on another boat look good. I was diligent, careful and methodical, I did a good job. Yet a year or so later it looked like a dog's breakfast. The varnish had lifted from the wood and was peeling off in some areas.
I mentioned this to a friend from South Africa and he nodded wisely and said I needed to use "Dick oil" instead of varnish. Now, if you take any pieces of advice from me ever, then this is an important one - under no circumstances Google "dick oil". I am a man of the World but even my eyes were opened.
Happily I figured out that we were two great nations divided by a common language, he said "deck oil". This was a much more fruitful search and I found some stuff that was reassuringly expensive. Basically you oil the wood with deck oil, each year you simply give it a scrub with a brush and re-apply a little more. It is much less hassle than varnish, which flexes and splits over time no matter what you do. I am easily pleased and I take great delight in referring to it as "dick oil" at every opportunity despite having a Scottish rather than South African accent :)
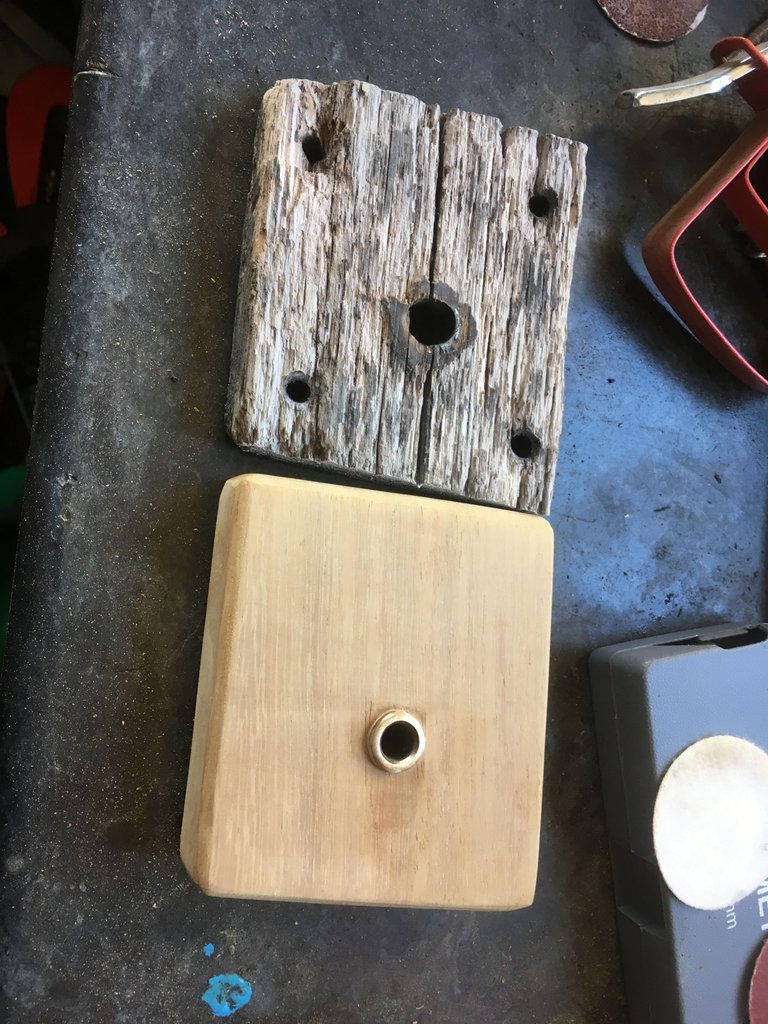
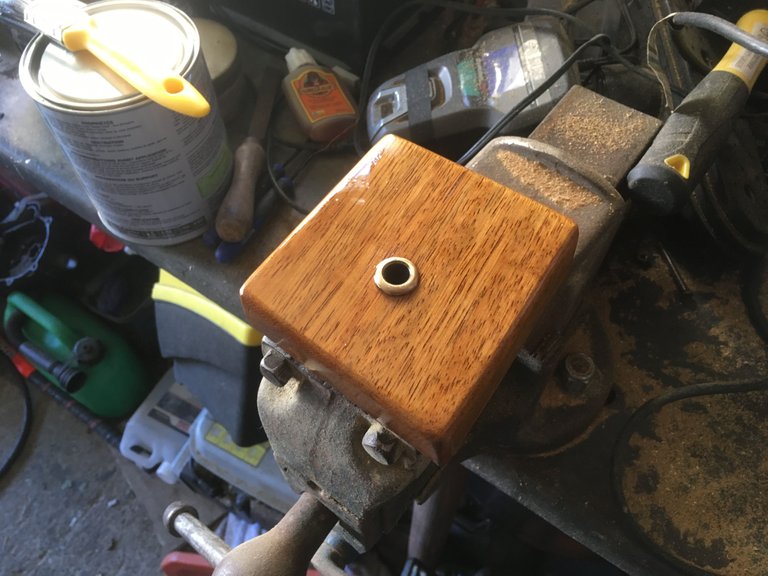
I shall leave you with a picture of the nearly finished product. I'll drill the final holes on the boat rather than risk any misalignment. When I show a picture of the boat later on you will spot this masterpiece and nod wisely.
Thank you for bearing with me - happy sailing, whether it is from your armchair or in the wild.
Another good post, sir. You are a man of many talents.
Thank you for your support and encouragement. I may well have quit if it was not for you.