Español
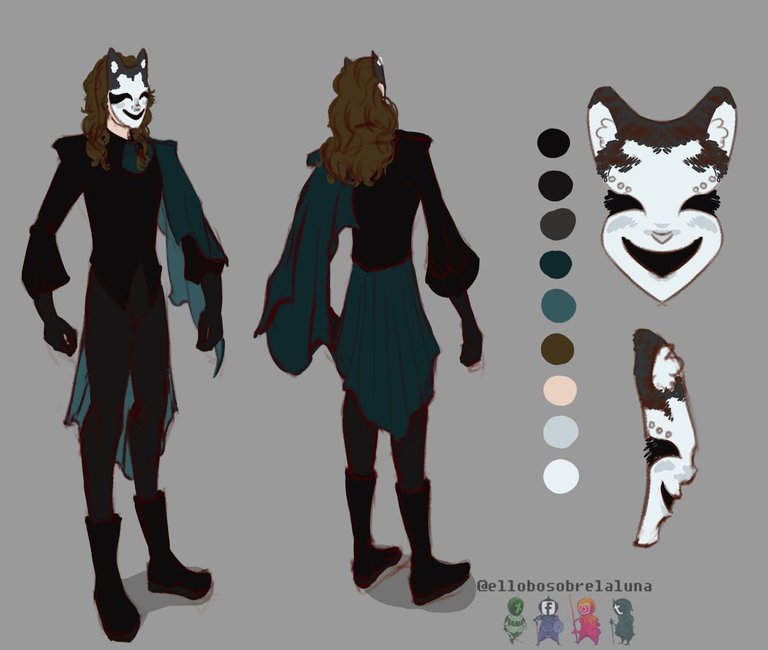
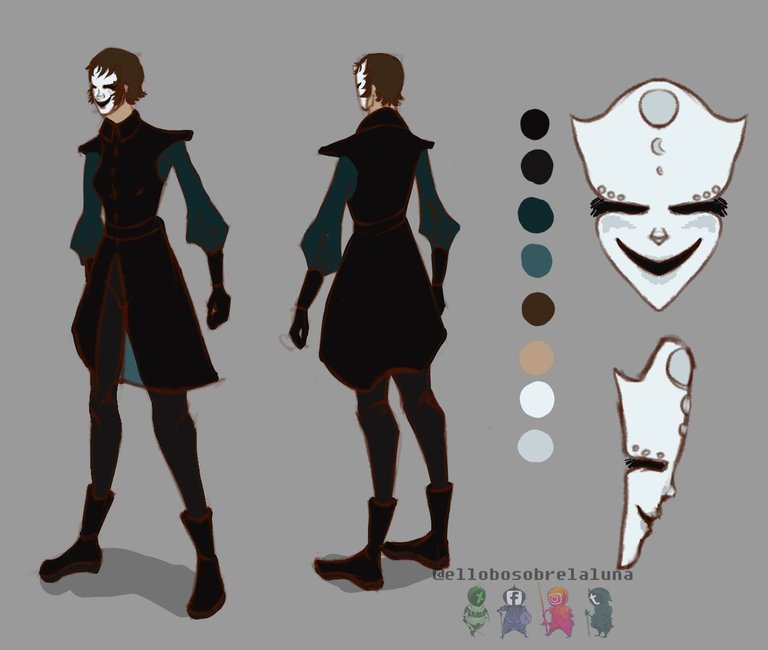
Hola de nuevo personas que han estado siguiendo el trabajo de el Lobo y la Luna, quiero aprovechar para agradecerles por mantenerse con nosotros <3 . En esta ocasión quise realizar unos diseños de personajes que ilustrarían a el Lobo y a la Luna, para posteriormente realizar una donde se apreciasen los mismos interactuando.
English
Hello again, people who have followed the work of El lobo y la luna , I want to take this opportunity to thank you for staying with us <3. On this occasion, I wanted to make some designs of characters that illustrate el Lobo and la Luna , to then make an illustration in which they would appreciate the interaction.

0.
- Así pues, inicié por generar los diseños de personaje, en vista de que estos nos acompañarán durante la totalidad del proyecto El Lobo y la Luna, motivo por el que no comencé por ilustrar directamente a los mismos.
- So, I started by drawing the character designs, given that these will accompany us during the entire project El lobo y la luna , which is why I didn't start by directly illustrating them.

1.
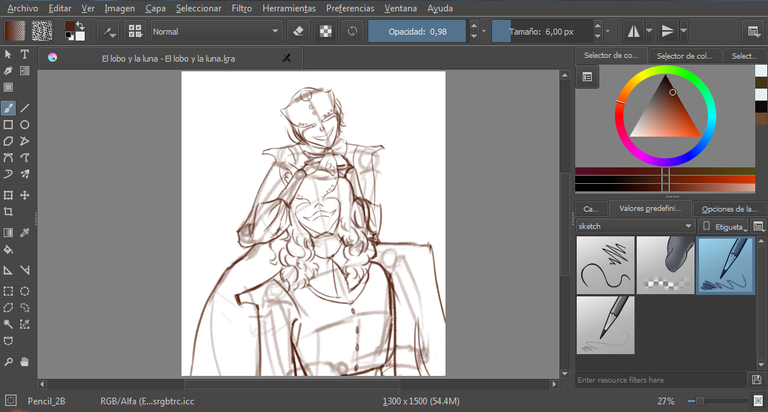
- Una vez ya realizados los diseños, procedí a generar un esbozo con el lápiz 2B (disponible en el menú desplegable de pinceles, en la categoría sketch) con un color rojizo, pues se crea un efecto similar a la sanguina o pastel conté, y ya ven, no trabajo muy diferente en digital de cómo lo haría en tradicional.
- Once the designs were done, I proceeded to generate a sketch with the 2B pencil (available in the drop-down menu of brushes, in the sketch category) with a reddish color, because it creates an effect similar to the sanguine or pastel counte, and you can see, I don't work very differently in digital than I would in traditional art.

2.
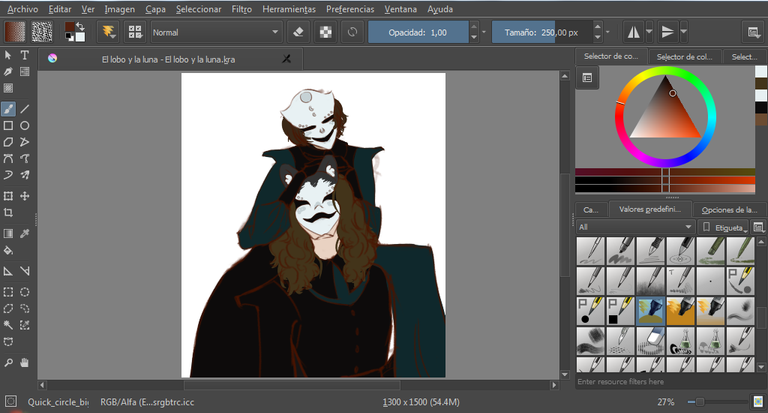
- A continuación con el pincel quick circle big (Disponible en el menú desplegable de pinceles) de un modo más bien plano comencé a ubicar el color local (por lo general el tono medio del objeto).
- Then with the brush quick circle big (Available in the drop-down menu of brushes) in a rather flat way I began to locate the local color (usually the middle tone of the object).

3.
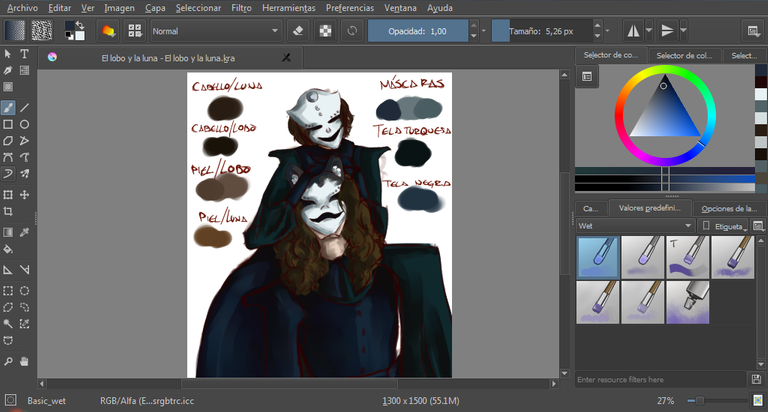
- Seguidamente, añadí los tonos bajos (oscuros) de todos los elementos presentes, a excepción de las telas negras, pues estas de por sí ya serían un tono bajo, razón por la que procedí a ubicar los tonos medios en las mismas. Para ello utilicé el pincel basic wet (disponible en el menú desplegable de pinceles en la categoría wet)
*Nota: Decidí darle una tendencia azulada a las telas negras con el fin de que armonizaran con las telas azules verdosas. - Next, I added the low (dark) tones of all the elements present, with the exception of the black fabrics, since these would be already a low tone, which is why I proceeded to locate the midtones in them. For this I used the brush basic wet (available in the drop-down menu of brushes in the category wet)
*Note: I decided to give a bluish tendency to the black fabrics in order to harmonize with the blue-green fabrics.

4.
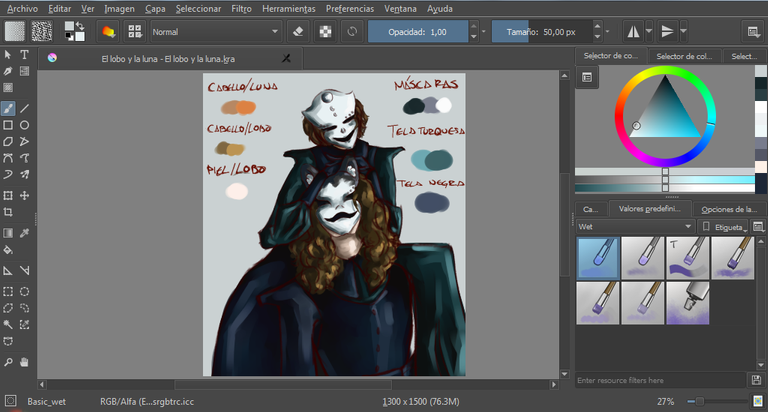
- Para finalizar con la ubicación de los tonos apliqué los tonos altos, es decir, las luces, también con basic wet.
- To finish with the location of the tones I applied the high tones, that is, the lights, also with basic wet.

5 - 5.1
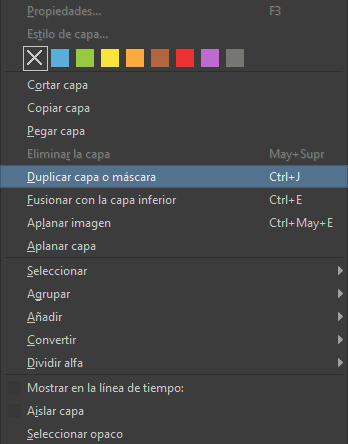 )
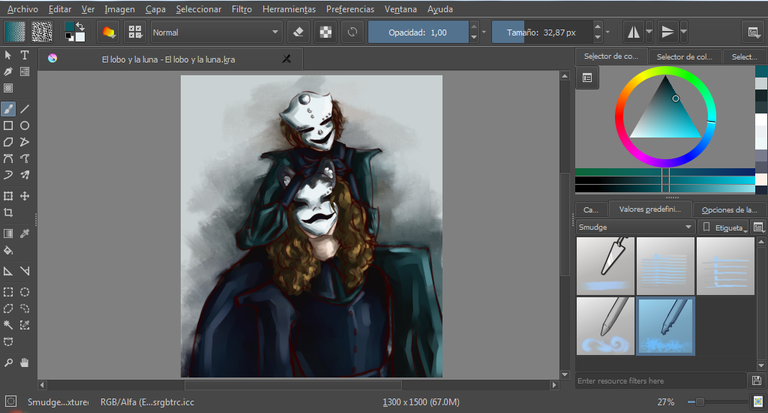
)- Acto seguido, dupliqué la capa dentro de la cual trabajaba (hasta el momento he utilizado únicamente dos capas: La del boceto, y la de color) y la esparcí con smudge textured (disponible en el menú desplegable de pinceles, en la categoría smudge).
- Next, I duplicated the layer in which I worked (so far I have used only two layers: The one of the sketch, and the one of color) and I spread it with smudge textured (available in the drop-down menu of brushes, in the category smudge ).

6.
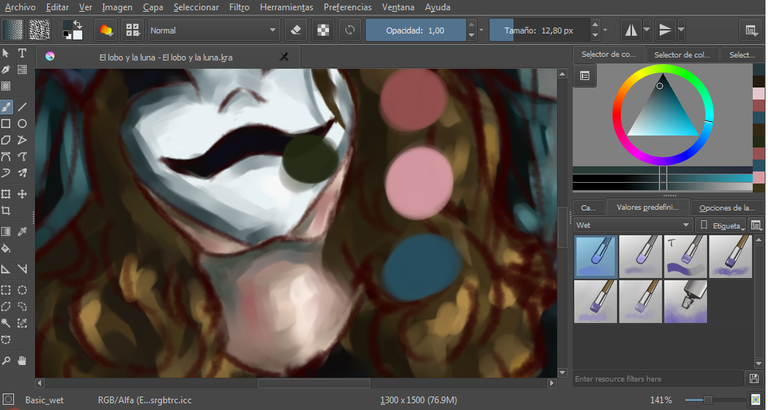
- Esta fue mi parte favorita: Pintar los colores y matices de la piel. Esto lo hice con el pincel basic wet, utilizando rosas, azules y verdes.
- This was my favorite part: Paint the colors and nuances of the skin. This I did with the brush basic wet, using roses, blues and greens.

7.
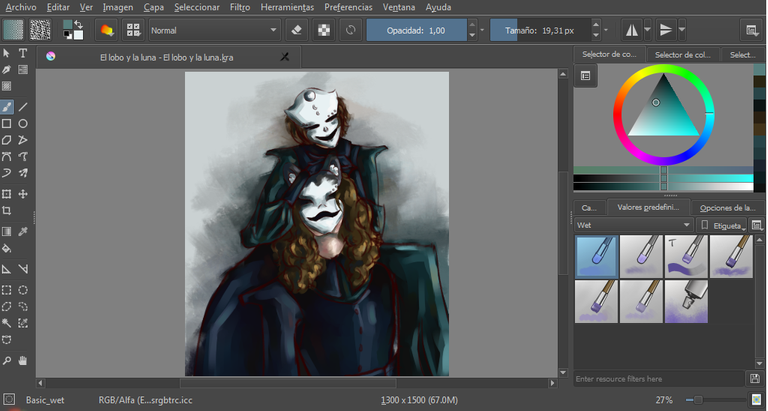
Por último, añadí detalles, como el color reflejo (Partes reflejadas del objeto más próximo a las sombras de otro) y los matices (añadir en mínimas cantidades todos los colores de la composición en todos los elementos presentes).
Finally, I added details, such as the reflection color (Reflected parts of the object closest to the shadows of another) and nuances (add in minimum quantities all the colors of the composition in all the elements present).

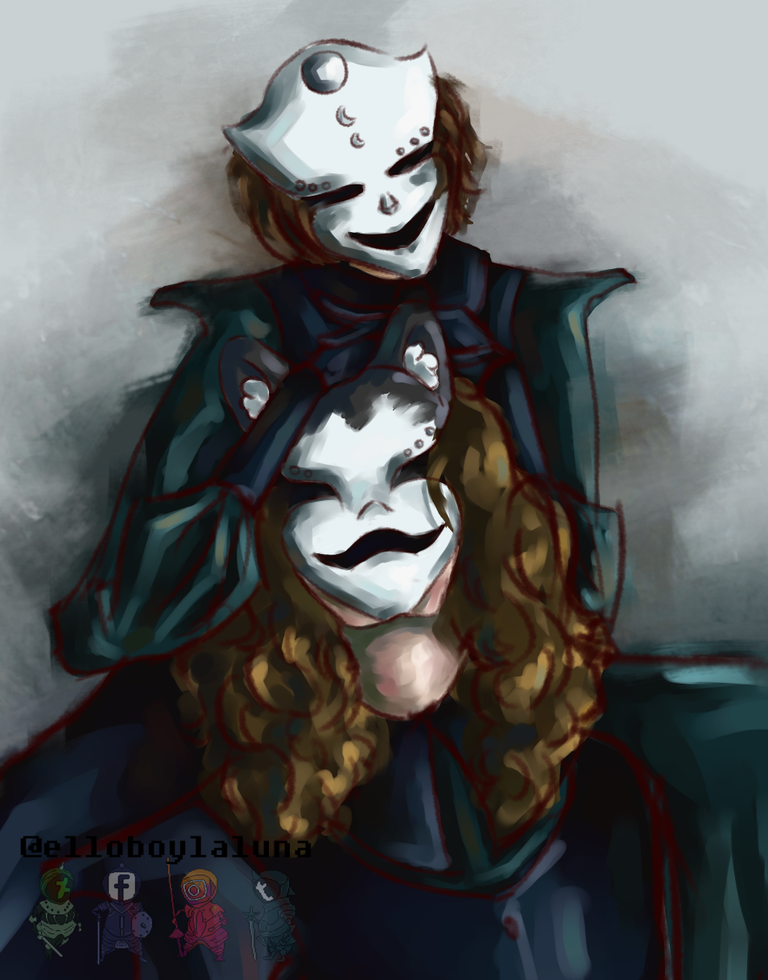
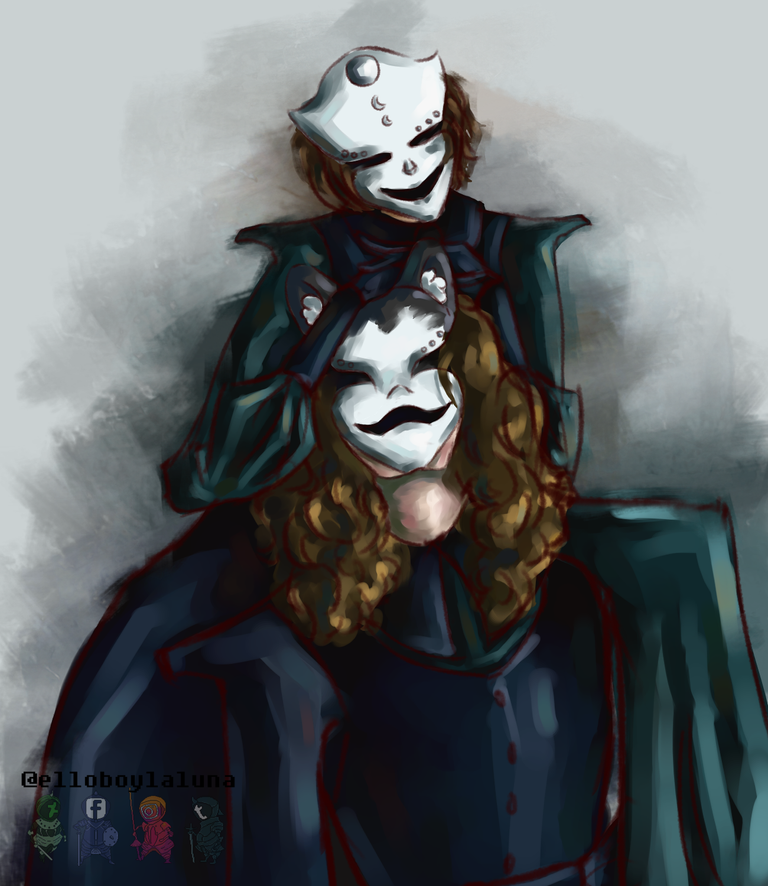
He aquí la ilustración finalizada, y con la que me he sentido feliz. Gracias por leer hasta el final amiguitos míos, seguiré subiendo más contenido de este tipo. Se despiden con amor, el Lobo y la Luna <3.
P.D.: Las ilustraciones fueron realizadas en el programa Krita, versión 3.1.3
P.D.2: Recorte la ilustración, en vista de que senti que habia muchisimo espacio inferior sin nada interesante.Here is the finished illustration, and with which I felt happy. Thanks for reading until the end my little friends, I will continue uploading more content of this type. The farewell with love by el Lobo and la luna <3.
P.D .: The illustrations were made in the program Krita, version 3.1.3
P.D.2: Cut out the illustration, considering that I felt that there was a lot of inferior space without anything interesting.
Tumblr
Deviantart
Attribution 4.0 International License"
Copyright @elsll - All Rights Reserved
Good
Thanks!
You're Welcome...
atractiva presentación, upvote para ti desde
Nos alegra que les parezca así :) gracias!
nice article
Thanks! <3
Click Here to Read our New Curation Policy And Updated RulesYou've received an upvote from @slothicorn! . (@justatouchfey) ((.)ω(.))
Ohh thanks <3