It's been a little while since my last 3D model, and I was feeling the itch !
This time, I'm going to show you all how to use the Revolve plugin for Vectary's 3D modeller.
In principle, it's simple enough. Draw a flat design, choose it, choose how many "sides" you want, revolve it.
It's a tad more complex IRL, but don't worry. I believe you should understand it once you reach the end of this post.
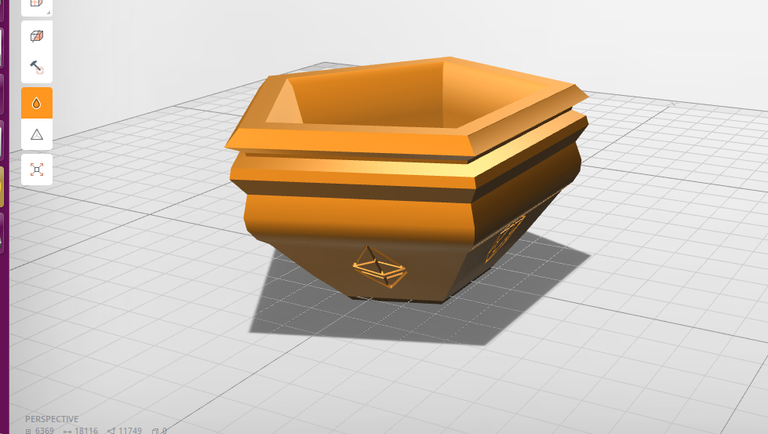
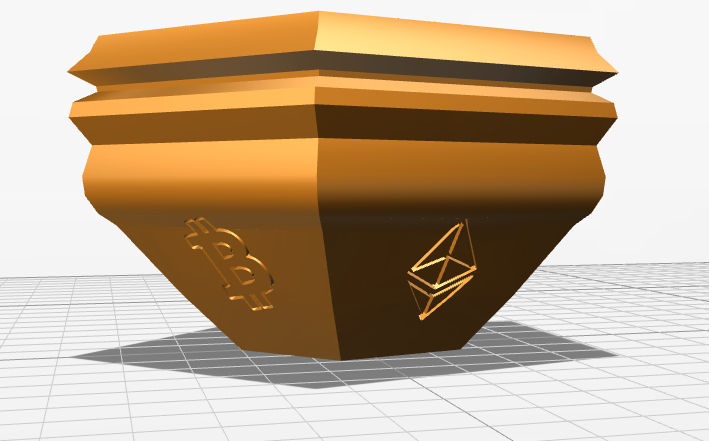
To get you motivated, here's a sneak peek at the final model, a Crypto-themed vase !
1.Drawing in axis.
The most complex (and annoying) part of Vectary's Revolve plugin is that you can't redefine which axis you want to rotate around (bluish highlight is said Axis).
I've send them a message asking if that can be integrated somehow, but we'll have to just adapt for now:
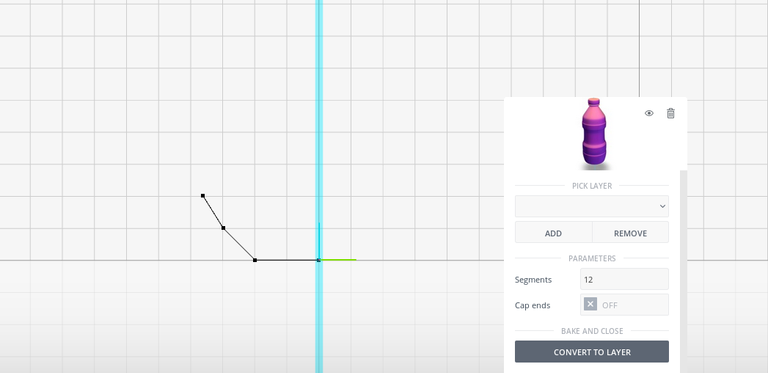
As you can see above, I've placed the very first point in the very middle of the axis that is used for revolving (the blue highlighted one).
I've then begun drawing a bit to the side, remaining completely flat, so as to give the vase a base it can stand on.
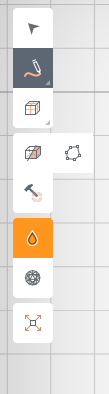
Then, I switched over to the Freehand drawing tool :
And drew a bit more, making sure to complete the vase shape by coming back in.

There were a few extra corrections that needed doing (its not quite visible, but some of the lines, specifically between the freehand drawn bits and line-drawn bits, aren't connected), so I did that.
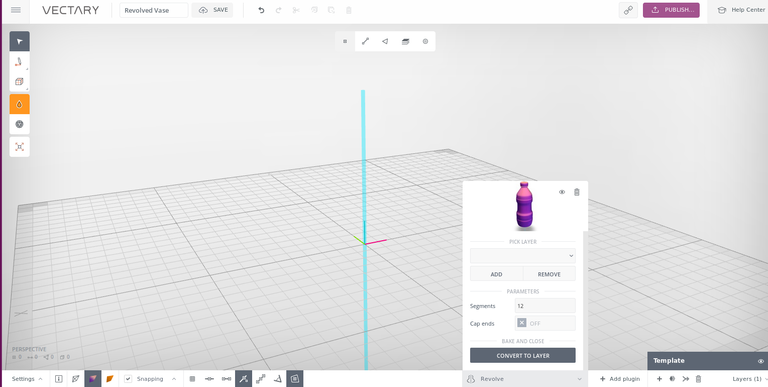
2.Revolvution XD
Then, We simply choose our layer in the Revolve menu, and Magick Happens:
One of the difficulties I've found is that you need your shape to be completely parallel to the blue highlighted axis, or it'll begin overlapping the revolved shapes.
It can lead to some interesting shapes when that happens, but then you've got tons of intersecting faces that'll make 3D printing a bit of a pain. (Vectary's Boolean plugin can't cope with that many intersections, and won't cooperate... so it's not possible to easily fuse the different bits together in 1 shape).
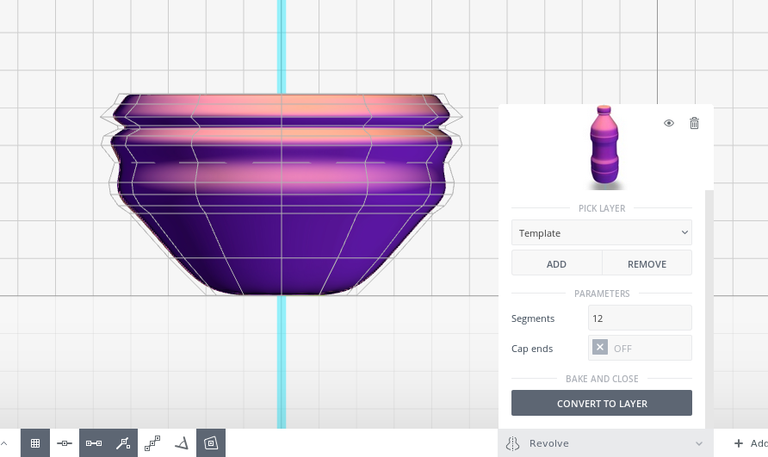
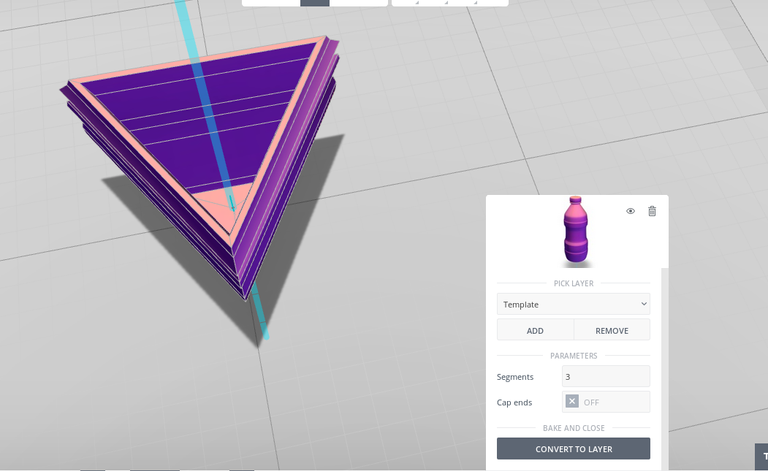
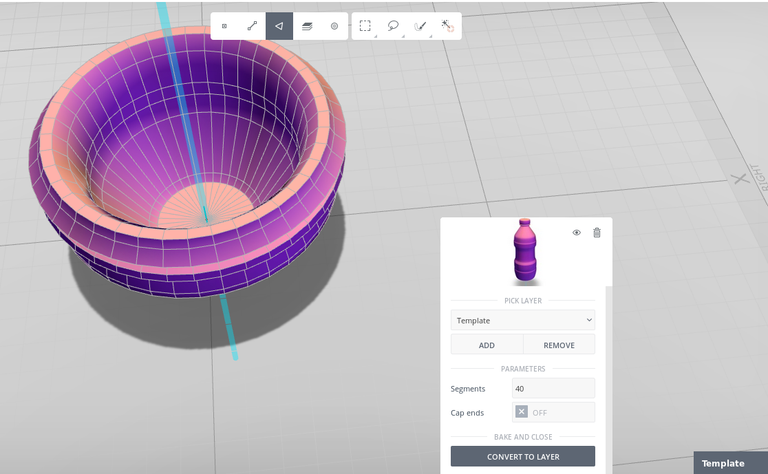
3. Adjusting the number of segments
If you look, there's a couple of options in the Revolve plugin that are interesting.
Segments : defines the number of "faces" of your object. Aka, in one 360 degree rotation, how many times does your line-shape stop to leave a copy of itself.
Caps End: Defines if, once the revolution is finished, the Vectary engine should try and combine the parts of the revolved forms that aren't closed off, eliminating any gaps that might make it non-solid.
Here's a few examples of different Segment settings:
I choose to put it at 5 Segments.
4. finishing touches:
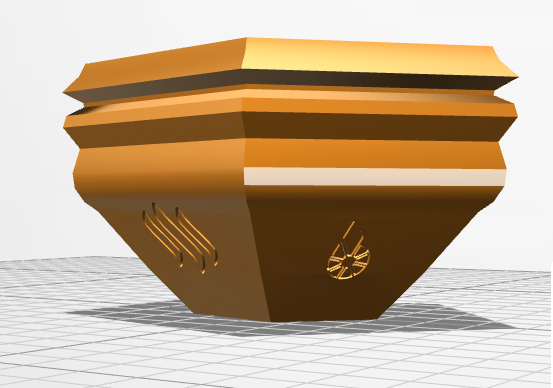
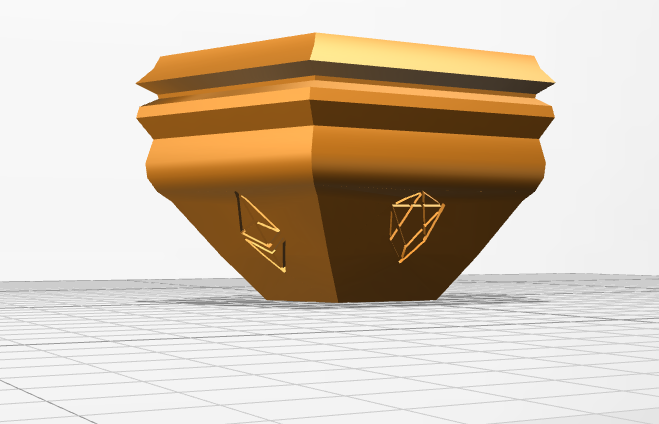
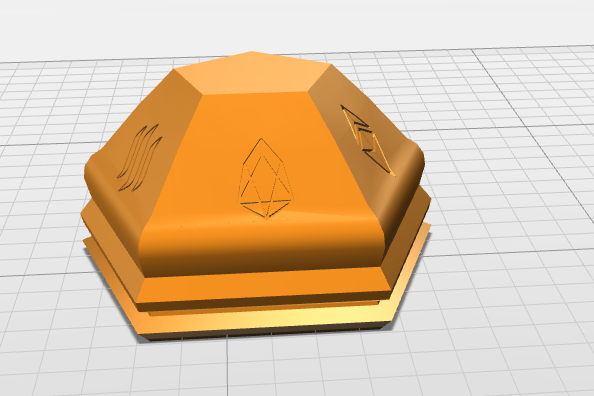
Here, I simply imported some cryptocurrency icon SVG's (which vectary automatically converts into solid forms) and selected all the layers created after import, repositioned them and used the Boolean plugin to remove some layers from others.
Specifically, all the repositioned cryptocurency logo's were removed from the vase form, where they had been placed slightly into each of it's faces)
I used Junik Studio's excellent cryptocurrency icons for this task.
these icons are all released under...
well...
They don't actually specify a license. but they do say they're completely free to use for any purposes as long as you cite the studio, so I assume they meant to put it under something akin to a CC-BY license
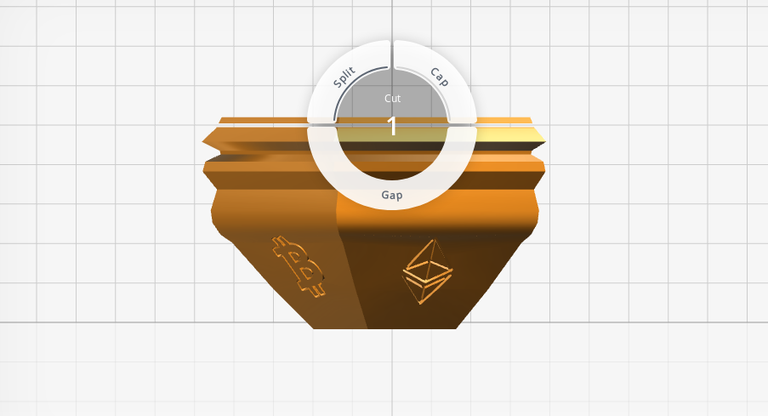
After that, one last touch is to make sure the top is completely flat too.
For this I use the Cut tool, and carefully position it so I can remove the top part, keeping the lower part which is now completely flat.
Here are a few shots of the final model:
And here's the position I imagine it would be best printed in (with the support material, which I believe to be necessary, on the inside of the vase, allowing the outside to be "cleaner"):
Here's the model available directly in Vectary's system, so you can customize it yourself using their in-browser 3D modeller.
And here it is on MyMiniFactory, where you can get the .STL file, and where hopefully the Wonderland community will test print it.
Everything in this post, including photos and the 3D models linked to, are released under a CC-BY-NC 4.0 Creative Commons license.
If you want the ability to adapt this work commercially, remix the model on Vectary and use Vectary's "Pay with share" functionality to obtain that right
It's a strange thing, making you share a link to your model and Vectary's tool in exchange for the right to use the model you designed commercially, but whatever. it's not like we weren't gonna share it somewhere anyway ;) .

If you want to leave me a tip (any kind of ERC20 tokens accepted. including that 1 Million AVO some of you have... you never know ;) ) they can go to my very own functional Ethereum domain : peterbock.eth
DO NOT FOLLOW any instruction and DO NOT CLICK on any link in the comment!
Please consider to upvote this warning if you find my work to protect you and the platform valuable. Your support is welcome!WARNING - The message you received from @bangwoy95 is a CONFIRMED SCAM! For more information, read this post: https://steemit.com/steemit/@arcange/phishing-site-reported-autosteem-dot-info
Thanks for the warning :)
Join our Discord Channel to connect with us and nominate your own or somebody else's posts in our review channel.
Help us to reward you for making it ! Join our voting trail or delegate steem power to the community account.
Your post is also presented on the community website www.steemmakers.com where you can find other selected content.
If you like our work, please consider upvoting this comment to support the growth of our community. Thank you.
Click here to learn more!You've received an upvote from a @slothicorn! (@justatouchfey) ((.)ω(.))
@tipbot balance
@smartbot balance
You have
Σ874.99 SMART(unconfirmed:Σ0 SMART).@smartbot help
You can use the following commands:
balance- displays your current wallet balanceaddress- displays your deposit addresswithdraw <amount> <address>- withdraws the amount of SMART to addresstip <username> <amount>- sends the amount of SMART to usernameterms- displays terms and conditions for using @smartbot@smartbot 860 SgejaF2nZLTGGRAc3WGD26uqxkMkC7cZpL
@smartbot 860 SgejaF2nZLTGGRAc3WGD26uqxkMkC7cZpL
@smartbot withdraw 860 SgejaF2nZLTGGRAc3WGD26uqxkMkC7cZpL
@smartbot withdraw 860 SgejaF2nZLTGGRAc3WGD26uqxkMkC7cZpL
@pbock:
Σ859.99 SMARThas been withdrawn from your account toSgejaF2nZLTGGRAc3WGD26uqxkMkC7cZpL. You have been chargedΣ0.01 SMARTwithdrawal fee. Transaction48721ea9f5e7f52a39ead10a5ec2f8df83b731d85fabce4283a84c82c8562307is now completed. To monitor the transaction status click HERE.