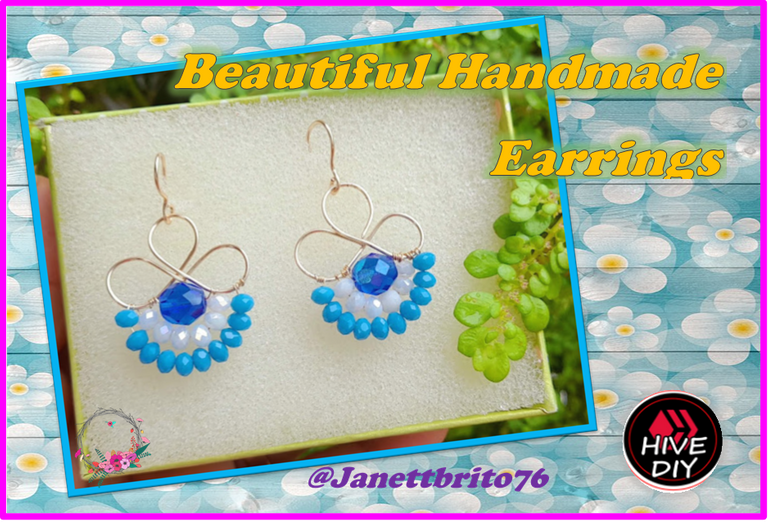

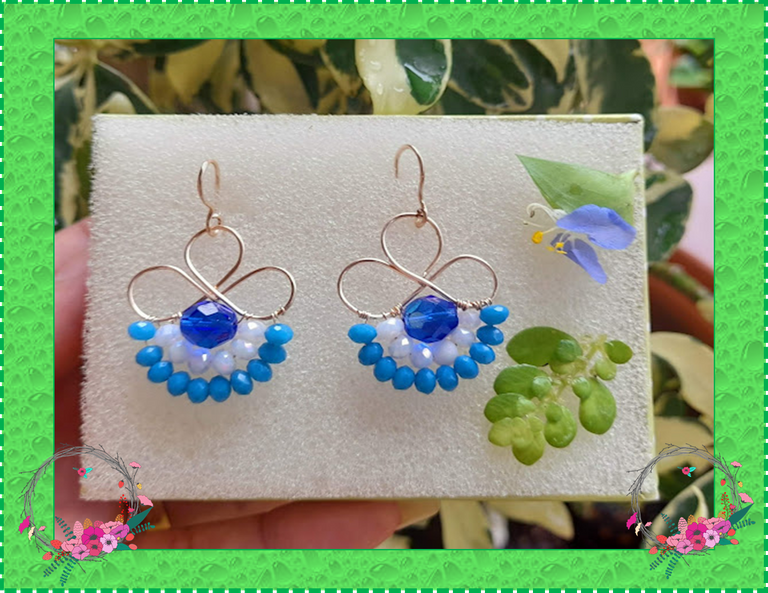
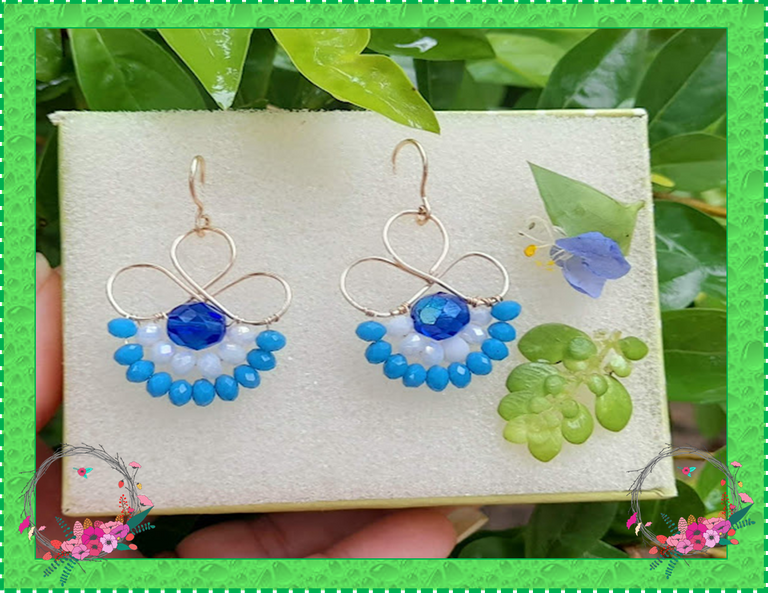
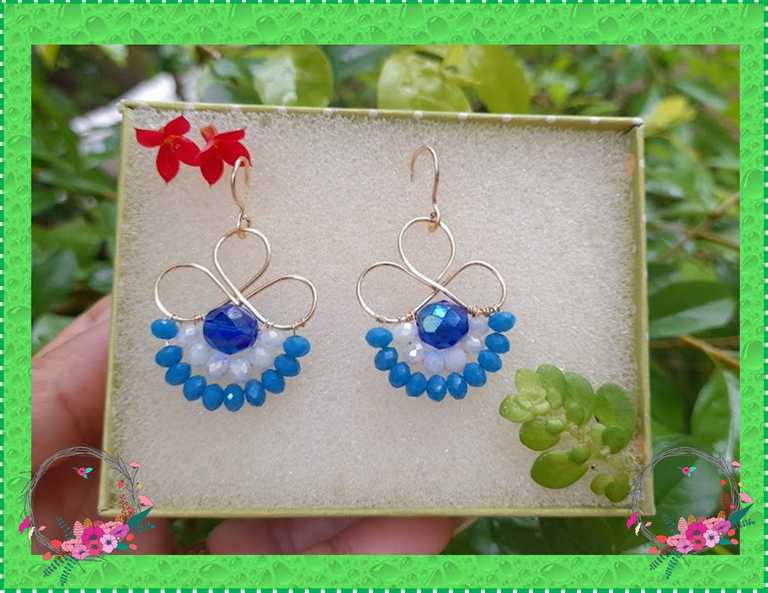
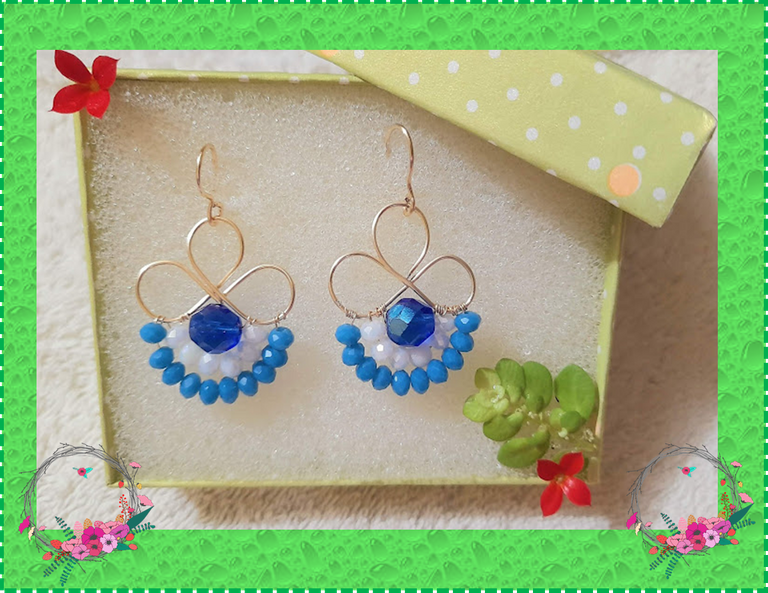
Feliz miércoles para todos mis queridos amigos artesanos que hacemos vida en esta grandiosa comunidad de #HiveDiy, espero que hayan pasado un productivo día y que se encuentren llenos de salud y mucha vibra. Bienvenidos nuevamente a mi blog, En esta oportunidad les voy a enseñar como realizar unos hermosos aretes artesanales decorados con unos cristales azules y blancos. Les cuento que estos aretes artesanales se distinguen por su diseño fuera de lo común, además los puedes usar en cualquier momento del día y siempre te veras elegantes, ya que nosotras nunca dejamos de vernos bien, porque gracias a nuestros accesorios siempre estamos deslumbrado. Es por eso, que les voy a mostrar el paso a paso para que realicen sus propios aretes y así puedas cautivar todas las miradas. Estos aretes son ideales para obsequiar, vender o simplemente crear un mejor efecto en tu imagen personal. Además, hacer estos auténticos aretes artesanales estas creando tu propia bisutería personalizada, ya que la puedes adaptar a tu gusto y lo mejor de todo los puedes decorar con los cristales del color o colores que más te gusten. Estos hermosos aretes son fáciles y económicos de hacer y estoy segura que les encantara la idea. Bueno amigos estos hermosos aretes los realice con mucha creatividad y cariño para una persona muy especial en mi vida quien es “Mi madre” ya que su cumpleaños 74 está ya próximo por venir, que más que regalarle algo elaborado por mis propias manos… Entonces no te pierdas el paso a paso para hacer estos hermosos aretes artesanales. ¡¡Manos a la obra!!

Hello, hello friends of #HiveDiy
Happy Wednesday to all my dear artisan friends who make life in this great #HiveDiy community, I hope you have had a productive day and that you are full of health and lots of vibes. Welcome back to my blog, this time I'm going to show you how to make beautiful handmade earrings decorated with blue and white crystals. I tell you that these handmade earrings are distinguished by their unusual design, you can also wear them at any time of the day and you will always look elegant, since we never stop looking good, because thanks to our accessories we are always dazzled. That is why I am going to show you step by step how to make your own earrings so that you can captivate all eyes. These earrings are ideal for gifting, selling or simply creating a better effect on your personal image. In addition, making these authentic handmade earrings is creating your own personalized jewelry, since you can adapt it to your liking and best of all you can decorate them with the crystals of the color or colors that you like the most. These beautiful earrings are easy and cheap to make and I am sure you will love the idea. Well friends, I made these beautiful earrings with a lot of creativity and affection for a very special person in my life who is "My mother" since her 74th birthday is about to come, what more than to give her something made by my own hands... Then no Don't miss the step by step to make these beautiful handmade earrings. Let's do it!!


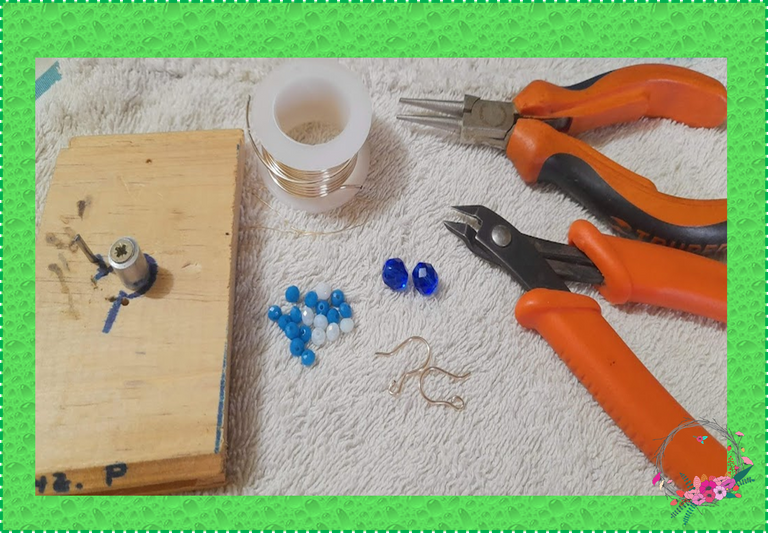
- Alambre calibre #20 y #28
- cristal checo (Azul y blanco)
- Alicate punta redonda
- Alicate de corte de alambre
- Anzuelos
- Molde

- #20 and #28 gauge wire
- Czech glass (Blue and white)
- Round nose pliers
- Wire cutter
- Hooks
- mold


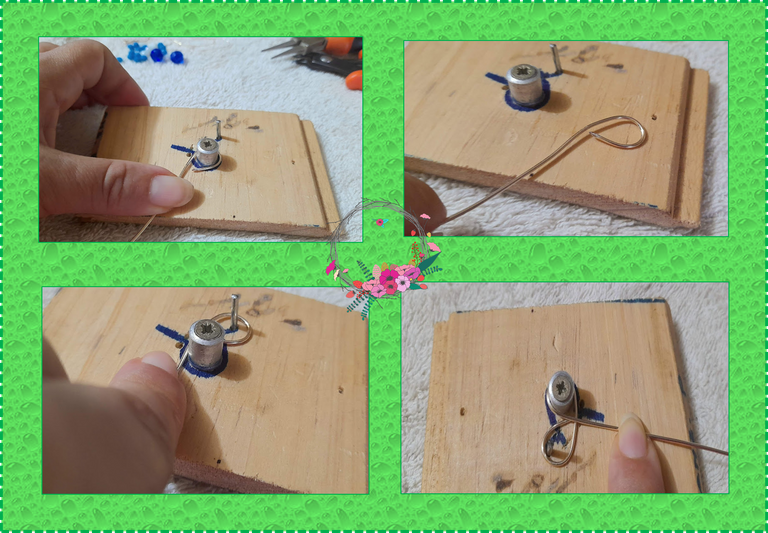
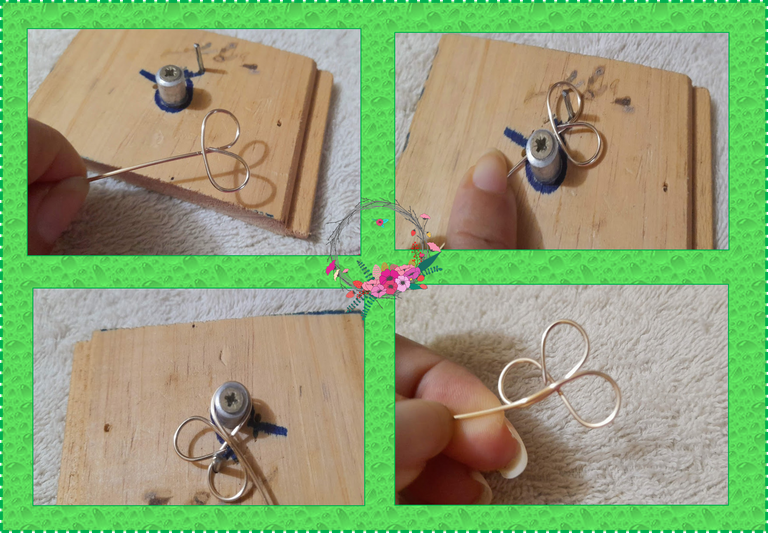
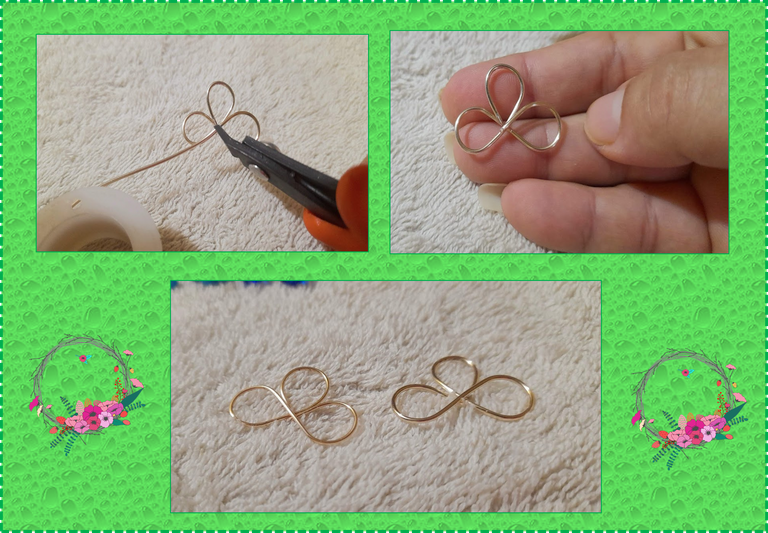
1: Para formar cada aretes necesitamos el alambre de bisutería(#20), luego con muestra base procedemos a darle la forma deseada, es decir enlazamos la punta del alambre y realizamos una argolla, luego la retiramos de la base y la colocamos del lado contrario y volvemos a formar otra argolla como hacer un infinito seguidamente realizamos otra argolla como pueden ver en las imágenes, con el alicate de corte cortamos el alambre sobrante, realizamos el mismo procedimiento para el otro arete.

1: To form each earrings we need the jewelry wire (#20), then with the base sample we proceed to give it the desired shape, that is, we link the tip of the wire and make a ring, then we remove it from the base and place it on the opposite side and we form another ring again like making an infinity, then we make another ring as you can see in the images, with the cutting pliers we cut the excess wire, we carry out the same procedure for the other earring.


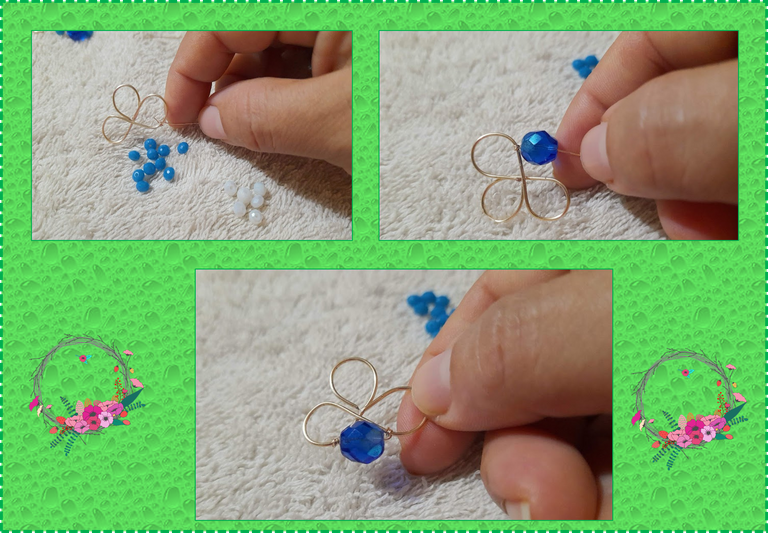
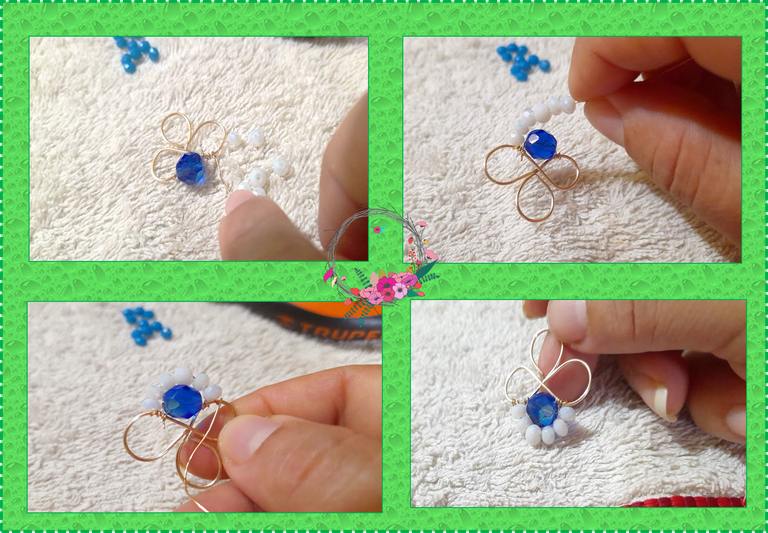
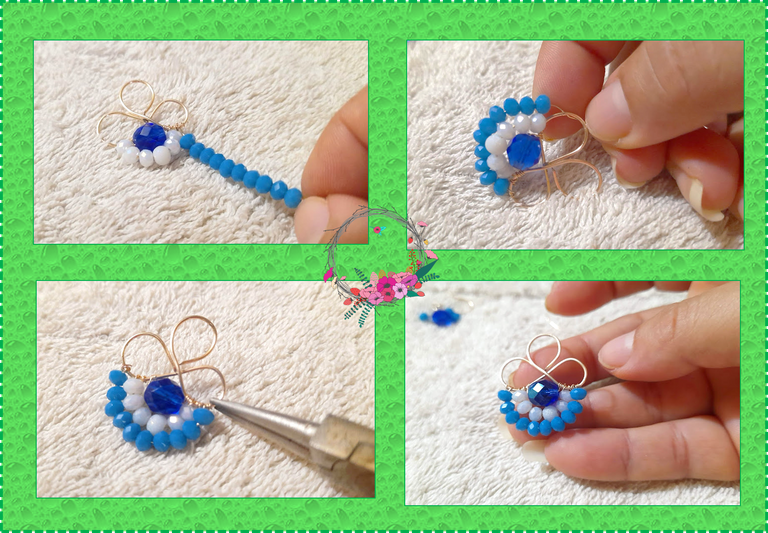
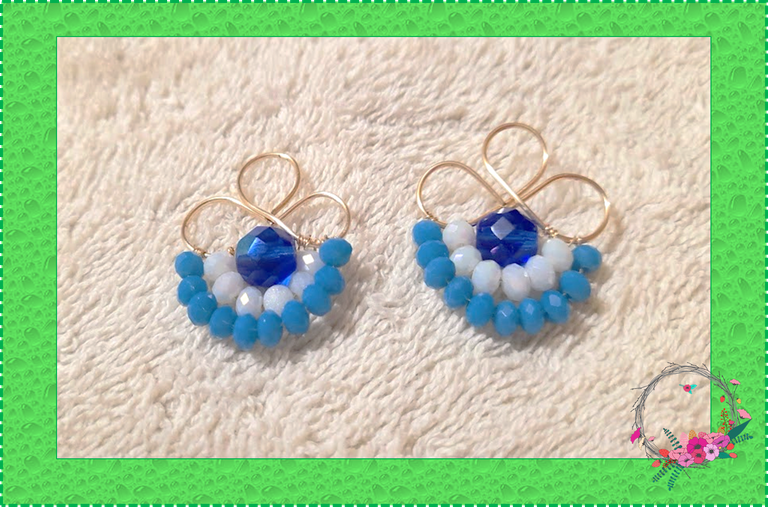
2: Una vez ya realizada nuestras base para los aretes procedemos a decorarlos; comenzamos entorchando con el alambre de bisutería(#28) un lado de la base e introducimos la piedra azul y sujetamos del otro lado, luego volvemos a entorchar el hilo de un lado e introducimos 6 cristales checos blanco y cerramos del otro lado y por ultimo entorchamos nuevamente de un lado e introducimos los 10 cristales checos azules y cerramos del otro lado y con el alicate punta redonda apretamos un poco los alambres.

2: Once our base for the earrings has been made, we proceed to decorate them; we start by twisting with the jewelry wire (#28) one side of the base and insert the blue stone and hold on the other side, then we twist the thread again on one side and insert 6 white Czech crystals and close on the other side and finally We twist again on one side and insert the 10 blue Czech crystals and close on the other side and with the round nose pliers we tighten the wires a little.


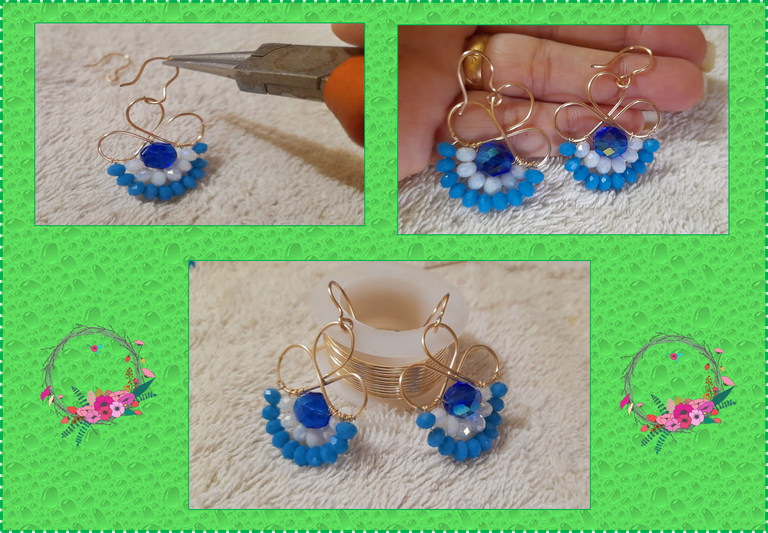
3: Ahora para finalizar nuestros aretes procedemos a colocarle los anzuelos con la ayuda del alicate punta redonda y cerramos.

3: Now to finish our earrings we proceed to place the hooks with the help of round nose pliers and close.


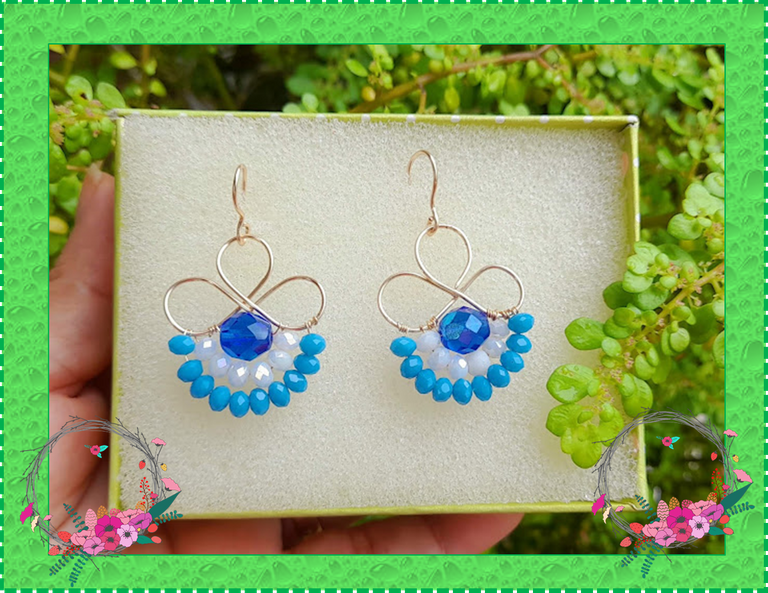
Listo, así de hermosos y originales me quedaron los aretes para obsequiárselos a Mi Madre el día de su cumpleaños. ¡Espero les haya gustado mi proyecto de hoy y se animen a crear sus propios accesorios!
¡Hasta una próxima publicación!

Done, that's how beautiful and original the earrings were to give them to My Mother on her birthday. I hope you liked my project today and are encouraged to create your own accessories!
Until a next post!
Fuente portada
Fuente Separador

Las fotografías fueron tomadas con un teléfono inteligente Samsung A12, el texto fue traducido al ingles con el traductor de Google.link
El banner fue diseñado en canvas link

The photographs were taken with a Samsung A12 smartphone, the text was translated into English with the Google translator.link
The banner was designed on canvas link


Hermoso amiga