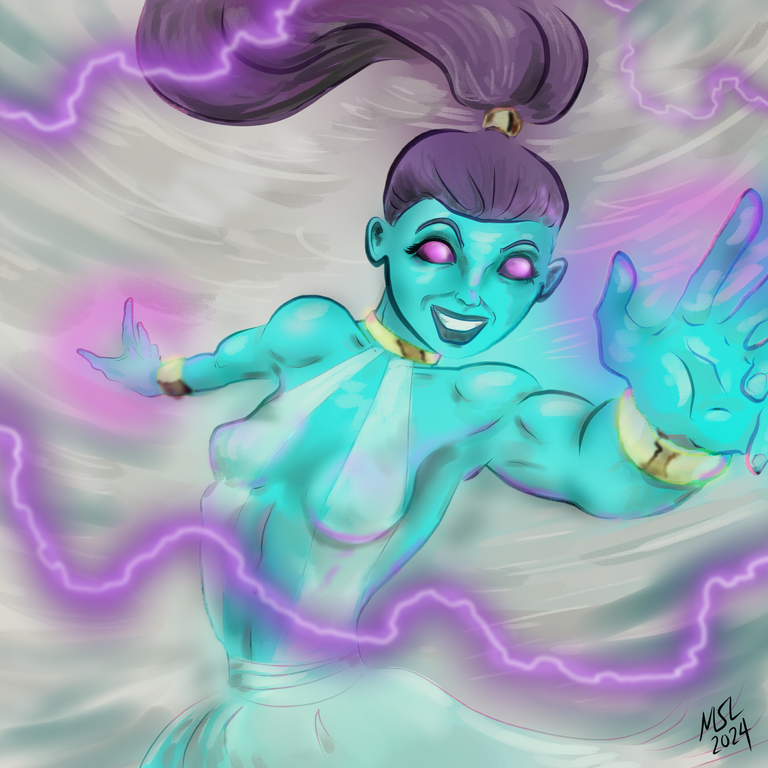
This is my entry for the weekly Splinterlands Art Contest found HERE
Here is the original card art:
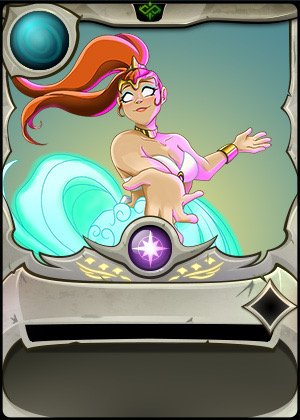
From the Splinterlands Wiki: https://splinterlands.fandom.com/wiki/Djinn_Renova
Dawn of the Djinn 2 of 4 - Once the fifth mana gate was unlocked, the Planet knew that Mount Praetorus in the Splinterlands must be protected. The sixth and final mana gate was now all that prevented the dreaded Chaos Legion from conquering the world. The Planet had some tricks up its sleeve and plenty of magic of its own, so it took action. Calling to each of the trapped Belludae souls throughout the world, the Planet extended them an offer of freedom. None of them refused the offer.
The Planet used its delicate but powerful forces to destroy each enchanted vessel that contained the trapped Belludae souls. Then as they were going free, the Planet ensnared each of them into a new type of confinement. They were each trapped by one of the magical elements, unable to change physical forms or leave the territory of their element. With each of the Belludae a deal was struck. They would henceforth be called Djinn, and their service would be complete once the Planet was free of destruction at the hands of the Chaos Legion.
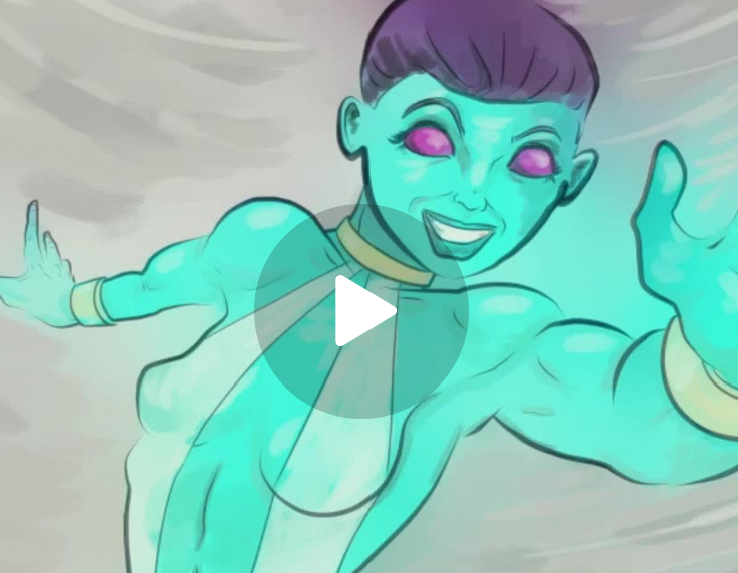
Created in Clip Studio Paint Pro on a Microsoft Surface Pro 7+. Here is the timelapse video:
https://rumble.com/v50hr7q-djinn-renova.html?mref=18dagn&mc=d3obe
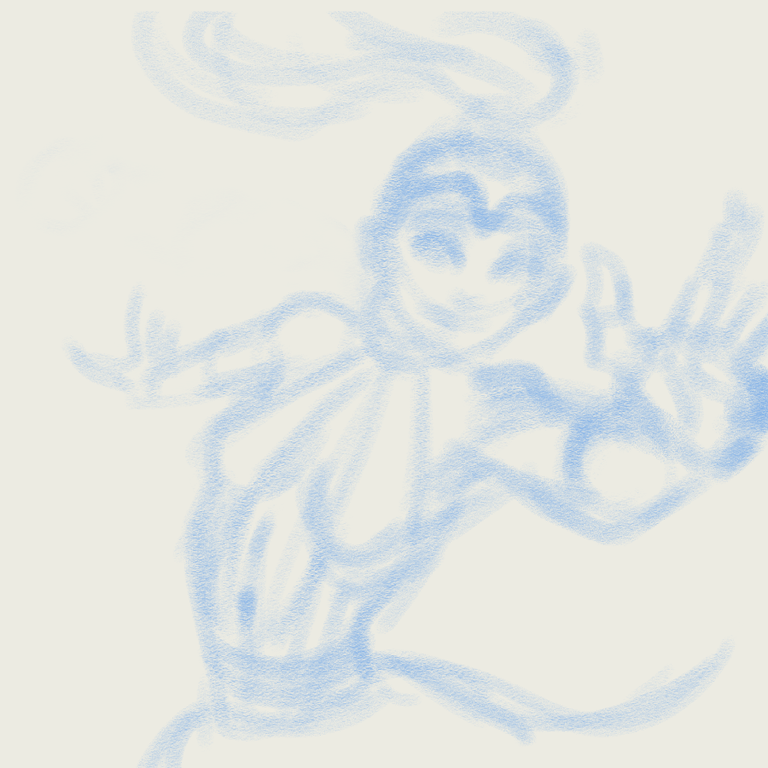
And here is the step-by-step drawing process:
Step One: Rough draft. I use a 40 px pastel pencil to block out the rough shape
Step Two: Line art. I used the swoop-y "for effect" pen from Clip Studio for a wispy feel. In a medium grey tone
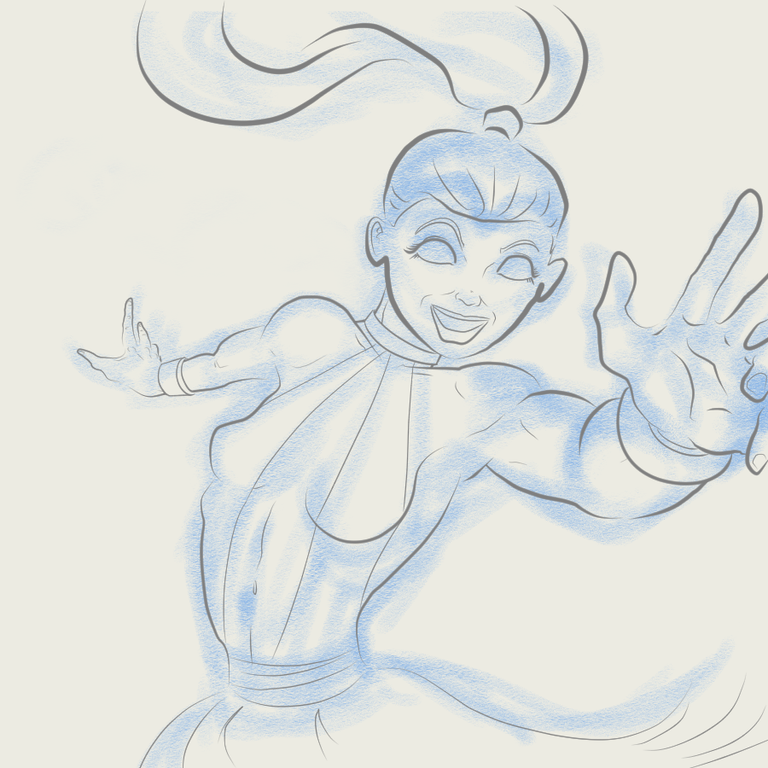
Step Three: Rough color splotches. Wanted some blue and purple tones for her since a djinn is an air spirit
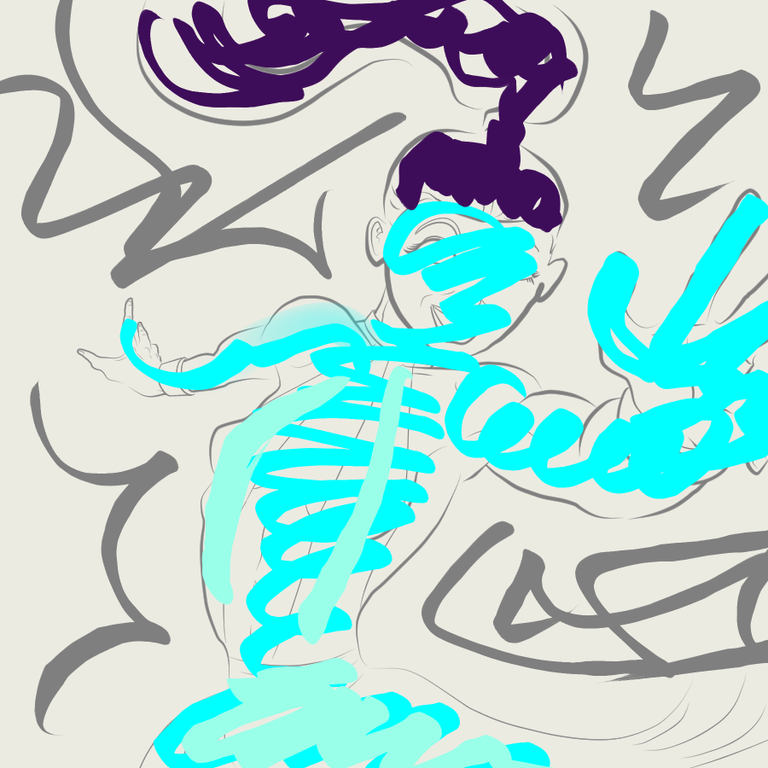
Step Four: Set the line art layer as the reference layer then use the "colorize" feature in Clip Studio and the software generates this
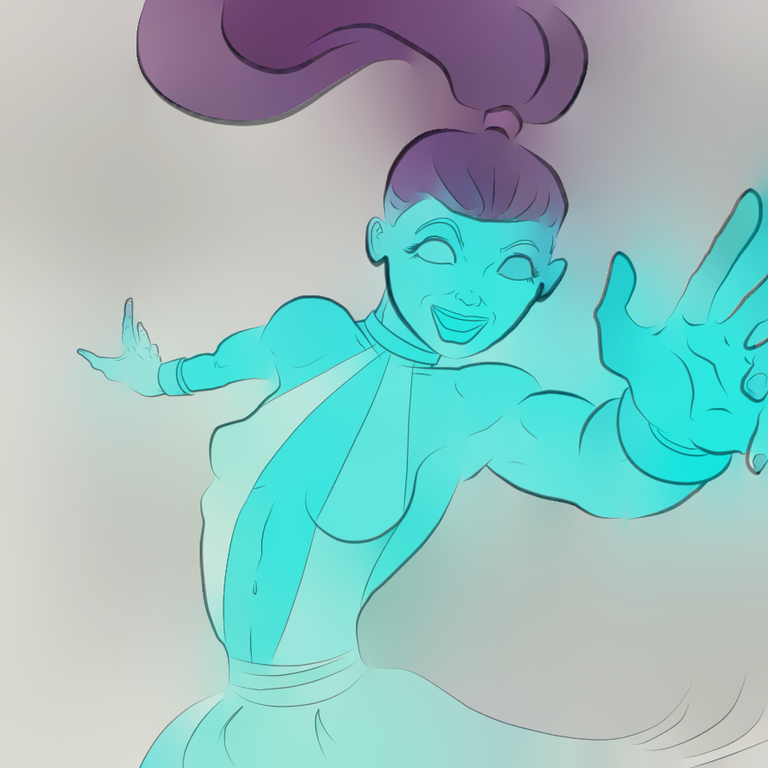
Step Five: Rendering. Mostly just pushing paint around on the canvas using a combination of the "oil paint" brush and "smooth watercolor" brush with the occasional "shading airbrush." Tried to make it look like she is inside a cyclone
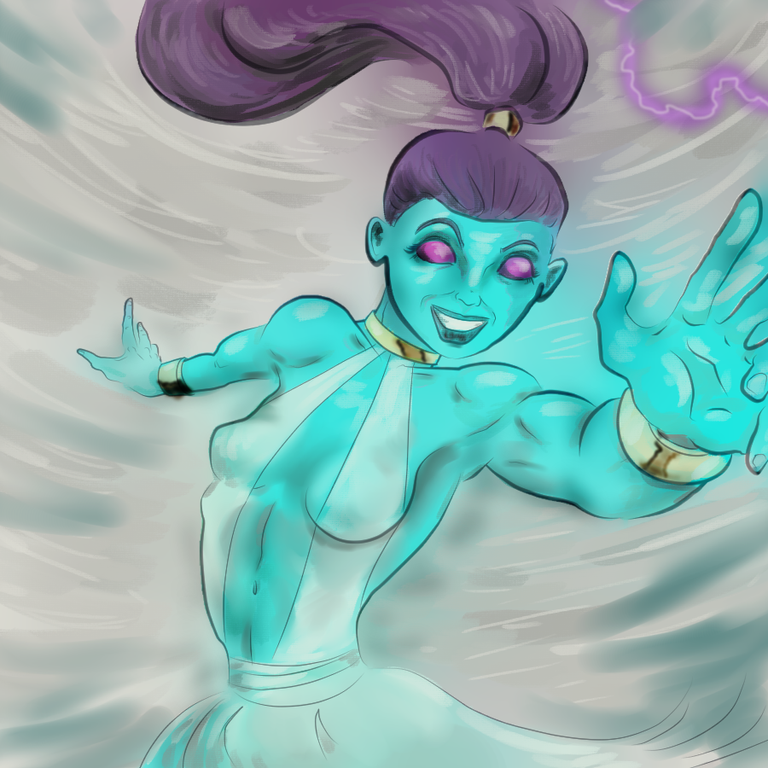
Step Six: I duplicated the line art layer and hid it. Then locked the pixel layer so that I can color the lines to try to make them look less obvious
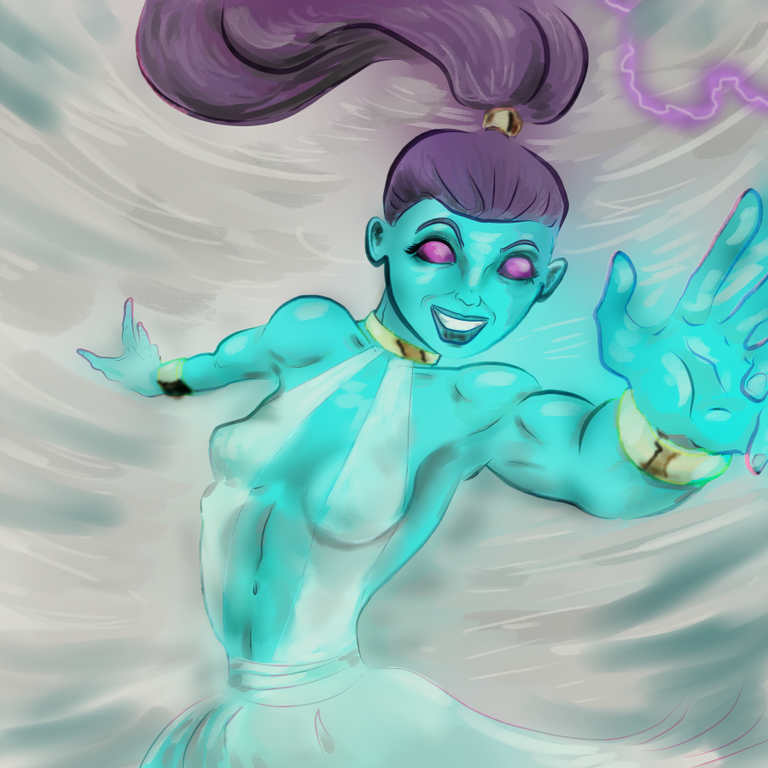
Step Seven: Create a new glow layer to add some magical effects
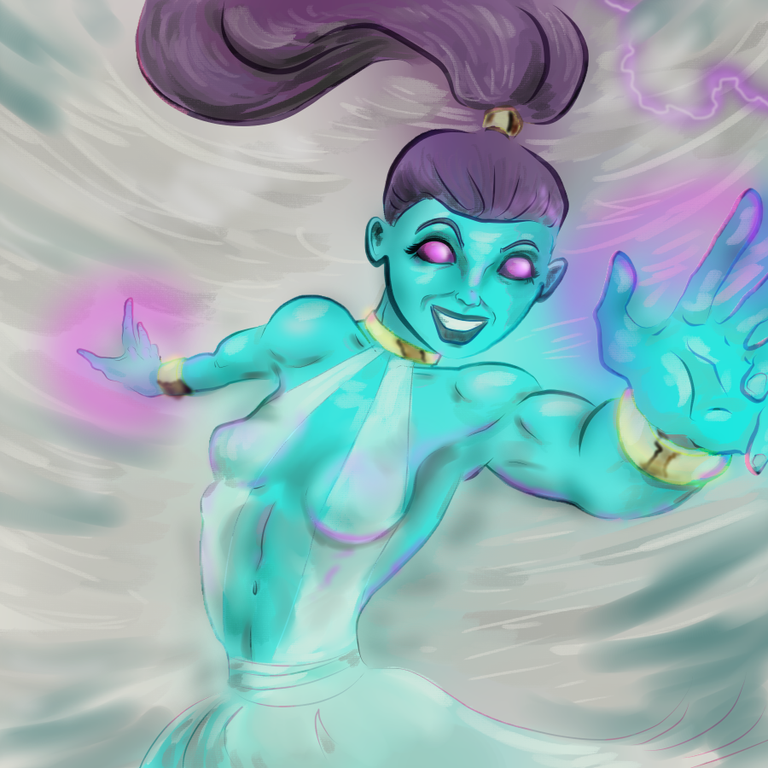
Step Eight: Another new layer on top to make some purple lightning. This is just three different sized airbrush lines on top of each other. You can use the same technique to make a lightsaber if you just straighten the lines
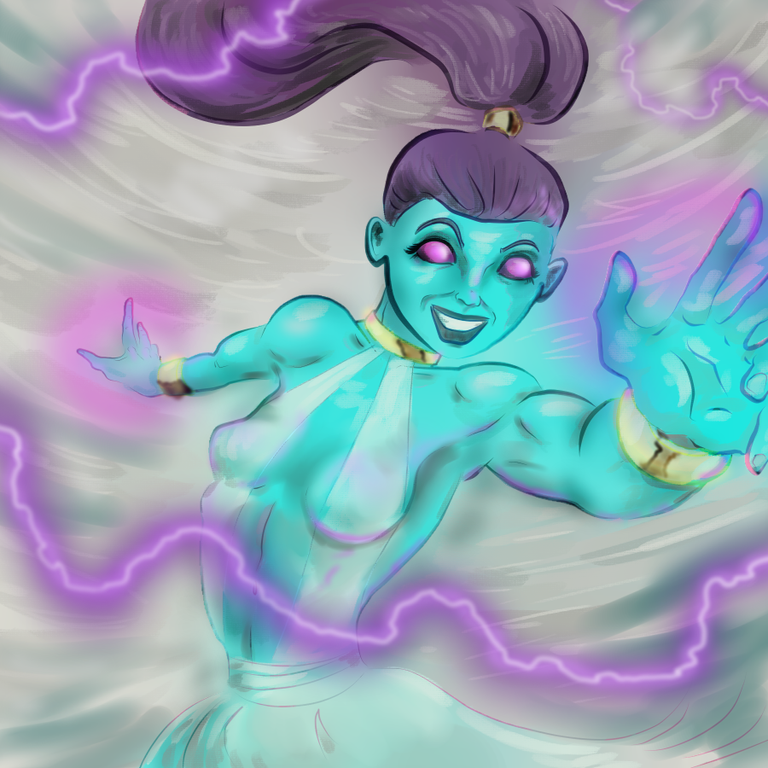
Step Nine: Sign it!
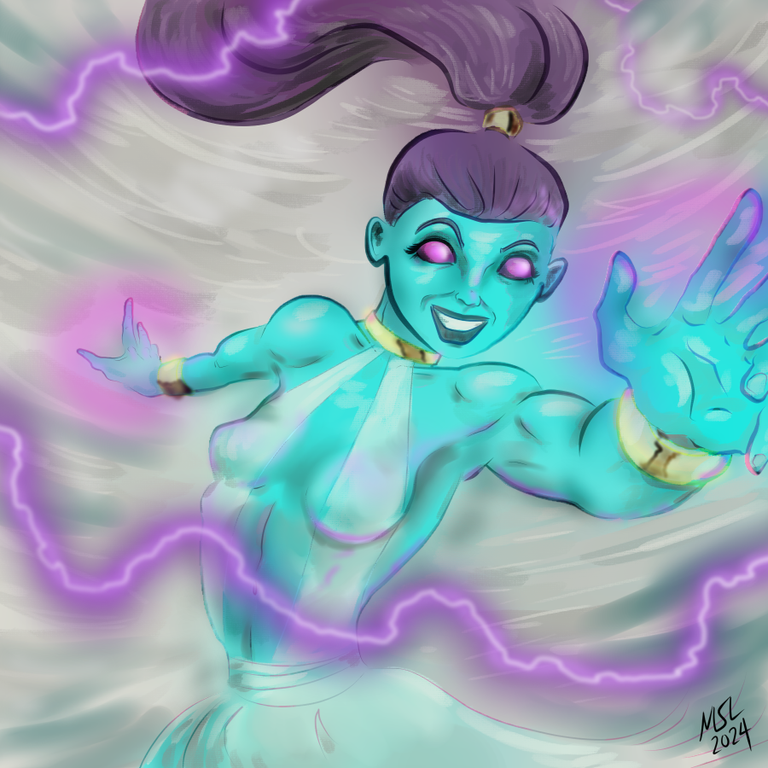
Step Ten: Fame and Fortune!
Your entry is so colorful
I love it!
Thank you for your witness vote!
Have a !BEER on me!
To Opt-Out of my witness beer program just comment STOP below
View or trade
BEER.Hey @sidekickmatt, here is a little bit of
BEERfrom @isnochys for you. Enjoy it!Do you want to win SOME BEER together with your friends and draw the
BEERKING.