
╒═══════════════╡°•✦•°╞═══════════════╕
Card Spotlight #26: Mushroom Seer
╘═══════════════╡°•✧•°╞═══════════════╛
He may look weird but don't be dismayed as these mushroom people can definitely be worth your bucks. Wielding high magical knowledge and maddening spores disabling opponent's mages, Mushroom Seer provides excellent support while being deadly as well in the battle field.
The card we will be discussing today is Mushroom Seer.
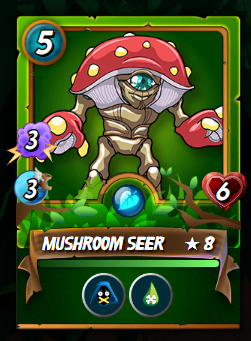
The hidden Mushroom Forest at the heart of the Centauri Wood has produced many curiosities in the past, including medicines with strange and otherworldly effects. Recently, fully grown Mushroom People have emerged from this forest. These Mushroom People spread maddening spores everywhere they go.
We would rate this card based on:
- Cost to buy/rent this card. How affordable and accessible is the card.
- Card Stats. How balanced the card is based on its role.
- Card Effect. How useful is its effect based on the role of the card.
- Strengths and Weaknesses. If the card can counter other cards and/or be countered easily by others or not.
- Positioning. Adaptability of where the card can be placed.
- Compatibility. How useful it is on its current element.
════════════════════════════════
 Rental/Buy Cost ||
Below is the rental of the card at the time of this writing.
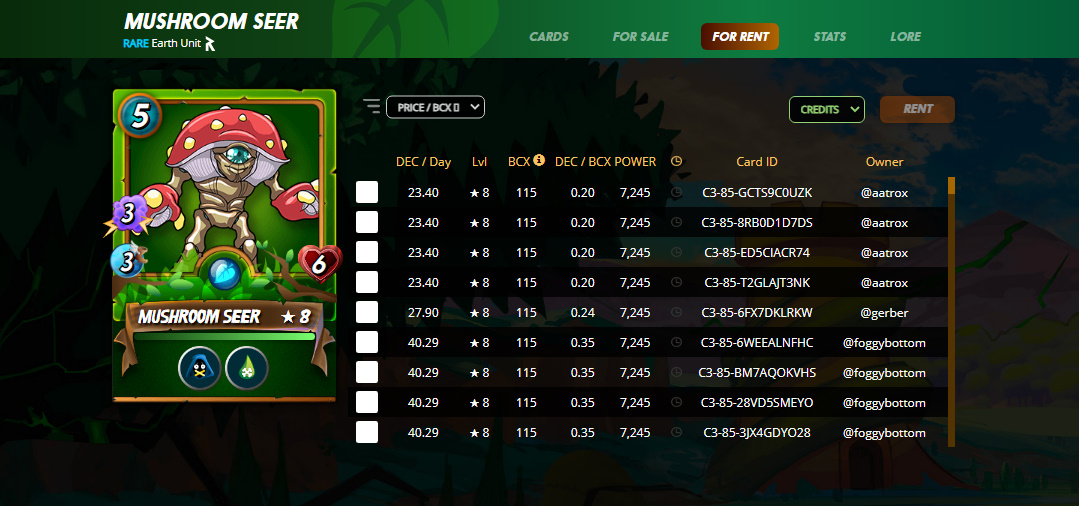
Even now, the rental price of Mushroom Seer is through the roof. However, if you will be planning to rent one, I am 100% sure that Mushroom Seer would be one of the cards that are going to be taking you on the top of your current league.
Below is the buy cost of the card at the time of this writing.
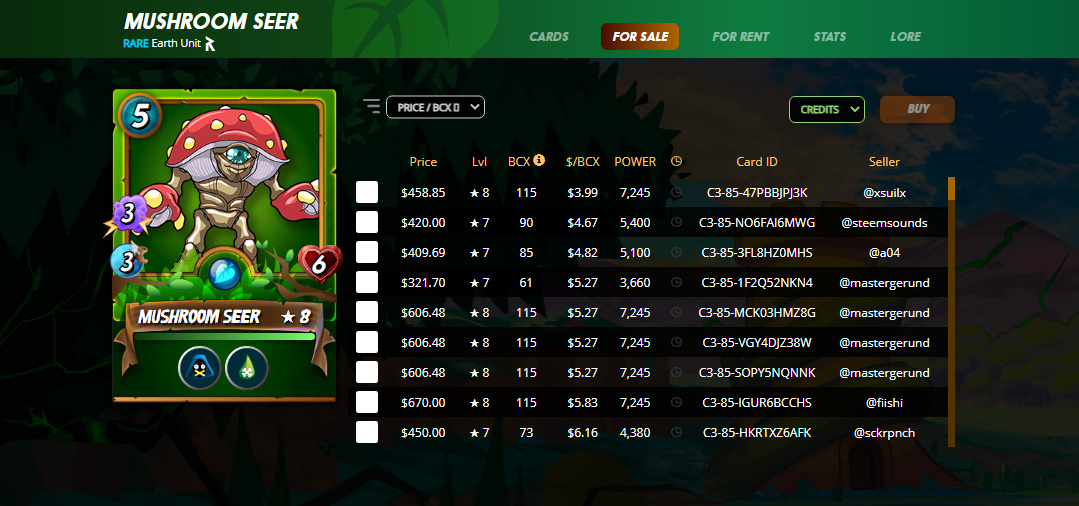
Mushroom Seer's price are quite high for being a Beta edition card. It also has a wonderful ability starting at level 1 and gets another amazing one at level 5 after combining 21 Mushroom seer and you can definitely see why this card may be one of the expensive cards even if it's only a rare card.
 Card Stats ||
Card Stats ||
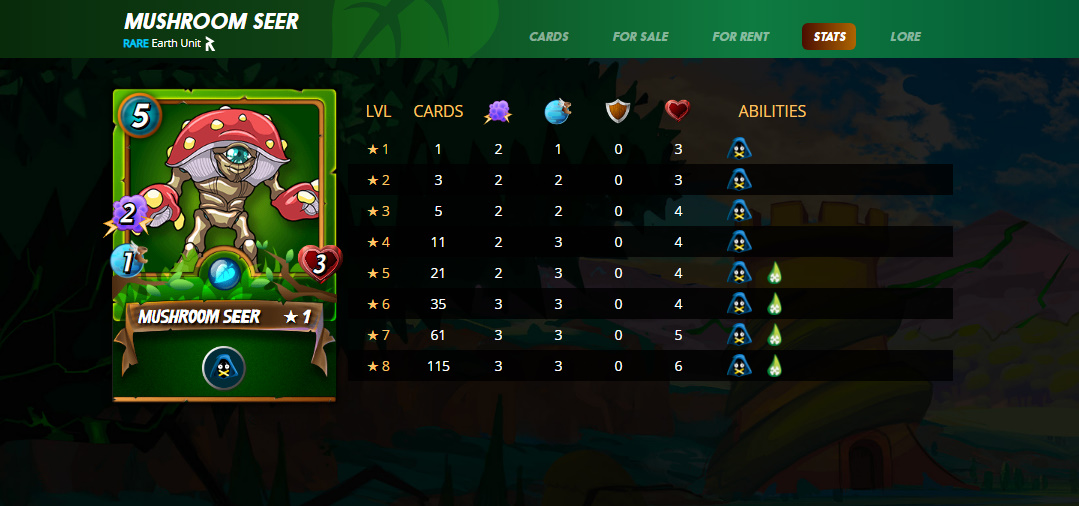
Mushroom Seer's stats are okay but not the best. As usual, a mage with low health. The mana cost are decent for a 5 mana cost. But the main advantage is along with a good 2 magic damage, he also has one of the best skill sets in the game.
 Card Effect ||
Card Effect ||
 Poison || Attacks have a 50% chance to apply poison, which does automatic damage to the target at the beginning of each round after the poison is applied.
|| Poison is another good ability as the poison damage passes through armor as well. It cannot be negated and the only way to remove it is either through cleanse or dying.
Poison || Attacks have a 50% chance to apply poison, which does automatic damage to the target at the beginning of each round after the poison is applied.
|| Poison is another good ability as the poison damage passes through armor as well. It cannot be negated and the only way to remove it is either through cleanse or dying.
 Strengths
  Weaknesses ||
Strengths Weaknesses ||
 )
)
 Positioning ||
Positioning ||
POSITIONING:
The best position for this card is in the middle. Due to his low health and game changing abilities, you're not allowed to place him at the back to block Sneak abilities. The proper positioning for Mushroom Seer is in the middle of the pack defended on both sides.
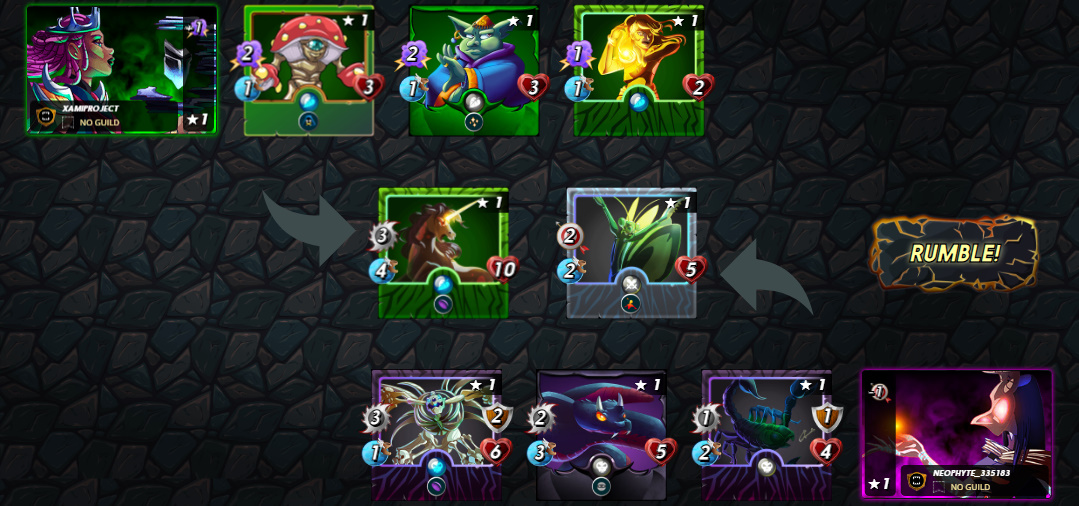
During this battle mid mana battle, I had no choice but to sandwich Mushroom Seer in between my main tank and a healer hoping there's no Sneak from my opponent. Unfortunately, there is.
ROUND 1:
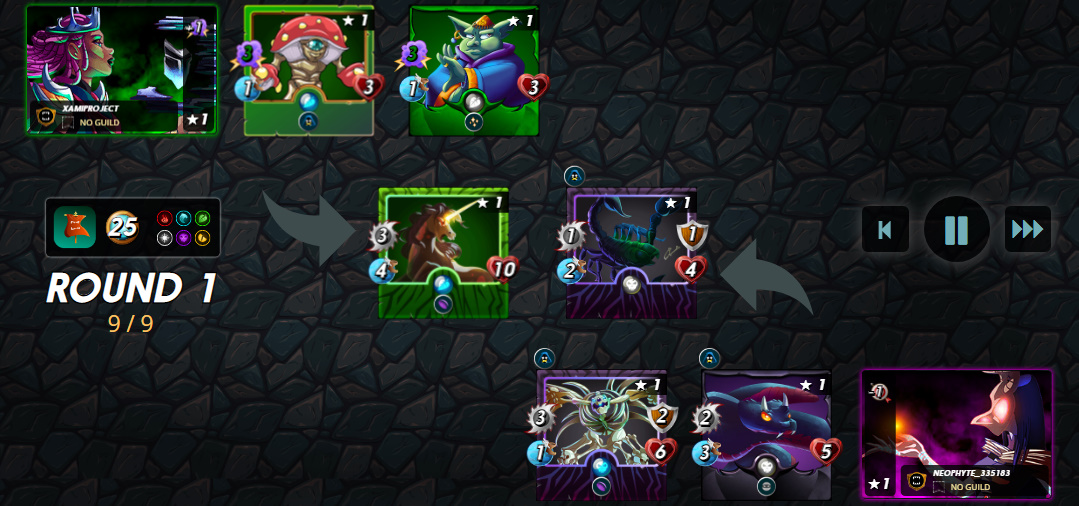
During this battle, my opponent probably is a new player or a bot and got confused on the monster's positioning. With this advantage, I should be taking the game with no problems and it starts with me killing Mantoid by end of Round 1.
ROUND 2:
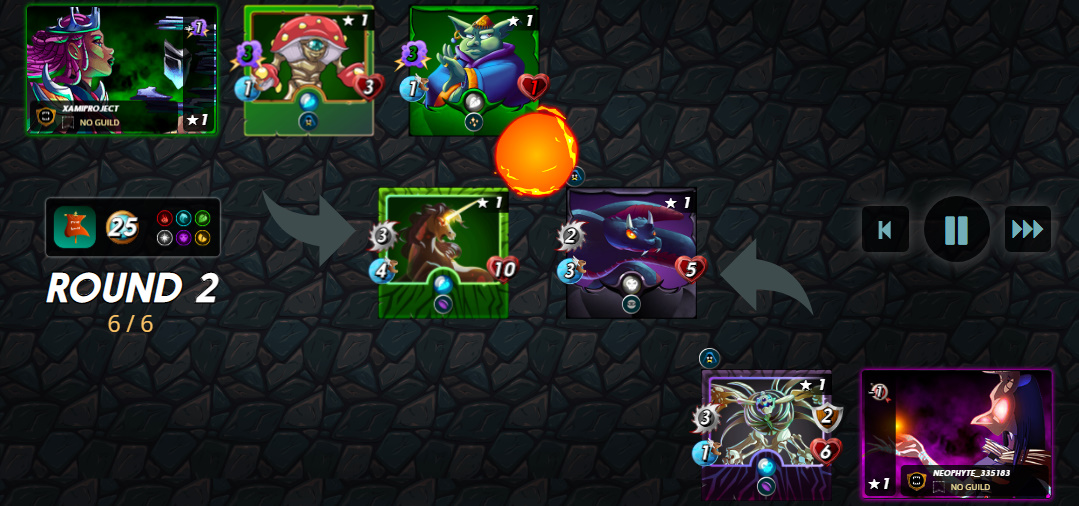
By end of Round 2, Giant Scorpion also dies from all the damage while my Goblin Psychic goes down to 1 health right before Silent Sha-Vi goes to front line.
ROUND 3:
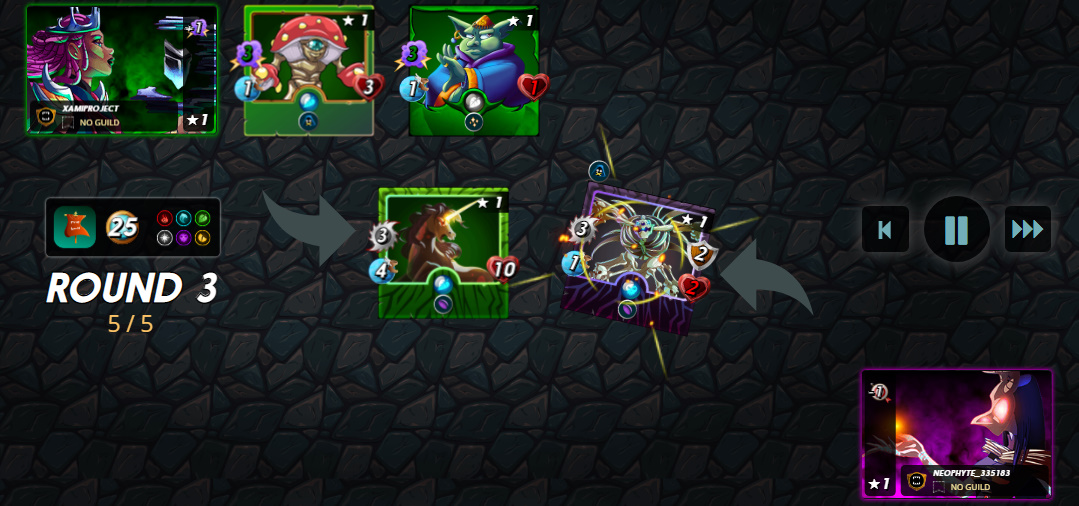
By end of Round 3, Silen Sha-Vi dies and Bone Golem goes to front as he tries to deal damage to my Unicorn Mustang.
ROUND 4:

Game ended by Round 4 with the death of Bone Golem. Unfortunately, in this game, Mushroom Seer's Silence ability didn't shine but that doesn't mean he's useless with his 3 damage that passes through armor that doesn't miss.
 Compatibility ||
The best combo with this card for me is with Unicorn Mustang. The Void - Silence combo is really easy to pull off as Unicorn Mustang is free to play. The idea is the same with Demoralize - Shield combo and they are very game breaking on certain match ups.
Compatibility ||
Lastly...
●○●○●○●○●○●○●○●○●○●○●○●○●○●○●○●

Final Thoughts
With all the evidences that we gathered, we could say that even without the Silence ability, having 2 magic damage alone in Earth Elements makes Mushroom Seer a threat on board. Properly positioned and protected, this guy can win games along with your main tank. As he gets higher level and unlock new abilities and higher stats, Mushroom Seer's threat only skyrockets more making him one of the best cards at taking out the opponent's main tank in the game.
All in all, I would give it...
╒═══════════════════════╡°•✦•°╞═══════════════════════╕
Special Thanks to...
╘═══════════════════════╡°•✧•°╞═══════════════════════╛
- Amino Apps for the Free Dividers.
(Those are not pictures. Just copy paste it to your blogs.)
- Giphy for the gifs in this blog.
╒══════════════════════╡°•✦•°╞══════════════════════╕
Learn some combos and take a whim.
Take a risk and get a win.
╘══════════════════════╡°•✧•°╞══════════════════════╛
Thank you for reading my blog!

|| Mushroom Seer's Strength lies on his damage, damage type, compatibility with the current meta and the abilities he has. He has a magic damage which passes through armor and cannot miss. This is furthermore increased by the newest Earth Summoner, Obsidian, that increases all ally magic damage by 1. Mushroom Seer's Silence is also deadly as it breaks out any potential loss for any mirror match ups. ||
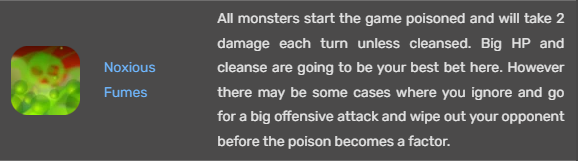
Mushroom Seer's Weakness is very apparent on his health. Like most mages, they have low health and are prone to cards that damages them throughout the round. Noxious Fumes are the worst Rule Set to use Mushroom Seer as if you're running a low level one, your Mushroom Seer would most likely die in 2 to 3 turns tops.
 Silence || Reduces the Magic Attack of all enemy Monsters.
|| Silence is a crucial ability that wins games. Especially now that mages are rampant once again, a Silence - Void combo can be threatening and Mushroom Seer is certainly half of the winning combo.
Silence || Reduces the Magic Attack of all enemy Monsters.
|| Silence is a crucial ability that wins games. Especially now that mages are rampant once again, a Silence - Void combo can be threatening and Mushroom Seer is certainly half of the winning combo.
Thanks for sharing! - @ashikstd
