╒═══════════════╡°•✦•°╞═══════════════╕
Card Spotlight #30: Kobold Miner
╘═══════════════╡°•✧•°╞═══════════════╛
Slowly sneaking, these kobold miners,
Eliminating foes with their bodies scorched,
Long live the Servitude to the Torch.
The card we will be discussing today is Kobold Miner.
The Kobolds of the Burning Lands are skilled at seeking and extracting precious stones from the innards of the planet. Their favorite tools are torches and hammers. Thanks to the extreme pride they take in their mining work, they happily accept their situation of servitude to the Torch.
We would rate this card based on:
- Cost to buy/rent this card. How affordable and accessible is the card.
- Card Stats. How balanced the card is based on its role.
- Card Effect. How useful is its effect based on the role of the card.
- Strengths and Weaknesses. If the card can counter other cards and/or be countered easily by others or not.
- Positioning. Adaptability of where the card can be placed.
- Compatibility. How useful it is on its current element.
════════════════════════════════
 Rental/Buy Cost ||
Below is the rental of the card at the time of this writing.
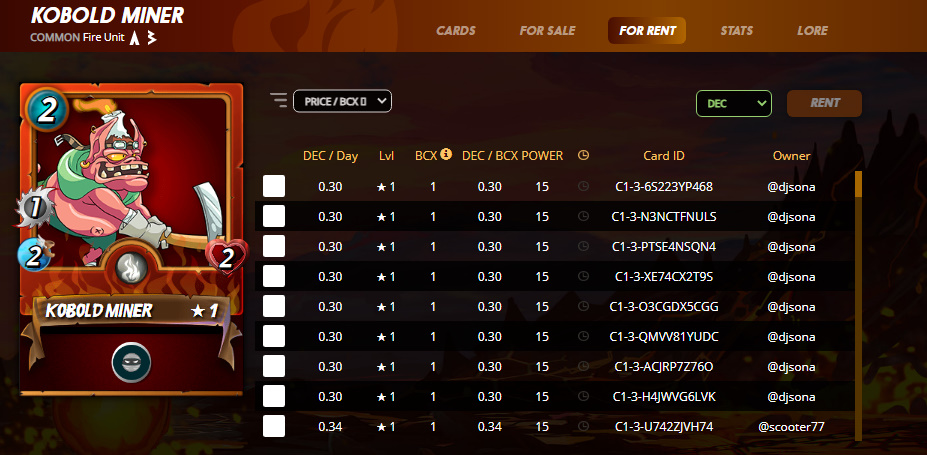
Kobold Miner's rental price is a bit low for now for a third of a DEC per day. This may be due to the fact that the card is overshadowed by his Chaos Legion counterparts like Tenyii Striker. Still, Kobold Miner is amazing on low mana fights being a melee monster with only 2 mana cost.
Below is the buy cost of the card at the time of this writing.
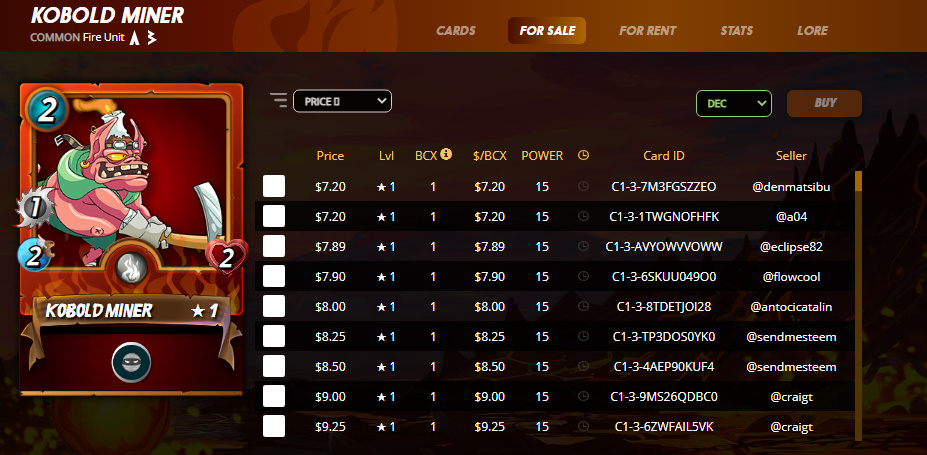
Kobold Miner's cost is a bit high for a common fire unit. However, he's still part of the strongest trio for 13 mana fights and one of the most useful 2 mana cost monsters in fire element.
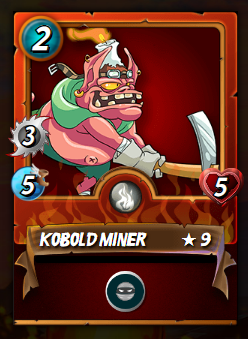
 Card Stats ||
Card Stats ||
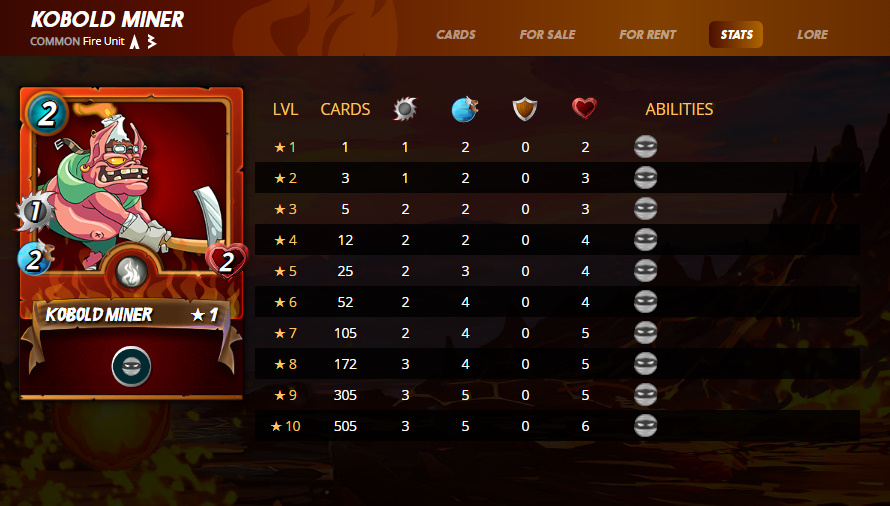
Kobol Miner's stats may look low but if you consider all factors like him being in Fire Elements, with Sneak ability and improved by Tarsa's abilities, you might think twice. He's really strong as a fire splinter and with Tarsa, he becomes 2 damage 3 health monster with Sneak ability for only 2 mana cost.
 Card Effect ||
Card Effect ||
 Strengths
  Weaknesses ||
Strengths Weaknesses ||

 Positioning ||
Positioning ||
POSITIONING:
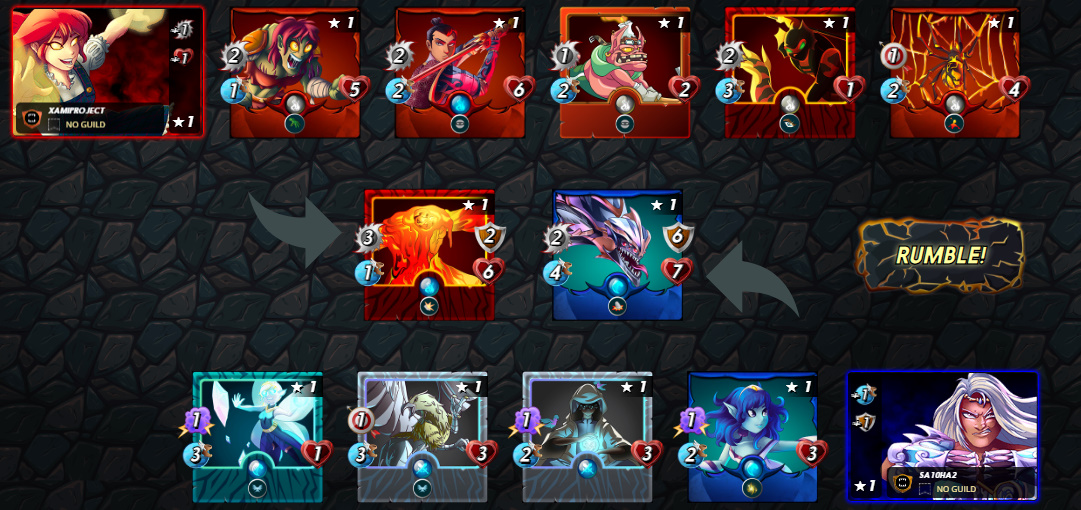
The best position for this card is in the middle. With low health still, protecting Kobold Miner provides the best outcome in the game. During this battle, I made an all melee team with Tarsa with Lava Spider as my main Sneak blocker in case opponent decided to have Sneaks mixed in their build.
ROUND 1:
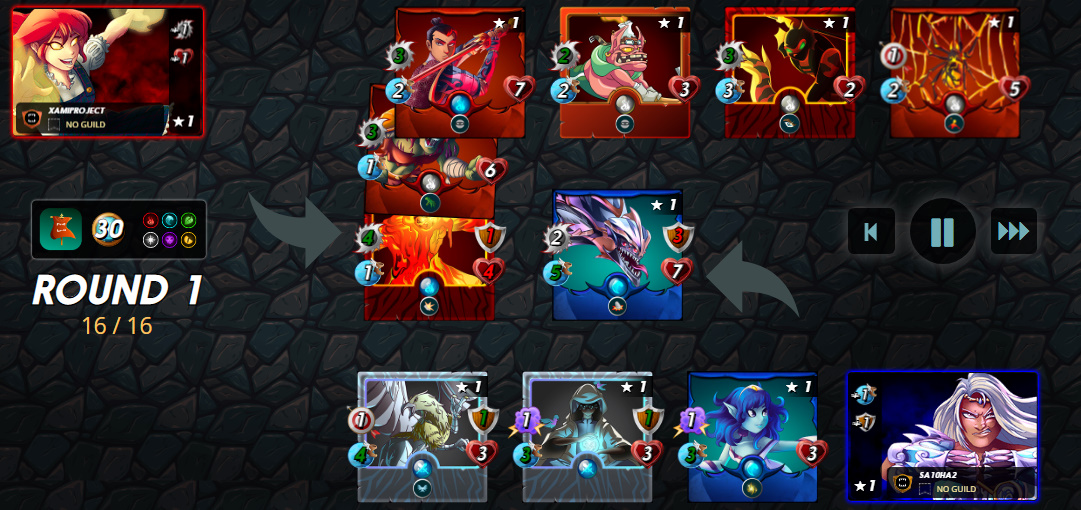
By end of Round 1, Ice Pixie from the back dies while the enemies focus on my Living Lava.
ROUND 2:
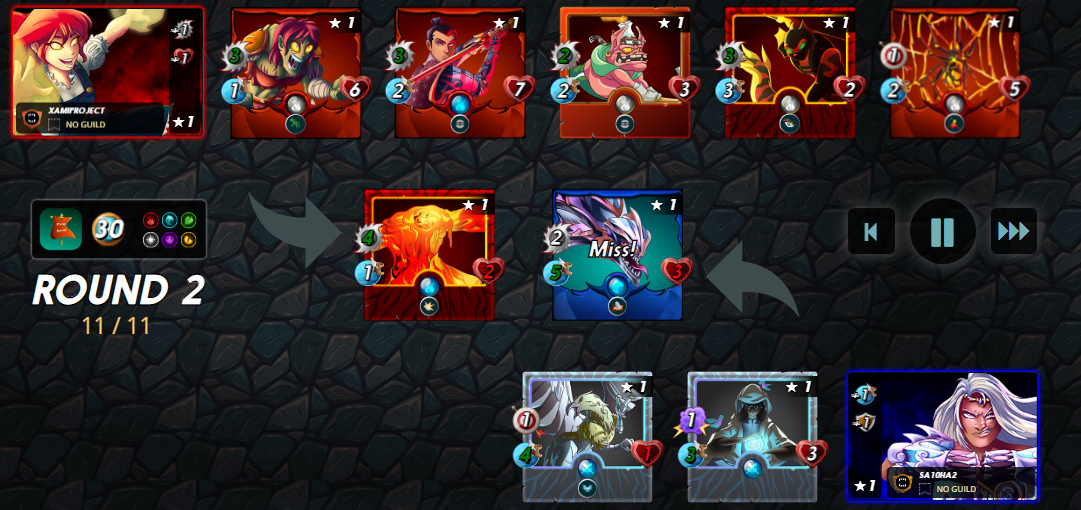
By end of Round 2, Living Lava goes down to a critical 2 health. However, this also makes Diemonshark goes down to 3 health, Tower Griffin going down to 1 health from my Sneaks and Water Nymph completely eliminated from Serpentine Spy's Opportunity ability.
ROUND 3:
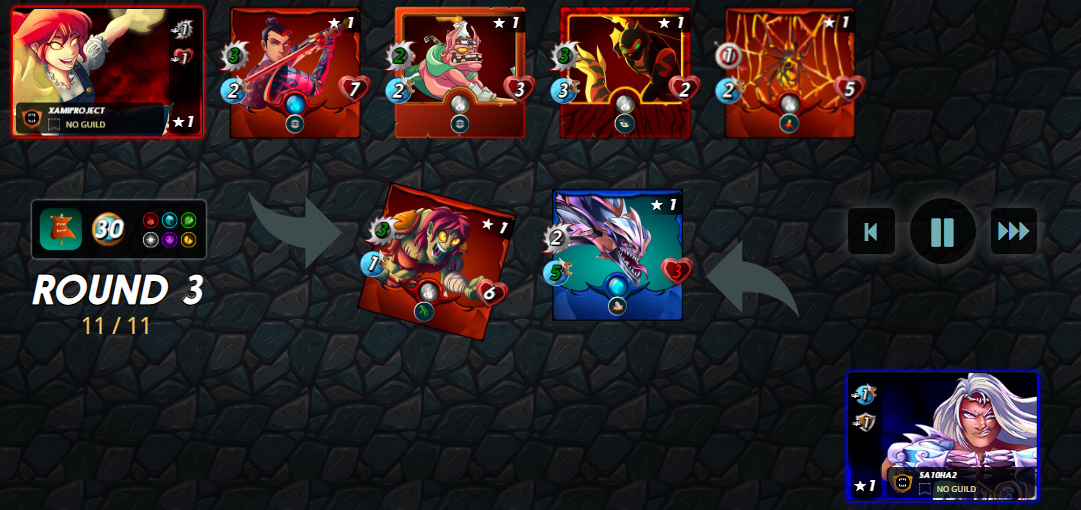
By end of Round 3, this marks the death of several monsters including Living Lava, Tower Griffin and Elven Mystic.
ROUND 4:
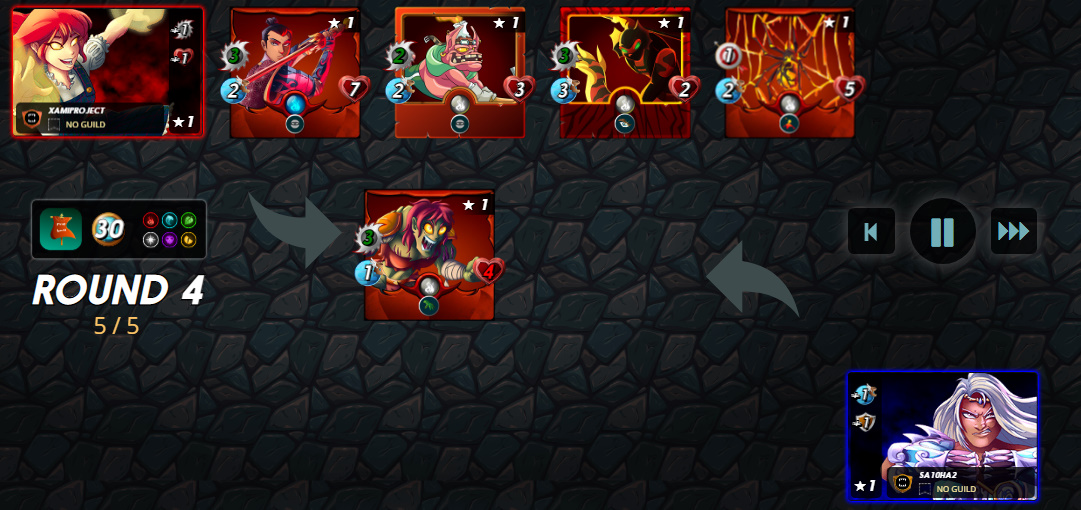
Game ended on Round 4 with the death of Diemonshark. Unfortunately, Living Lava did not survive but the rest of my team happily takes the win.
 Compatibility ||
The best combo with this card for me is with Tarsa, an all melee team with Sneaks and Opportunity. This gets you the best of both worlds from Tarsa and abuse her increased melee damage.
Compatibility ||
Lastly...
●○●○●○●○●○●○●○●○●○●○●○●○●○●○●○●

Final Thoughts
With all the evidences that we gathered, we could say that Kobold Miner is a really efficient card for 2 mana. With Tarsa, you get 2 damage with Sneak for only 2 mana cost. This combo can be added in any battles and technically provides you free damage per round. Along with Cerberus and Serpentine Spy, this makes the trio the best 13 mana cost combo in the game.
All in all, I would give it...
╒═══════════════════════╡°•✦•°╞═══════════════════════╕
Special Thanks to...
╘═══════════════════════╡°•✧•°╞═══════════════════════╛
- Amino Apps for the Free Dividers.
(Those are not pictures. Just copy paste it to your blogs.)
- Giphy for the gifs in this blog.
╒═══════════════════════╡°•✦•°╞═══════════════════════╕
Learn some combos and take a whim.
Take a risk and get a win.
╘═══════════════════════╡°•✧•°╞═══════════════════════╛
Thank you for reading my blog!

|| Kobold Miner's strength is mostly the combination of everything but it's mostly because of his 2 mana cost. With 2 mana cost, you can mostly put him in any team composition with Tarsa and provide free damage every round. || With rule sets that disables Kobold Miner's capability to attack from behind like Back to Basics, he becomes a useless monster that cannot attack. Choosing another monster when these rule sets come up will benefit you more than if you hard try to put Kobold Miner even if he's going to be useless that game.
 Sneak || Targets the last Monster on the enemy Team instead of the first Monster.
Kobold Miner's Sneak is special as it provides immense potential for technically free cost. Two mana cost for a melee sneak monster in fire element is like picture perfect and I think one of the best combinations in the game.
Sneak || Targets the last Monster on the enemy Team instead of the first Monster.
Kobold Miner's Sneak is special as it provides immense potential for technically free cost. Two mana cost for a melee sneak monster in fire element is like picture perfect and I think one of the best combinations in the game.
Congratulations @xamiproject! You have completed the following achievement on the Hive blockchain and have been rewarded with new badge(s):
Your next target is to reach 40 posts.
You can view your badges on your board and compare yourself to others in the Ranking
If you no longer want to receive notifications, reply to this comment with the word
STOPCheck out the last post from @hivebuzz:
Support the HiveBuzz project. Vote for our proposal!
@hivewatchers adm said to message you regarding the downvote