Hey everybody,
My SPS-Validator Tech-Stack.With this guide i will try to help u in setting up a SPS validator, for hardware i suggest looking at this post from @louis88:
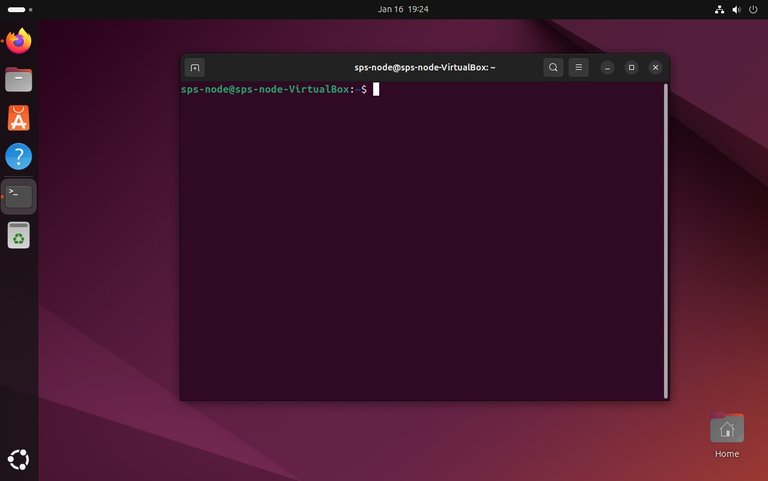
Whatever hardware u end up using, u are going to need a Linux version to run on that, i suggest using Ubuntu 24.04, if u use a GUI version it will look like the image below, if not then u will just have the terminal, which is fine as all we'll use is that.
From here we're going to follow the readme guide from the validator software Readme SPS-Validator, so to get started we need git installed, we do that with sudo apt install git-all after entering that command u will be asked to enter your password, just type it in, u will not see anything beeing typed, but it will be inputted after u press enter.
Next we need docker and docker compose, this is quite some command so i hope u can copy and paste it, u can copy the entire command and past it like that and press enter:
sudo apt-get install ca-certificates curl
sudo install -m 0755 -d /etc/apt/keyrings
sudo curl -fsSL https://download.docker.com/linux/ubuntu/gpg -o /etc/apt/keyrings/docker.asc
sudo chmod a+r /etc/apt/keyrings/docker.asc
After all is installed it should look like the screenshot below.

Then copy and past the following commands followed by enter.
echo \
  "deb [arch=$(dpkg --print-architecture) signed-by=/etc/apt/keyrings/docker.asc] \
  https://download.docker.com/linux/ubuntu \
  $(. /etc/os-release && echo "$VERSION_CODENAME") stable" | \
  sudo tee /etc/apt/sources.list.d/docker.list > /dev/null
sudo apt-get update
And lastly for docker we need to run the last command to install the latest version:
sudo apt-get install docker-ce docker-ce-cli containerd.io docker-buildx-plugin docker-compose-plugin
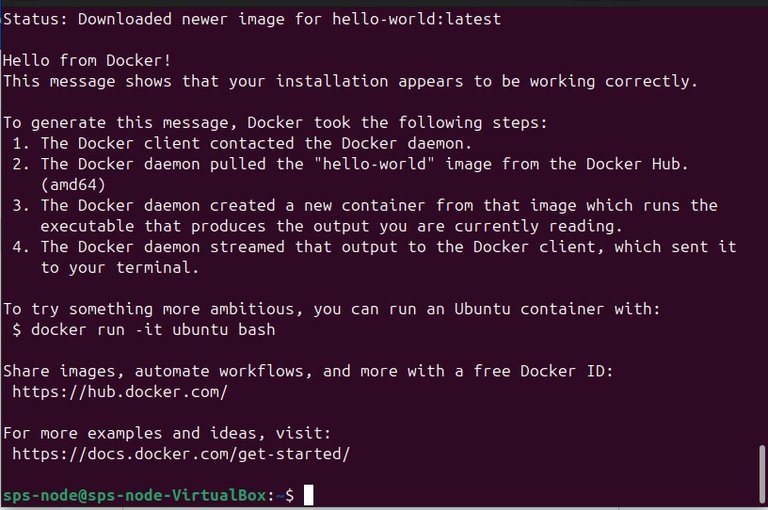
To check if docker was installed corectly, u can do sudo docker run hello-world and u will see a download start and end up with what u see in the following screenshot:
To complete the Prerequisites we are going to install wget with the sudo apt install wget command, now we are ready to start to real work.
To download the software we are going to use git with the following command:
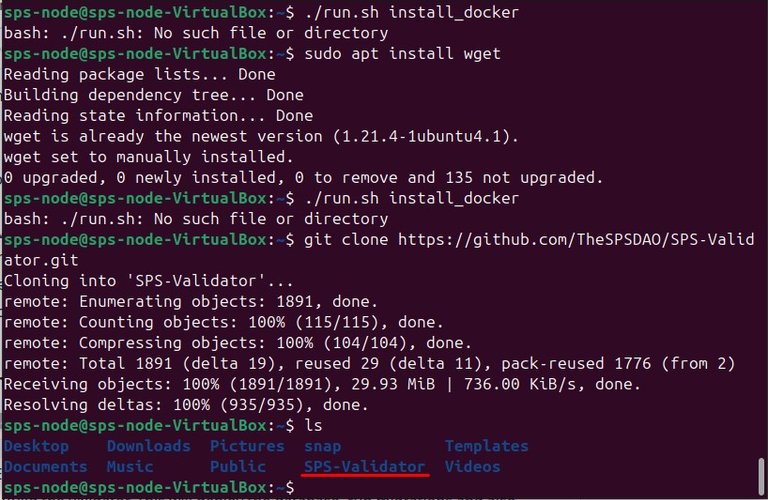
git clone https://github.com/TheSPSDAO/SPS-Validator.git
This will start a download and creates a new folder on your drive in the place u entered the command, if u haven't done any other things that should be in your home directory, we can see this folder by using the ls command, u should now see something like below:
With cd SPS-Validator command we can move in this folder as we need to continue from there, now that we are in the SPS-Validator folder we're going to make a copy of the .env-example file and name it .env, this can be done with cp .env-example .env, to edit this file we now have 2 ways:
- If u are using a GUI, u can install gedit with
sudo apt-get install geditand when this is done open the .env file withgedit .env - If u aren't using a GUI or don't want to install gedit, u can just use
nano .env
In both cases u will get something that looks like this:

Scroll down, use down arrow or page down to get to the bottom of the file, for now u don't need to change anything, but u will need to add in your username for VALIDATOR_ACCOUNT and active key for VALIDATOR_KEY, if u don't want to use your main account, u can create a new account for this and set your main account as REWARD_ACCOUNT, u will need to hold the Node License on the REWARD_ACCOUNT if u enter one, else just your main. Use control + S to save for gedit and nano, then control + X to close for nano, with gedit u can just close it with the mouse.
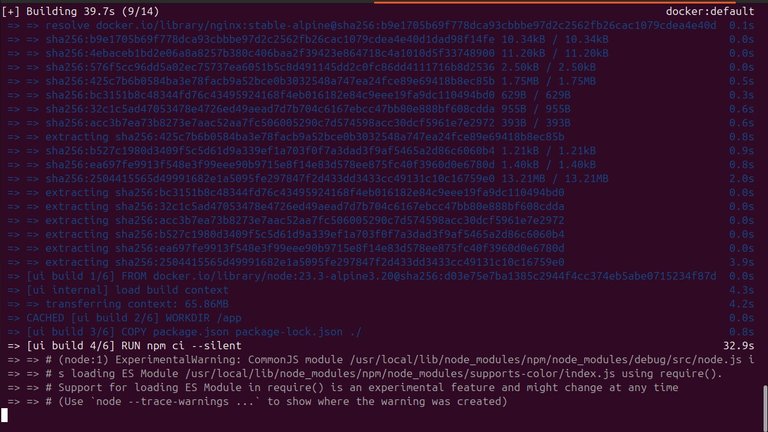
Now it's time to build this bad boy, i had some issues with that so try with just ./run.sh build and see if u get the following error:
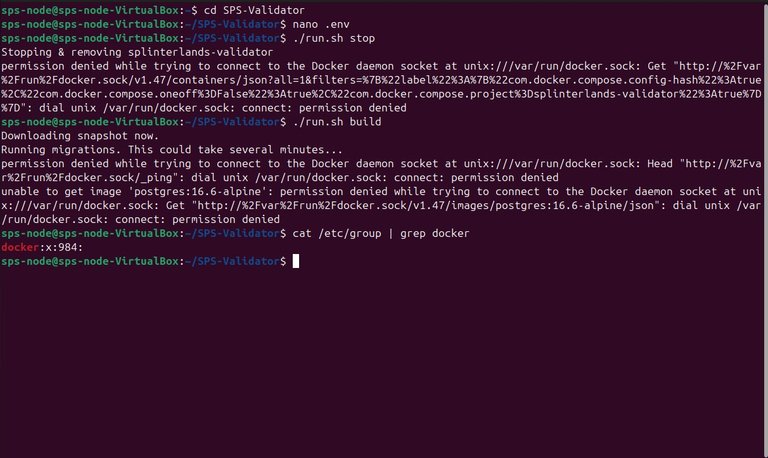
then u need to add your user to the docker group, first we are going to check if the docker group exists with cat /etc/group | grep docker, this should return something like what u see in the screenshot above, docker:x:984:. Now with sudo usermod -aG docker <username> in my case sps-node instead of <username> add your username to the group and to apply these changes use newgrp docker, then run ./run.sh build build again, when asked to replace the snapshot because it allready exists press Y and enter, when this is complete it should look like this:
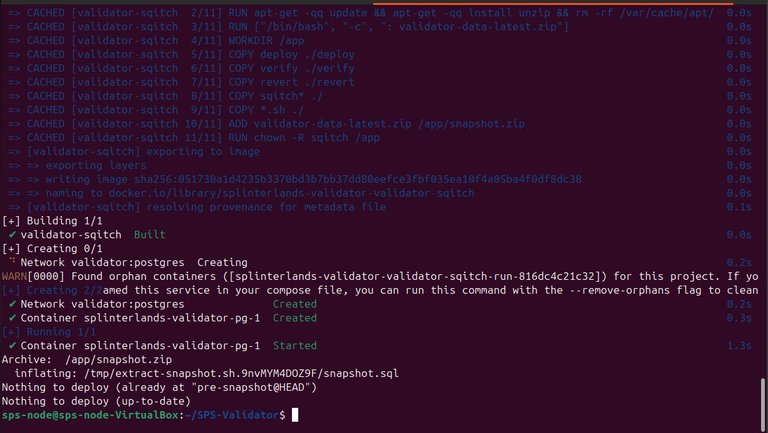
Now to start it up we have 2 options again, for the people that are using a GUI the command is ./run.sh start all for those with just terminal use ./run.sh start, now u will see something like this, this is the validator starting up:
When it starts validating u will see text shoot by in your terminal, if u scroll up u should see something like this:
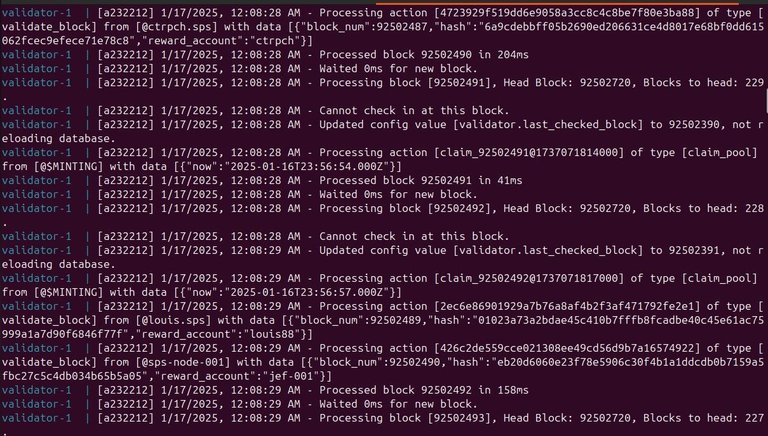
If the blocks to head isn't 0, then the validator is still catching up, for now then u can only wait, when it reaches 0 u can continue from the official readme to register your node and stake your licenses.
I'm not an expert at this so if u are having troubles with this then go ask for help in Discord, if i can help i will do my best, else there are more people there that have better understanding for this.
Guide has been updated thanks to feedback from @kiokizz and sc456(discord name)
Thanks for the tutorial. It is nice to run through these processes with picture guides :) A couple notes on work arounds for anyone else following this when they encounter some issues:
It looks like you have a couple extra spaces trailing behind your
\. In the statement (should be):echo \ "deb [arch=$(dpkg --print-architecture) signed-by=/etc/apt/keyrings/docker.asc] \ https://download.docker.com/linux/ubuntu \ $(. /etc/os-release && echo "$VERSION_CODENAME") stable" | \ sudo tee /etc/apt/sources.list.d/docker.list > /dev/null sudo apt-get updateOn building
./run.sh buildI found I needed to run the command with sudo to have sufficient permissionssudo ./run.sh build. The same occured when I wanted to start the node (I'm not familiar with the peculiarities of user permissions). Also, runningsudo ./run.sh start(using terminal) didn't seem to work. Runningsudo ./run.sh start allseemed to do the job.Now at the end of your instructions I seem to be a few blocks from the head, but this seems to be working :)
Soon time to check the
readmefor the final steps.Hey, thanks for the reply, i'll be sure to try and clean those extra spaces up, so that it becomes copy/paste like i intended, for the commands i have send u a question in discord, normally that should be helped with what i have in this guide.
Congratulations @jef-001!
You raised your level and are now a Minnow!
Thanks for sharing! - @isaria
