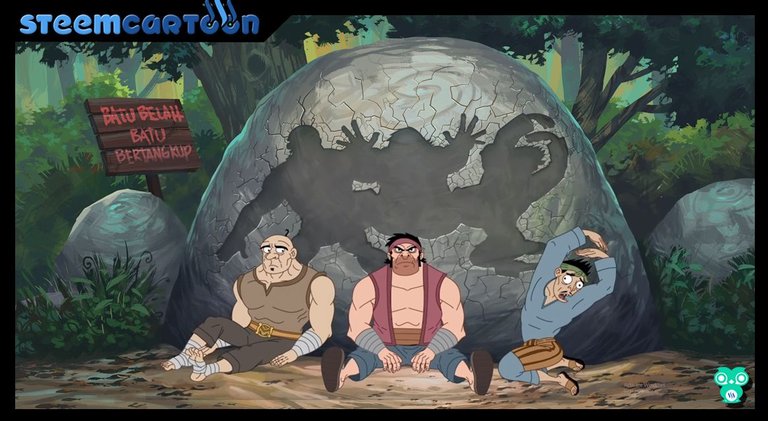
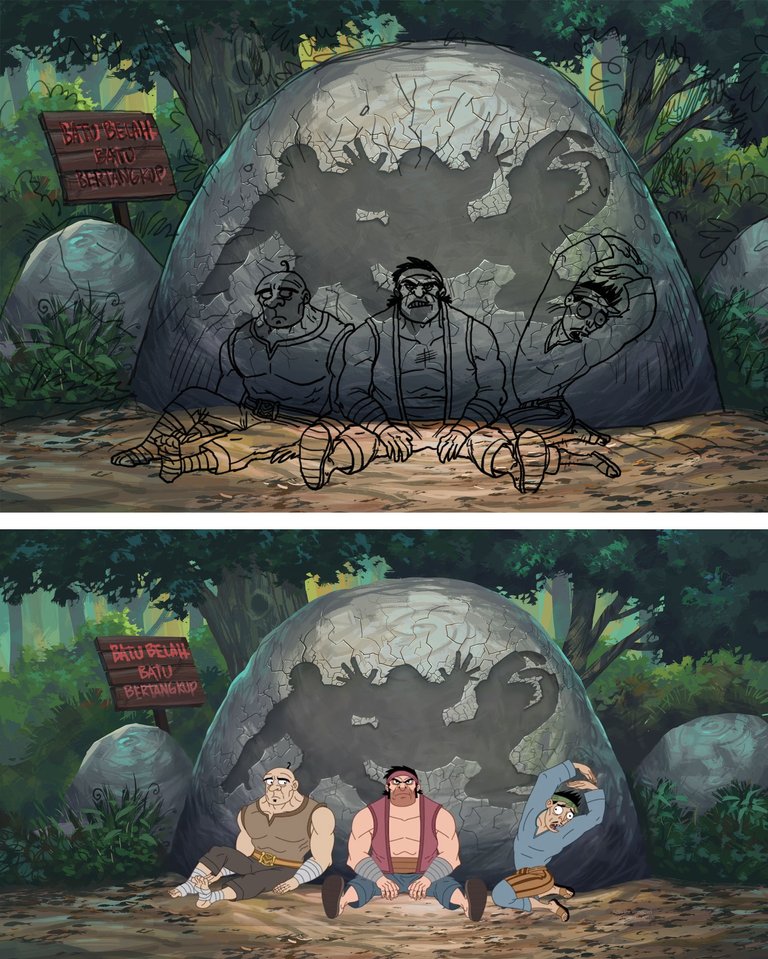
From the story board that I was assigned to create a background where I need to have an impactful background and a bit of special effects on the rock that was cracked from the hit by the 3 robbers in this scene.
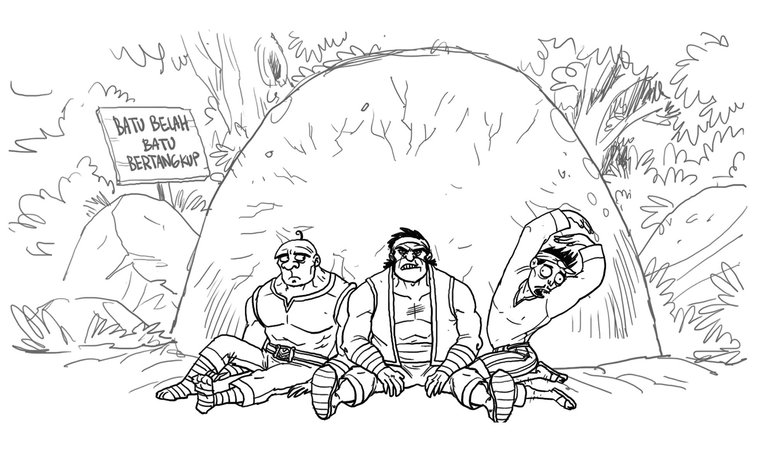
Starting with this task, I carry out a bit of my own experiment by choosing the right colour for it and I tried a few colour schemes that best suites the scene. I try doing some rough sketch first on the storyboard by finding the key point colour for the ground and the trees.
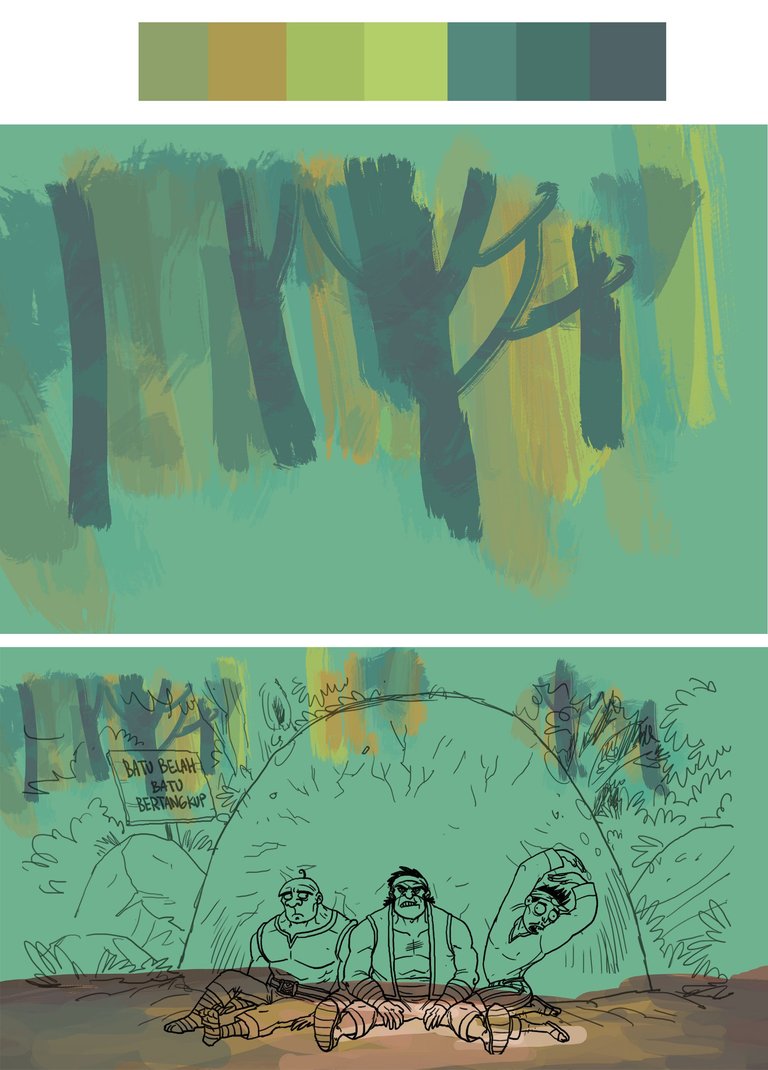
Once I am satisfied with the colour scheme, I will start with some flat colours and I will separate each layer that is needed. This process required lasso tool and flat rounded brush.
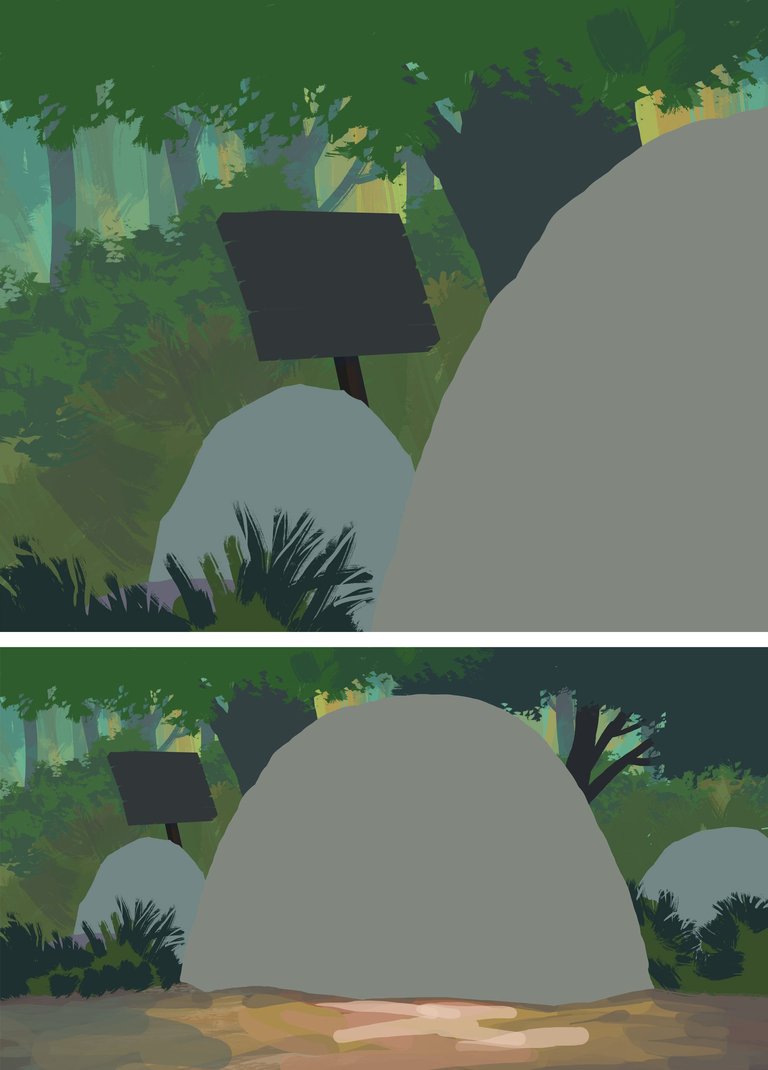
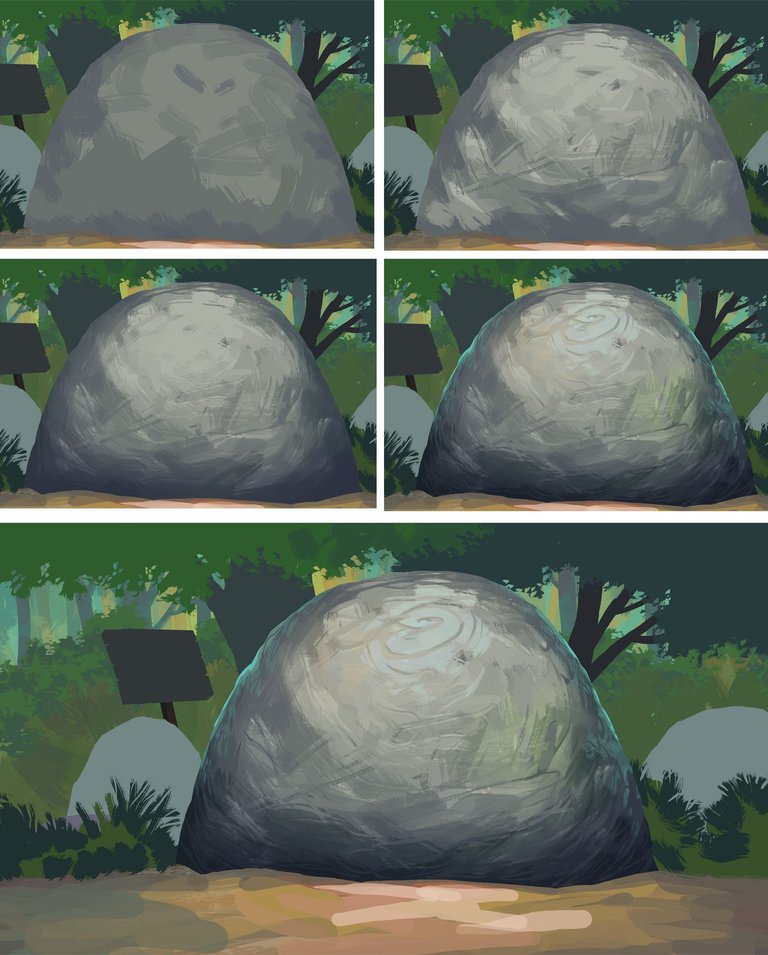
I now concentrate first on the part with is most dominant on the visuals that is the big rocks. Through the colour that I created in my first post I again mix the colour with blue and grey so that it will be within the same range of colours.
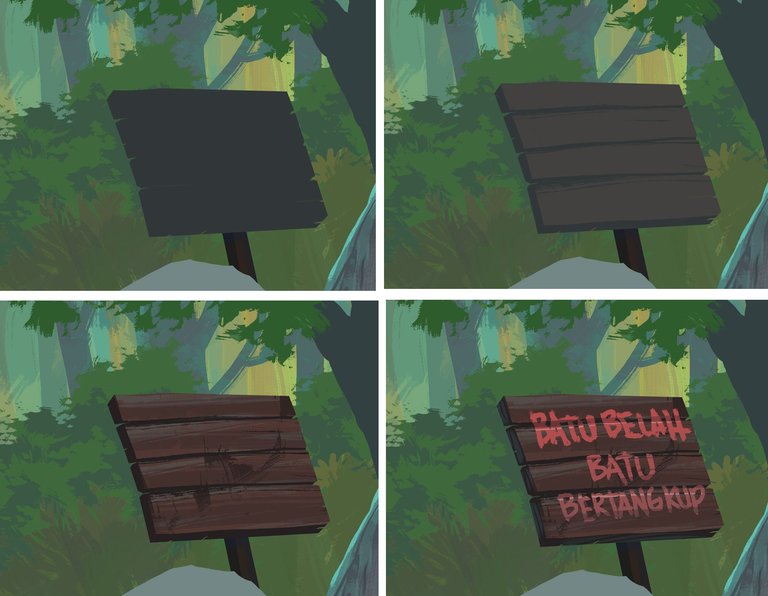
Now we move on to the process of completing the signboard. From the layer of singboard that was separated I will increase the hue on the visuals by increasing the hue colour to brown. This is so that the signboard will look outstanding in the given scene. For texturing for the wooden sign, I use rough brush so that it looks dirty and neutral. Thereafter I use the brush to write freehand as the font for the signboard.
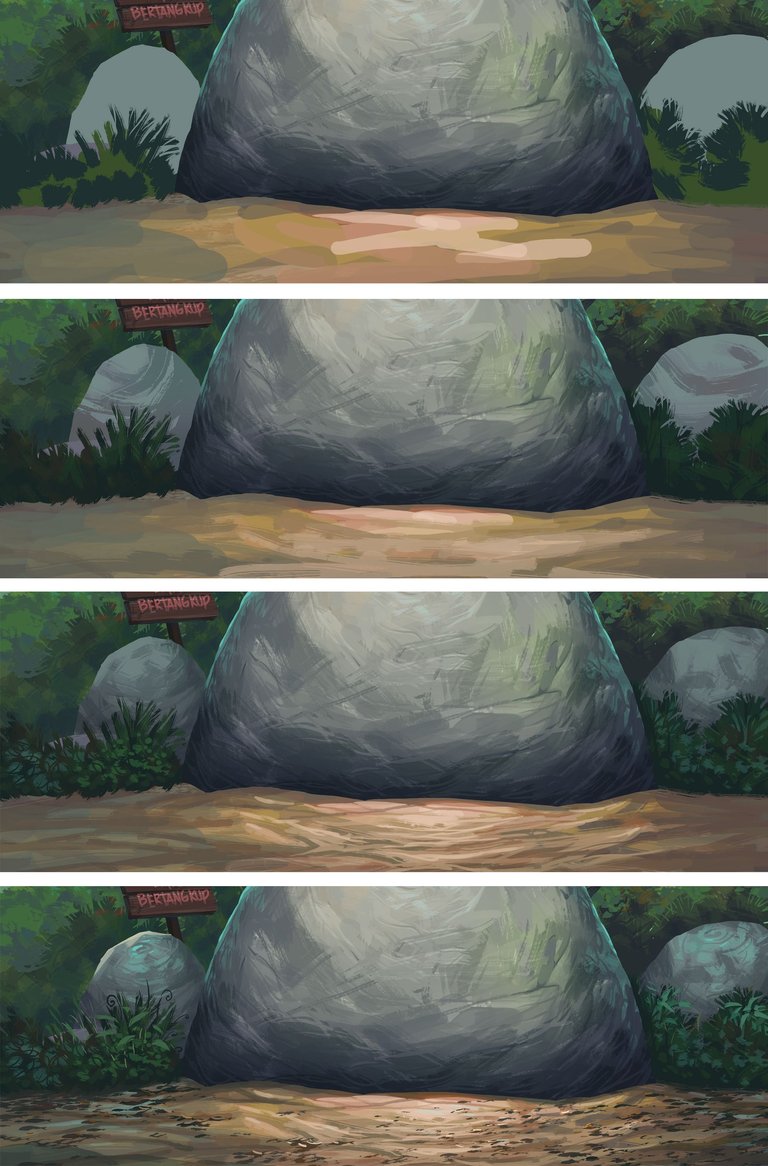
The next process is on the ground. By using the key colour and the next process will be made easier. The part where I need to form the earth has to be more detailed. You can see the process that I have completed from what I have shown here. This part is the final process on the formation of the earth. I include some dry leaves that is scattered around by using brush scattering.
I then include the most important part to the background, the special effects on teh rocks. To create the cracks and the effect on the rocks, I have to ake a sample of the animation and measure the correct size for the impact on the rocks. I have to create a silhouette on the 3 characters by including the stone texturing to form the inner surface of the point of impact.
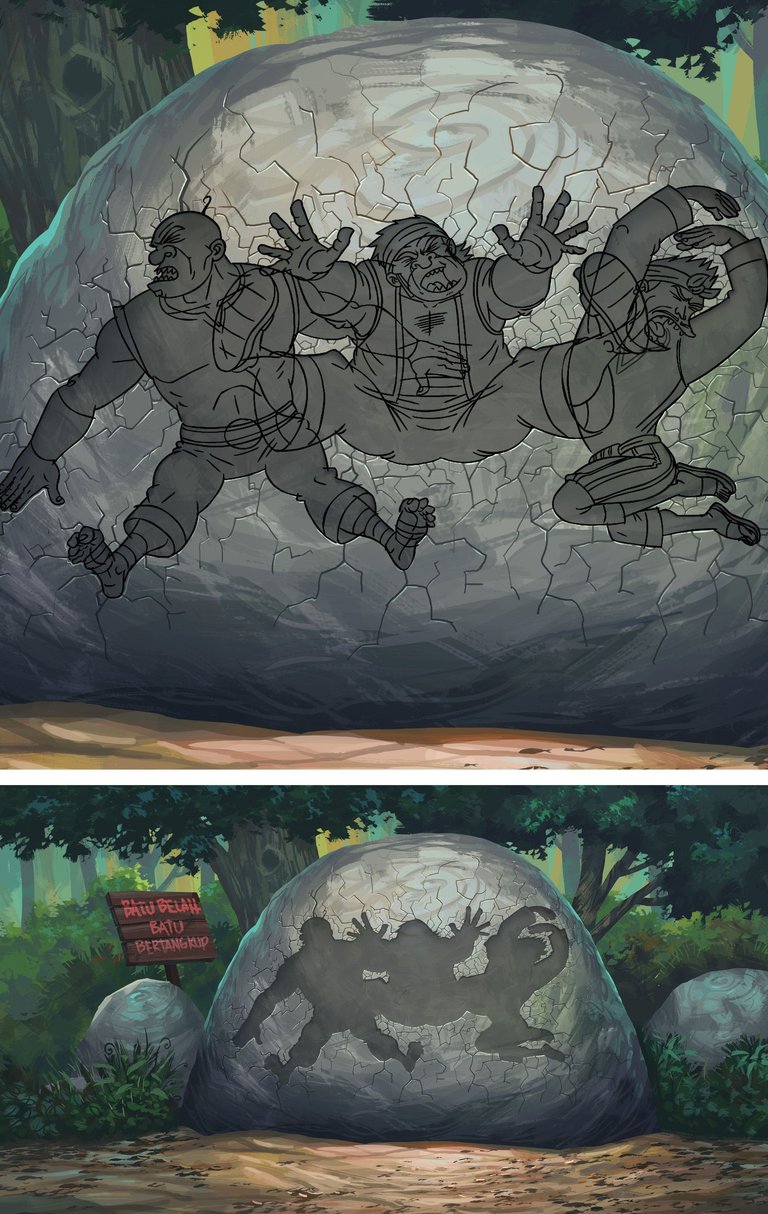
After I am done with the background I will try to incorporate the background with the sample animation that is completed. Till this point and we shall meet again. Adios and cheerios.


credit to @zomagic

I do love how in cartoons you can do that kind of thing and have the characters come off unscathed and just looking a little bit annoyed XD From the outline I would have thought they would have gone a bit deeper into the rock? Still got a laugh out of it, especially at how irritated the one in the middle looks XD
Good opinion @ryivhnn . thanks for your comments appreciate it.
Wonderful. I love the power of layers in digital work.
Thank you :)
This is an admirable job. I would love to learn how to make this type of digital illustration.
Thank you @saych and thanks for visiting my blog.
Do you want to hide thumbnail image on your steemit post page? Here is trick that you must know
Thank you :)
Amazing level of detail and how you give the 3D effect to the rocks
thanks mate :) it is because texture of brush i use it and focus the detailing on shadow and lighting.
aura power cenggini.. :))
hahaha tq boh :) 👍