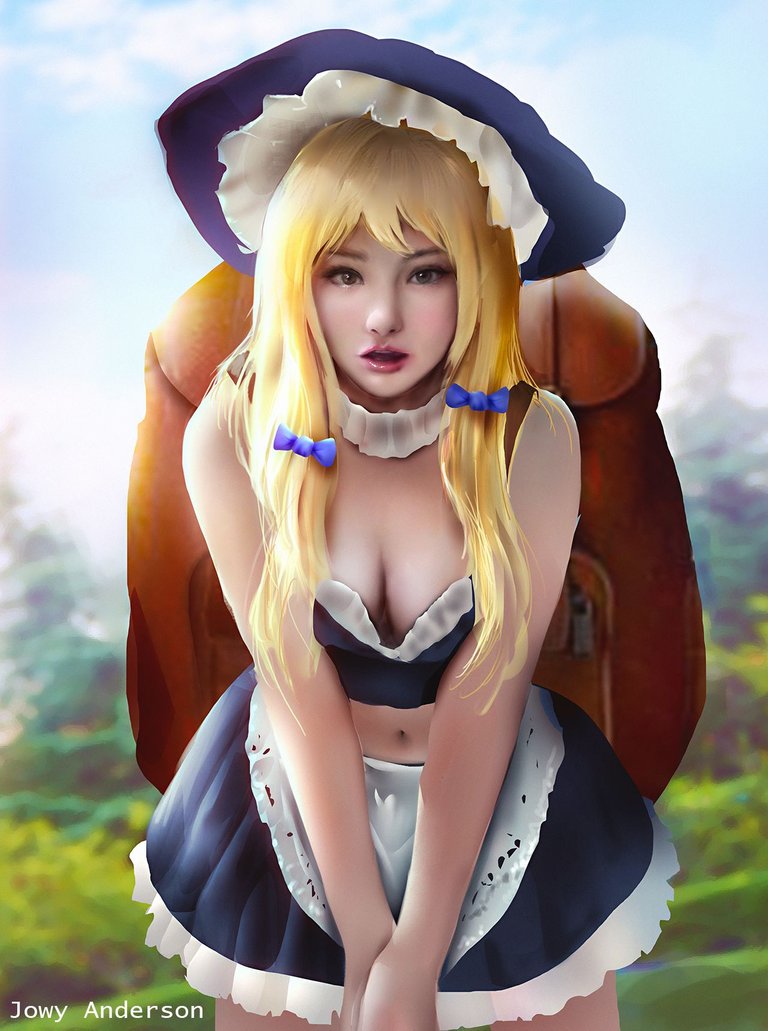
Hi Steemians !
Today I am going to share my process of creating this beautiful merchant girl.
It was commissioned by one of my clients. Before starting out a painting, I always do some research online. When you have a topic, it is easier for you to do research. By research, I meant by browsing through the photos online and look at people's concept. It is important that you have a visual library before creating your character. Its similar to cooking, if you dont have tools and ingredients, you cant make a dish.
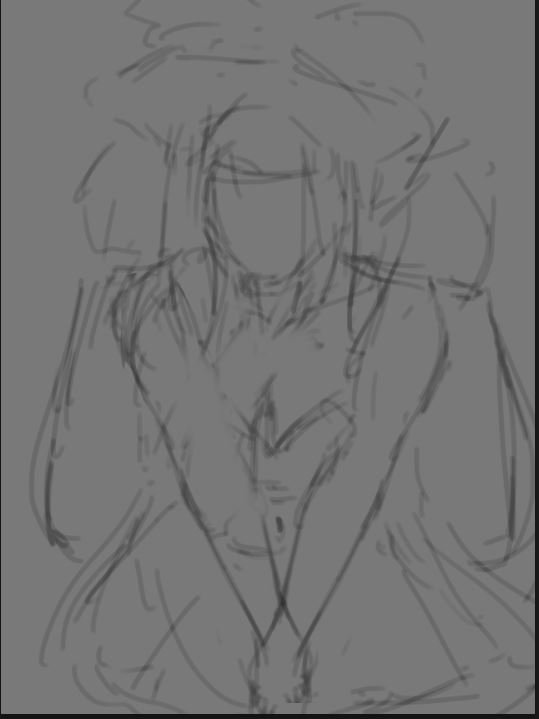
So, I started off with a few sketches and then narrow down to what I like. I decided on this one. A sexy pose where the girl is asking the customer "What would you like to buy Sir?" , a girl , with a big backpack behind, inspired by an anime character called "Snail Girl" in Bakemonogatari.
~step 1~
 ~snail girl from Bakemonogatari~
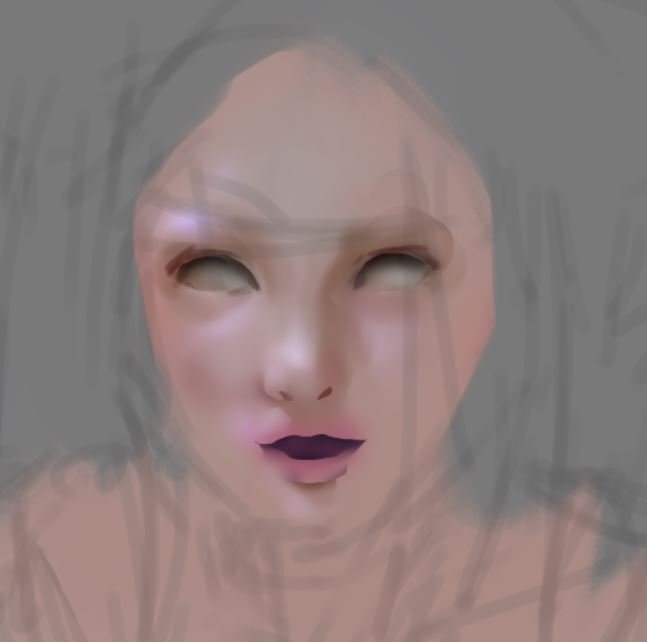
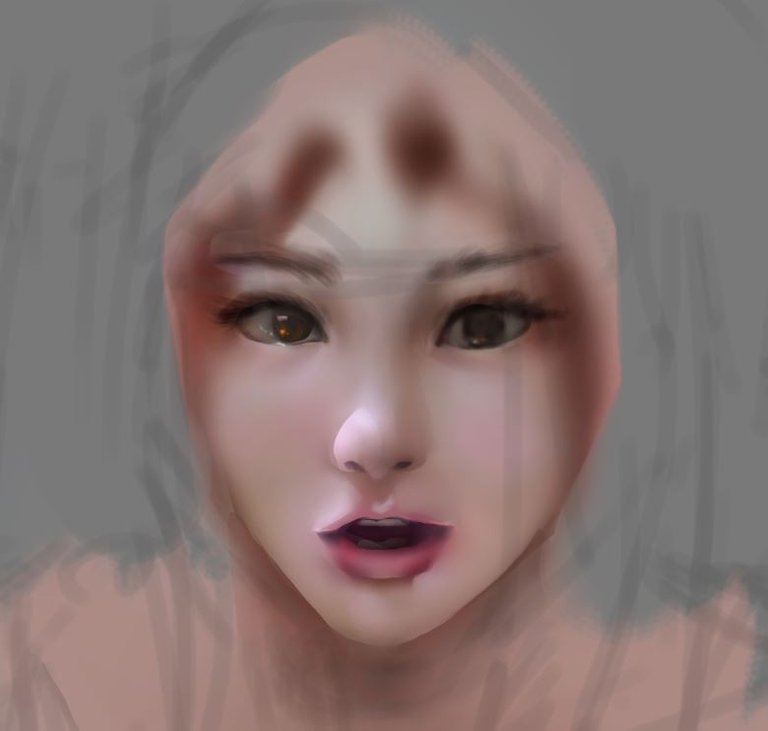
Always remember to keep your LINE ART layer on the top. I adjusted my LINE ART layer's opacity lower, added a new layer underneath it. Then, I started painting on the layer below. As usual, I started with base skin colour, added some blueish hue in low opacity (which you can adjust from your brush setting). Remember to paint in nuance , because our face actually absorb and reflect light around us. There is always some yellow hue on our forehead, the amount is tiny, thats is why I always use a default soft round brush to paint on it gently.
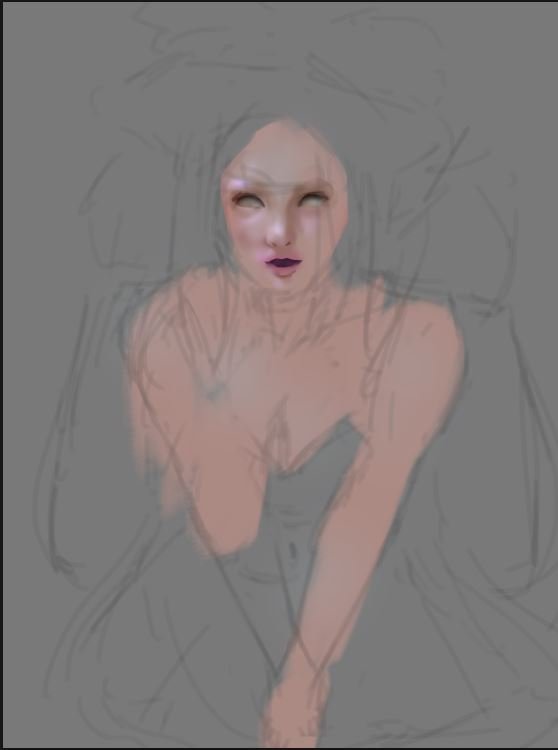
In painting, one of the important element is "EDGES" . I am also still learning on this one. To paint a good portrait or face, sometimes you have to be aware of the edges of shadow and colours. So the "Lasso Tool" in photoshop came in as a GREAT HELP to me ! Some other artists like to paint and then erase with a default hard round brush to create a clean edge. This is also one of the techniques. I learned how to use Lasso Tool to create clean edges. Edges are important, if you are able to nail doing edges, you could create 3D like drawing or effect. As you can see, I started off her mouth with clean edges. This is because the part below is under the shadow. I also use Lasso Tool and paint some light on her nose with Colour Dodge in my brush setting.
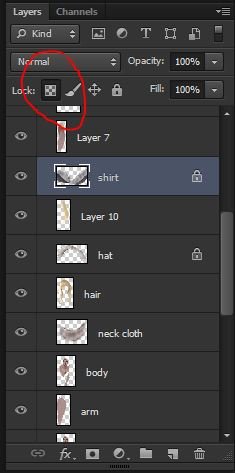
I always started off a character with the face. Once in awhile, I flip the canvas to check if they are in correct proportion. Remember to always flip your canvas in painting, it helps you to notice mistakes. Then I continued to paint her clothing and hair. At first, I tended to keep all these components in different layers. Another magic tool you can discover in your layer panel is that lock button. That lock button allows you to paint within area. For example, you have painted the shape of a hat, and you want to render the hair, adding light and shadow to it. Therefore, by "locking" the layer, you can paint within that area . Its almost similar as using the Lasso Tool.
And the rest was just painting and rendering from parts to parts.
Once I have satisfied with the character , I added a background and blurred the background because I want the viewers to focus on my character. As for the background, you can use your stock photos or search for free photos online. Touch up the background with color adjustment tool before merging it with your character. When its done, retouch the whole image with Vibrance, Exposure and Contrast setting. I will leave a gif process below and you can check it out down there ^^
Thank you so much for reading ! Any questions feel free to drop it on the comment section.
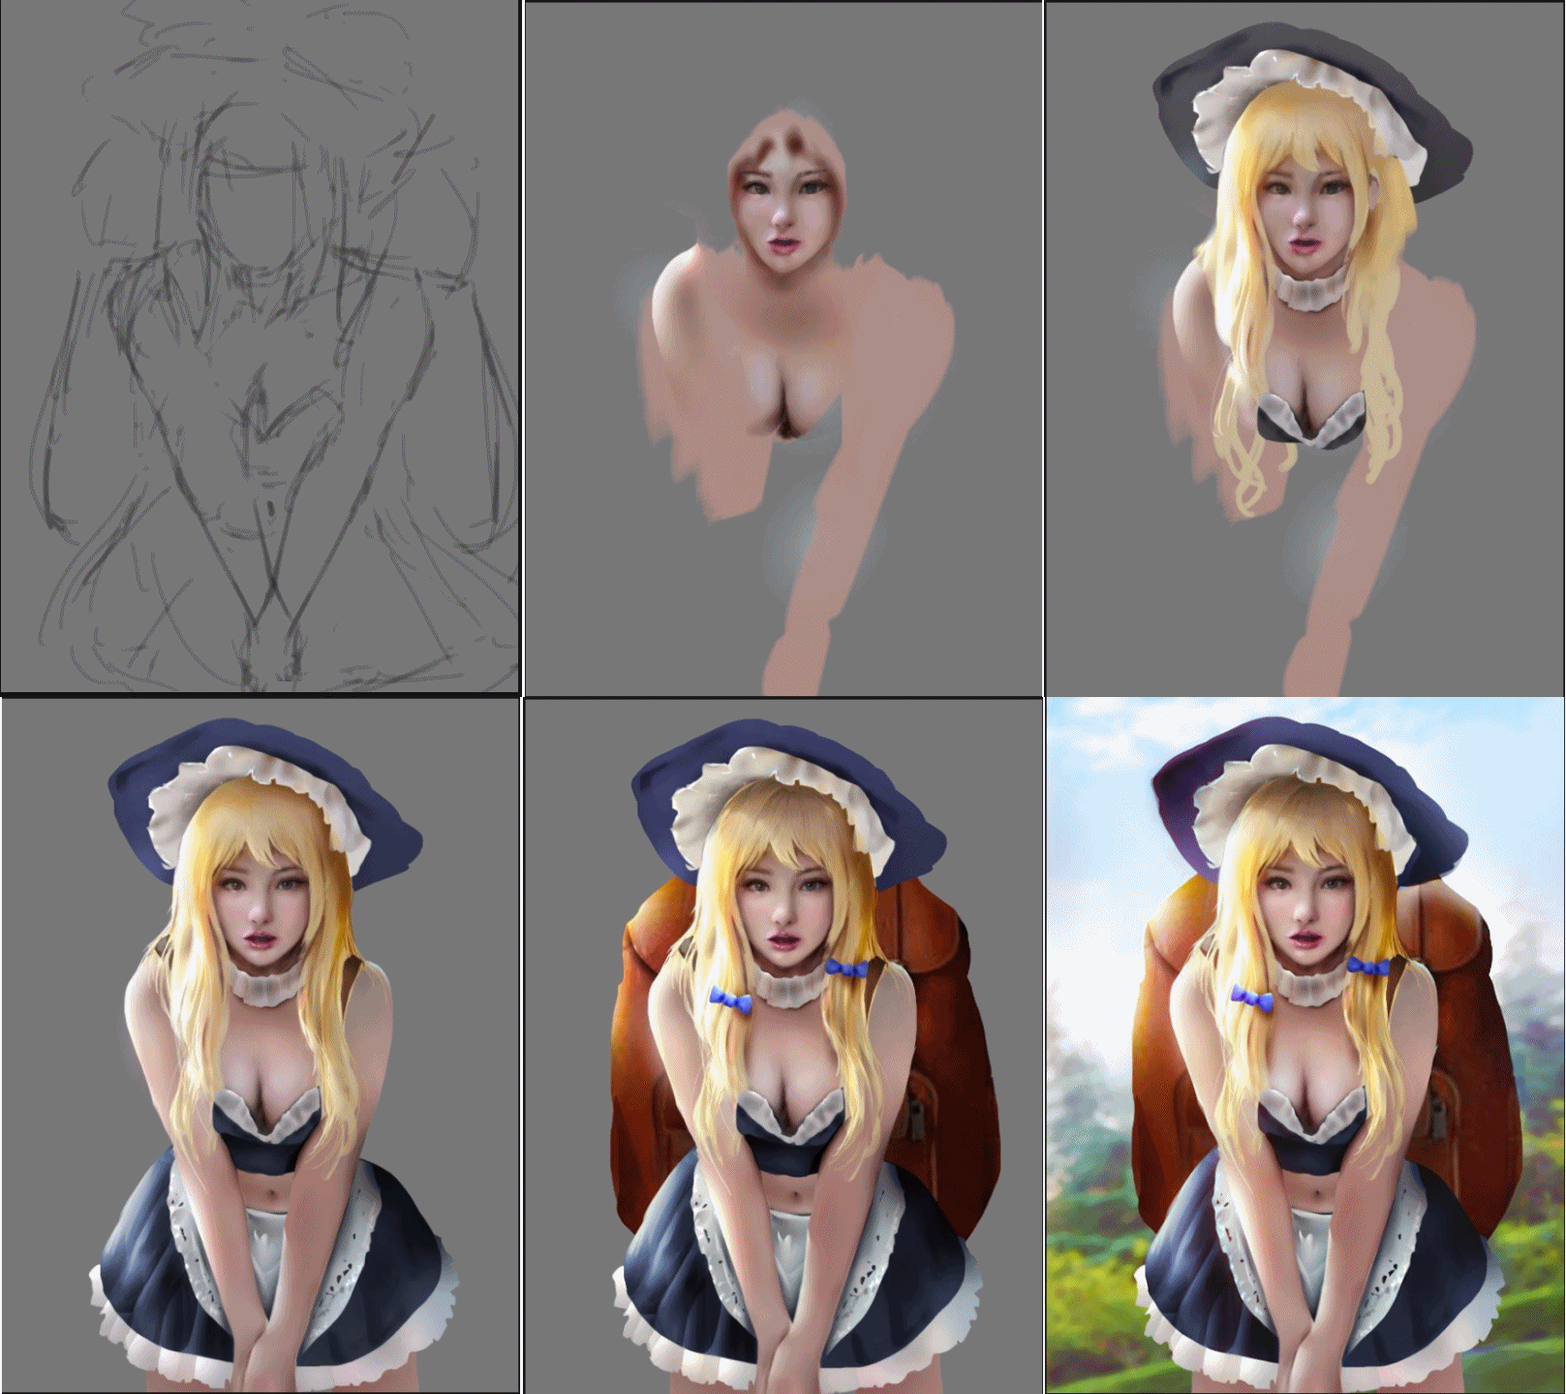
thank you Zord !!
Very amazing!
@ocd-resteem
@originalworks
really like this one too, it's a little rough around the edges, but we all know, it's more important to get the base down than to render for 20 hours straight...
I always get lost in lines and rendering, there's something I can learn from this here