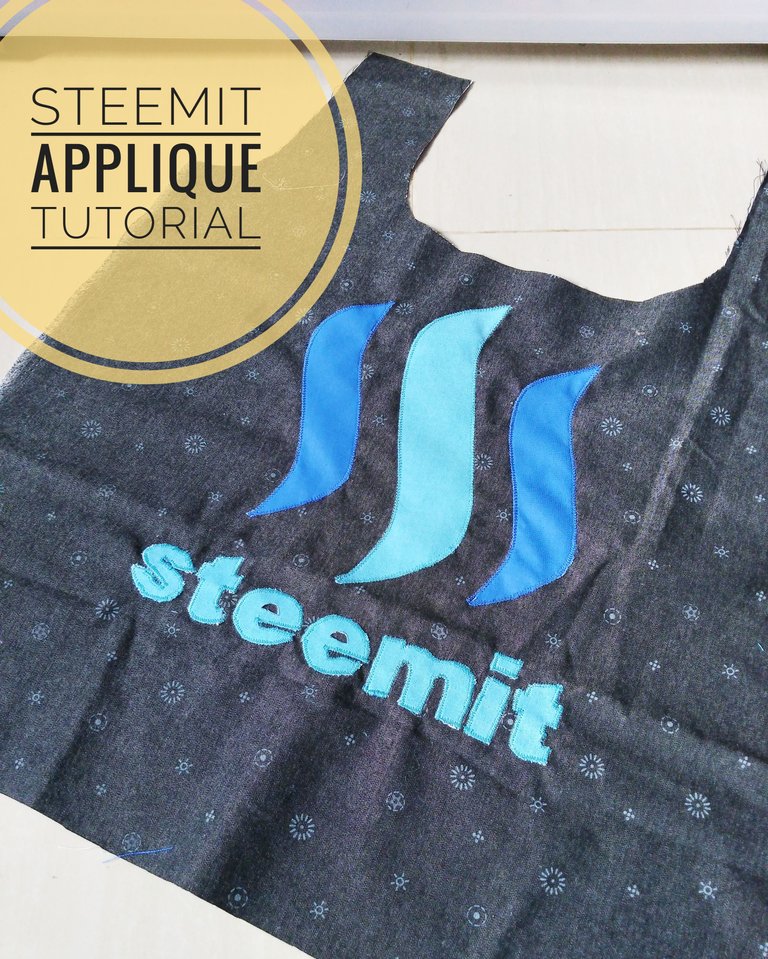
[English]
Hello my Steemit friends,
I'd like to thank you very much for your appreciation on my post about STEEMIT grocery bag. I didn't expect much when I posted it. But it turned out that you showed a lot of attention. Thank you. You are all WOWsome!!!
Now I’d like to show the detailed process of how to make this bag. However, I will divide the tutorials into two parts. This post will show you how to make the STEEMIT applique.
Let’s start!
Materials:
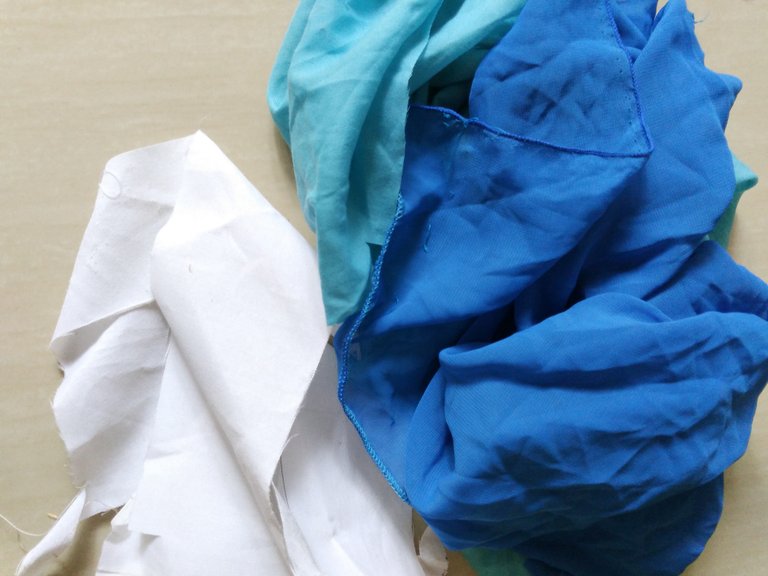
- Scrap fabric in two colors (STEEMIT colors)
- Fusible interlining
Instructions:
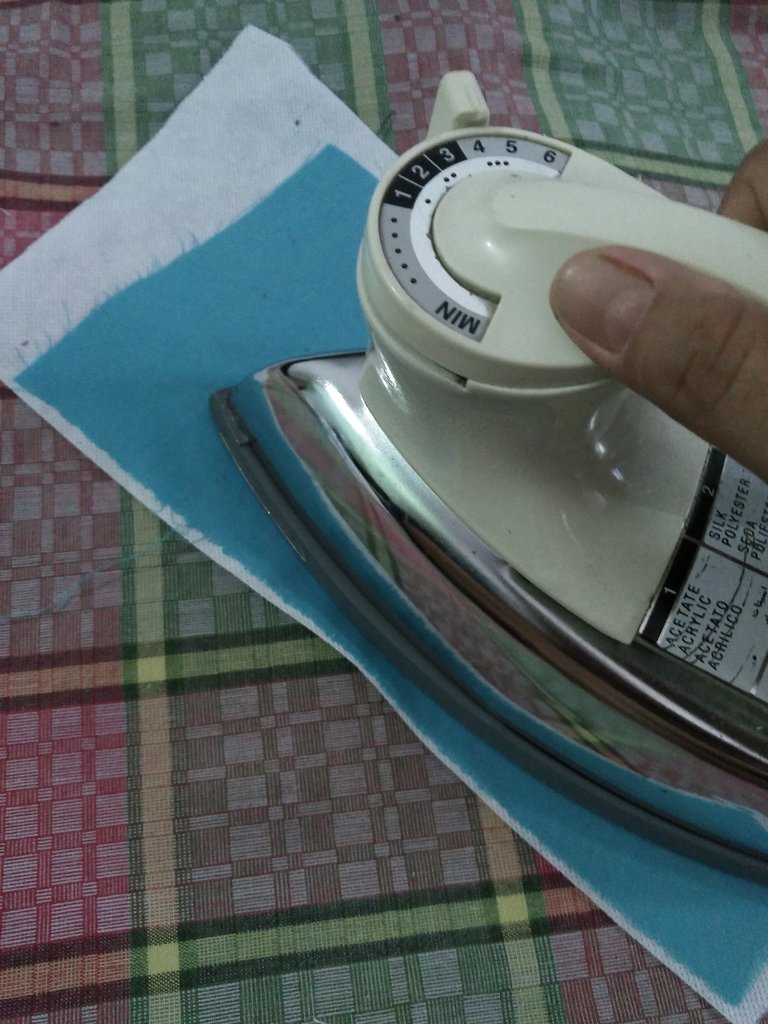
- Iron the interlining to the back of the fabric.
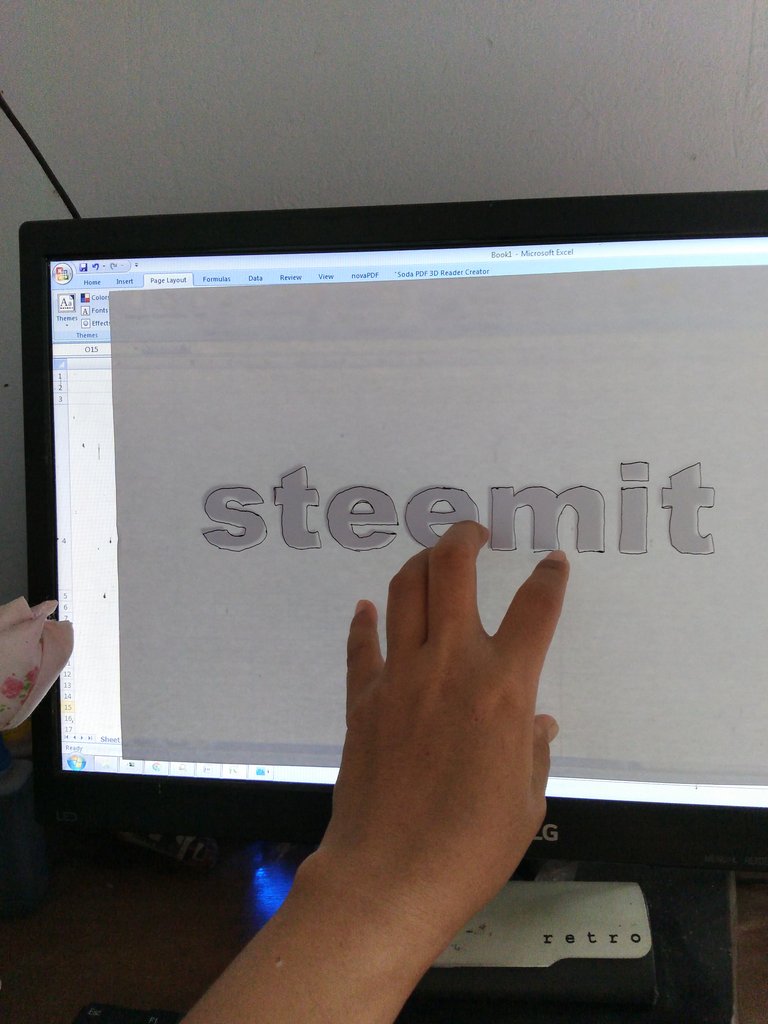
- Trace STEEMIT logo and word from computer screen using A4 paper.
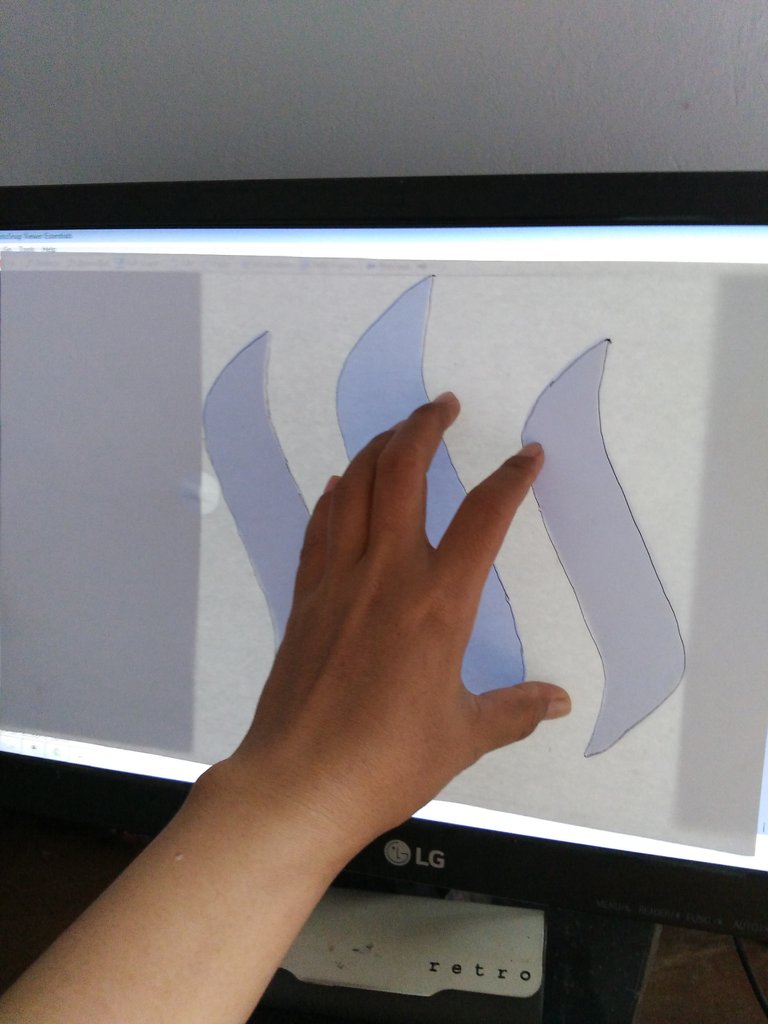
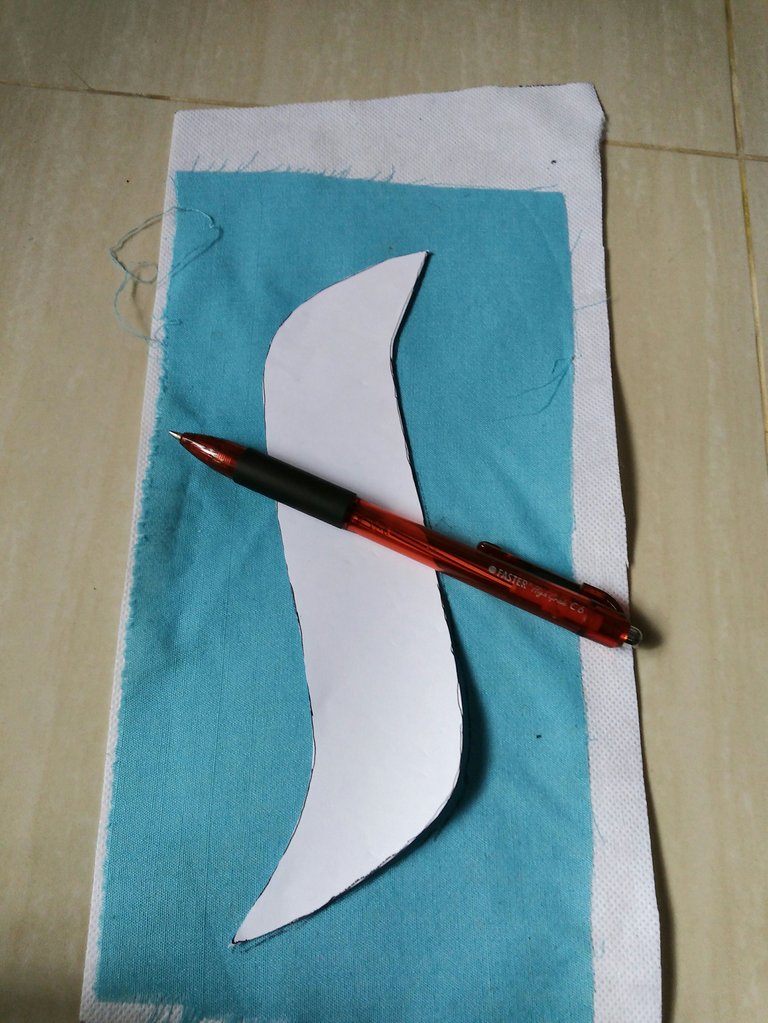
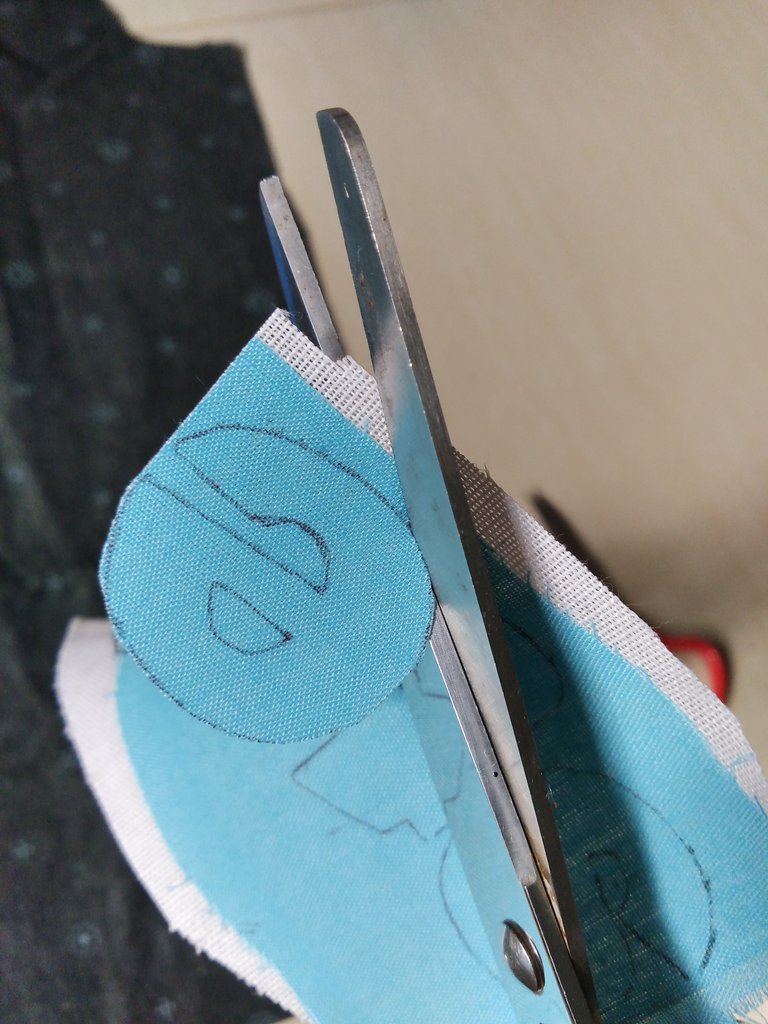
- Cut the appliques on the paper.
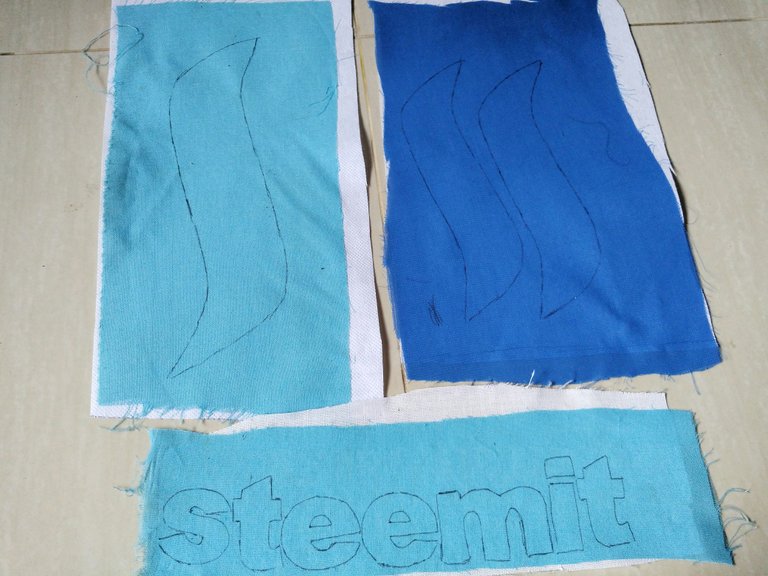
- Trace the appliques on to the fabric.
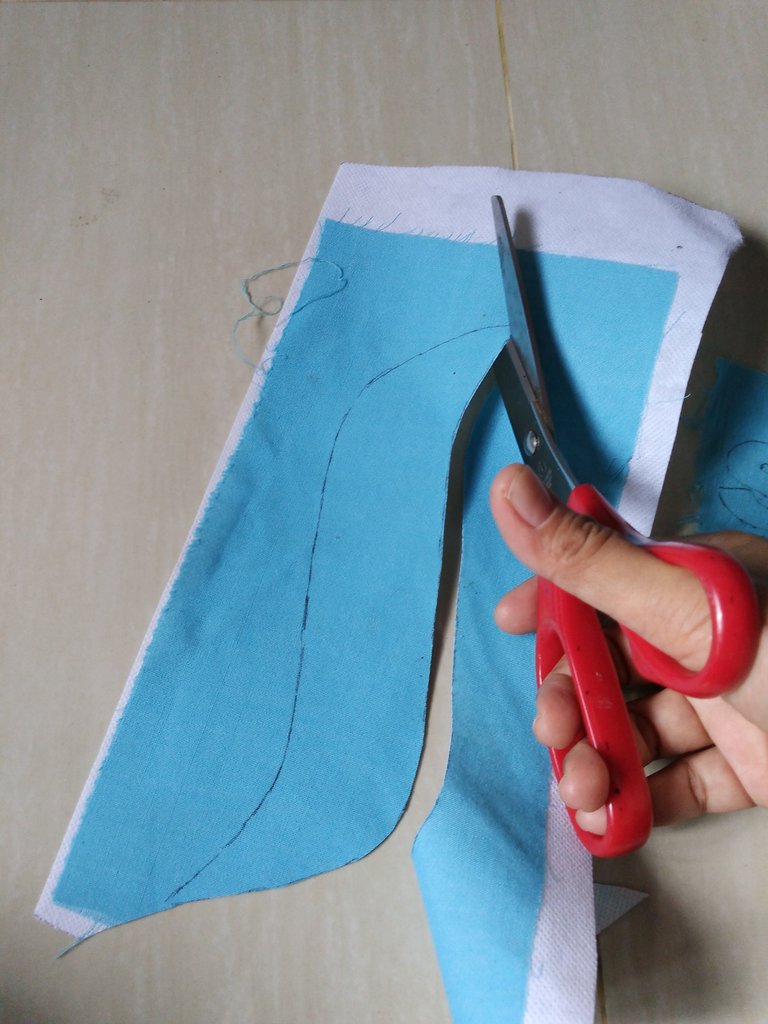
- Cut the appliques.
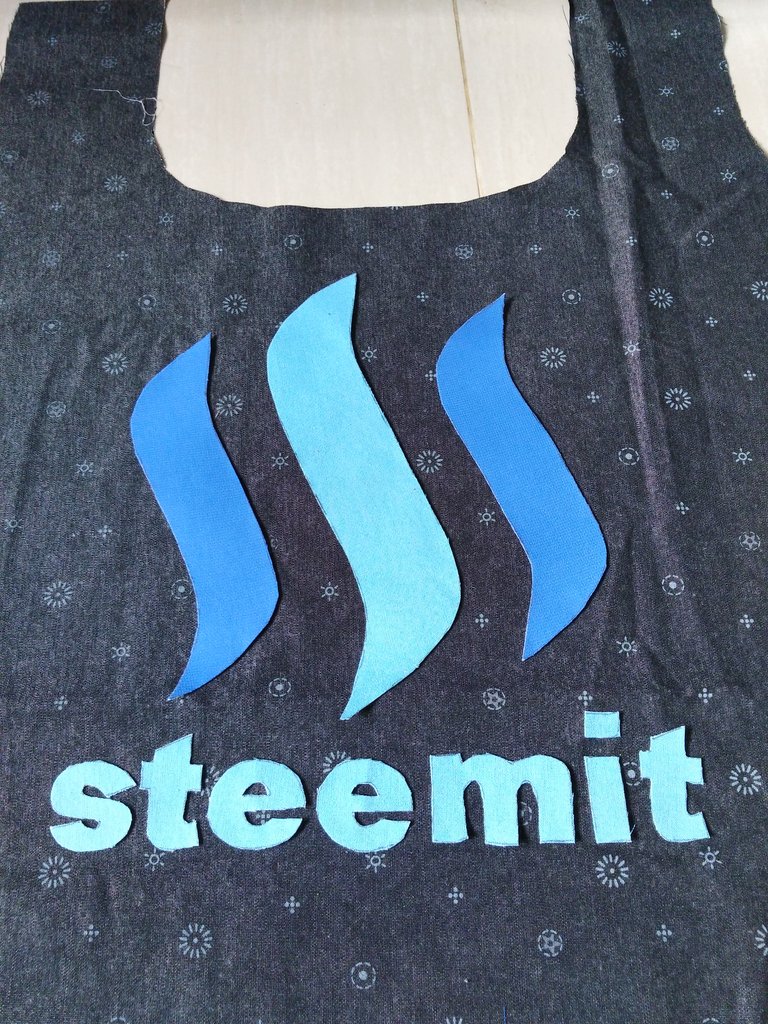
- Glue the appliques on to the bag.
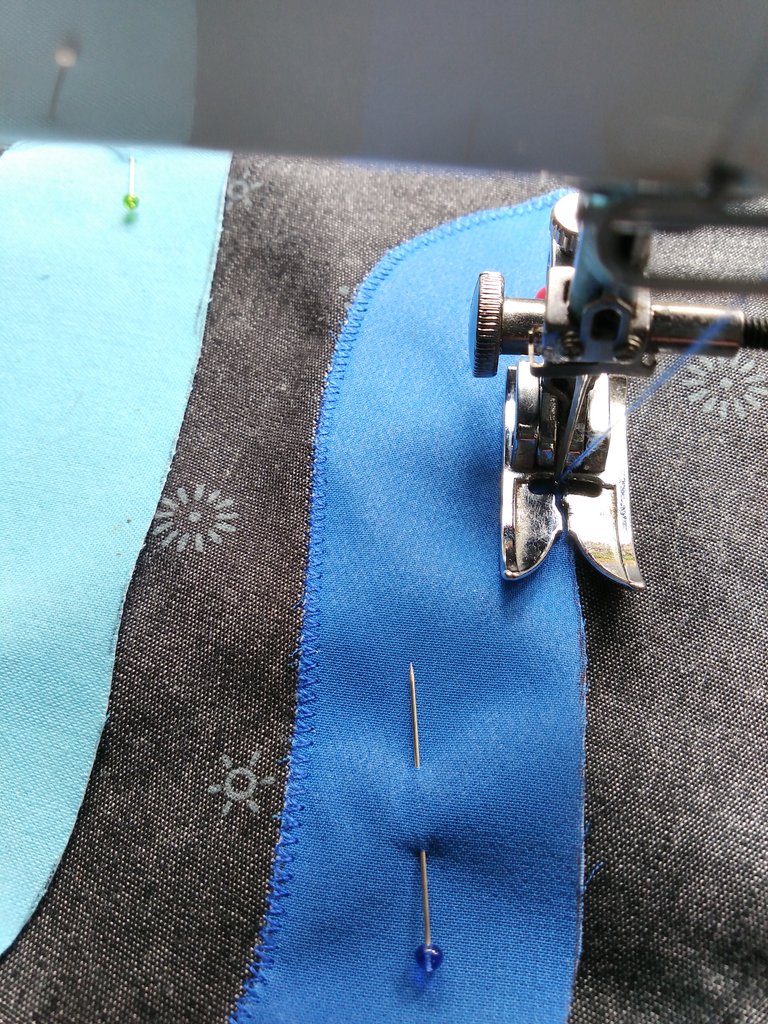
- Sew the edge of the appliques using zig zag stitch.
And it’s done!
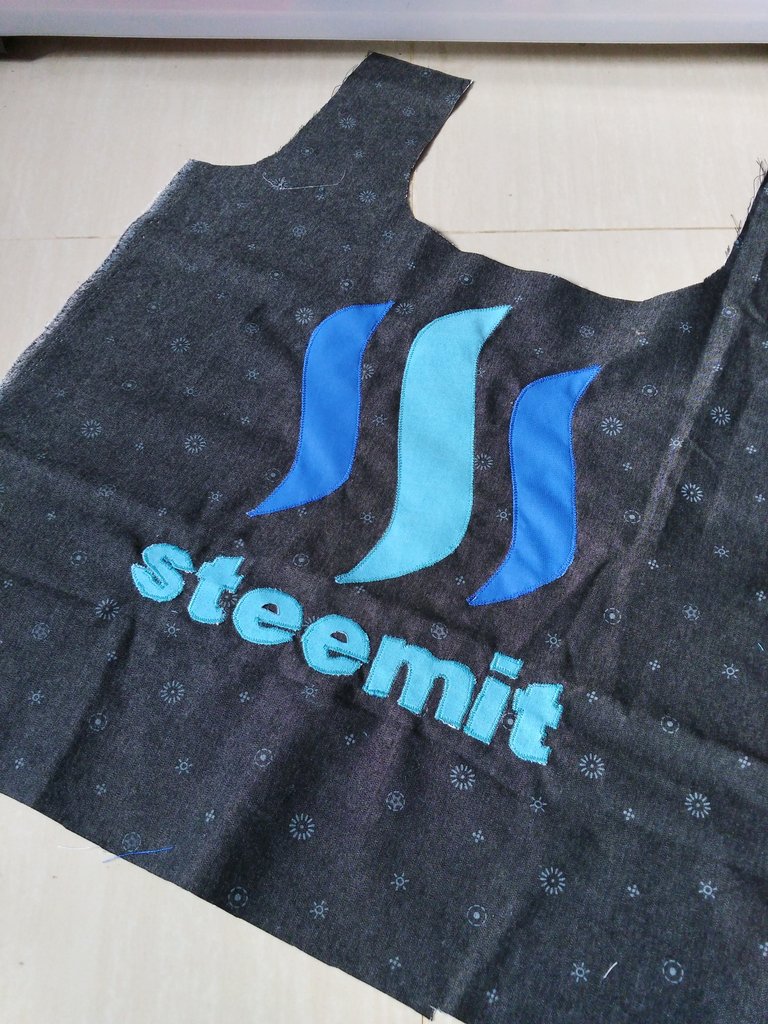
I will write another tutorial about how to make the grocery bag itself. So, stay tune to @horazwiwik.
[Indonesian]
Hello sahabat Steemit,
Saya ingin berterimakasih atas apresiasi teman-teman pada postingan saya sebelumnya tentang tas belanja STEEMIT. Saya tidak berharap banyak saat membuat postingan. Tapi ternyata perhatian teman-teman sangat luar biasa. Terima kasih.
Sekarang saya ingin memperlihatkan proses pembuatan tas ini secara detail. Tapi tutorial akan saya bagi menjadi dua. Pada postingan kali ini saya akan memperlihatkan proses membuat aplikasi logo dan tulisan STEEMIT.
Tak perlu berpanjang-panjang, mari kita mulai.
Bahan:
Kain perca dua warna yang sesuai dengan warna STEEMIT
Pelapis
Instructions:
- Setrika pelapis pada bagian belakang kain perca.
- Jiplak logo dan tulisan STEEMIT dari layar komputer dengan menggunakan kertas A4.
- Gunting aplikasinya.
- Jiplak di atas kain perca.
- Gunting aplikasinya.
- Lem aplikasi di atas kain tas.
- Jahit tepinya menggunakan jahitan zig zag yang agak rapat.
Selesai!
Saya akan menulis tutorial satu lagi yaitu bagaimana membuat tas belanjanya. Jadi, terus pantau blog saya ya, di @horazwiwik.
Good idea, Good looking , well described !
I like it.
All Best
many thanks @shadikattaa
Good job ;)
Thanks @atta09
Kerja yang bagus dan posting keren
Thanks @yana0803
Waahh.. keren banget bu @horazwiwik.. terima kasih tutorialnya.. ditunggu lanjutannya
Makasih byk @rayfa... Insyaalloh