People of steemit, I bring you the design of an apple-shaped electric mobile that I made. Below I describe the step by step of its construction and a video showing its operation. I hope you like it.
The design consists in the realization of a decorative object, with materials that are in our homes, out of use. The interesting thing is to make use of the imagination, a little patience, unify all the parts and do something creative, functional and pleasing to the eye.
Used materials
- Enamelled copper wire → 1.30 m
- Screw of 9 cm approximately
- Cable # 18 → 30 cm
- Metallic circle
- Rubber ring
- Magnet
- Plastic cap of some spray
- Mobile phone charger
- Tin
- "Silicone" glue

Used tools
- Pencil type soldering iron
- Tweezers
- Measuring tape
- Silicone gun
- Exact cutter
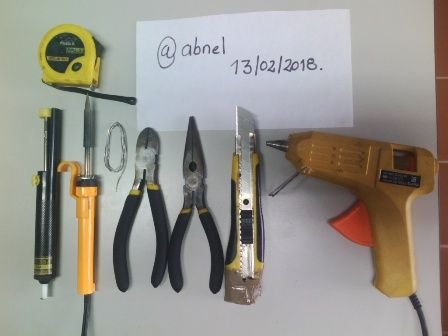
Process
Step N ° 1
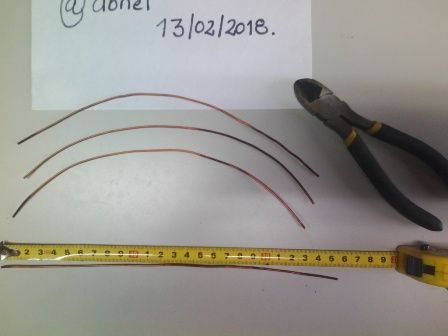
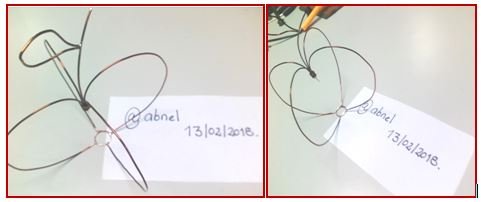
- Cut (4) pieces of enameled wire to 25 cm. With the cutting clamp, remove one centimeter of the enamel covering the wire at each end using the exact one.
- Cut (1) 6 cm piece of wire, then remove all the enamel that covers the wire.
- Cut (1) piece of wire of 10 cm, likewise remove 2 cm of its enamel but only one end of the wire (which will be the end used for the shaft).
- Cut (1) piece of wire of 10 cm, likewise remove 0.5 cm of its enamel at its ends. Then we fold in half and we give it a leaf shape, we fix it to the upper part of the shaft.
Step 2
Join the ends of two 25 cm wires with one end of the 10 cm wire, solder with tin. Repeat this same procedure with the two remaining 25 cm pieces.
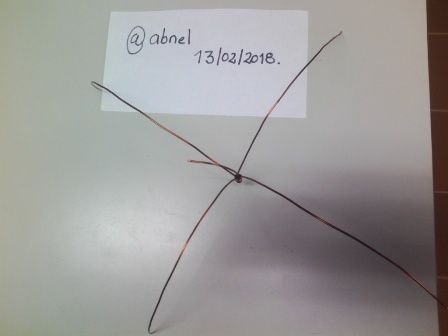
Step 3
Take the 6 cm wire. Make a circle using the metallic ring as a pattern, then weld the wire at its ends.
Step N ° 4
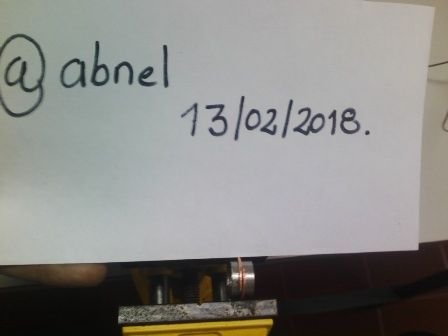
To the structure of the wire of 25cm to give a heart shape with firmness, after the four ends are in parallel, solder with tin to the wire ring made in step 3.
Step N ° 5
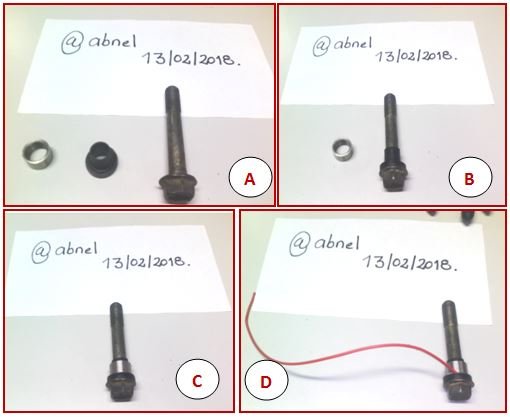
Insert the rubber ring in the 9 cm screw, then place the cable that will carry a part of the energy (the rubber ring will be the insulator), consecutively the metallic circle is introduced, these pieces will be placed in the lower part or in the neck of the screw. The cable must go between the rubber ring and the metal ring.
Step N ° 6
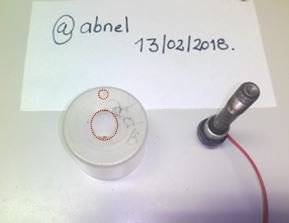
Make two holes in the plastic cover: one through which the head of the screw is inserted and the other of smaller diameter where the cable will pass to the bottom of the lid. Place silicone on the edge of the large hole, then insert the screw head to let the glue work.
Step N ° 7
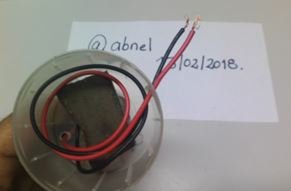
Place the other cable segment on the bottom of the screw, place the magnet to magnetize the screw, place silicone between the plastic lid and the magnet to fix it, a third job is done where the cables that will power the mobile will be passed.
Step N ° 8
The plastic base is placed in a vertical position with the screw already attached, the upper part is inserted in the shape of an apple, adjustments are made so that the displacement is balanced, while at the same time appreciating the apple shape. Finally connect to the power source.
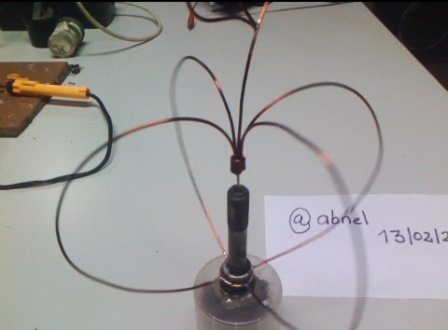
As a result of the work done, I present in the video the operation of the mobile apple.
The images and video are my responsibility.