Engineering Project for Kids
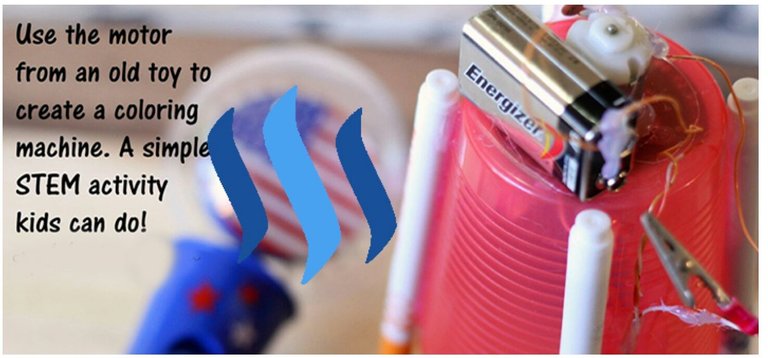
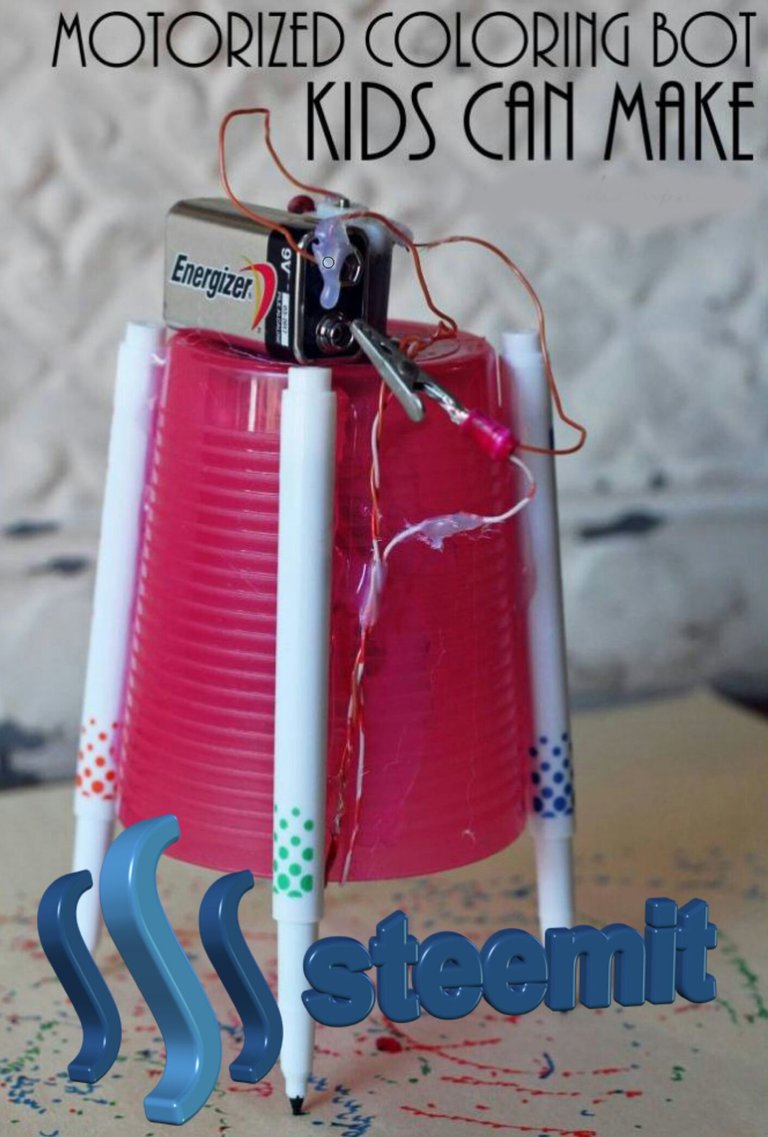
Let me show you how easy it is to re-purpose parts (like the motor) from an old toy and convert it into an engineering project that will impress your kids. My boys call this experiment coloring of the future!
Supplies You Will Need:
1.toy motor with attached wiring
2.9 volt battery
3.4 color markers
4.electric “alligator” clip
5.hot glue sticks and hot glue gun
6.electric drill and screw
7.plastic cup
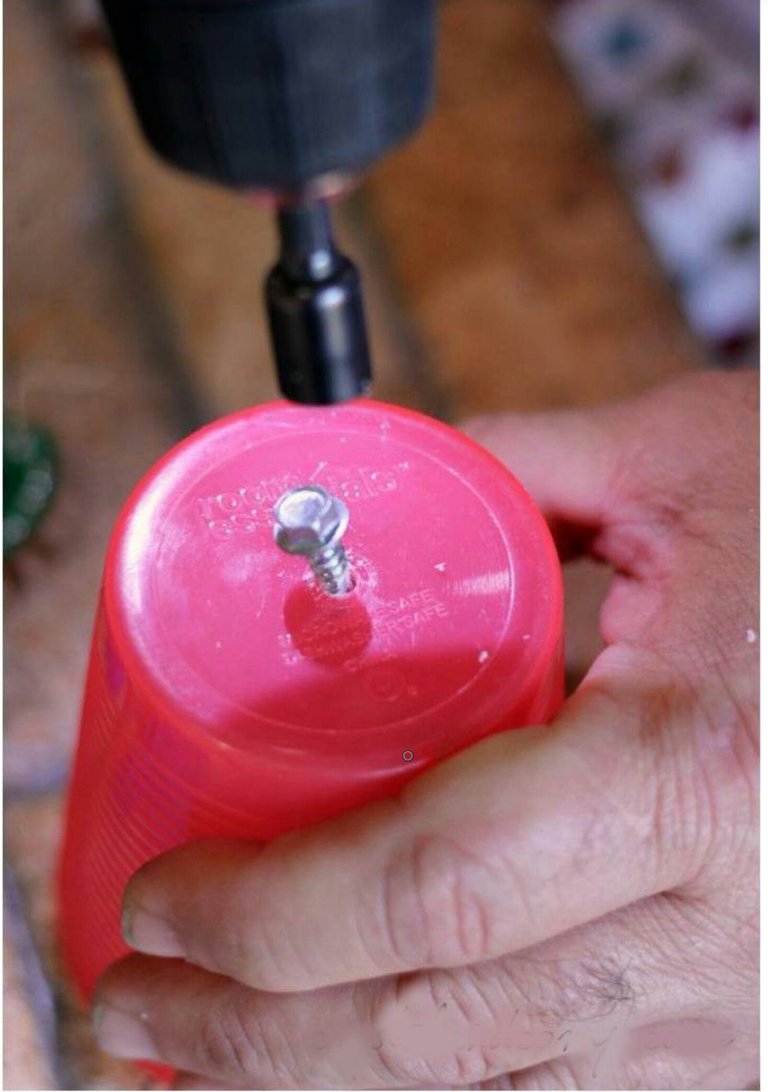
Use an old plastic cup, and have one of the parents drill a hole into the bottom of the cup using a screw.
Be careful not to apply to much pressure, as the cup might crack if you do that.
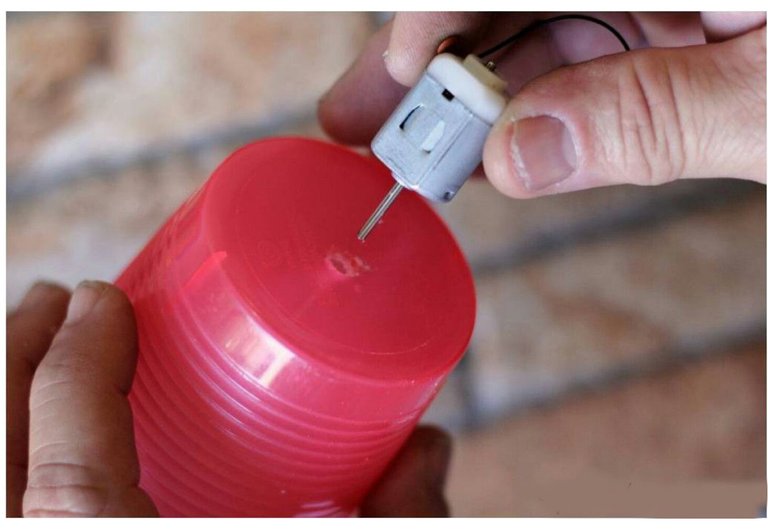
Insert the motor and it’s attached wires you’ve removed from the toy into the hole you created in the bottom of the cup.
Use a hot glue gun to secure it into place.
Hot glue the 9 volt battery to the cup. We just glued it down right next to the motor.
Add an alligator clip to the wires. This alligator clip will be used as a connector for the motor to the battery.
You can also glue down the wires to the side of the cup if there is a lot of wire hanging and you want to keep it out of the way. This is what we did.
Hot glue the markers onto the side of the cup.
When you’re ready to color, lay down a sheet of paper.
Then remove the lids from the markers and connect the battery and motor and watch it go, go, go!
It will vibrate, jump around a bit and go in circles, coloring all the while.
Thank you
Hi! I am a robot. I just upvoted you! I found similar content that readers might be interested in:
http://www.sylvanlearning.com/blog/index.php/fun_engineering_project_for_kids/
I loved taking motors out of remote control cars and building new things, when i was young. So much fun!