To celebrate Earth Day, which recently fell on the 22nd of April, my little family and I decided to make our very own worm farm and kitchen compost bin, something that we have wanted to do for quite some time. The day before we went shopping for all of our materials, including the very squirmy worms, which my three-year-old son was thrilled about! On Earth Day, we set about making our worm farm as a family activity, so we got to spend time with each other and do something to help the earth all in one go!
If I had known that setting up our little compost/worm farm would be so easy, I would have made one ages ago! The materials were also a lot cheaper than I expected, in fact, we spent no more than R50 (about 4 US Dollars), score! So, to add to our Earth Day adventures, I’d like to share the steps with you, so that you too can make your very own worm farm and compost maker.
MAKE YOUR OWN WORM FARM
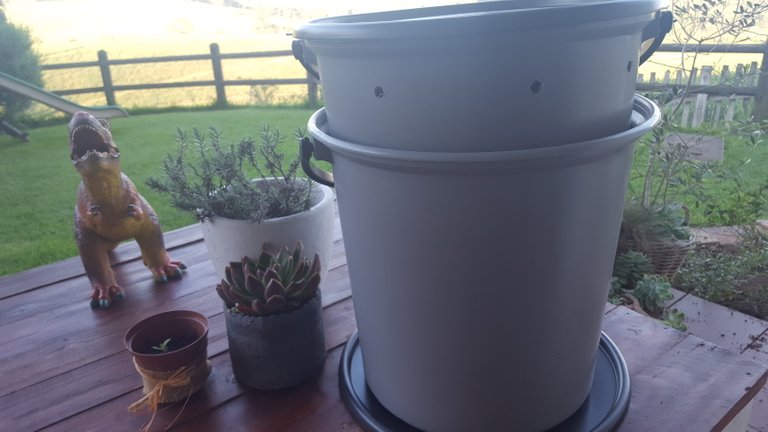
Off To The Shops You Go!
Before you start putting the pieces together, make sure you have the following at hand:
- A drill and drill bits (size depends on the size of the holes you would like to drill).
- Two buckets or plastic containers (one of which must have a secure lid).
- 4 little feet for your bottom bucket (to keep it slightly raised from surfaces).
- Soil (enough to cover the bottom of your one bucket to at least 10 cm in height).
- Red earth Worms (we had 15, but the number you will need will depend on the size of your “farm”).
- Some moist and shredded newspaper.
- An old Tupperware or brick (about 10-15cm in height)
OK, SO Here’s What You Need To Do:
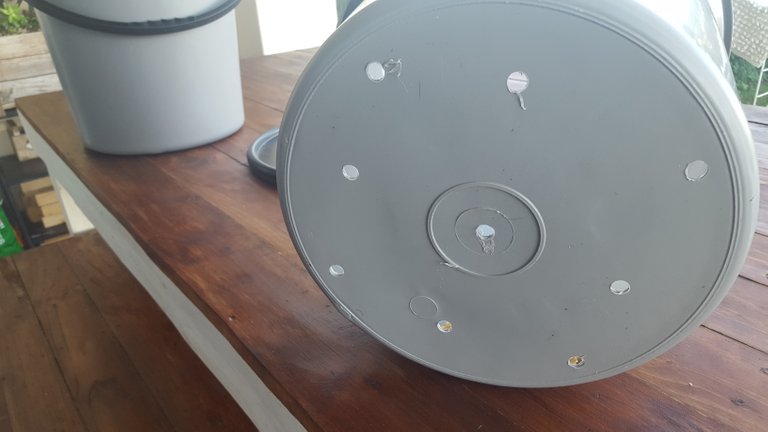
- Drill about 5-10 holes at the bottom of each of your two buckets.
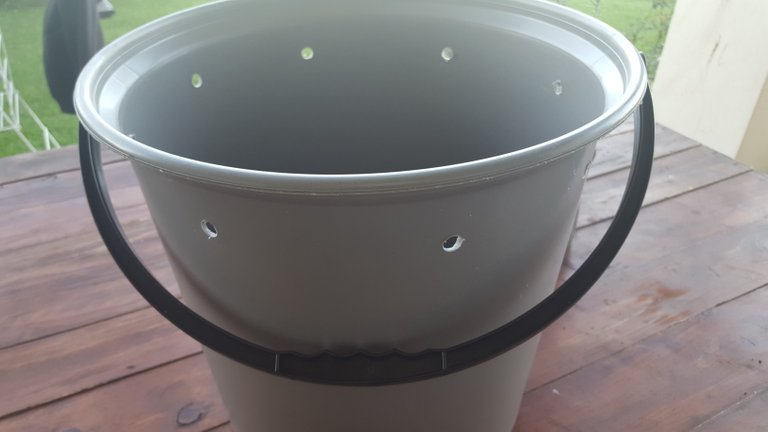
- Drill about 5 holes around the rim of the bucket which you plan on placing your vegetable and fruit peels etc. in
- Mount your 4 feet onto the bottom bucket.
- Place your brick our Tupperware at the bottom of the bottom container (in the center), so that it acts as a stand for the top bucket to rest on.
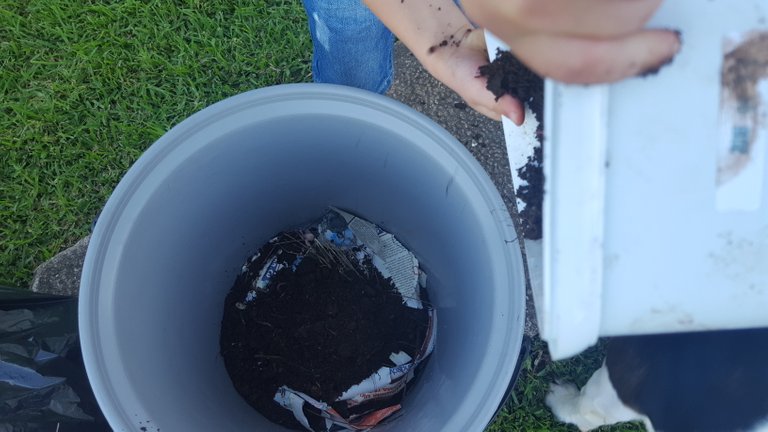
- Fill the bottom bucket with soil, moist newspaper shredding and worms, so that the thickness of the soil mixture matches that of the stand you have placed in the center.
- Place the top bucket, the one with ventilation holes at the top, into the bottom bucket, so that it rests on the stand and the soil.
- Fill your empty top bucket with scraps of food, like veggie peels, fruit peels, tea bags and coffee grounds (avoid meat and dairy products) as you create the waste. Make sure to add a little soil to your scraps as it heaps, to cover bad odors and prevent bugs from buzzing around (and to help break down the waste of course).
- Examples of good things to add to your compost bucket/worm farm are: tea bags, coffee grounds, past, egg shells, paper, grains, bread, fruit and vegetables.
- Place the lid securely onto to the top bucket and store your worm farm in a cool spot, away from direct sunlight.
- As your waste starts to build up, the worms will start to wriggle their way up to the top bucket, making compost as they eat the food-stuffs and pass it through their bodies, pooping it out again to make an excellent fertilizer.
- We placed a tray at the bottom of our worm warm, to collect the worm urine and droppings that pass through the bottom bucket. This urine is also super potent to use as a fertilizer and you can mix it with some water when watering your plants.
Worm farms don’t have to be large, in fact, they can be small enough to keep in a nook in your kitchens and if maintained well enough, they won’t necessarily stink up the place, or attract bugs. They make excellent school projects and can be kept in a classroom too, where kids can add their scraps from lunch and snack time.
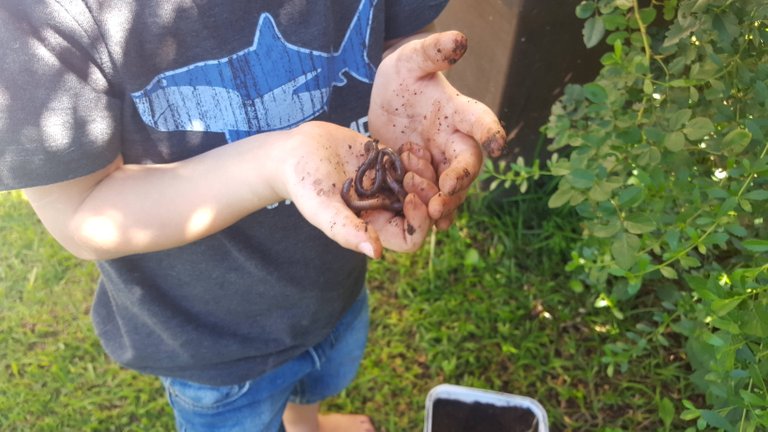
Did you know that the earth is running out of topsoil?
Topsoil – you know, the stuff that’s ultimately the source of most of the nutrients and minerals we get in our food? The food that makes human life sustainable? Well, it’s washing right off the land and into the ocean at a mind-boggling rate (in some places as quickly as 10 times the rate that it forms) because of erosion – mostly as a result of modern agricultural practices. The compost formed from vermiculture nourishes our increasingly depleted soil, and gives it a chance to produce more vegetation (which in turn goes back into the soil, boosting it further). Every little bit counts. - https://mothercityliving.co.za/6-good-reasons-to-start-a-worm-farm-and-how-to-do-it/
There really is no excuse not to run your own worm farm and generate your own organic fertilizer for your plants and garden. It’s easy, affordable and fun! Gather your family members, your students and your friends and start digging for worms!


Very interesting, thanks for the info.
You have been upvoted by the @sndbox-alpha! Our curation team is currently formed by @jeffbernst, @bitrocker2020, @jrswab & @teachblogger . We are seeking posts of the highest quality and we deem your endeavour as one of them. If you want to get to know more, feel free to check our blog.
Interesting read.
I didn't know it was that easy as well. So, thanks a lot for sharing!
Good luck on your farm!
Thanks, it really is super easy to make, and now I have my own supply of fresh fertilizer on its way!
I can't wait to Make my own worm farm. Thanks so much @sweetpea
Awesome, I hope you share it with us here on Steemit!
I've gotten used to non-organic alternatives due to the difficulty in sourcing vermicast where I am from. Thanks for sharing this post. I will find time to make one for my plants this week.
So good to hear :)
Congratulations colleague @sweetpea, Very good work, every day we learn more thanks to your beautiful talent. Do not forget to keep sharing these wonderful articles. God bless you.
Greetings.
So sweet of you to say such kind words, thank you @saracampero :)
I make top soil each day in my garden. Upvoted. Thanks for sharing about the worm farm. Good work. I love eating from gardens. I love the earth day. I'm Oatmeal. You made me smile. Take care.
This is very educating. Thank you so much.
I always wanted to make one, but for some reason never got to it. Now i don’t have an excuse anymore :0)