In this article we will learn how to deploy virtual machine Azure cloud.
Let’s get familiar with few terms:
Microsoft Azure Cloud:
Microsoft Azure is a cloud computing service created by Microsoft for building, testing, deploying, and managing applications and services through Microsoft-managed data centers.
Virtual Machine:
Azure Virtual Machines are image service instances that provide on-demand and scalable computing resources with usage-based pricing. More broadly, a virtual machine behaves like a server: it is a computer within a computer that provides the user the same experience they would have on the host operating system itself.
Resource Group:
Azure Resources Groups are logical collections of virtual machines, storage accounts, virtual networks, web apps, databases, and/or database servers. Typically, users will group related resources for an application, divided into groups for production and non-production — but you can subdivide further as needed.
Let’s start creating Virtual Machine in Azure Cloud.
Login to Azure portal using your login credentials.
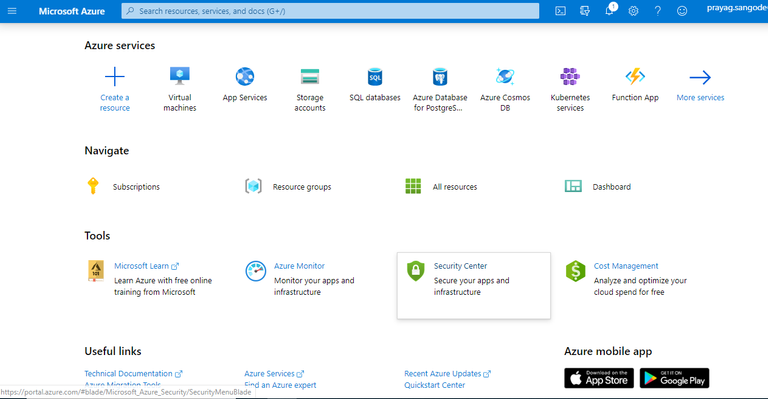
Azure Create Step 1
Click on “Virtual machine”
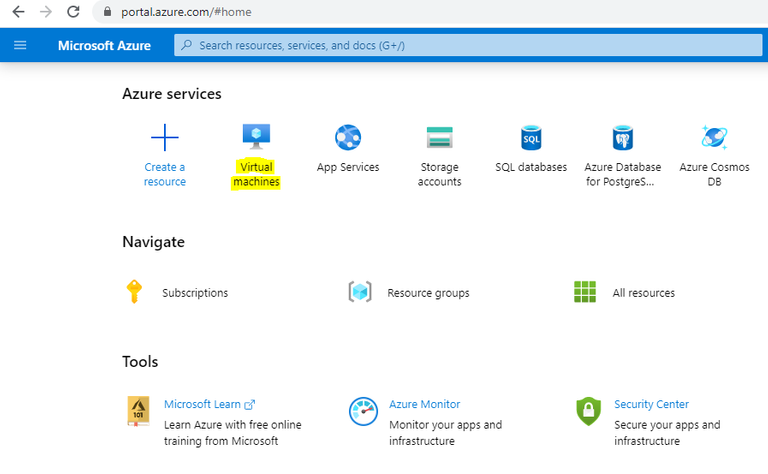
Azure Create Step 2
On next screen click on Create virtual machine
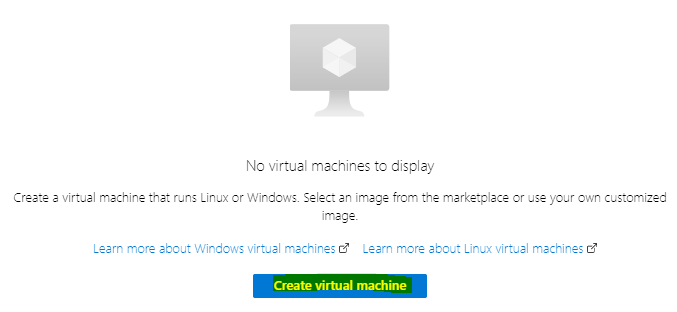
Azure Create Step 3
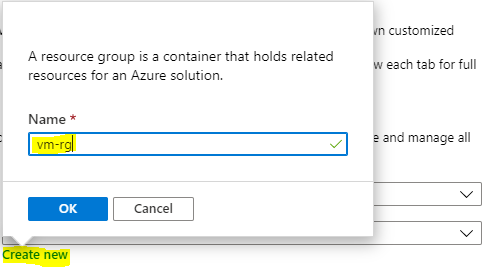
Create a resource group with name “vm-rg”. Click “Create new” to create “vm-rg”
Azure Create Step 4
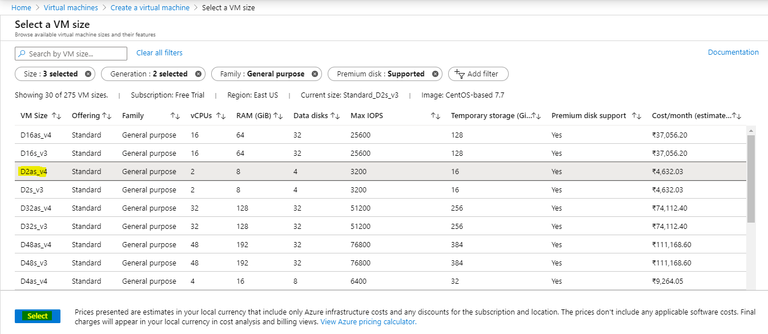
On Next screen select require VM size. In this example we are selecting “D2as_v4” which will give us 2 VCPUs and 8GB RAM
Azure Create Step 5
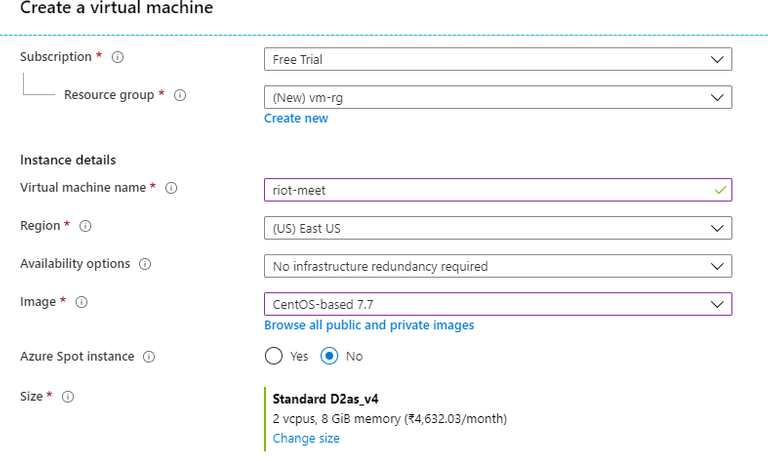
On next screen, select
Subscription : “Free Trial”
Resource group : “vm-rg” which we create in previous step
VM name as “riot-meet”
Image as Centos
Azure Create Step 6
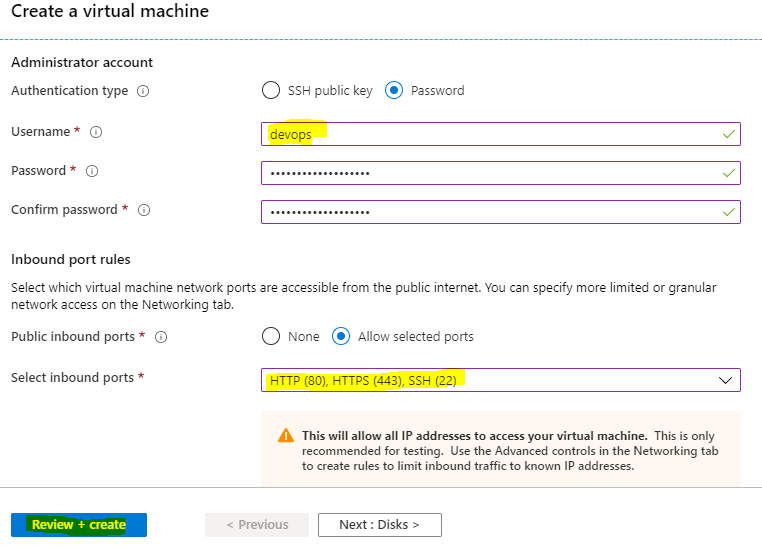
We select Authentication as Password and Username as devops and provide the password.
Select required inbound ports as 22, 80 and 443
Select “Review + create”
Azure Create Step 7
As you can see validation is successful and now we click on create
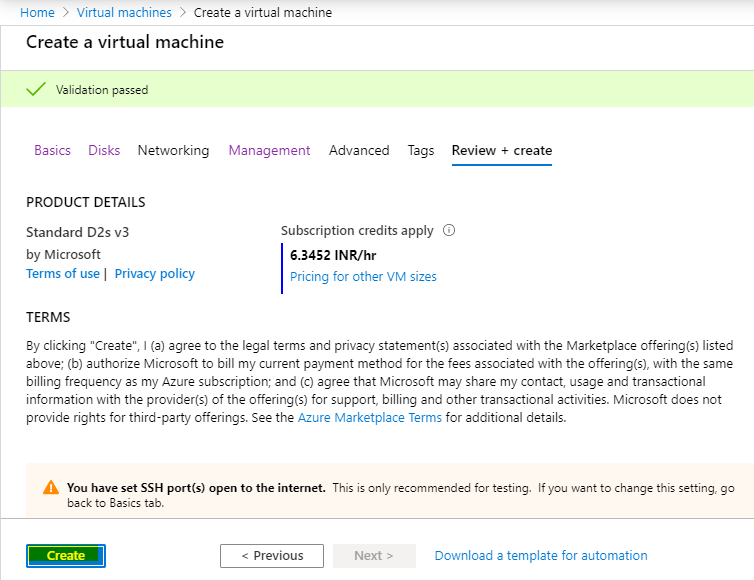
Azure Create Step 8
We can we that our deployment is underway
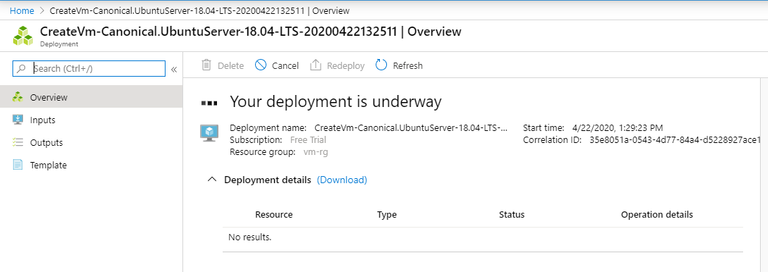
Azure Create Step 9
We can see that our deployment is completed.
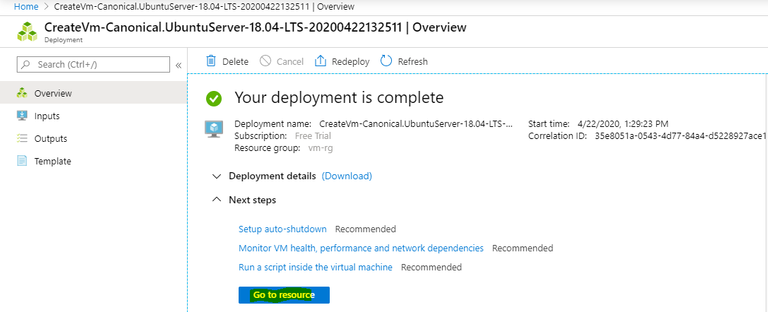
Azure Create Step 10
On next screen we can see all the details of VM.
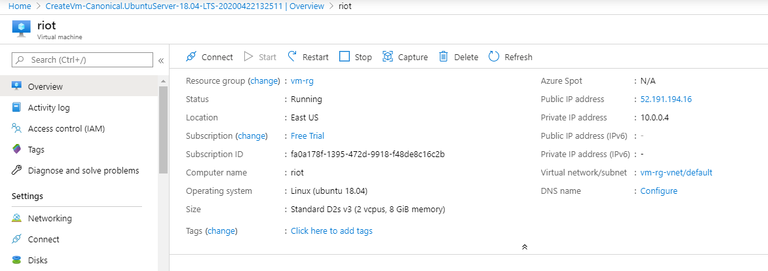
Azure Create Step 11
We can ssh and connect public IP, to check that connection is successful.