Hello Folks! I am @bramvbilsen here to new DIY project- Raging Fire Night Light
Components
- ESP8226 Arduino
- LEDs
- Wires
- Power supply Connector
- USB Connector
- 3D Printed base
This is a Programmable night light.
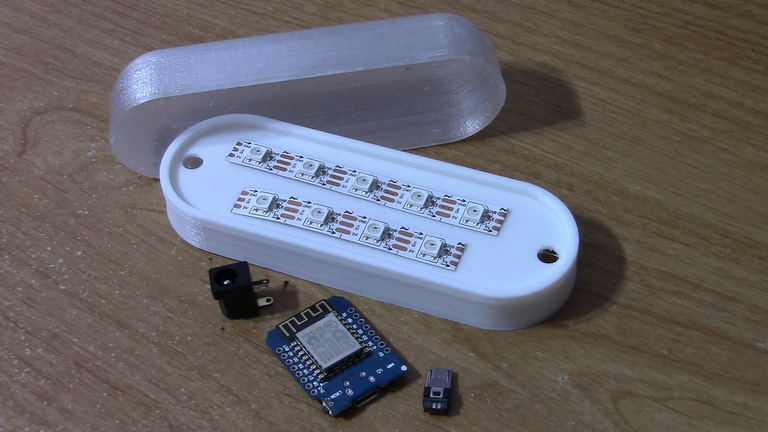
It uses a couple of 3D printed components a few RGB LED strips components mini D1.
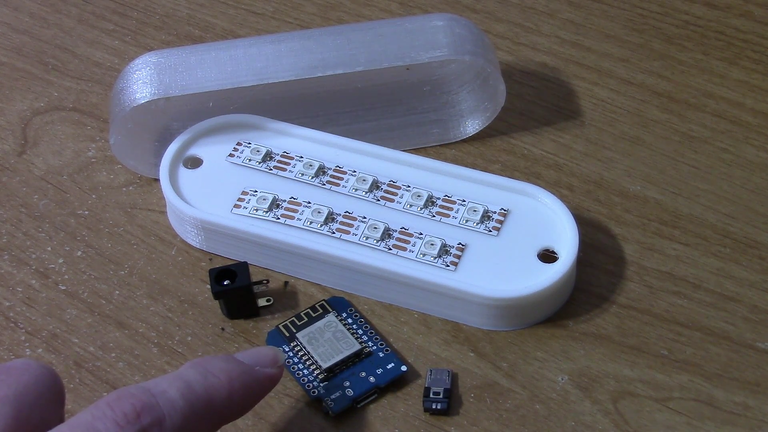
It's an arduino compatible based of ESP8226. It's Wi-Fi addressable as well a power connector.
That matches your power supply a USB connector that allows you to supply power to the mini D1.
Assembly
So let's see how it's fit together.
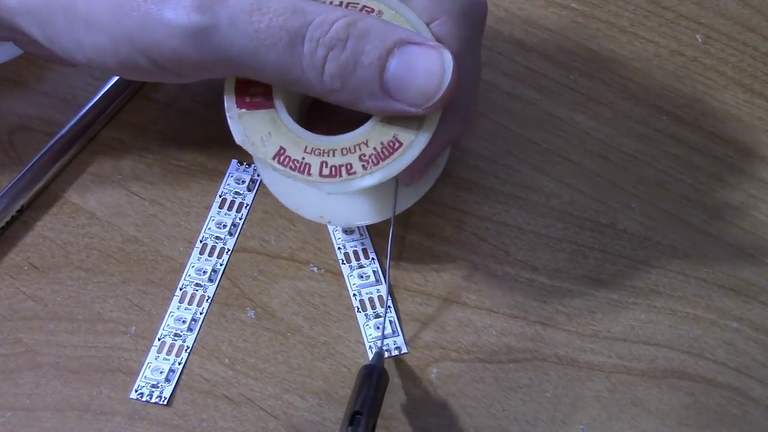
Begin by tenting all of the RGB strip lead. Then you need to ten all the wire leads that will connect the RGB strips.
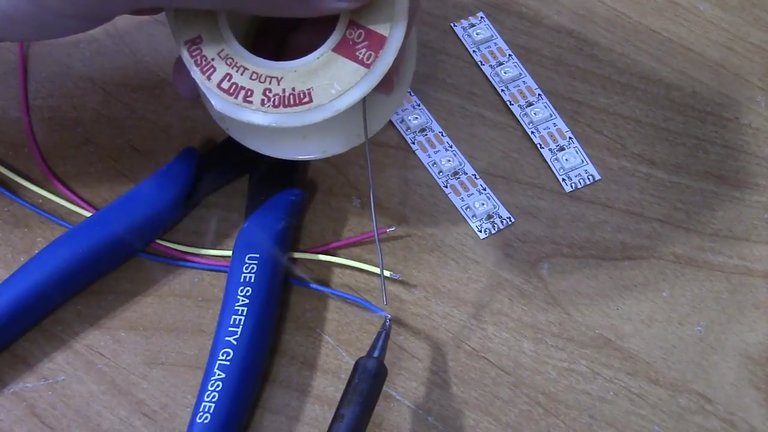
So your wire leads to your RGB strips.
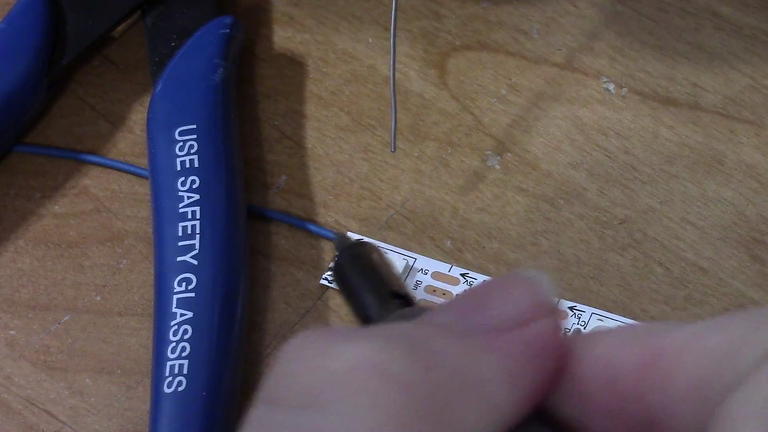
Once your first first set of wires are soldered on cut and the new ends to connect to the next strip.
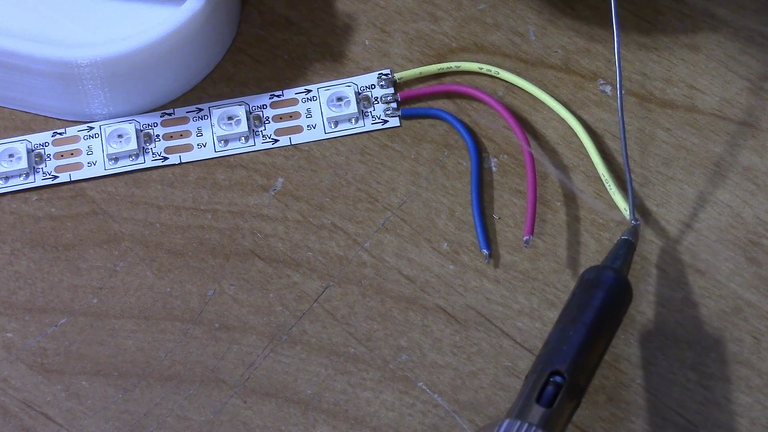
Attached those wire leads to second strip can a new set of wires leads to back to the controller in solder.
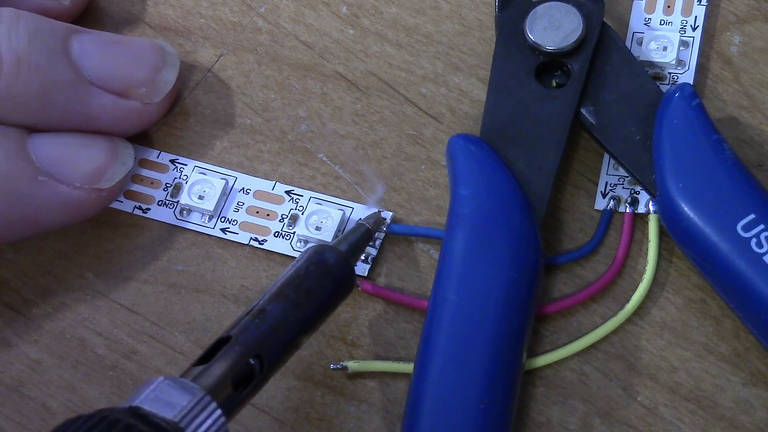
Those wire leads to the front end of first strip run those wire leads through one of the holes in the 3D printed base.
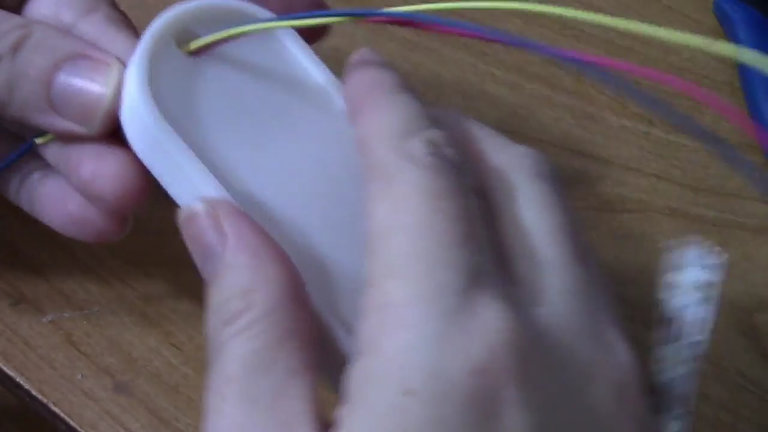
Then a couple small wires leads to connect to the micro USB connector. Then the power connections on the micro USB connector.
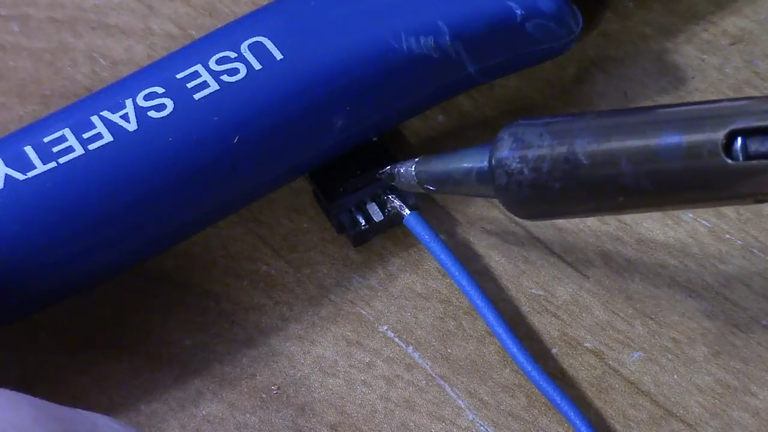
Solder one end of those wire leads to the micro USB connector. Solder all of power leads to the appropriate connector.
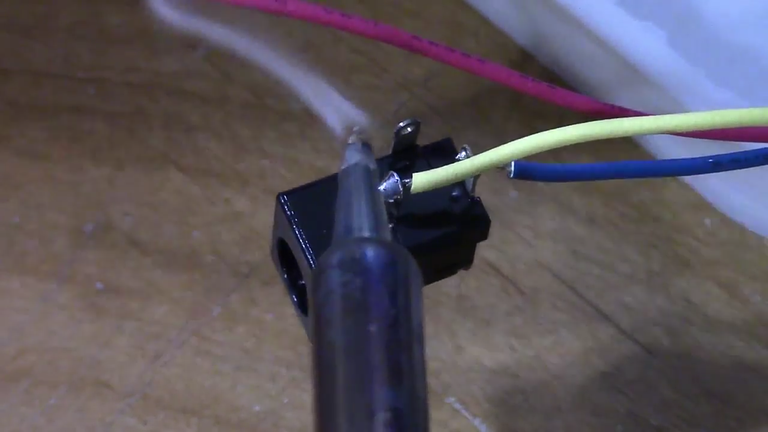
Then solder the RGB signal line to port D1.
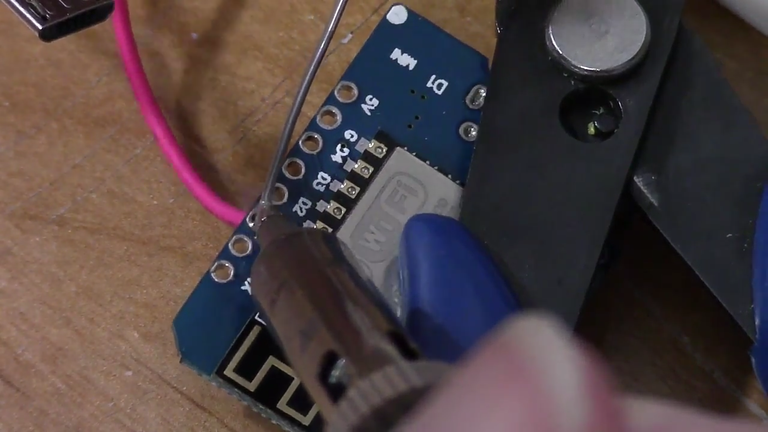
Connect everything for quick test.
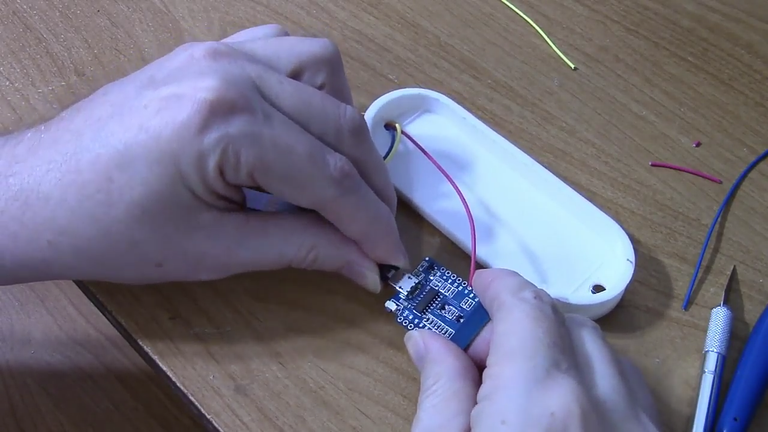
Congratulate yourself on a job well done.
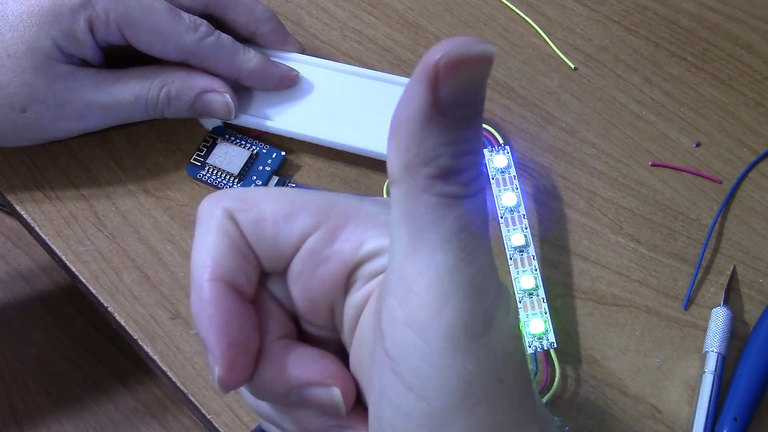
Cut and apply double sided foam tape to the light strips and attach to the base. Apply power attach the dome and enjoy!
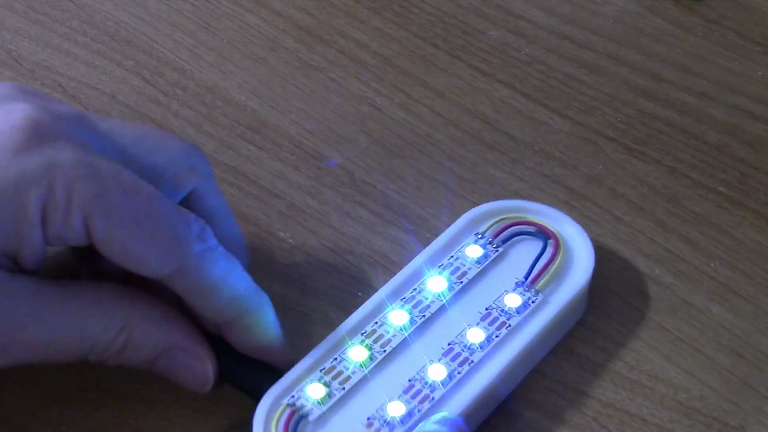
The splendor of your new nightlight. It just takes a quick flash of the software to change it from northern lights to the raging fire.
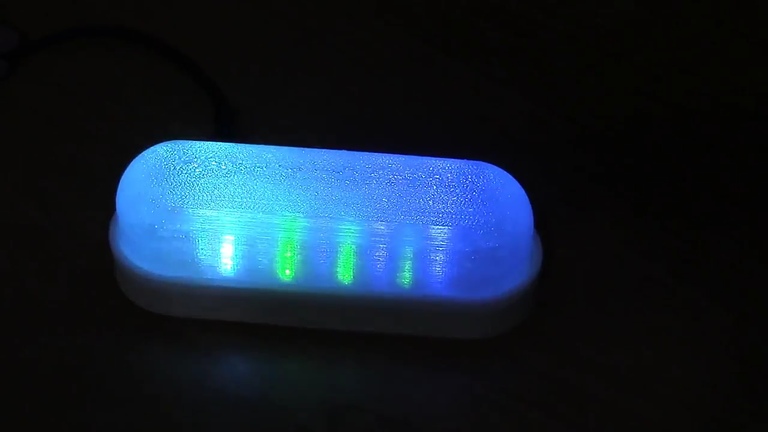
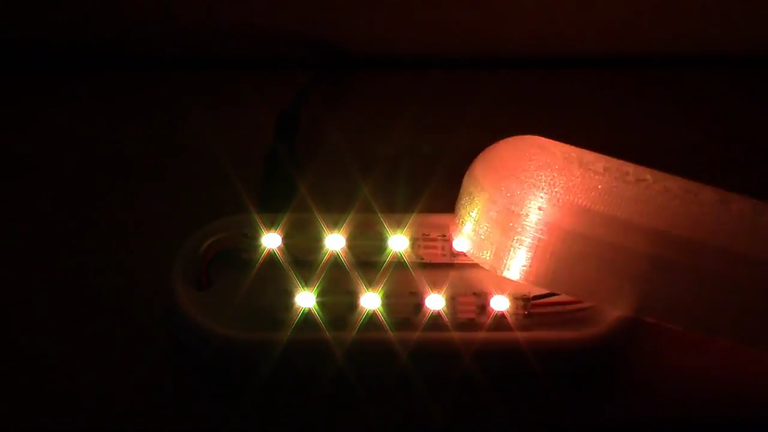
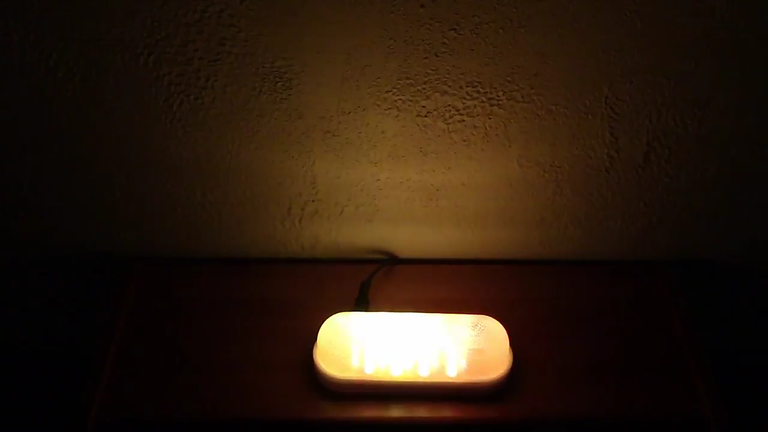
The choice is yours or you alway reprogram. It to be any pattern that you want. You could even change the software to allow you to change the colors wirelessly via a web page or app. That you create a options are limitless until next time.
Source
Plagiarism is the copying & pasting of others work without giving credit to the original author or artist. Plagiarized posts are considered spam.
Spam is discouraged by the community, and may result in action from the cheetah bot.
More information and tips on sharing content.
If you believe this comment is in error, please contact us in #disputes on Discord
great job @bramvbilsen! Did you use PETG for printing the top transluscent portion of the night light?
I think wanhao i3 is better for printing. Which I alway use for my work.Hey @hackspace
Join our Discord Channel to connect with us and nominate your own or somebody else's posts in our review channel.
Help us to reward you for making it ! Join our voting trail or delegate steem power to the community account.
Your post is also presented on the community website www.steemmakers.com where you can find other selected content.
If you like our work, please consider upvoting this comment to support the growth of our community. Thank you.
Your support has been removed. Plagiarism of https://www.youtube.com/channel/UChdftwUR90NbYacO-kcvXyg
Hi @bramvbilsen!
Your post was upvoted by utopian.io in cooperation with steemmakers - supporting knowledge, innovation and technological advancement on the Steem Blockchain.
Contribute to Open Source with utopian.io
Learn how to contribute on our website and join the new open source economy.
Want to chat? Join the Utopian Community on Discord https://discord.gg/h52nFrV