Hello dear steemians! Today I'm gonna talk you about adding 3D model of head (face) that was made by using photogrammetry.
Tekst na srpskom možete videti ovde

How does photogrammetry works?
Photogrammetry works by principle of triangulation. Triangulation is fundamental basis that is used for photogrammetry. By recording at least two different locations, lines of vision can be developed from every camera to the dots on object. Those lines are mathematically intersect in order to reproduce 3D coordinates of desired dots.
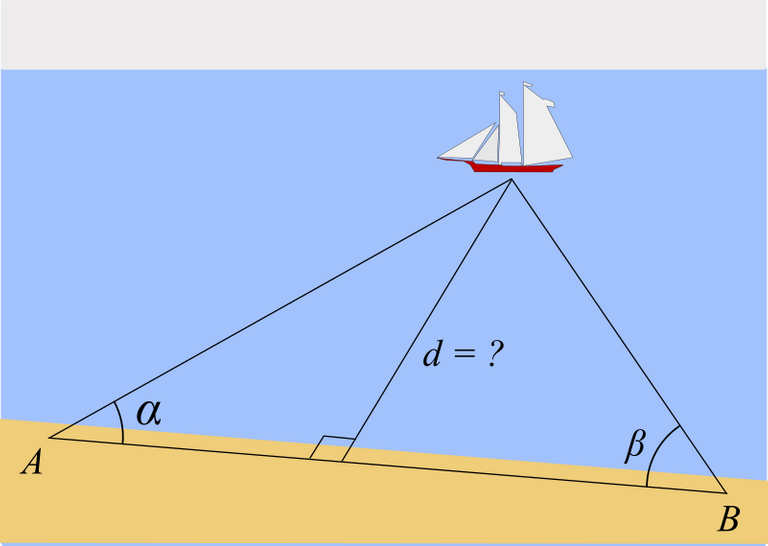
image source WikipediaCC BY-SA 4.0
How you can do this?
To be honest, it's pretty long process. It's not that easy but results are amazing. You will need few programs that will help you make this that and I will tell you everything that you need to know and how to do this.
What do you need for making 3D model and implementing him into game?
- You need camera with manual mode for taking photos of your subject. Why manual? Because you need to have same exposure on every photo. If exposure is different, it will be hard to make nice 3D model.
- Take photo of your subject with lens that has focal length from 35mm to around 70mm. This is the best focal length for taking photos of subject head because there is no distortion to photos and it will make photos more realistic.
- You will need software for making 3D model from photogrammetry. In my example I will use 3DF Zephyr
- You will need software for implementing your avatar into game. In my example I will use Uraniom
- You will need game for implementing your avatar. In my example I will use The Witcher 3
Keep that in mind that "Uraniom" can only add your avatar into these games:
Process:
You need to take photos of your subject.
You need to make 3D model.
You need to export 3D model for using it into "Uraniom".
You need to install game where you want to add your avatar in.
Have fun!
This is the subject that I have made 3D model out of it. You can see my camera settings that I used for taking photos of him.
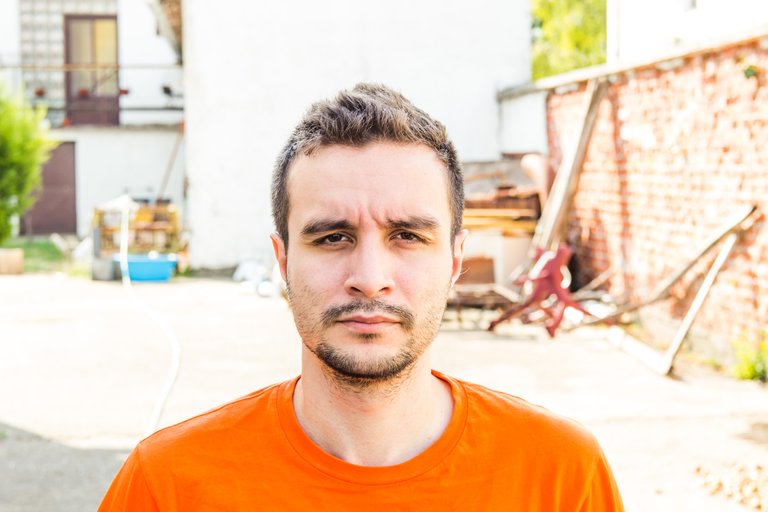
| Camera | Lens | Shutter speed | F-stop | ISO |
|---|---|---|---|---|
| Canon 600D | Sigma 17-50mm @50mm | 1/60 sec. | f/6.3 | 100 |
I have made 62 photos of his head into 4 rings. Rings are angles that I used to take photos of him, as you can see on this photo under this text. Subject was sitting on chair while I was taking photos and walked around him. That is a good level for me because I had to take photos from bird perspective so I had pretty good space for everything.
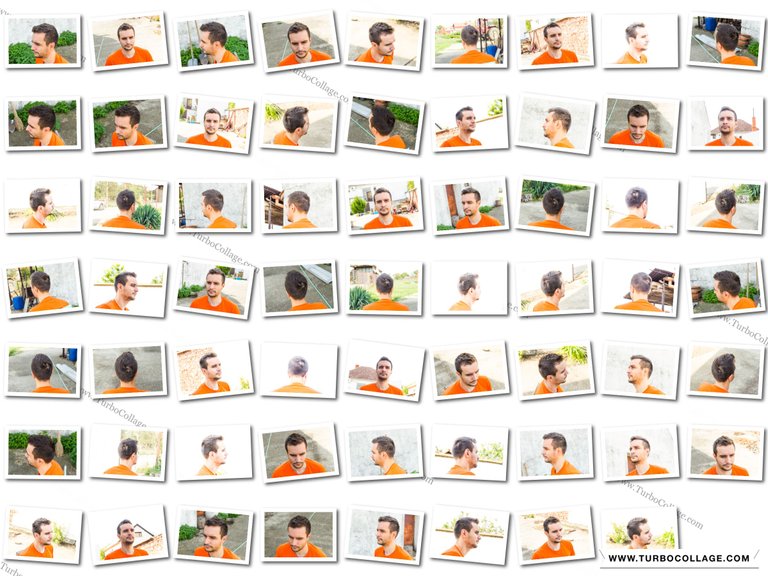
I took every photo in RAW format so I can have more details on photos, and then I can edit them into software like Lightroom. In Lightroom I done some recovery of shadows on photos and add little sharpness to them. I have done this because of his hair, so I can have more details there. After I done everything in Lightroom I exported photos into JPG and reduced it quality so I can get photo that size is around 3MB. I recommend you to do this because bigger sized photos will make process of making 3D model pretty long.
Making 3D model from software "3DF Zephyr"
First that you need to do into software is to make new project by clicking into "Workflow" and then "New project", after that you will be asked to add your photos that you made. After adding photos you will have option that will be shown and that is to determine what is in your photos. You will have few presets to chose, you will use preset called "Human Body". Under preset option you will have one more thing to do, that is giving software option of how much detail and accuracy do you want to software to make. I recommend you to use "default" option.

After software was done with aligning photos, on my example, software found spots for 55 photos out of 62. Software made dot cloud. After that you will need to remove excess dots that you won't need for next step. Removing dots it's pretty simple, just mark dots that you won't need and simply press "Delete" on your keyboard.
Second step that you will need to do is to make dense cloud by clicking "Dense Cloud". Options of quality are already made with preset "human body" you just need to click on "run" so software can start doing it job. For this process I had to wait for about 45 minutes. After that you will get pretty good representation of your 3D model.

When software has done with work, you need to remove excess dots that you won't need.
Third step is to make mesh by clicking on "Mesh" option, preset that you will use is same as you did already. Process is not that long as dense cloud process.

And final step is to add texture into your 3D model by clicking "Texture" in program. Leave everything at it default options. Here is result.

After software is done. You will need to export your texture by clicking "Export textured mesh" and here are settings that I used that you will have to use.

You will need 3 files and that is:
- .obj
- .mtl
- .jpg
Process of adding 3D model into "Uraniom"
First that you will need to do is to install "Uraniom" from their site, I added link at the beginning of my post. Make account, you will have few options on how to make account.
After that, one thing that you need to know, that software doesn't support files bigger than 30MB. You will probably have files that are bigger than 30MB, so "Uraniom" has made option to upload your file as ZIP file that will reduce your file. You need to ZIP those 3 files and I will show you my settings that I have used. Sometimes software will make more files than 3, it will be few JPG files, you need to add them into that ZIP file.

After you upload files into "Uraniom" and accept their terms you need to click on "Send". After adding ZIP file you will have option to determine where eyes and mouth are in this 3D model. Software will determine by itself but you have option to make it perfect.
After that it goes final part, adding your 3D model into character of the game.
In my example I added my 3D model into game The Witcher 3.
It will look like this just without these avatars that I have made previously. Click into + sign. After that you will be given an option of two characters, you will have Witcher and Ciri. Chose whatever you want.
After you have chosen which character you want press "Next". You will have window where you will be able to blend color of your 3D model into character. Option is called "Colorimetry". It will look like this.

After you have done with blending press "Next" and you will get one more option to do and that is positioning your 3D model.
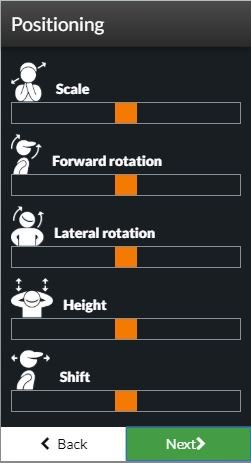
After you have done positioning press "Next" and then name your avatar and that is it. It's time for installing your avatar into game.
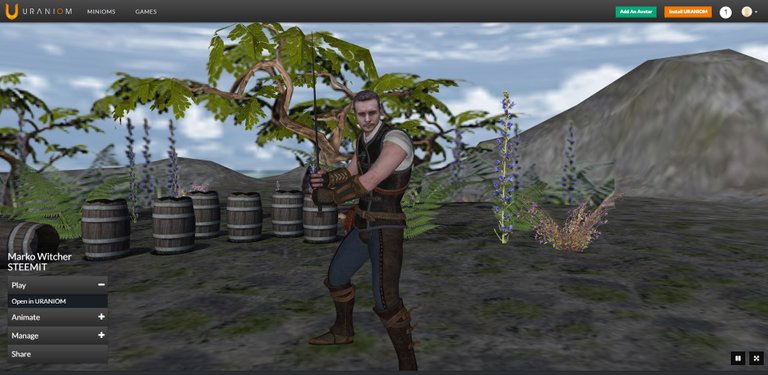
You can install your character by clicking "Install" that you will find on down left corner of software. Software will make backup copy and install your character. You will have to wait for about minute to software do it job. You will get notification that everything is done properly and option to start game "Play".
Here are some screenshots that I have made in game.


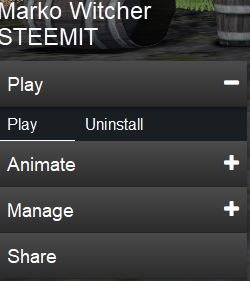
If you want to remove your character from game you will have option in software to uninstall it "Uninstall". You can find this option in down left corner of software.
Have fun with it and thank you for checking my post! :)


This post has been voted on by the steemstem curation team and voting trail.
There is more to SteemSTEM than just writing posts, check here for some more tips on being a community member. You can also join our discord here to get to know the rest of the community!
You have a minor grammatical mistake in the following sentence:
It should be to choose instead of to chose.model 3D beautiful