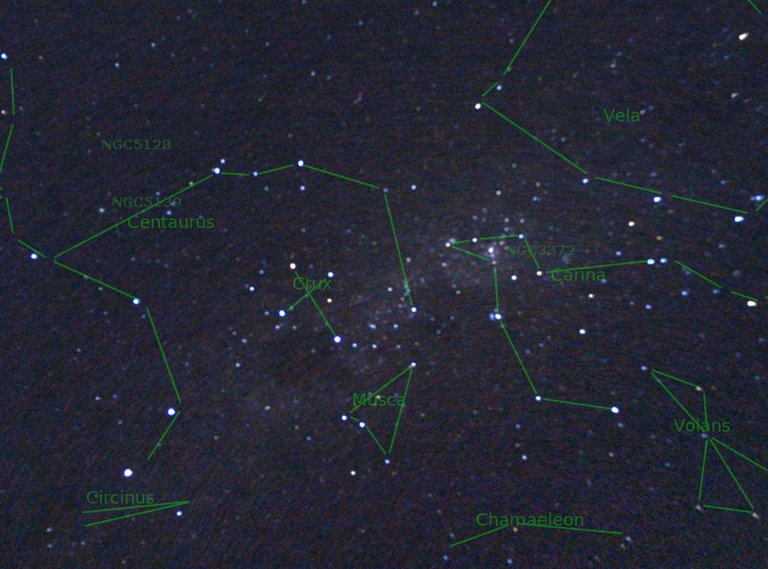
I get asked a lot of questions about which telescope to buy, and almost in same breath what camera is best to use with that telescope. What I suggest is that people get into this gradually because not only can it be overwhelming, but they can end up loosing quite a bit of money selling expensive equipment second-hand after they discover their lofty ambitions in astrophotography were either too hard or required too much commitment.
The good news is you can start very easily with astrophotography using nothing more than a smartphone! Therefore, in this article I wish to introduce basic Smartphone astrophotography.
Basic Smart Phone Astrophotography
Most people have smartphones these days, and despite limitations, these are perfect to get you started in astrophotography. Typically, a smartphone has a wide angle fixed focal length lens and small CMOS image sensor which is capable of taking photos of constellations, nightscapes and even the milky way. To get started you will need:
• A method of fixing the camera.
• App that provides more control over the camera, including long exposure, self-timer and intervalometer capability.
• Some form of remote shutter release (desirable)
Fixing the camera could be as simple as placing the camera on the ground or a chair – facing upwards – but some type of tripod mount would really help, such as the one shown. The phone should be mounted in such a way as to make it easy to access the screen, and with the primary camera able to be tilted up into the sky. Having the tripod extended up at its highest point makes it easier to compose and focus the image.
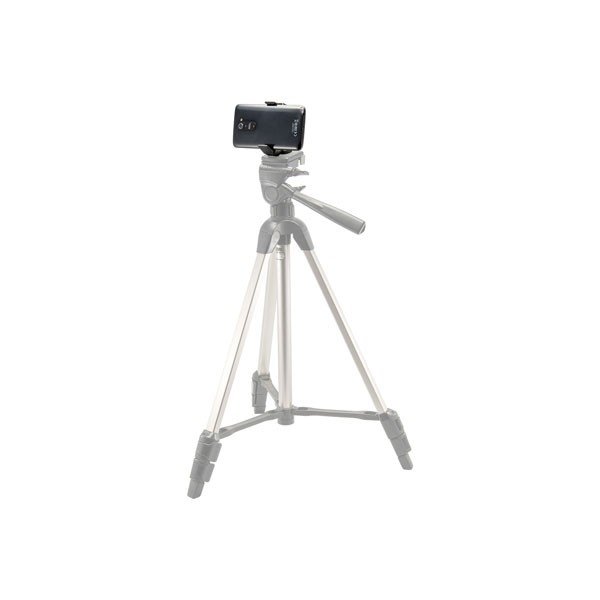
Credit: Aarkon Australia
The standard phone camera app’s don’t have the functionality that is needed for astrophotography, so you should look for an app that can do the following:
• Can take exposures of 10 seconds or more.
• Has manual focus adjustment.
• A self-timer function to enable a delay between the shutter being touched and the exposure starting.
• A built in intervalometer – which provides a means of automating a sequence of exposures (eg taking 5 exposures of 10 seconds, without having to touch the shutter button).
For the iPhone I downloaded NightCap Pro which has so far proven to be an excellent application that meets those needs. For android people seem to use Camera FV-5, although check that your phone is supported.
The final consideration is a remote shutter release to avoid bumping the camera at the start of an exposure. This can be as simple as the earplug button, but if this is not available you may wish to use the self-timer function on the camera to allow the camera to settle before the first exposure starts.
Setting up NightCap Pro
Setting up Nightcap is relatively straightforward for tripod astrophotography. First, you will need to set an exposure that is long as possible with introducing star trailing which might cause the stars to elongate and become unsightly. The longer the focal length the worse this effect will be. In practice an exposure of 10-15 seconds should be OK.
Step 1: Press the star icon and setup the Photo camera options to Long Exposure mode (see the green indicator against Long exposure).

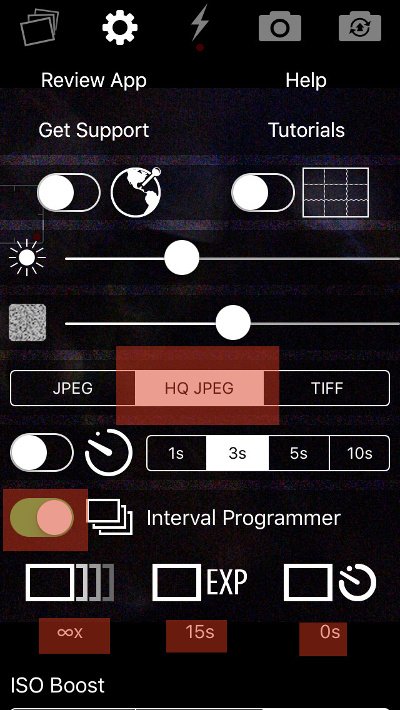
Step 2: Setup the intervalometer to take continuous exposures of 15 seconds, with no delay between them. This is done by clicking the “cog” symbol and as shown in the following screen capture, and making the changes indicated by the red highlighting. We could also enable the self- timer to provide a delay to the start time if we don’t have a remote trigger for the shutter (it is shown disabled here). The reason for setting continuous exposures is that we want to either select a best photo, or may wish to stack to improve image quality.
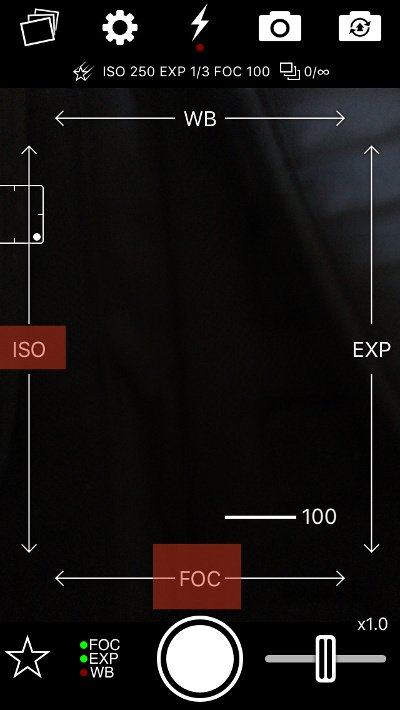
Step 3: Return to the image screen and adjust focus (FOC) to 100 and ISO, but holding your finger on the image preview screen and then sliding your finger to adjust the appropriate slider. Note, I found that best infinity focus to be closer to 98-99 rather than 100 which it theoretically should be.
Step 4: Compose the image (you typically can see the brighter stars on the screen) and press the shutter button to start imaging.
Practical example
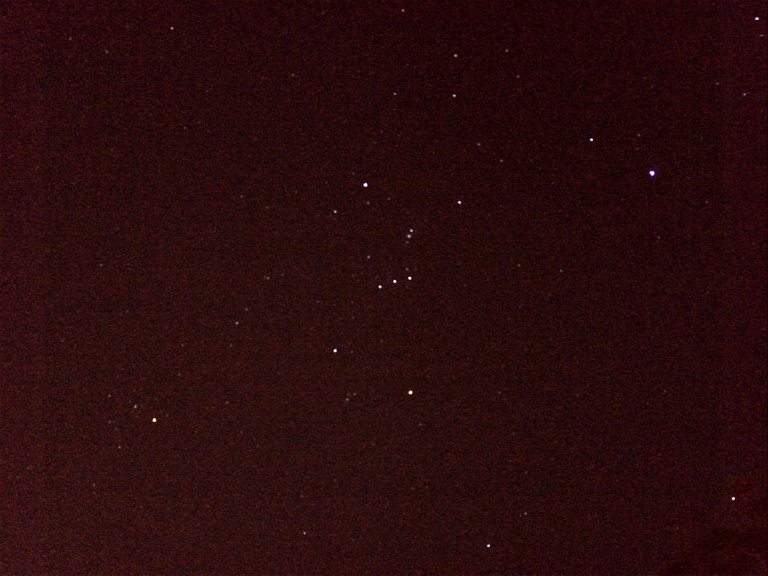
What can be achieved with a smartphone mounted atop a stationary tripod? This image centred on the constellation of Orion is from my own iPhone 6s which shows as many stars if not more than could be seen with my own eye at the time (particularly as it was very hazy at the time). Note that variation in star colors are quite evident, with the hotter stars being blue or white and the cooler stars being a cooler.
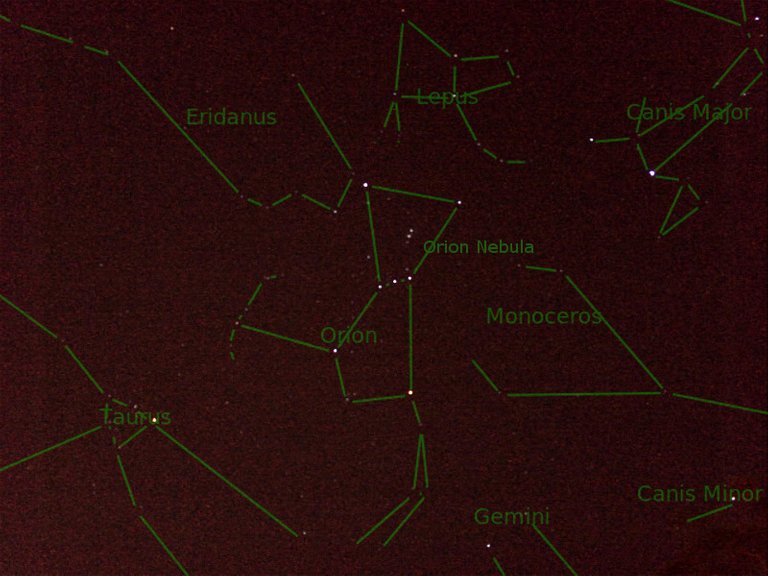
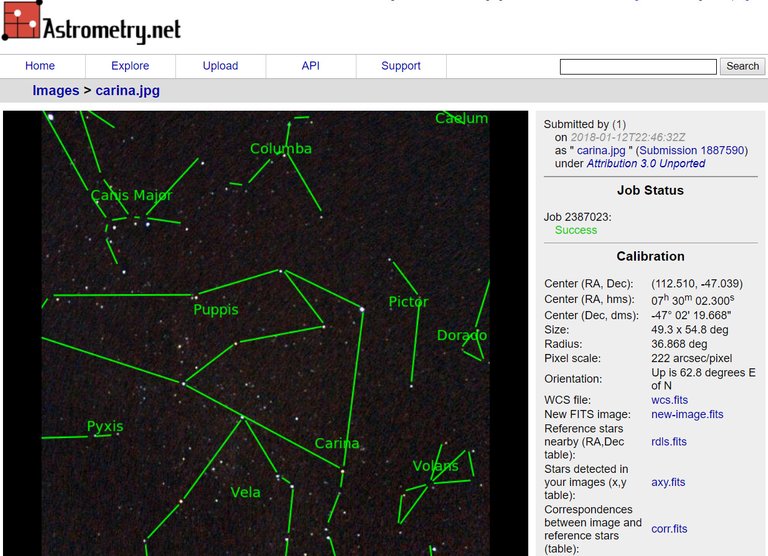
Below is what astrometry.net returned for the above image. It has correctly identified 8 constellations in the image, including the constellation Orion at the centre.
Cool Tip – Astrometry.net
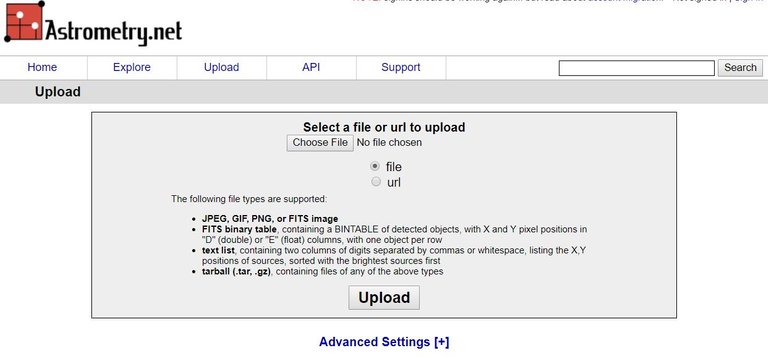
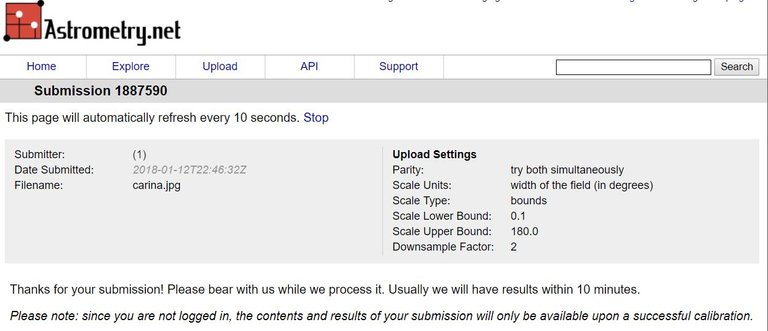
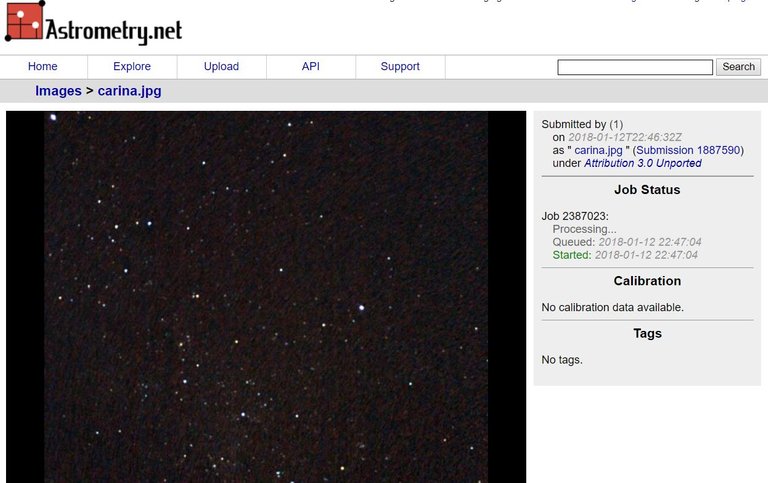
Once the image has uploaded you will see a submission number as follows. Note this submission number in case you must find it again.
Soon you will see the following page. What I will tend to do is clink the link on right hand side that says “Submission xxxxxx” where xxxxxx is your submission number.
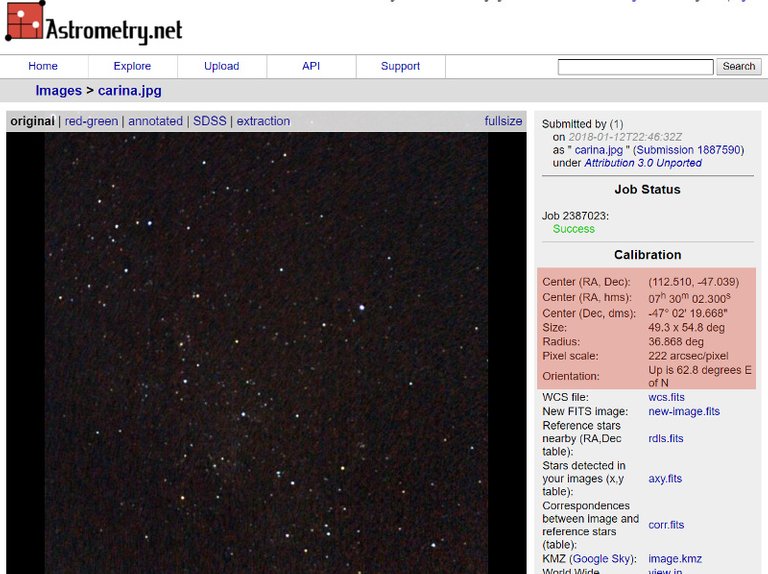
Periodically refresh your browser (I think the page does auto refresh, but it seems to take a long time) until you see the success and summary screen as follows. Highlighted in red are all the detected parameters of the image, like the celestial coordinates of the centre of the image in Right Ascension and Declination (which are the celestial equivalent of longitude and latitude).
What is of more interest however is the annotated version of this image. This can be accessed by clicking the “annotated” link directly above the image. If we click this image you can see Constellations such as Canis Major, Carina and Vela correctly identified.
Stacking
Using stacking it is possible to improve considerably on the image above. I previously covered stacking in my article here https://steemit.com/steemstem/@terrylovejoy/astronomical-imaging-stacking . Another advantage of stacking here is that the individual exposures can be made short enough to prevent star’s trailing. The image below was acquired with an iPhone 6s running NightCap Pro the result of stacking 25 images of 15 second exposures from a fixed tripod. The stacking method was using the Auto Star matching in Maxim DL. Maxim DL is quite expensive, so if you are experimenting with stacking you may wish to try the free program DeepSkyStacker as a free option.
Unfortunately, focus was a little out, but in this image, it is possible to make out the milky way, the Eta Carinae Nebula (NGC3372) as well as several star clusters and other interesting objects. One, albeit unintentional, advantage of a slightly out of focus image is that star colors are more evident than in a properly focused one.

Conclusion
I hope this article encourages people to get out there and experiment with Smartphone Astrophotography. Shortly, I plan to do a follow-up article on “Digiscoping” with a Smartphone, which involves imaging with the phone through the eyepiece of a telescope. This technique greatly expands the number of possible astronomical targets that can be imaged over just the built in smartphone lens.
UPDATE : I have uploaded Part II Here
References
Smartphone Astrophotography: How I Capture the Moon and Planets with My Phone. https://petapixel.com/2015/02/20/smartphone-astrophotography-how-i-capture-the-moon-and-planets-with-my-phone/
The Apple iPhone 6s and iPhone 6s Plus review. https://www.anandtech.com/show/9686/the-apple-iphone-6s-and-iphone-6s-plus-review/9
Samsung Galaxy S8 (tech specs). https://www.gsmarena.com/samsung_galaxy_s8-8161.php
DeepSkyStacker download. http://deepskystacker.free.fr/english/index.html
Astrometry.net free astrometry service. http://nova.astrometry.net/
Please note: All images are my own unless otherwise noted.
Excellent and informative post! I wasn't aware that you could download an external app to increase the exposure time.
I have had some good luck taking some shots of the moon on my phone using someone else's telescope but have never done pictures straight from the phone of the night sky. Maybe I should try it now with this advice!
Thank you @proteus-h ! For IOS devices there is a limit of 1/3 - 1 second exposure hard set so what the app is doing is adding/stacking images internally. This is an OK compromise, because at least you don't have to deal with hundreds of images on your hardrive to get a decent exposure.
Please have a go at taking some images through the phone, its a lot of fun! Currently I am doing the second part of this article which is imaging through a telescope. Hopefully, I'll get it posted next week sometime.
Do you know of any comparable apps to Nightcap for Android? There's an app called "Night Camera" in the Play store, any idea if it's any good?
I've heard that Camera FV-5 is the one to get for Android, and I have seen some great results with it. I heard that is doesn't work for all android devices, but I guess you can try the lite version and if it is good then upgrade to pro.
Turns out my LG is one of the phones it won't work with :( Guess I'll keep looking.
Thank you for sharing the photoshoot trick is very useful for me who lay to photoghaphy
I didn't even know this was a thing. Just added it to my list of projects... summer projects that is.
This is amazing. Very insightful. Nice work
Thank you @pboss123 !
Please follow me. I post stories, motivational quotes, I also blog about history and also Cryptonews. Thanks. And remember to support by upvoting.
a very good post
anyone who reads it will like it
I really like your posts
@muhammadkariman