Summary and Concluding notes
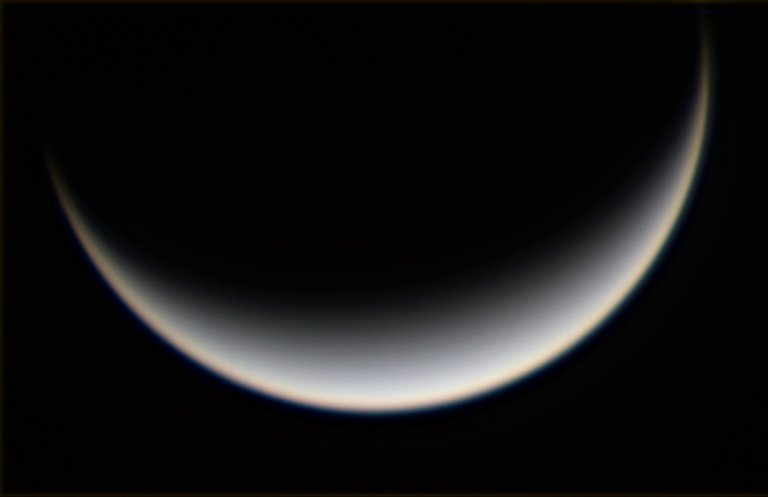
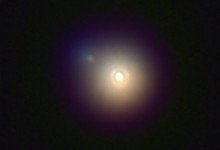
The crescent moon? No actually crescent Venus currently moving into inferior conjunction with the sun, taken by the author on October 1 using many of the techniques discussed in the Basic Astrophotography series. The planet is covered in thick clouds of Sulphuric Acid which obscures the surface in visible light. To the eye the Sulphuric acid cloud tops are opaque and appear like a smooth continuous white blanket. Image Credit: Author
Finally, we reach the end of the Basic Astrophotography series, which I admit touched on more advanced topics. I hope this helped not only refine their photography techniques but perhaps inspired some people to go out and have a look at the stars and planets. Perhaps you may be inspired to a pro-am (professional-amateur) collaboration project.
To finish off this series here is a quick summary of previous articles complete with links. Let's start with the Smartphone series I did.
Astronomical Imaging: Using just a Smartphone
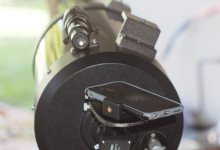
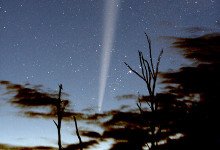
Using an app like Smartcap Pro (IOS)or Camera FV-5 (Android) you can make surprisingly good images of the night sky. Bright objects like the moon or planets are easy targets, provided you have a suitable method of mounting the camera to a telescope. The camera without a telescope is capable of taking good photo’s of constellations and even the milky way.
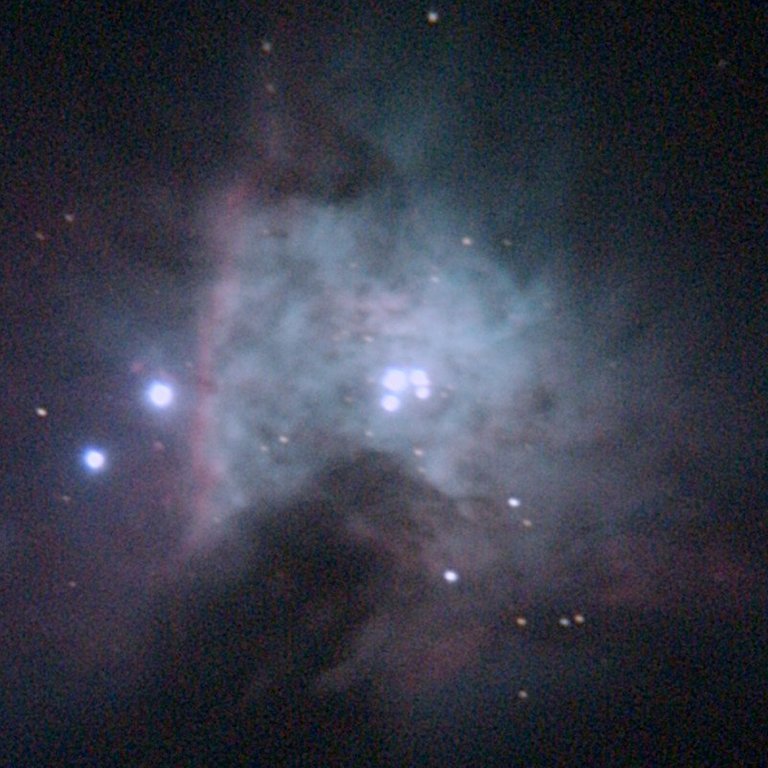
The center of the Orion Nebula M42 showing a group of very young stars (less than a million years old) called the trapezium capture with an iPhone6s plus an 8” telescope. Credit: Author
Here are the summary and links for the 2 part series of Smartphone astrophotography.
 | Title | Topics |
|---|---|---|
 | Astronomical Imaging using Just a Smartphone (Part 1) | Introducing long exposure phone apps, accessories |
 | Astronomical Imaging using Just a Smartphone (Part 2) | How to image through a telescope with a smartphone |
Parts 1 and 2 - Astronomical Imaging - The Basics
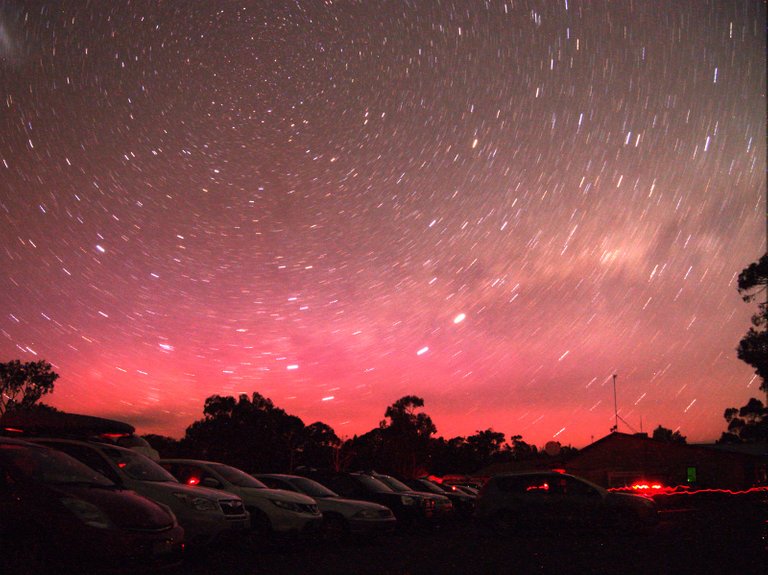
This aurora was captured with a normal digital camera with it’s kit lens. Image Credit: Author
To kick off things, in parts 1 and 2 of the astrophotography series I cover equipment selection including cameras, lenses, mounts, and other accessories. In part 1 we even look at taking a photo using a normal digital camera mounted on a tripod (it could even be a chair if no tripod is available). Here are the links and summaries of parts 1 and 2.
| Title | Topics |
|---|---|---|
 | Astronomical Imaging - The Basics – 1 | Selecting and using a camera. Taking your first astrophoto |
 | Astronomical Imaging - The Basics – 2 | Camera accessories and Telescopes |
Parts 3 and 4 - Some Essential Techniques
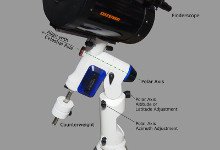
The two hurdles that often confound people starting in astrophotography are polar alignment and focus. With poor polar alignment time exposures can show marked trailing and blurring, and even if doing short exposures for the moon and planets there may be a need to reposition the telescope continually. Focusing a camera at night can be quite troublesome for many as camera autofocus usually fails.
We cover the topics of polar alignment and focusing in parts 3 and 4.
| Title | Topics |
|---|---|---|
 | Astronomical Imaging - The Basics – 3 | Polar Alignment |
 | Astronomical Imaging - The Basics – 4 | Focus. Theory and techniques |
Parts 5 to 7 - Prime Focus Astrophotography
Starting at part 5, we describe prime focus imaging which is the primary way in which a telescope is configured in astrophotography. This method is just using a telescope in place of a camera lens.
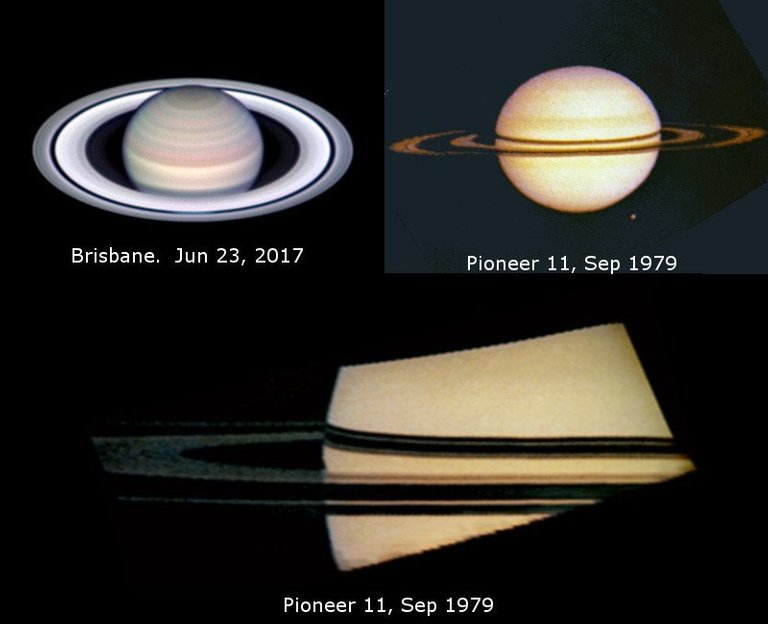
Prime focus astrophotography has evolved a lot over the past few decades thanks to camera and computer technology. These images of Saturn comparing a backyard amateur image and those taken by an early space mission demonstrate this. Pioneer images are credit: NASA/JPL, other image credit: Author
The topics cover a range from computing field of view (will the target fit in the picture) and image scale (will I have enough resolution). The use of focal reducers and extenders to modify the field of view and image scale.
Here are the links and summaries for parts 5,6 and 7.
| Title | Topics |
|---|---|---|
 | Prime Focus Astrophotography | Prime focus astrophotography, intro and theory |
 | Prime Focus – Imaging Planets | Prime focus imaging of planets |
 | Prime Focus – Imaging Planets | Prime focus imaging of Deep Sky Objects |
Parts 8 to 11 - Image Processing Techniques
Once images are acquired, it is then necessary to turn this image data into something useful, either for scientific use or nice image. This step is the image processing step and using starts with calibrating the images to remove defects such as hot pixels, dust motes and even manufacturing errors in the sensor. Following calibration, it is quite common to register and stack images to improve the signal to noise, followed by filtering and then stretching. Some available techniques for image processing are discussed in parts 8 to 11.
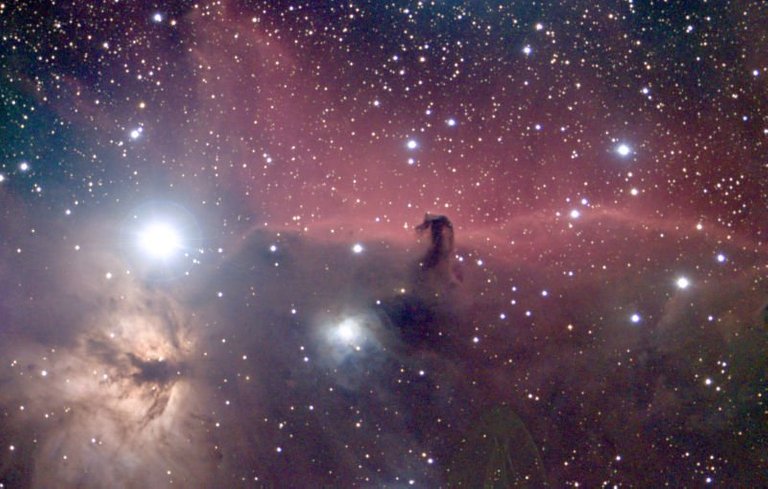
This image of the Horsehead nebula consisted of combining 180 exposures of 30 seconds each. The Horsehead nebula is a cloud of dust that obstructs the nebula emission behind it. The generally reddish color of the background nebula is due to emission from Hydrogen. Image Credit: Author
Here are the links and summaries of parts 8,9,10 and 11.
| Title | Topics |
|---|---|---|
| Guide To Basic Astrophotography 8 – Image Processing | An introduction on how to process images, including the calibration phase |
| Guide To Basic Astrophotography 9 – Image Processing - Stacking | The benefits of stacking images |
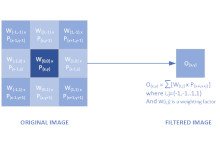 | Guide To Basic Astrophotography 10 - Image Processing - Filters | The use of image processing filters is a powerful method of enhancing detail in images |
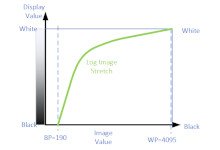 | Guide To Basic Astrophotography 11 - Image Processing - Visualisation | Image stretching and visualisation |
Part 12 - Software for processing Planetary (and Moon) images
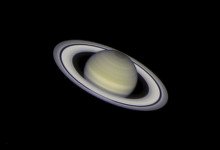
In the final part for this series, I look at three free software packages (PIPP, Autostakkert, and Registax) that are invaluable for processing images of the planets and the moon. Here is an example of an image processed with those applications using images I acquired from my home in Brisbane, Australia.
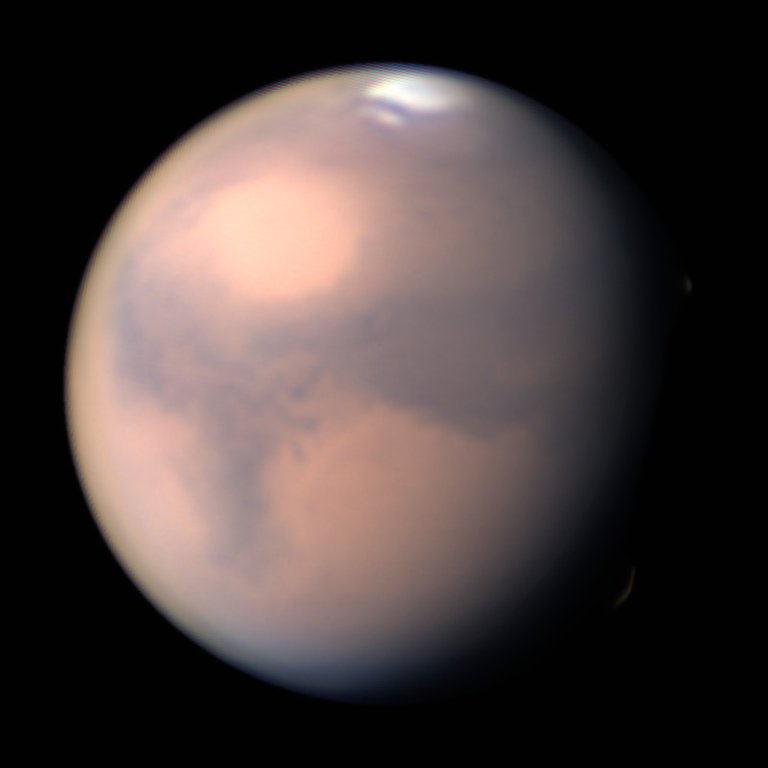
Mars as captured on October 3, 2018. Images were processed in PIPP, Autostakkert and Registax. Some further adjustment was done in GIMP. Image Credit: Author
Here is the link and summary for the final part 12.
| Title | Topics |
|---|---|---|
 | Guide To Basic Astrophotography 12– Image Processing Software | Image processing software - PIPP, Autostakkert and Registax |
Some future topics
blog .This article is the final topic for this series, but there are many more topics that could be discussed. One topic I skipped was software for registering and stacking "deep sky images." One of the reason's for this is that the excellent software capable of doing this is not free (Maxim DL and Pixinsight) and somebody starting in astrophotography is unlikely to commit that much cash until they get more experienced in the hobby. Regarding Pixinsight, I'd like to point out that @astrophoto.kevin has posted some excellent tutorials on his

SteemSTEM is a community project with the goal to promote and support Science, Technology, Engineering and Mathematics on the Steem blockchain. Please come over and check out the new steemstem application at https://www.steemstem.io/
If you wish to support the steemSTEM project you can:
Discord community | Delegate SP to steemstemContribute STEM content using the #steemstem tag | Support steemstem authors | Join our curation trail | Visit our
A great summary Terry! This whole series is a great piece of knowledge.
Even here you transfer knowledge, great :-)
Many thanks for the mention and the promotion for my series.
Thank you Kevin! Btw just added a link to the Pixinsight series . They have actually been pretty helpful for me.
Thank you so much Terry :-)
Great to hear that they were useful for you.
I hope to get new images so that I can continue the series soon.
This has to be one of the most comprehensive series of posts I have seen on Steem.
Thank you intrepid, I try my best :)
Well your best is pretty darn good.
I upvoted your post.
Keep steeming for a better tomorrow.
@Acknowledgement - God Bless
Posted using https://Steeming.com condenser site.
This post has been voted on by the SteemSTEM curation team and voting trail in collaboration with @curie.
If you appreciate the work we are doing then consider voting both projects for witness by selecting stem.witness and curie!
For additional information please join us on the SteemSTEM discord and to get to know the rest of the community!