So dear friends, after we measured the room and after checking the ceiling and walls it was time to work!
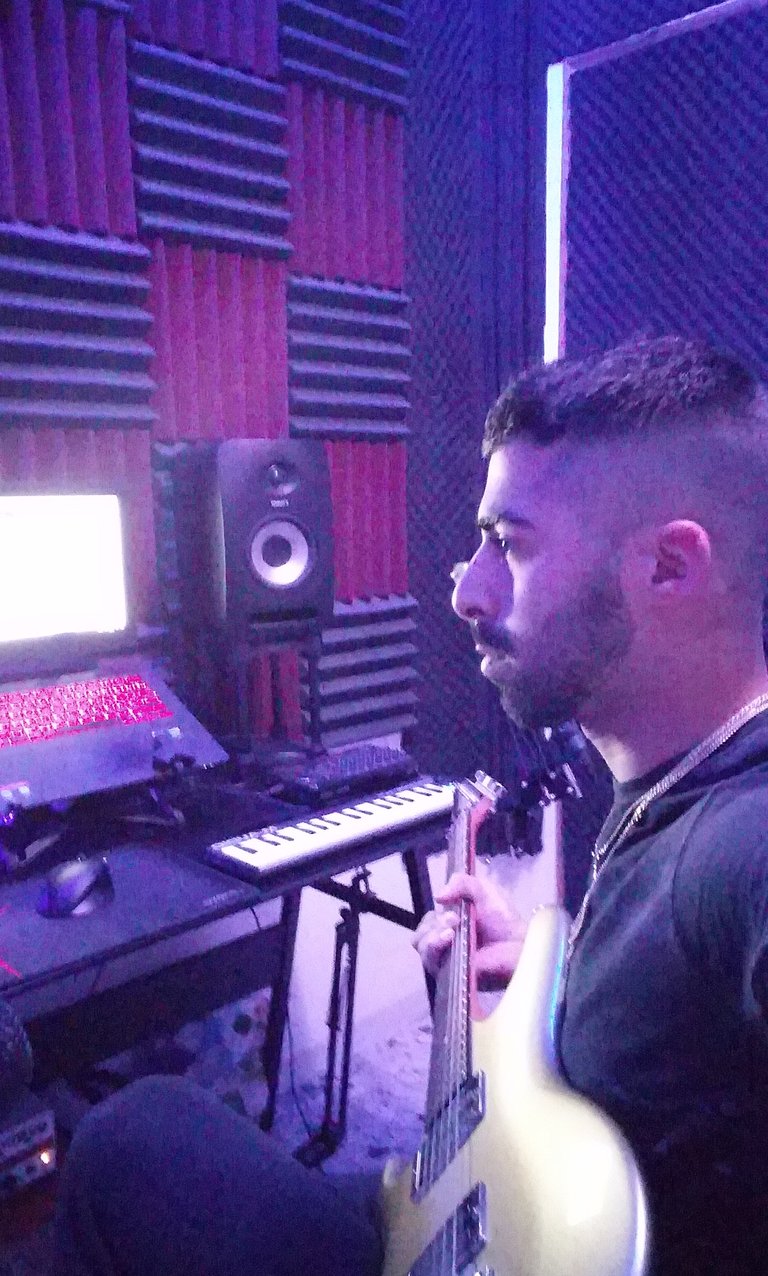
[15201921264471711651944.jpg]So I understand you're asking yourself where do you start and what ingredients should you use? Here I come into the picture ☺
There is a wide range of acoustic sponges and they have different roles!
1.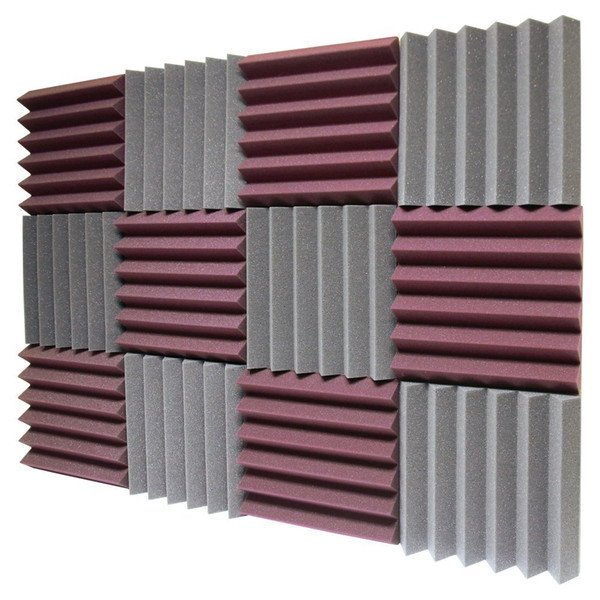
For example, there are these sponges that are suitable for the front area of the studio or sides but are usually those that are in front and give a return of sound to the back room of the room,And there are all kinds of colors, but that's the structure of the sponge I'm talking about
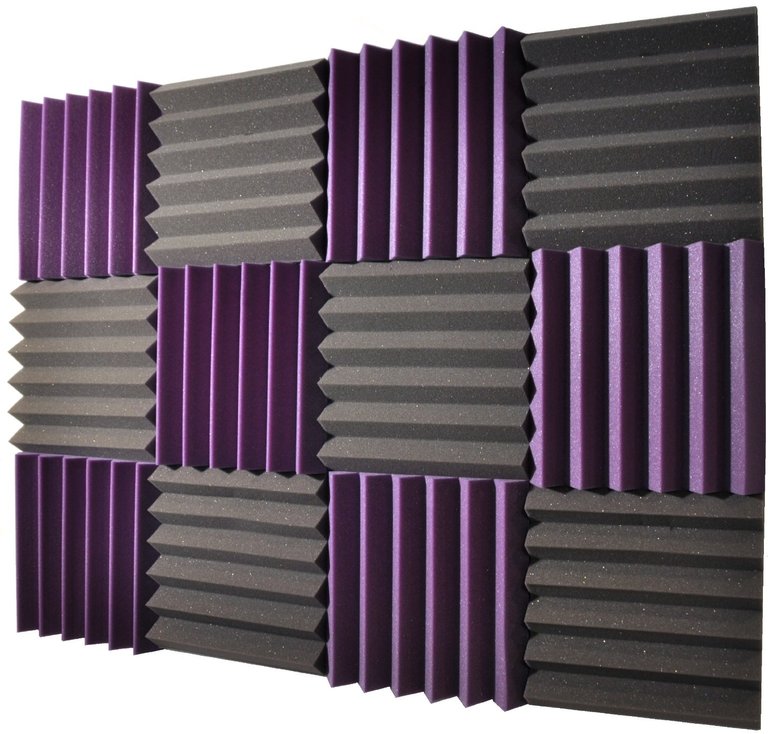
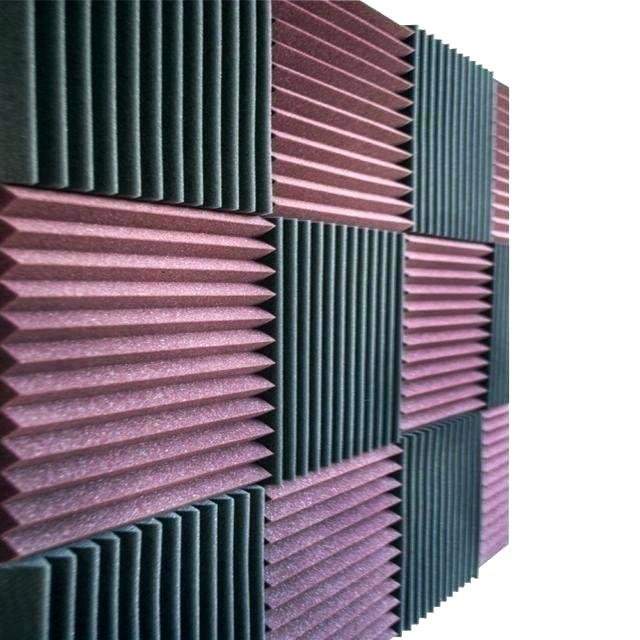 However, there are other sponges whose use is different from the others..
and what is this? How it helps at the time
Recording on the microphone? And what is this microphone? See you next lesson☺They are called spongy bass and are positioned in the corners of the wall and it is important to note that there will be sound reflections then should be placed in! all four corners of the wall in the room☺ And after you put everything you can rejoice that the studio is progressing but this is just the beginning, in the next lesson we will learn about other things that are important in a recording studio!bass_traps_diffusers.jpg](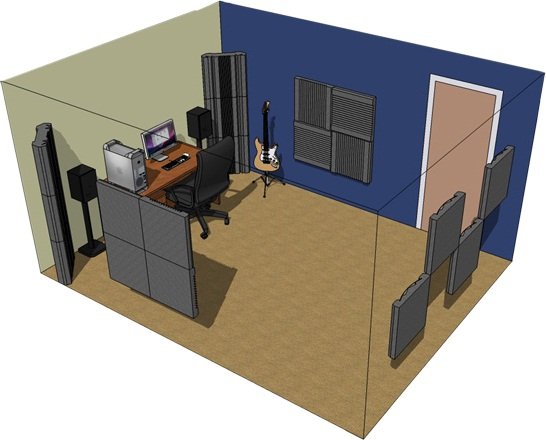
Great info! I am going to be turning one of my teaching rooms at my music school into this. Very cool. :-)
Thank my friend ! Good luck ☺