On this video, I will be talking about teal and orange effect. The most trendy photo effect right now all over the social networks. And it is easy to have the effect too. So let's begin the learning. Import the photo in the adobe lightroom mobile and click on it to enter the edit mode.
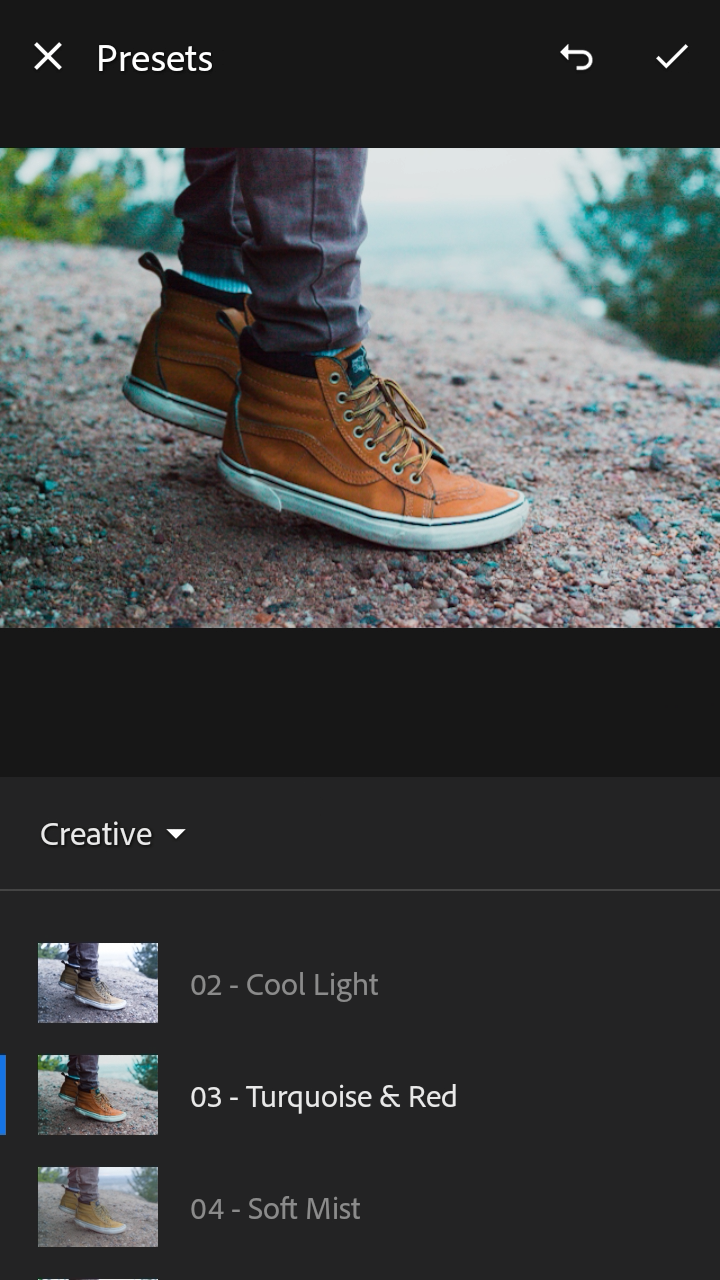
1.Now click on the presets panel and in the creative tab choose the turquoise and red.
2.After choosing presets, you can enable the lens profile correction from optics panel to correct out the color.
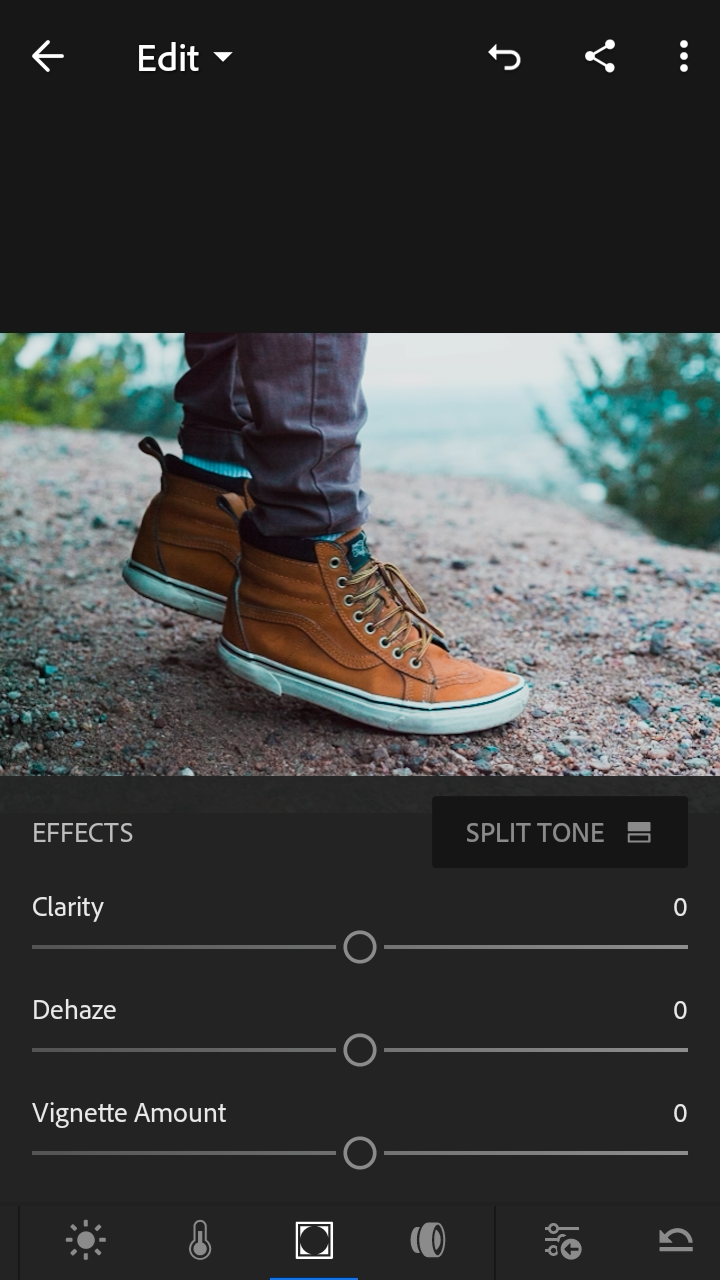
3.Now go to effects panel and add some changes on clarity and dehaze by sliding the bar of each effects.
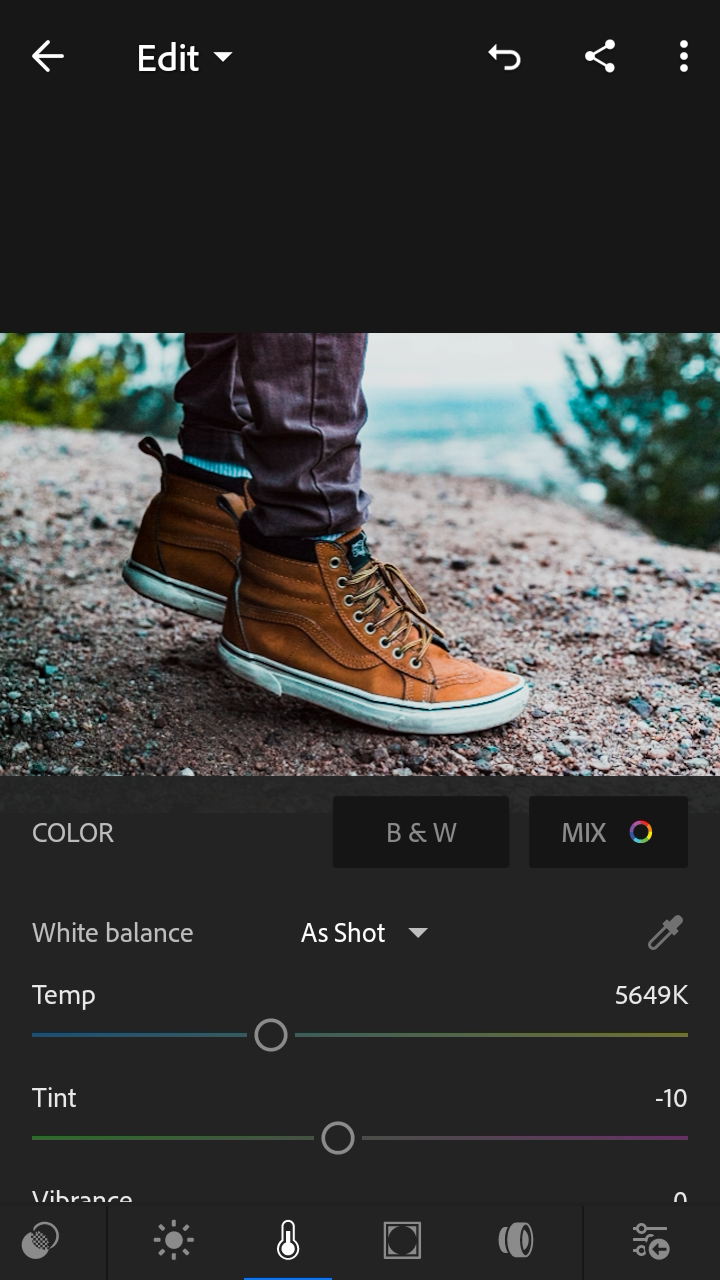
4.Okay, now enter the color panel and tweak out the settings of temperature, tint, vibrance and saturation. Try to get teal and orange color out of those settings as we are trying to achieve that.
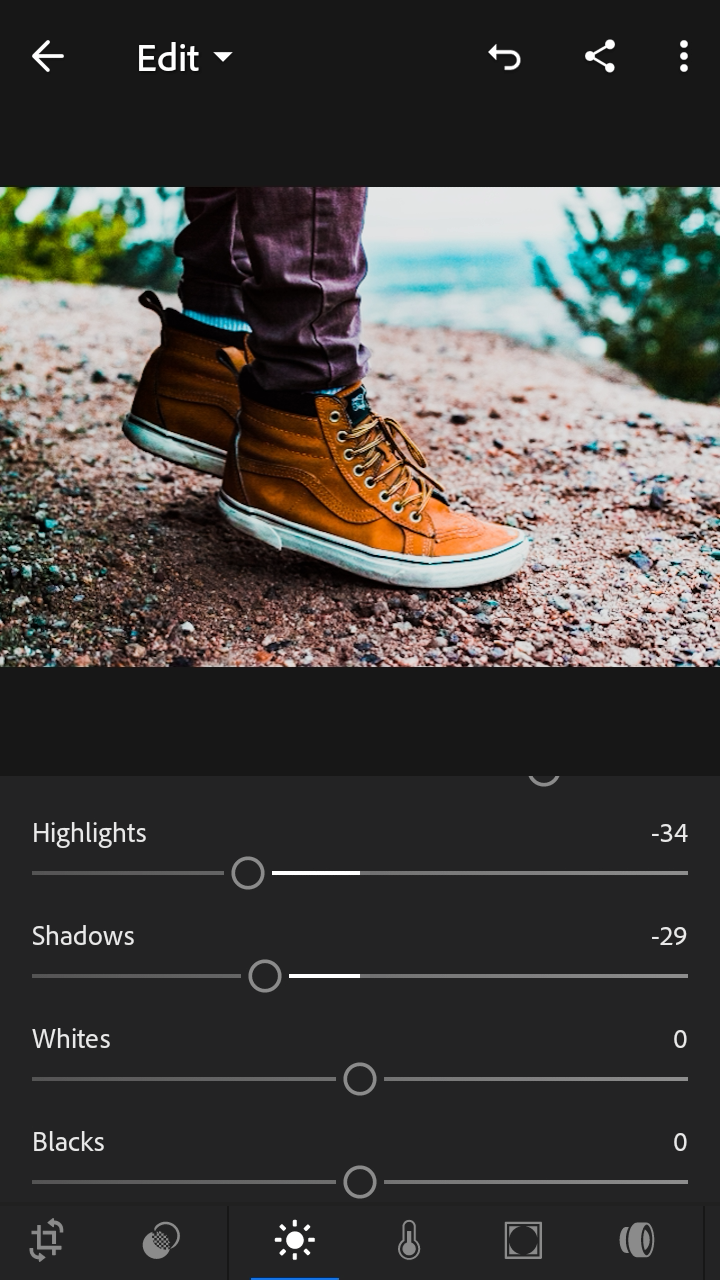
5.Now go to light panel and do same as above process with the exposure, contrast, highlights, shadows, blacks and whites.
6.After that enter curve tab and add some brightness and darkness point to get the teal and orange effect.

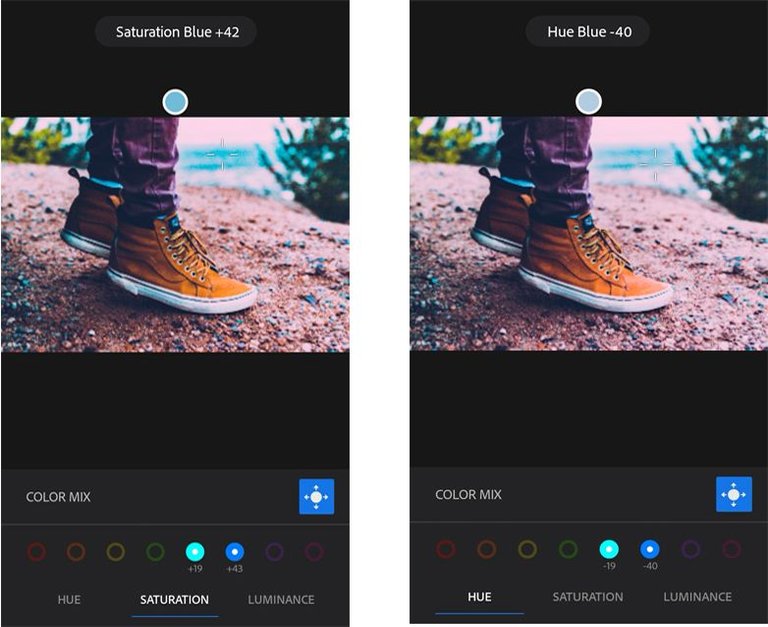
7.Now go to color panel and enter mix tab and adjust the hue, saturation and luminance of the photo.
8.At last add some vignette so the subject of photo gets all the focus pops out the photo.
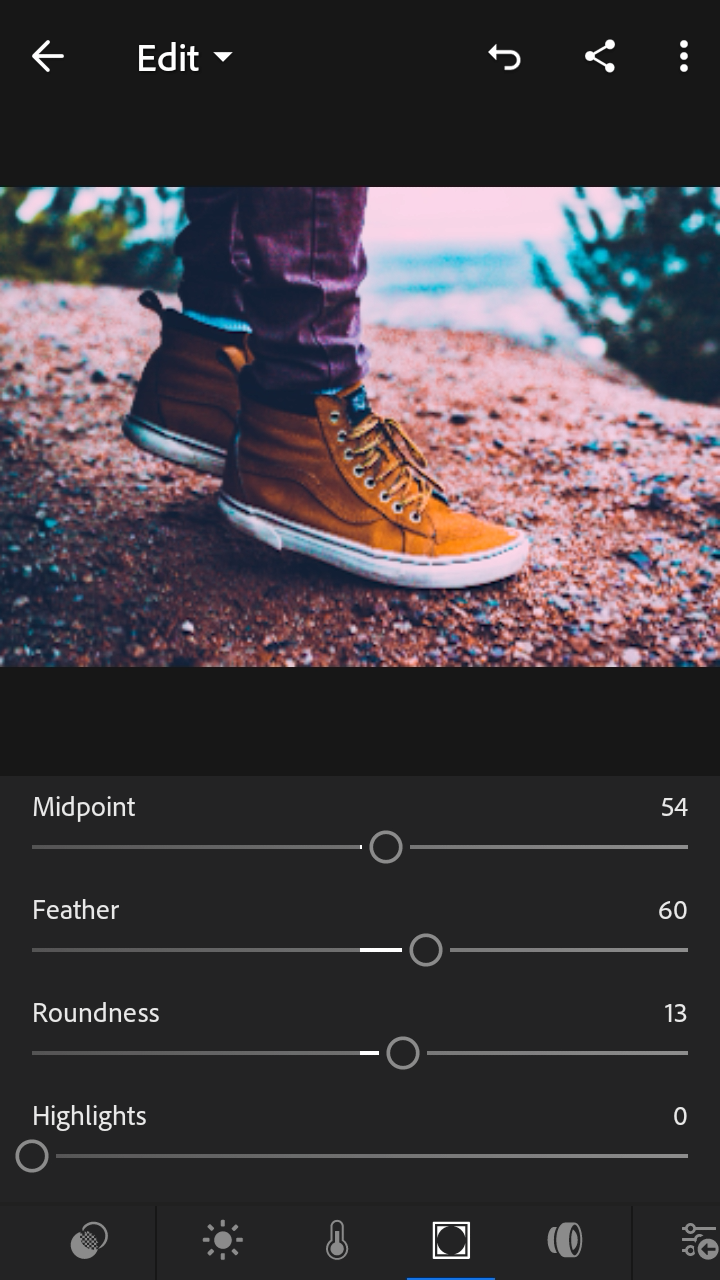
There you the final result of the teal and orange effect has produced, still you didnt get satisfied with your result you can adjust the bar of different panels.


I hope you learned something and I will see you on next post. Thank you.
wow!