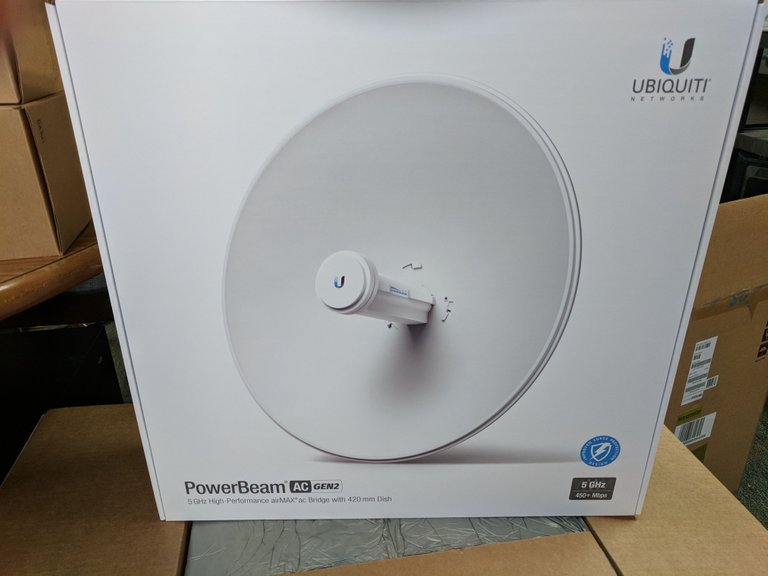
A short time ago I was approached by a coworker about getting Internet out to a remote building on our property.
The distance was going to be too far to run an Ethernet cable.
Fiber cabling was out as well due to the cost. An aerial run or trenching would be too cost prohibitive especially after adding the price of the fiber itself and terminating the ends.
This prompted me to start researching point to point wireless bridge options. I soon found out that for a significantly low cost and a little manual labor I would be able to get a connection out to the building with 450+ Mbps throughput.
I eventually settled on Ubiquiti Networks and their products. Ubiquiti does a really good job of creating enterprise-level products that are still affordable enough you could use them in your home or small business if you wanted to.
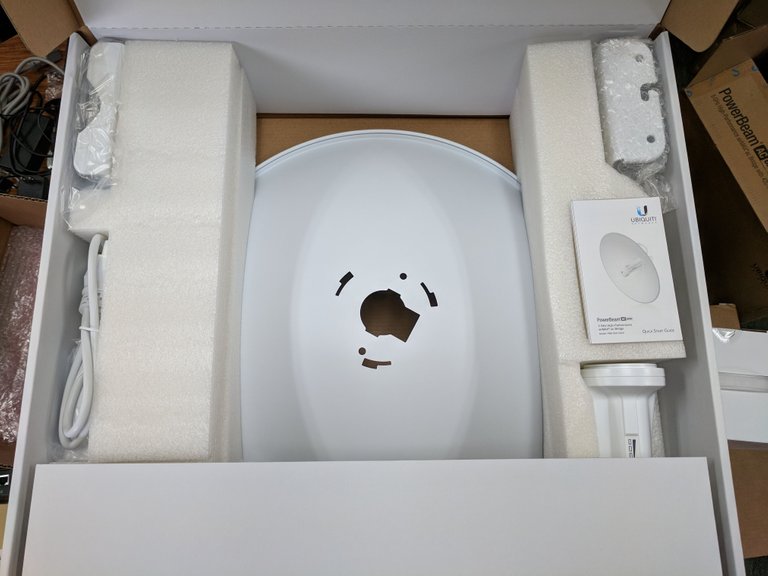
PowerBeam AC Gen2
I specifically selected the PowerBeam AC Gen2 because of the features vs. the cost. If you visit Ubiquiti's website you can see that the system I selected has a range of 25km and a throughput of 450+ Mbps.
I was able to get each of the two antennas I needed for the system for right around $110 USD a piece. That is basically a steal based on the numbers I was seeing for any other solution.
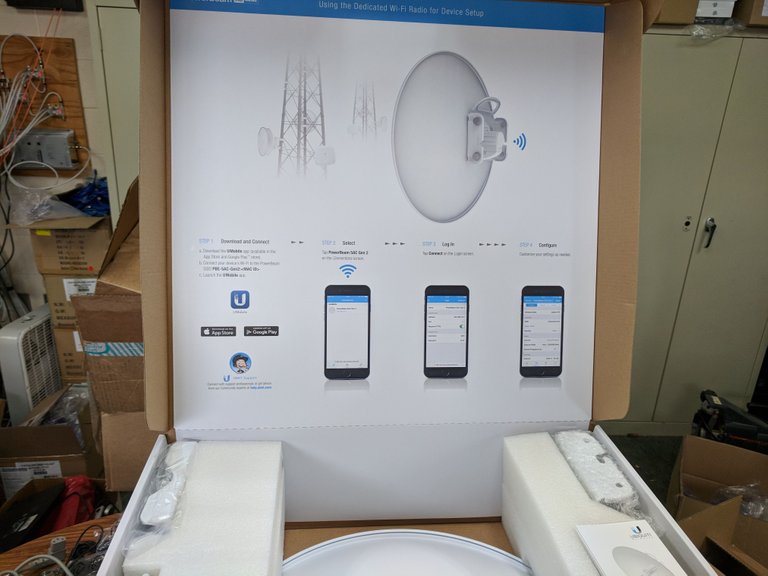
As you can see in the pictures here, each antenna comes disassembled. When I put the first one together it did take me a couple of times to get it right. My advice is to just go slow and take your time.
Each antenna comes with the dish, a mounting bracket for a standard pipe mount, the antenna element, nuts/bolts, and a PoE(Power over Ethernet) injector.
The antenna does take a lot of power, so even if you have a PoE+ switch, you still might want to plan on using the injector.
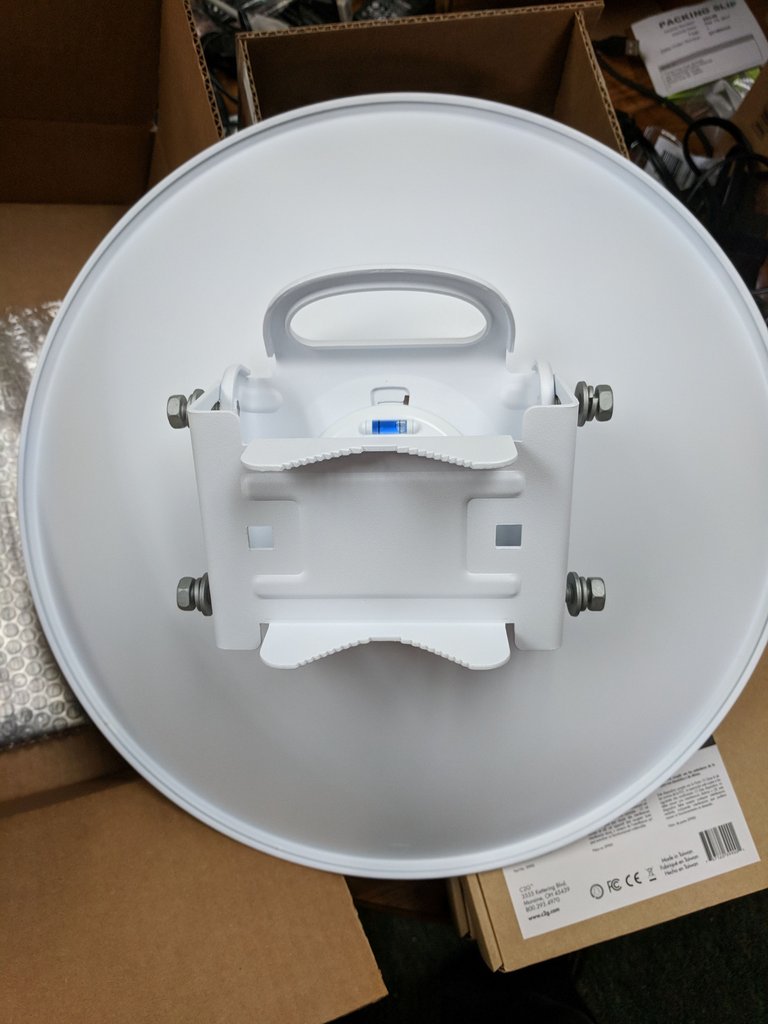
This is a view of the assembled device from the back. You can see there is handle to aid you when you are mounting it. It also is very handy when you are adjusting the dish to line it up with the other antenna.
Additionally, there is a small bubble level to help you make sure you have it straight.
I didn't get a great picture of it, but if you look at the picture at the very top, you can see there is a signal strength meter on the side of the antenna element. This is a huge help when you are trying to line it up with the other side.
I recommend having two people on each end talking via two-way radios or cell phone to coordinate easier.
I have to admit, though, we were setting these up over a short distance. If you are trying to connect at the max 25k, it will probably be more difficult to get the connection just right.
The initial configuration of each device was easily accomplished using the mobile app and my smartphone.
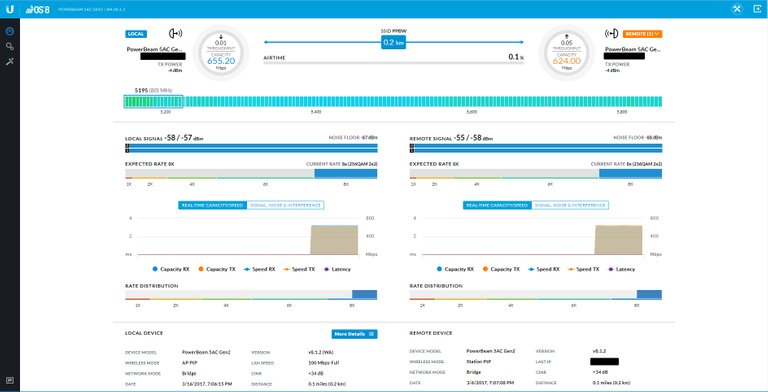
Once the antennas had IP addresses on my private network, it was very easy to access them via a web browser as you can see above. It is very important to have the transmitting side setup as an AP PtP(Point to Point) and the receiving side setup as Station PtP.
If you have a complex network setup, you can pass over vLan information with no problem. I believe you can also have the Point to Point traffic run across its own vLan.
You can see in the picture that the actual distance I was covering was only about .2km but I was pulling in a throughput of 624 Mbps. I could be wrong, but I think with a fine tuning of the antenna aiming, I could increase that number even more.
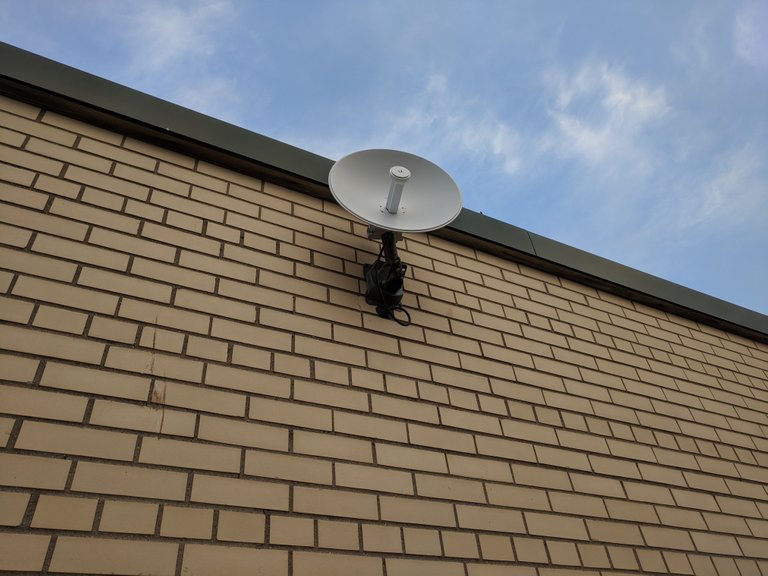
This is a picture of what the device looks like mounted outside.
You can see that it only requires one cable because of the PoE injector that is safely inside in the network closet.
I actually had my maintenance department do the mounting of the dish and I was pleasantly surprised with the mount that they selected.
I was kind of expecting there to just be a couple of brackets and a pipe on the outside of the building with the antenna attached but they went above and beyond.
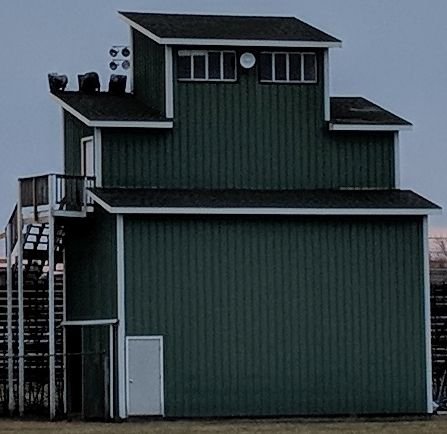
The picture to the right shows the antenna at the other side of the connection, between the windows at the top.
On the inside of the press box, I have a small switch that is connected to a managed wireless access point. This will provide Internet access to reporters and other officials in the box.
It will also provide guest wireless access to spectators in the stands.
We have a new building going up near the baseball fields on our campus, and I plan on installing another wireless bridge to provide Internet to that facility.
If you have a remote location that you would like to get Internet to, you should give the Ubiquiti PowerBeam AC Gen2's a look. It may not be practical or cost-effective to run traditional cabling and as long as you have power at the site, these can get the job done.
Thanks for stopping in! All pictures in this post were taken by yours truly.
Many of my posts have been featured in The STEEMEngine and Steemrepair, check them out:

.gif)

That's awesome! :) I've been loving my Ubiquiti gear and was planning on digging into their radio gear as an option for some outbuildings I'll be building next to an existing structure. Glad to hear you've had a good experience with them :)
I have, they have been really solid and Ubiquiti has so many other products from access points to cameras to wireless extenders. Lots of good stuff. Glad you are a fellow fan!
Smart choice @bozz looks like a dish antenna...for tv channels...
You are right, it really does. It is actually a little smaller than the satellite dishes though. It still was the best choice for the application though.
This is a really neat solution to a problem you had. I honestly didn't realize this kind of tech was on the market. But now it makes a lot of sense for applications like this.
Great thinking on coming up with a manageable and cost-effective solution. Bravo!
Keep up the good work in the public school system. I know you're an unsung hero of the district!
Thanks, I appreciate it. We actually have a similar setup on a larger scale that is transmitting 9 miles down the road to another building. We contracted that one out though and they had to build a 30ft tower to maintain line of sight. It's what reminded me to look into this as a solution. Thanks for the great comment!