Another cheap Bluetooth device teardown today. I recently purchased (at my local dollar store of course) a pink wireless selfie-stick. I don't really take selfies (pretty much just pictures of landscapes and nature) but I was just on a hike where one of these devices would come in handy to view over the edges of cliffs, so I decided to pick one up.
The product is a Tzumi Bluetooth selfie stick, and the way it's supposed to work if you pair your phone with the stick, strap in the phone, and press a button on the handle to take pictures. I believe that the reason this device is so cheap is because it is colored pink (see here for another example of this), making it not sell as well and ending up at the dollar store as surplus. This stick is supposed to cost $10+, which makes sense when we consider what parts are inside.
Unfortunately mine didn't seem to work. From online reviews, apparently this is a common issue. It looks like the device isn't getting power unless its plugged in despite being battery powered. That's a shame because I actually wanted this for hikes. However, I might as well break it apart ...
Teardown of the Stick
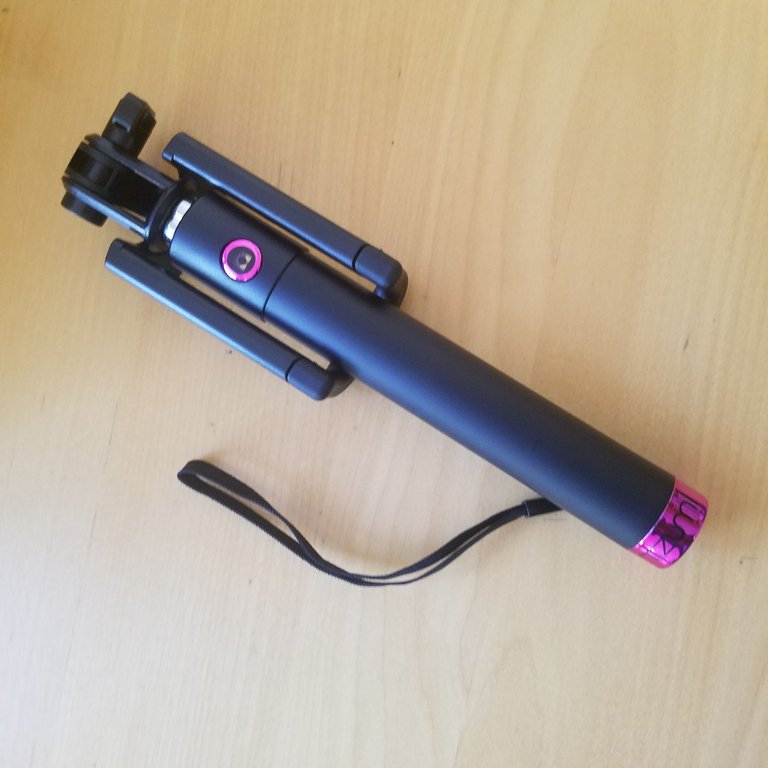
Image of the device
The stick has four screws visible on the back of the handle. I easily removed these but found that there was still no way to separate the two plastic halves of the handle. It turns out that the rubber grip is actually a flexible sleeve holding everything together, so I pulled it away. This let me pry away the two plastic shells. Another, smaller screw held down the main circuit board (connecting it to the base of the telescopic pole), which was in turn glued to the pink endcap. One last screw held the second board (containing the pairing button) down. Finally, the electronics came out without too many issues.
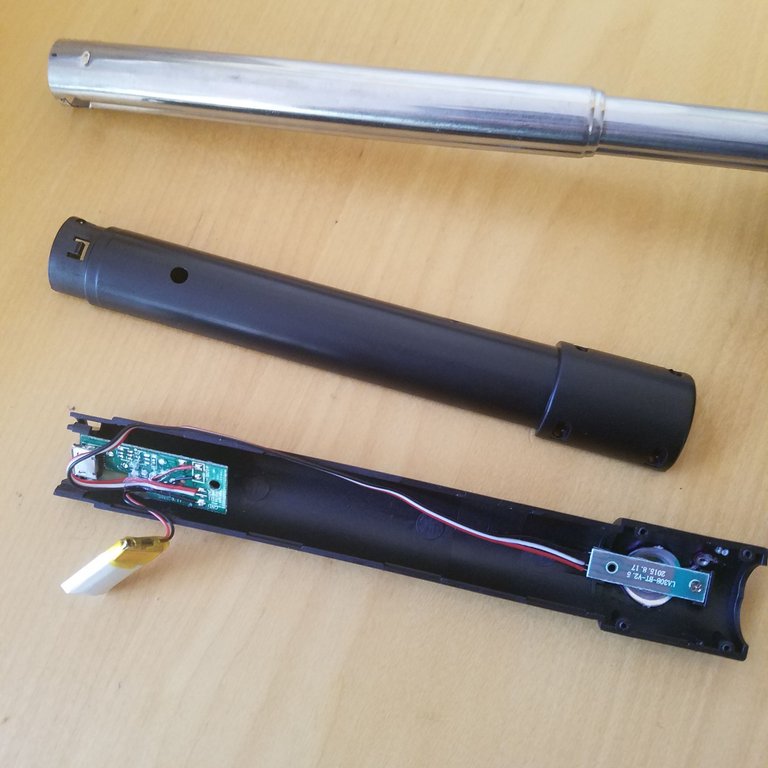
This teardown wasn't too difficult and didn't damage the parts at all (although putting it back together would be somewhat of a pain). I was hoping a battery wire was loose or something to allow me to quickly fix the device, but unfortunately no luck. With the disassembly out of the way, let's see whats on the circuit.
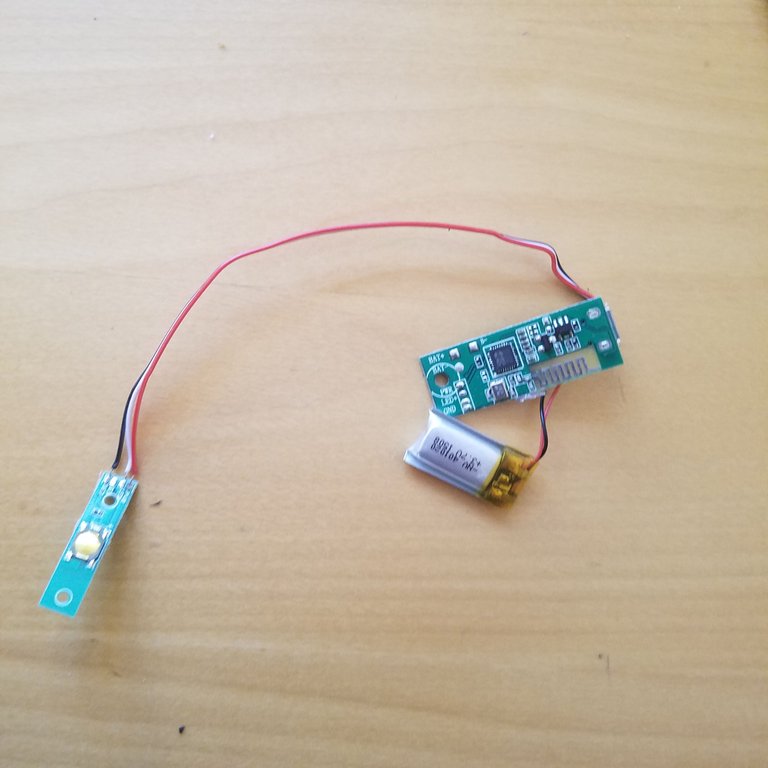
Circuitry
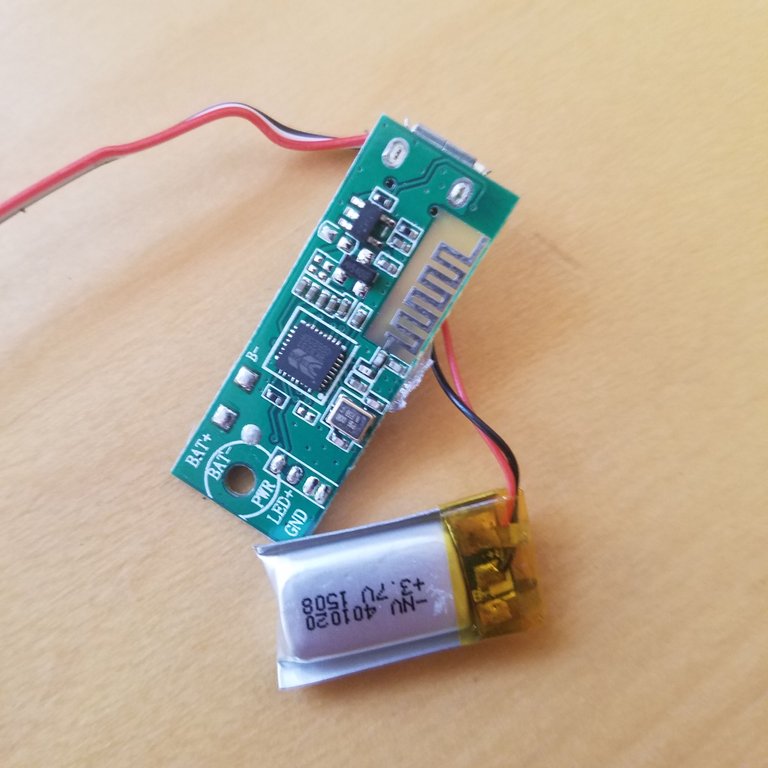
As visible, there are three main subassemblies here: A lithium-polymer battery (for power), a pairing button board, and the main transmitter/controller board. The image just above this paragraph shows the battery and Bluetooth circuitry.
The device is supposed to be charged with microUSB (5 Volts). When plugged in, the main board handles charging the battery. When unplugged, the battery powers the stick and allows it to operate without a charging wire.
One thing to immediately notice is the rectangular, zig-zag PCB antenna. This metal trace acts as a transmitting antenna, and lets the stick produce 2.4 GHz electromagnetic microwaves. Bluetooth is just a way to send information between electronic devices with microwaves, so this stick needs this antenna - otherwise it couldn't talk to your phone.
Using a macro lens I took some close-up pictures of the components.
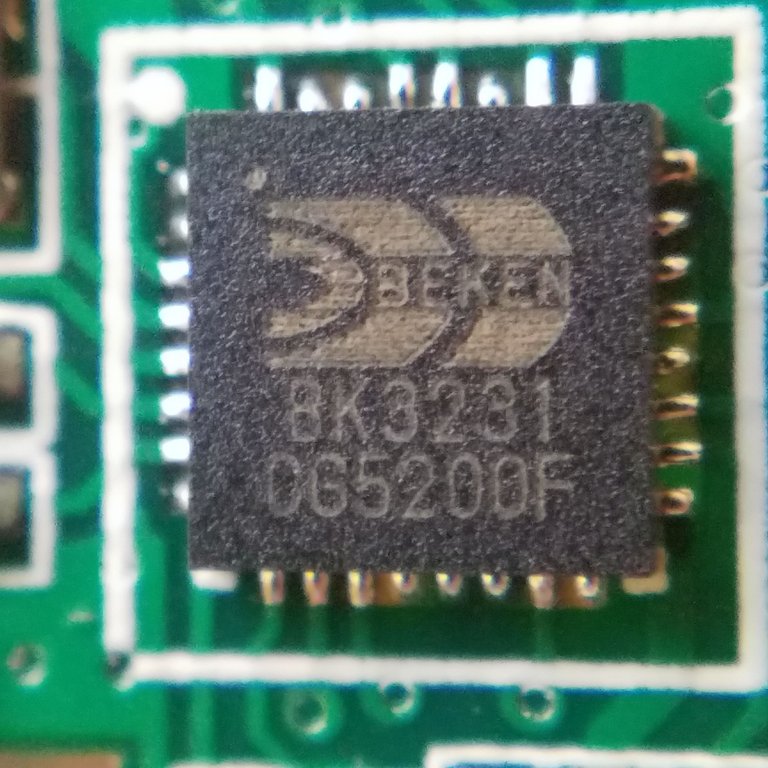
This is the BK3231, the Bluetooth 3 chip that allows this device to function at all. It's pretty old (came out in 2011) and can transmit up to around 1.5 milliwats (2 dBm) of microwave output. I'm not able to find a current price on this part, but based on how much similar chips cost I'd expect this one to cost most of the $2 on its own (part of the reason why this device usually goes for $10 or more). This device transmits a signal to your phone telling it that the button has been pressed, which the phone interprets to mean that it needs to take a picture.
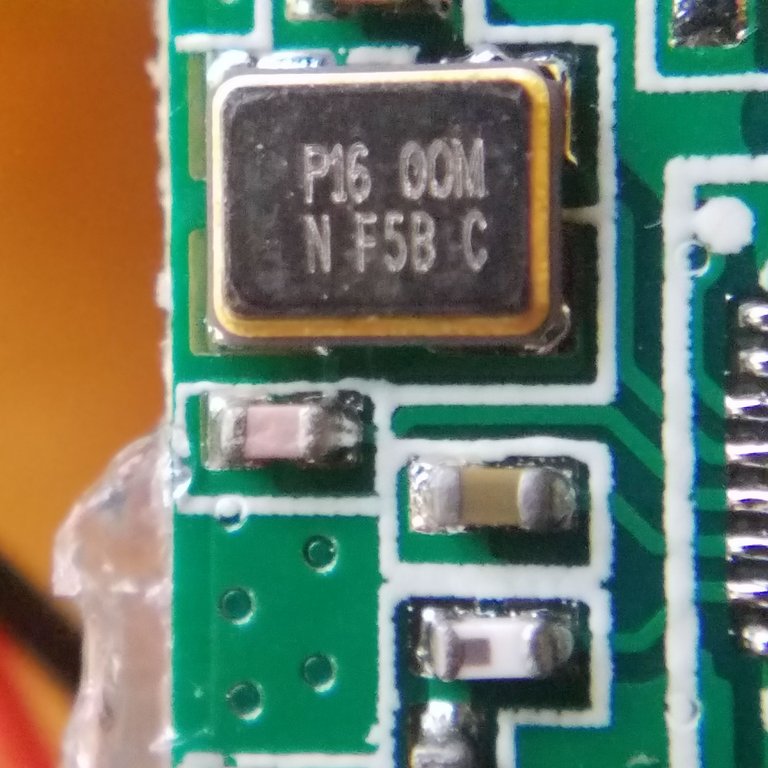
Here we can see a surface-mount crystal resonator, which resonates at what looks like 16 MHz and is used by the BK3231 Bluetooth IC for timing. Nearby are two SMD ceramic capacitors and a third component I can't identify (perhaps an inductor?). Most Bluetooth chips will require or benefit from an external clock resonator, and as such these 16 MHz crystals are often present inside Bluetooth devices.
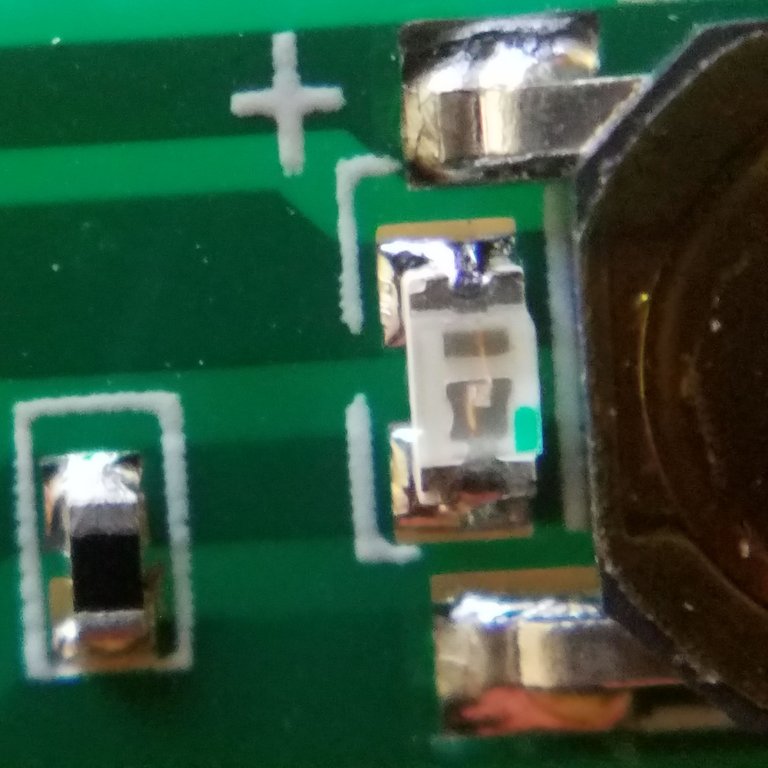
This image shows a closeup of the blue pairing LED on the board that houses the button. The LED filament and cathode/anode are clearly visible through the transparent case. When a high enough voltage is put across the diode, it will emit bright blue light. In this case, this LED flashes when the button is held down for three seconds.
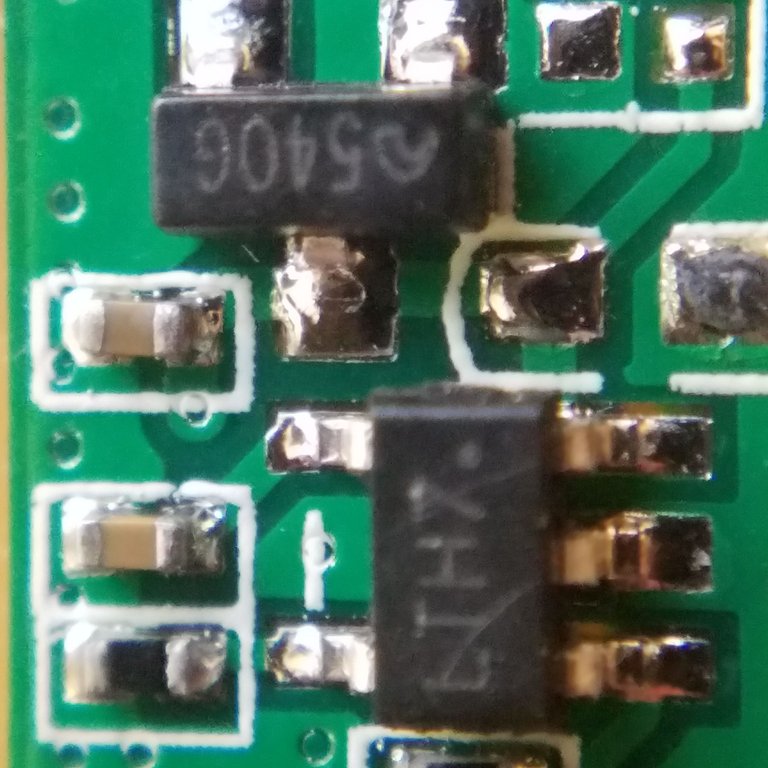
Here we can see the battery charging circuitry. The lower IC is a Linear Technologies LTC4054 battery charging chip. It is very small and easy to use way to safely charge lithium batteries. The device takes in a range of voltages (4.5 - 6.5 V) and outputs a steady charging current. According to the datasheet it only needs two other components (a resistor and a capacitor) to set it up for charging a battery. This is another example of a part that costs almost $2 on its own. In this case, this regulator is being used to charge the lithium battery using input from a 5 Volt microUSB plug.
Unfortunately it is unclear what the other 3 pin part (marked 540G) is. The best I've come up with a similarly labelled power MOSFET. This could be a transistor of sorts, but I'm not sure.
Conclusion
If this thing had worked, it would be a great price for way more than $2 worth of parts (pink surplus electronics are great). I assume the majority work and I just got unlucky.
Let me know if you have any questions, comments, or corrections. I hope you learned something new from this post.
Thanks for reading!
If you're interested, here the datasheets for some of the parts inside this device:
BK3231 Datasheet
LTC4054 Datasheet
All images in this post are my own. You may use them with credit.
A friend of mine has a similar one to this. It is a banned item in a lot of european art galleries/museums:)
Huh, I didn't know that these were banned. I suppose people were accidentally striking the exhibits with them. Thanks for sharing!
ha ha no it's because no one can see the Mona Lisa through the forest of selfie sticks!
Never seen a Bluetooth selfie stick before. Or maybe I've not been too interested. I can't even remember the last time I took selfie :p
I guess I'll just look out for one
It is a shame it was broken, because it would have made a good camera remote as well.
Interestingly I have seen/purchased standalone camera buttons at the dollar store before (with bluetooth) that actually work. Unfortunately I have no idea where I put it so it isn't much use right now!
Technological developments extraordinary, this may be hugely beneficial for us, thank for this article, good luck