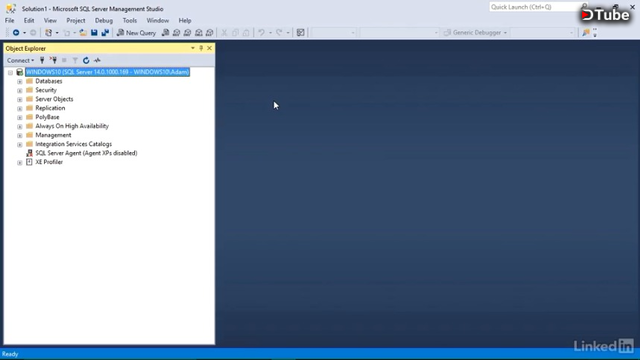
- [Instructor] Installing an example database is a good start, but what you probably want to know is how to create a database for your own personal projects or organization. Creating databases in SQL Server Management Studio is pretty straightforward. We first need to find the databases node inside of our server instance in Object Explorer. Then I'll right click on it and choose new database. On this window, we have a page for general items which is what we're seeing now. We also have a page for options and a page for file groups. We're going to focus on the general page.
At the top of the general items page is an area where we can type in the name of the database that we want to create. In this case, I'm just going to name mine MyDatabase. On the bottom in this database file section, you might have noticed some activity taking place as we type in the name so let's go ahead and take a look at what just happened. Our database is going to be comprised of two separate files on our hard drive, one to store the data and one to store a log to keep track of the transactions and messages generated as we work with the data. We can see the names of the two files that'll be created in the first column and you might need to expand the logical name column by dragging on this dividing line.
The first file is going to be called MyDatabase and the second one is MyDatabase_log. The file type column shows what we're storing in each file so we have our ROWS data and our LOG data. The next section is called file group. This is used for larger databases when the data portion needs to be split up across multiple computers, sometimes in completely different physical locations. In our case, we'll just store all of the data in a single data file called the primary file group. If you wanted to create additional data files, you just go down to the bottom and press the add button.
The initial size for a database is how much disk space will be reserved for our data. Right now, it's both set to eight megabytes for the ROWS data and the LOG data. This is going to be plenty of space for our needs, but you can go ahead and change this to whatever number you'd like. Next we have an option to define how the database grows as we add information to the tables. Let's go ahead and scroll over to the right a little bit. The default is to reserve an additional 64 megabytes of space every time we hit the size limit and to let the database grow to an unlimited file size as needed. If you want to change those parameters, just click on the ellipses button to the right.
Here the options are to grow the database size by a percentage or by a specific number of megabyte each time. We can also cap the maximum size of the database just to ensure that things don't grow out of control. I'll set mine to an eight megabyte size increase and we'll limit it to a total of 100 megabytes in size. I'll then say OK to this and we'll make the same change to the LOG file. If we scroll right a little bit further, we can see the file path where our files are going to go.
We can see they'll go into the Program Files, Microsoft SQL Server, then the folder for our server instance, finally the MSSQL folder and then a folder in there called data. Again, if you want to change this file path, simply press on the ellipses button to the right and type in the new file path you want to store them in. I'm going to go ahead and leave them as they are. Finally, we'll go ahead and scroll to the right and we'll see this filename column. We can leave this column blank to simply adopt the name of our database as the filename for both the data and the log files. When you're ready, go ahead and press the OK button at the very bottom of the screen.
That'll go ahead and create those two files on our disk and it'll add our new database here into our server instance. Now we can expand it to see all the contents inside. So now we have a new database added to our server and we could begin to customize it to provide the perfect storage location for our own data.
▶️ DTube
▶️ IPFS