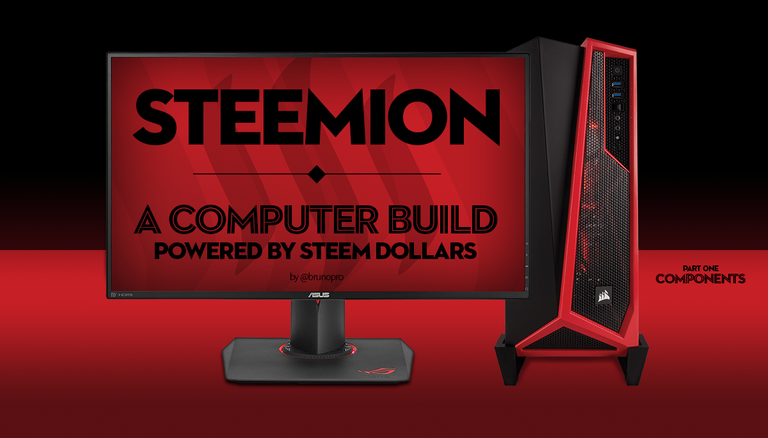
I have to confess that when I earned my first money at Steemit I thought "I'm going to try to make enough money to buy a nice computer!" and last week I withdraw some Steem Dollars and I'm finally starting my long awaited build that I'll call "Steemion".
My loyal 24' iMac from late 2008 has been awesome and still is but it's that time in a man's life when he says: "what the hell, gonna buy a kickass computer!"
My main goal with this build is to make an update system that can run any game in Ultra at high FPS. It should also be totally VR ready because I'll be testing VR in a few months. Although I don't have any plan to use this build with a 4K display, this build will handle current 4K games above 30fps without a sweat.
Part One - Components
So here's what I'll be using to make this build.
| Component | Name |
|---|---|
| Monitor | Asus ROG Swift PG279Q |
| Case | CORSAIR CARBIDE SPEC-ALPHA |
| Motherboard | MSI Z170A TOMAHAWK AC |
| Processor | INTEL I5-6600K LGA 1151 |
| Graphic Card | ASUS ROG STRIX GEFORCE GTX 1060 6GB |
| Cooler | WC CORSAIR HYDRO SERIES H100i V2 |
| Memory | GSKILL RIPJAWS V DDR4-2400MHz 2x8GB |
| PSU | CORSAIR BUILDER CX600W |
| Disk 1 (OS) | SAMSUNG 750 EVO 500GB SSD 2.5" |
| Disk 2 (Storage) | SEAGATE BARRACUDA 2TB SATA III 64MB |
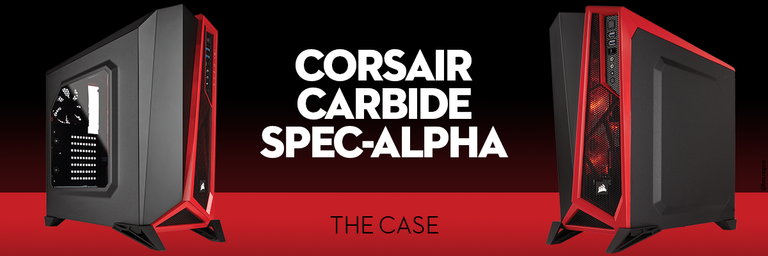
Case: CORSAIR CARBIDE SPEC-ALPHA
I have to say that I'm totally in love with this case. It's has been so long since I looked at a case with a slick gaming design but not going over the edge. The overall look of the case is amazing creating the illusion that the case is somehow twisted or unbalanced. I decided to go with the Black / Red version although the White / Red case is also very appealing!
Click here to view a nice unbox of this case
The inside of the case is as interesting as the outside. For me, and prior to esthetics, the case has to be well ventilated. This case is ideal, it has two intake fans in the front and one outtake in the back. Since I'm adding a radiator on the top, I'll add two more fans pulling fresh air inside.
Processor: INTEL I5-6600K LGA 1151 (6M Cache, up to 3.90 GHz)
For this build, I wanted a nice processor but didn't want to spend too much. At less 30% of the price of the recently released i7-6800, the i5 6600K is the best i5 available with a base frequency of 3.5GHz and being K model, means that I'll be able to overclock it above 3.9 GHz. For now, this little beast can handle almost anything you throw at him and it's ideal for this build at its price range. In a year or so I may upgrade to a 6700 or 6800 (in second-hand or new depending on the price).
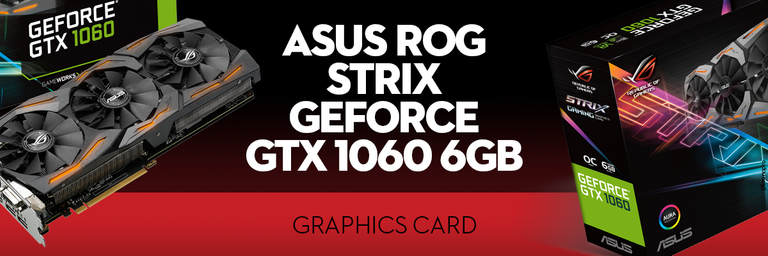
Graphics Card: ASUS ROG STRIX GEFORCE GTX 1060 6GB
What made me go for this card was what it can give and how much it cost. Current this graphic card has been tweaked to a point that it matches the Nvidia 1080 Founders edition that costs 3 times more than this one. This graphic card will handle any current game in ultra with high fps. It's also VR ready and that's one thing I wanted. So basically, awesome graphic card and an affordable price.

Motherboard: MSI Z170A TOMAHAWK AC
For the motherboard, I wanted a low-cost motherboard but that could handle some overclocking. This one has the ideal specifications and it was black and red following the theme of the build.
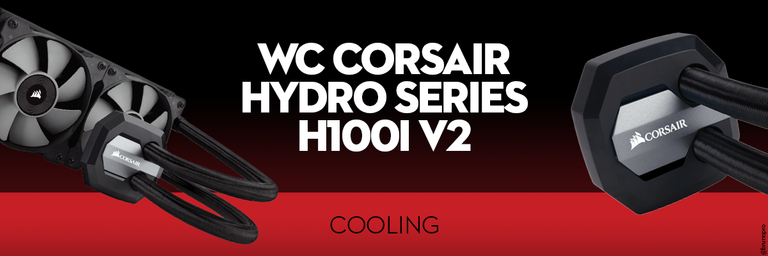
Cooling: WC CORSAIR HYDRO SERIES H100i V2
I wanted to build a silent system and I first I was going to buy the Deepcool 240 Capitan. But I decided to go with a better brand and I bought the Corsair Hydro Series. It's an awesome cooler and very silent!
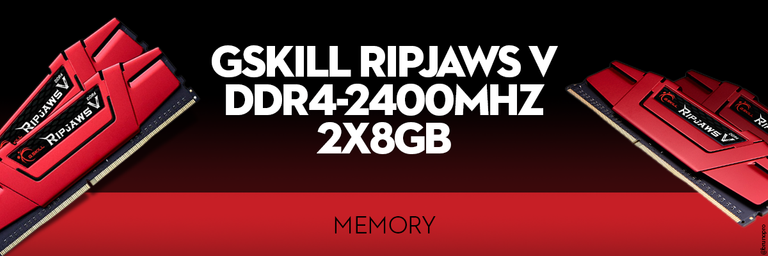
Memory: GSKILL RIPJAWS V DDR4-2400MHz 2x8GB
Not much time spent choosing the memory for the system. Requirements? A total 16gb at 2400MHz at a low price and going with the red looks was a mandatory feature!
HardDrive: SAMSUNG 750 EVO 500GB SSD 2.5"
It had to be a fast SSD and with more than 250gb storage. The Samsung 750 was the chosen one due to price/storage/quality. On the store there was a difference of 50€ between the 850 and 750 and since they almost identical I decided to buy the 750 and used the 50€ to buy a better graphics card.
HardDrive: SEAGATE BARRACUDA 2TB SATA III 64MB
A conventional SATA disk with a nice 2TB for storage. I have some few disks laying around and probably I'll add then in the future. But a new build requires a new disk!
PSU: CORSAIR BUILDER CX600W
A solid PSU manufactured by a trusty brand. Regarding voltage, 600W is more than enough for this build. Since the PSU will be hidden from view I didn't take special attention to the looks of it. It's not a modular PSU but I guess I'll have enough space to hide unwanted cables at the bottom.
The best comes in the end, THE AWESOME MONITOR
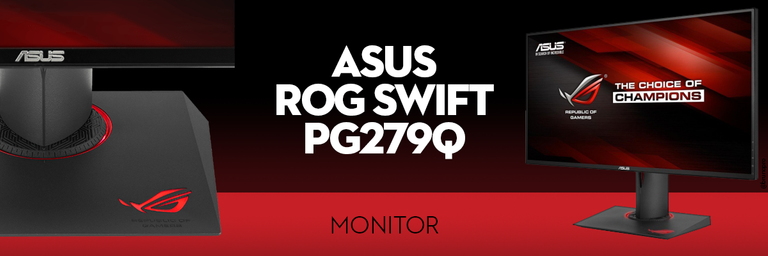
Monitor: ASUS ROG SWIFT PG279Q
Regarding the monitor, I thought a lot about it and due to my personal requirements I decided to go the full way and got the highly awarded "Best Gaming Monitor 2016".
The PG279Q although expensive, it fills my requirements and goes towards what I was aiming for in a display. As a designer, I wanted a display that had good colors out of the box with minimum color calibration. I also had to have nice viewing angles, meaning, it had to be an IPS display. Regarding high refresh rates and 166MHz, G-Sync and all the tech details about the monitor can be found in the review link below. It has been a highly reviewed monitor and that's why it has the title "The Best"
The Budget
The budget for this build was 2000€ and I manage to build a mid to high range machine that I think it can have a lifespan of 2 to 3 years without major upgrades. I've spent 1235€ on computer components and 825€ on a Monitor.
(note: In Portugal, we pay 23% in taxes so the exact price for this build without taxation would be around 1600€)
What's next?
In the next days, I'll be buying and ordering what I need. I'll buy almost all the components in 2 local stores and only have to order online the cooler. After having all the components I'm thinking of doing a follow-up to this post and maybe record the assembling from start to end.
Edit: And 12h after publishing this I've already have almost all the components and tomorrow I'll pick up the PSU and the Monitor. I made minor changes to the build and I'll update the post in a few hours (Got a better graphics card and a corsair cooler)
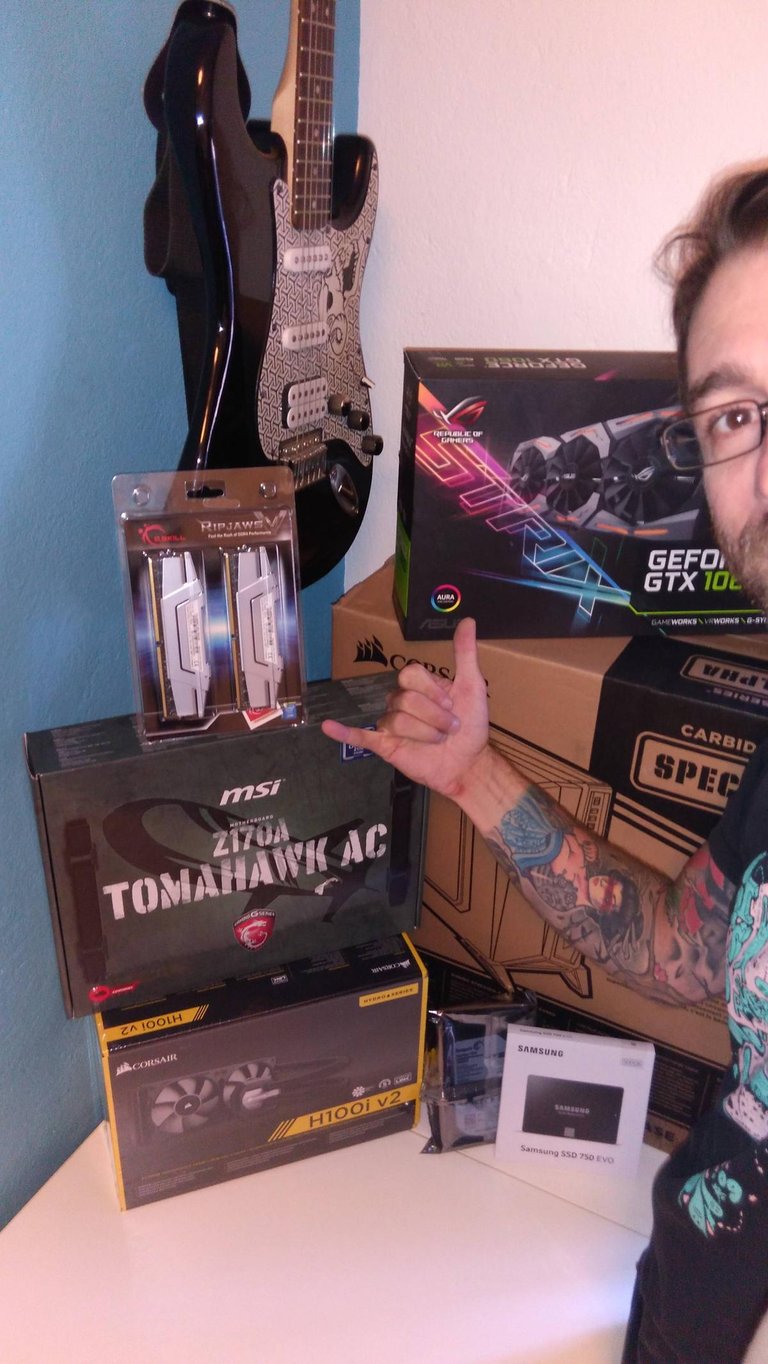
What do you guys think about this build? Would you like to see me building this machine on Part Two? Leave your comments below ;)
PS: This build is not perfect, there's not a perfect build and it's always possible to change any component for a better and more expensive model. All the components that I have chosen for this are the ones that I think best fits to my needs and requirements. I also have to find the dealers with best prices I mention in the budget have been made for a build in September 2016.
To  me go HERE! and if you like this, support my blog by
  upvoting below. Thanks!
Hnng congrats thats a nice lookin build. Lookin forward to part 2!
Im still using a bunch of old mining boxes for my main machines here, long overdue for an upgrade but i cant justify it yet. If i did well on steem ill post my own build, cool idea
Solid gaming platform , nice components , not high end but it can keep up for 2 years .
that's the way!
Fantastic build! And yes, it's always possible to get a more expensive part, like an i7-6950X or GTX 1080 or have a multi GPU setup with 1600W PSU, with 4x 4K monitors hahahaaa...
Also, time for part 2!
You pay 23% for a sales tax!!!!!! I thought it was bad at 10% sales tax. Damn Government... Oh cool project
Yes... almost 1/4 of what I pay goes for taxes, sad but fucking true. Food has 13% for sales tax...
I dont know much about computers but this is SERIOUSLY KICK ASS! LOVE IT!!,!

Image credit memegenerator.net
Sweet sounds like one nice kick ass computer! Will you be mining Steem with this as well?
It's highly probable :)
That will be one sweet rig!
My only suggestion is...
I believe that motherboard has an M.2 slot. Use an M.2 hard drive as your primary. It is much faster that SATA SSD
I'll have that suggestion in mind for future upgrades / builds. Now I've already bought the components! :)
Forward thinking. :-)
Your build is almost identical to my current build. I went with the ROG ASUS Maximus Hero VIII motherboard and as mentioned the M.2 HDD . At the time, VR was relatively new, so I held off on upgrading my graphics card. That's my next big ticket item for upgrade.
When I was younger, we used to have more outtake than intake to generate a slight underpressure (lower temperature) in the case.
Has wisdom changed in the meantime, why blow the case full of air?
I guess it works better by having a constant inflow of fresh air, I guess if it worked better the other way around more people would have that kind of ventilation.
Congratulations @brunopro! You have received a personal award!
Click on the badge to view your own Board of Honor on SteemitBoard.
For more information about this award, click here
Congratulations @brunopro! You have received a personal award!
Click on the badge to view your Board of Honor.
Do not miss the last post from @steemitboard:
SteemitBoard World Cup Contest - Quarter Finals - Day 2
Participate in the SteemitBoard World Cup Contest!
Collect World Cup badges and win free SBD
Support the Gold Sponsors of the contest: @good-karma and @lukestokes
Congratulations @brunopro! You received a personal award!
You can view your badges on your Steem Board and compare to others on the Steem Ranking
Vote for @Steemitboard as a witness to get one more award and increased upvotes!