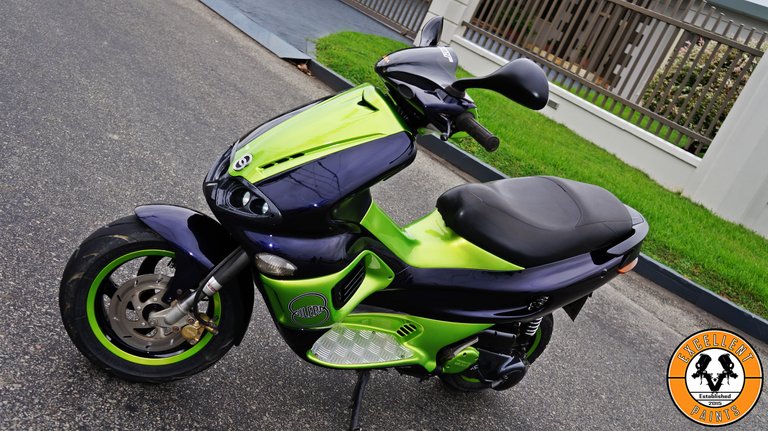
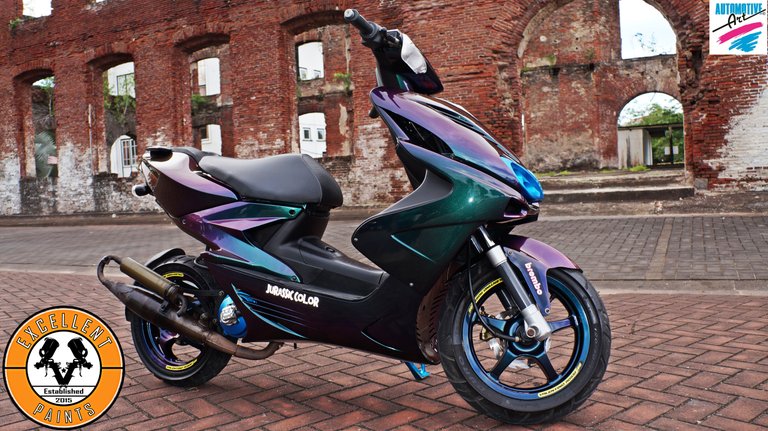
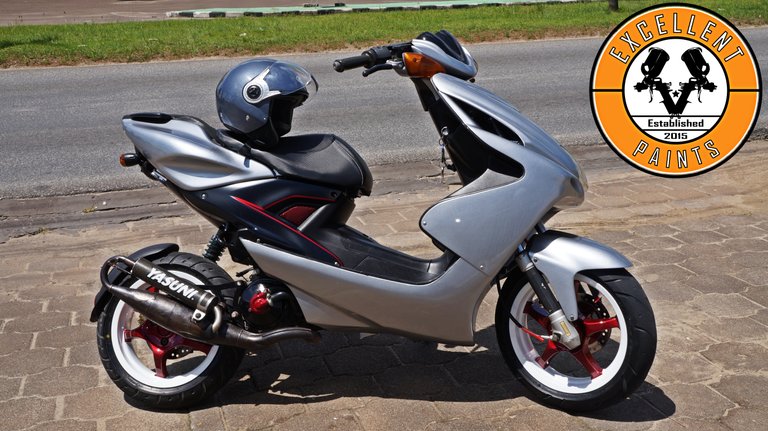
Sometimes when I get new pro scooter parts I like to spray paint them. I feel like it makes them unique and stand out. I just spray painted scooters and I think it came out really sick. Spray painting a pro scooter part can be really fun and cool if you do it the right way. If you don’t do some of the steps, your parts could chip easily and the paint could peel. It’s essential you follow all the steps below to get the most out of your paint job. Read below and learn how to paint your scooter parts like a master.
There are a few crucial steps you need to follow in order to paint pro scooter parts. First lets take a look at the materials you are going to need.
The spray paint (make sure you get the right type. You don’t want spray paint thats meant for plastic)
Primer, any color works, I use white (primer goes on before the spray paint)
Clear coat (clear coat goes on after the spray paint)
A clean workspace
Painters tape
Piece of cardboard/newspapers
Work clothes
Clean up towel
Sandpaper
Once you have all of these things you are ready to start the process. The first thing you are going to want to do is set up your workspace. Spray paint is kind of tricky to shoot with. If the wind is kicking up it can spray in multiple directions destroying plants or other things. Thats why I included the “work clothes” in the supplies list. Throw those on because if you get spray paint on your clothes, its not coming off. So, like I was saying set up your workspace. Find someplace that there’s not a lot of wind or if there is a lot make sure you don't have anything valuable around it that could be damaged by spray paint. Once your work place is setup you are ready to start. First look at the part you are going to paint and decide whether or not it needs to be masked off. What I mean by masked off is, are there any places where you don’t want paint to get in? This is where the painters tape comes into play. Let’s say you are painting an integrated deck and don’t want the inside of the cups to be sprayed. Put tape over that area so the paint cannot spray there.
Next, take the sandpaper and go over the whole part with it. The sandpaper roughens the part up and allows for the paint to stick better. Once you have done that, you are ready to put the primer on. Primer does a lot of things. It smoothens out uneven surfaces, increases spray paint adhesion, and helps ensure the true color of the spray paint. Spray the primer everywhere you intend to put the spray paint on . You only need to put on one coat and you will be good to go. Let the primer sit for as long as it says on the can, normally its 15 - 45 minutes depending on the type of primer you have. After that is done, you are ready to spray paint. Spray paint your part gently and lightly at first. It may take two coats to cover fully. Let it dry for the amount of time it says on the bottle. After you have spray painted your part/parts its time for clear coat. Basically you use clear coat to protect you parts from chipping easy. After you have clear coated your parts, you’re finished! All you gotta do is clean up your workspace and put away the spray paint. I would suggest not riding the parts you painted for 24 hours to allow the paint to harden and in the end, last longer


Get free upvotes your post https://mysteemup.club