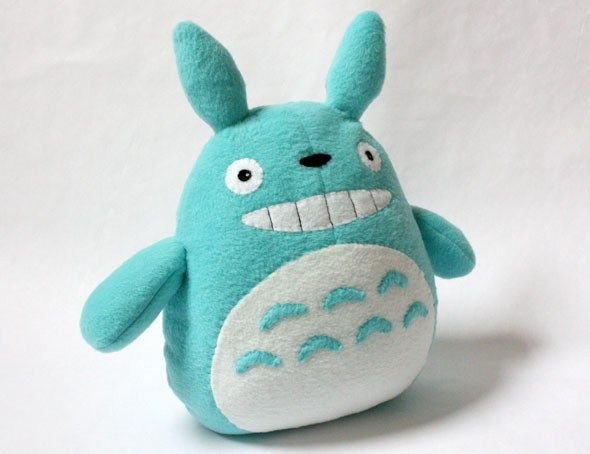
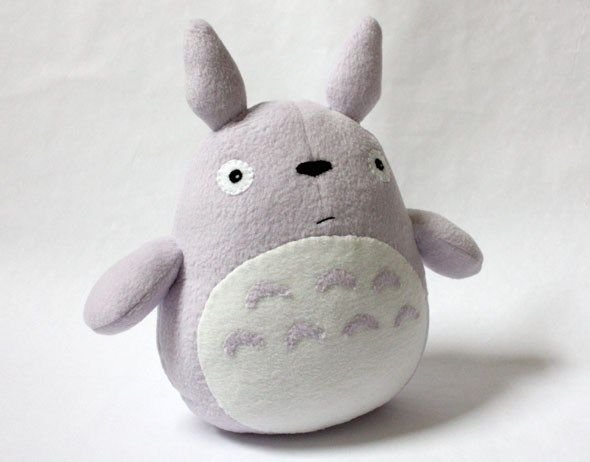
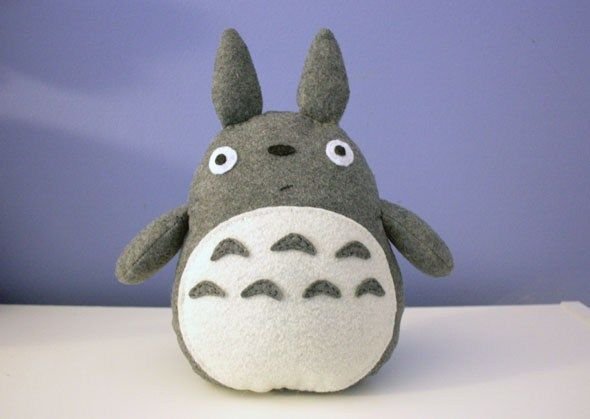
A cute plush toy that is easy to make and can be an ideal gift for kids..
You will need:
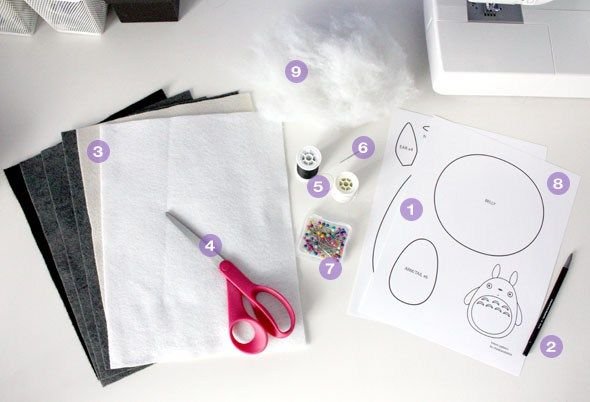
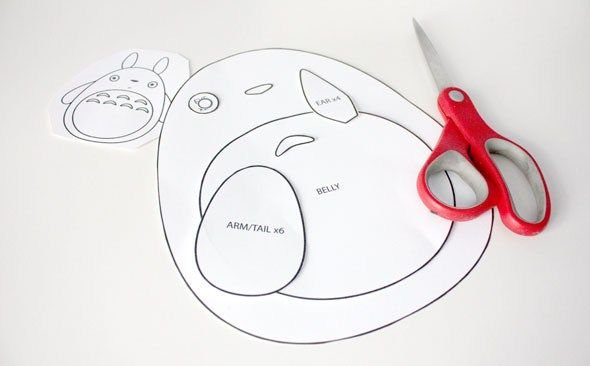
Print the template (or plot on paper), then cut it and transfer it to the cardboard..
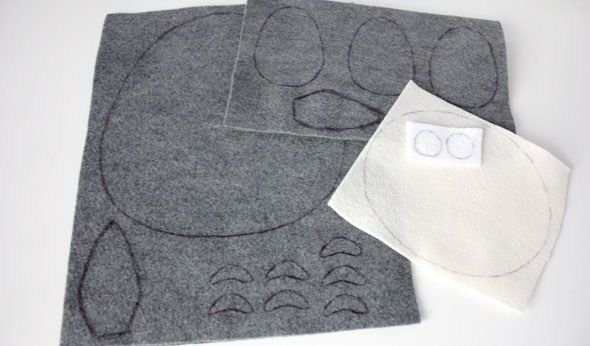
Transfer the stencil pencils to the material you selected.
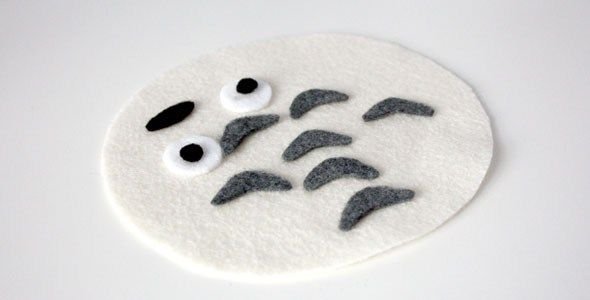
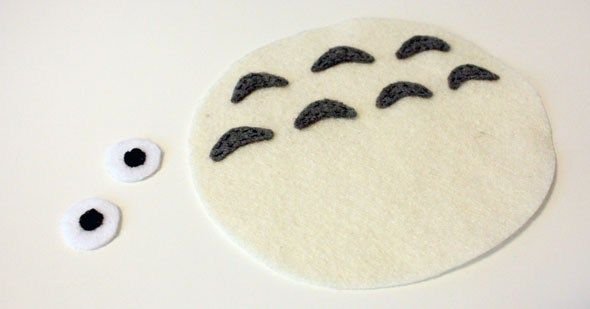
Cut out the stomach, eyes, nose, and stomach wrinkles..
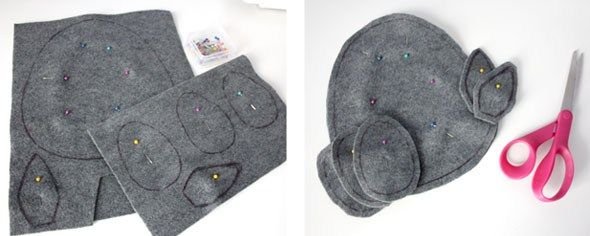
Connect two gray materials inside the drawn line before cutting. Then cut off the parts by leaving little sewing material. Do the same with ears, arms and tail.
Make streaks on the stomach using a black thread. Also add pupils to the eyes using the black string.
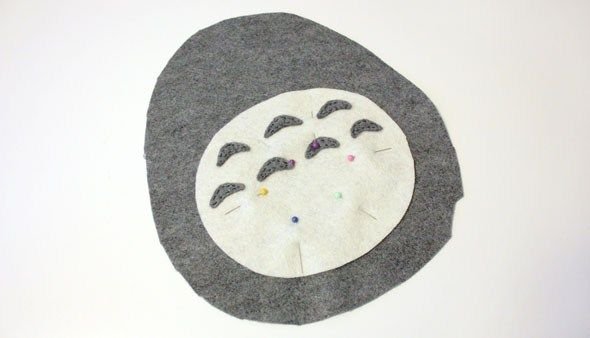
Add the stomach to the gray material using a black string.
Add your eyes (white string) and nose (black string).
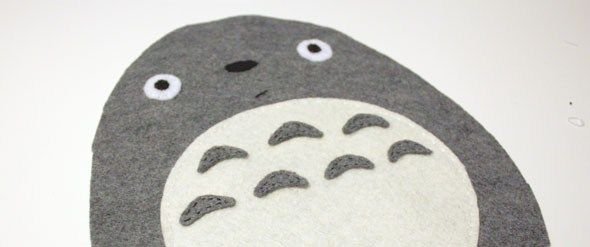
Add a small or big mouth using a black string. Add ears, leaving little space for charging. Do the same with hands and tail.
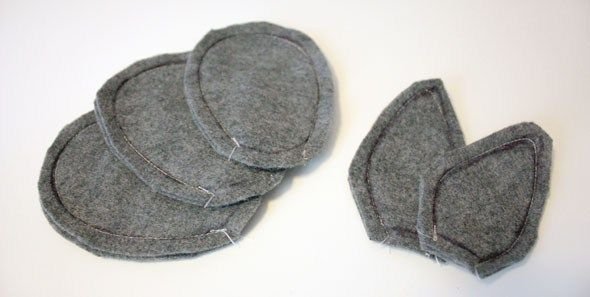
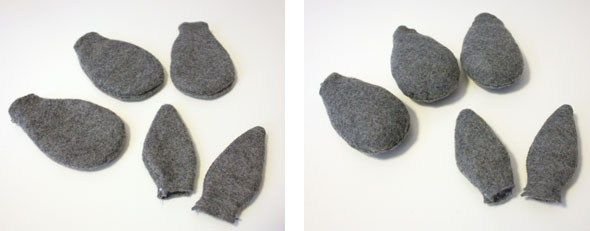
Flip the pieces to see "face" and fill them. Fill hands at the top slightly less than the other parts.
Take the back of the body and put it down. Put ears like in the picture. Take the other side of the body and put it over the ears with the stomach down. Align and pinch them.
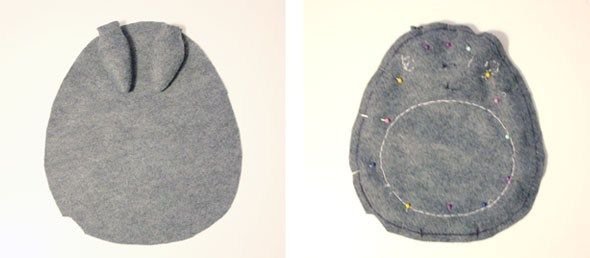
Tighten the body together (by hand or sewing machine), leaving one part insufficient for charging. Turn the body upside down and recharge. Put more filling on the bottom so that the toy is standing.
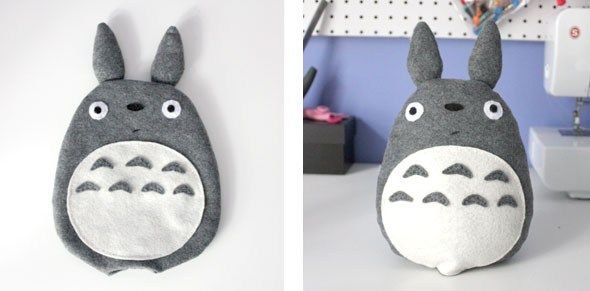
Add hands and tail to the body using a black string.
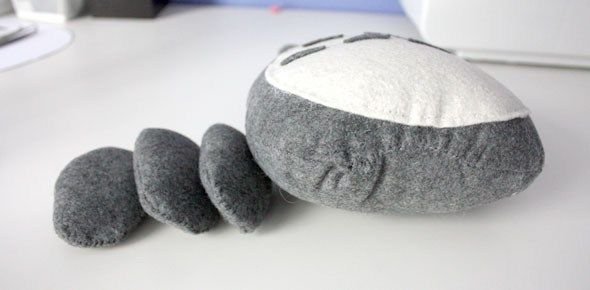
Add a tail so that the toy can sit on it.
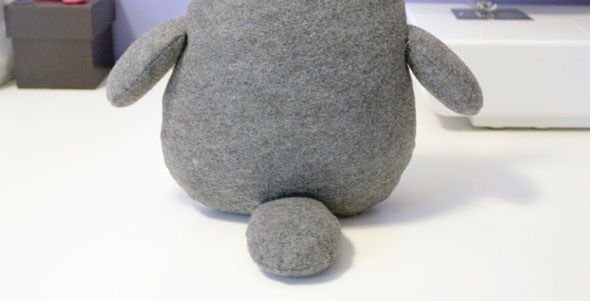
And you are done!! :)
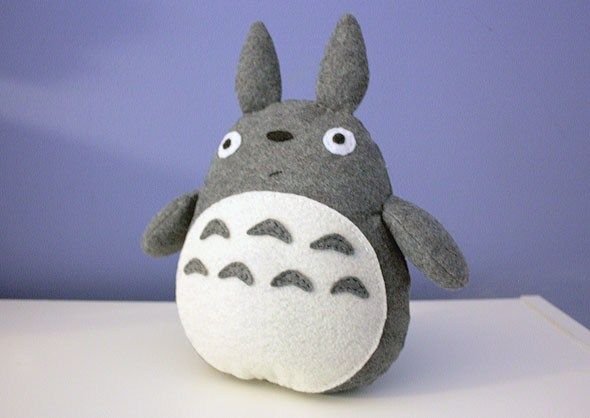
Here's what you can make in a similar way (using a different color, size...)
