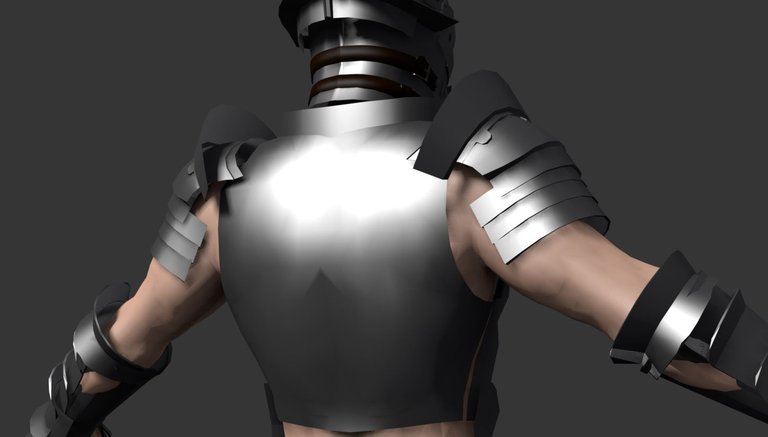
In this post i'm going to continue modelling the chest piece and explain some of my ideas, and work process to add low poly details that actually stands out and make the piece less boring to the eye, adding these details provide a place where the eye "catches" and stay a little while but also doesn't undermine the comprehension of the piece.
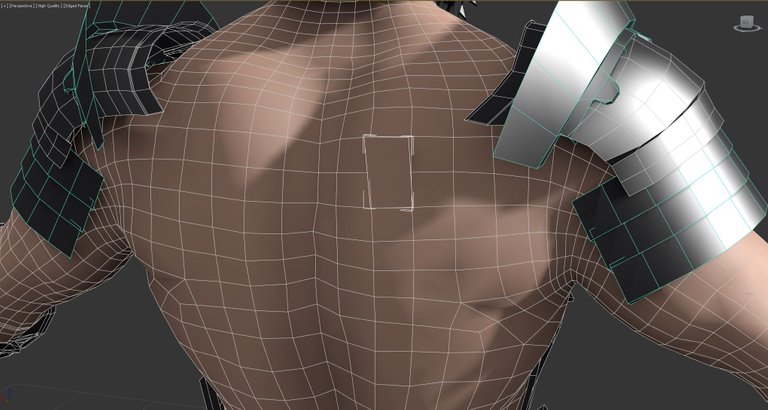
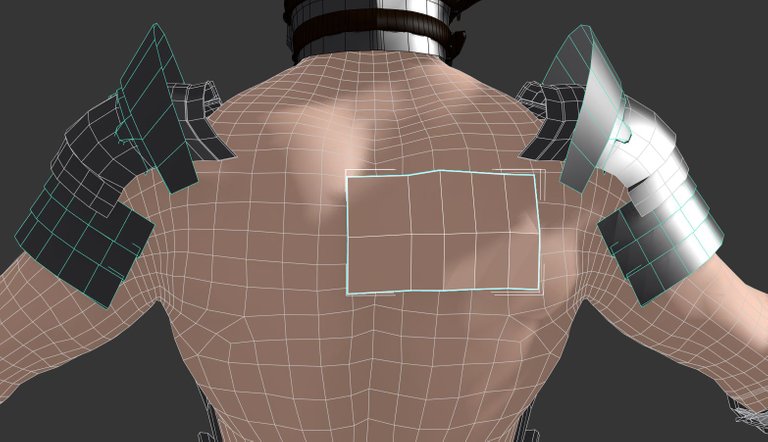
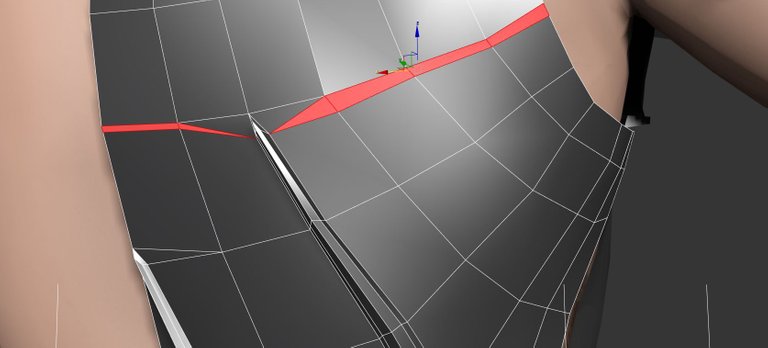
We are going to use a quad coming right out the polygons of the back of the human body ( copy - paste, or select one poly and use the "clone" function and state that you want to make a new object in the option dialog when prompted to choose same element or new object )
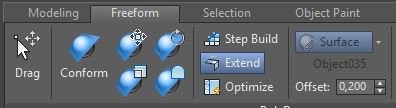
This new object selected, be sure to be in the modifier tab, so the freeform tools wouldn't be accessible, select surface instead of grid, pick the body for the surface to use, and input an offset of 0,2, then click on extend so we are going to use the back of the model as a reference to shape a first few polys and remodel / reposition some vertexes later.
Pressing shift on one edge and click - draging creates new ones.
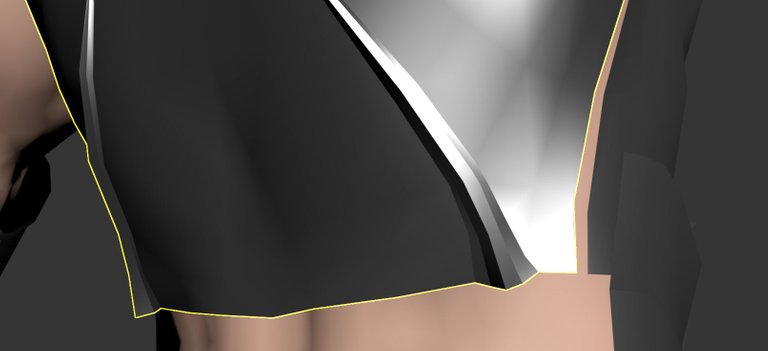
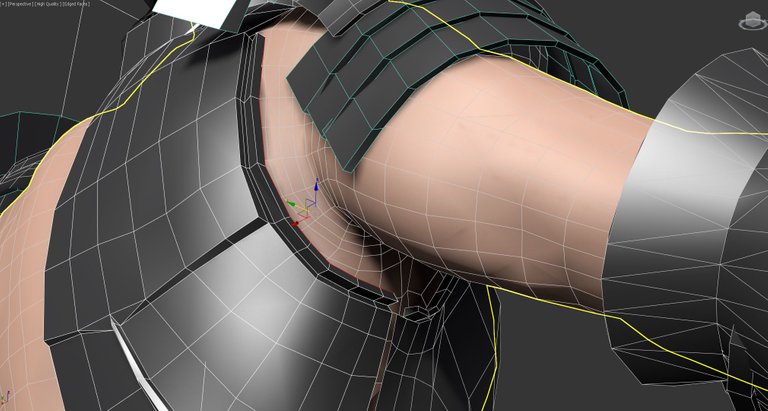
I'm bridging polys to another poly right there because i don't want the backplate to "plundge" into the character's back center line, it would be uncomfortable for anyone to feel a pointy metallic armor sliding along your back ^^ (and wouldn't look so right either, part logic, part comfort )
CTRL SHIFT pressed and drag the click-mouse to extend a row of edges.
Repeat and repeat this step, until we have to reposition some vertexes to fit our simplified shape a little bit. You should know the drill if you followed previous tutorials / steps.
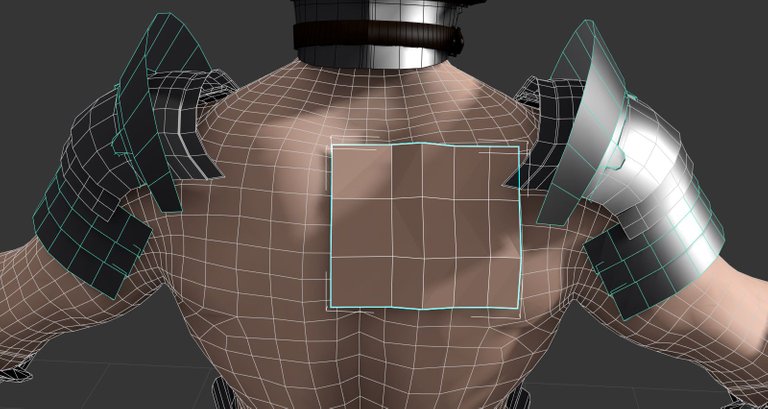
Now we need to follow the side / flank of the body and resizing to fit.
Let's go as far as to meet the front plate and scale down / reposition progressively to match the end polys / meeting polys of the front plate.
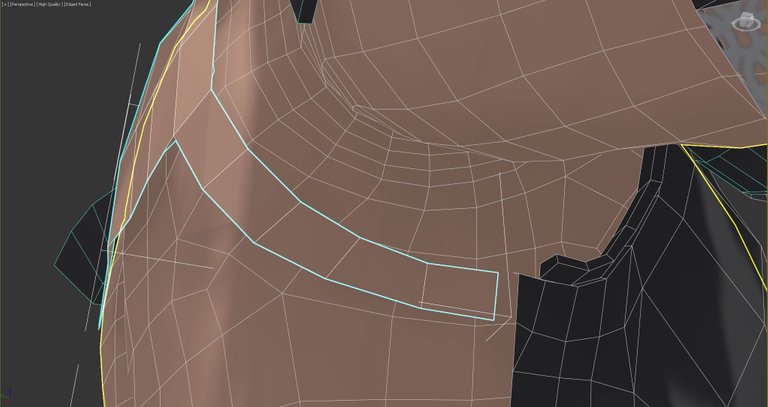
That's how it should look.
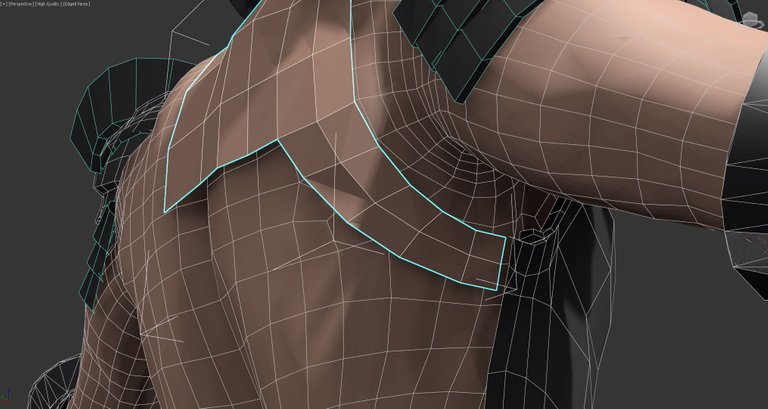
Extending more rows, and repositionning vertex with the retopology tool , using CTRL ALT SHIFT pressed and clicking on each vertexes you need to move.
Extend, extend, extend and re-position, adjust, and rotate around the object to take a look at what you do in other angles, again and again.
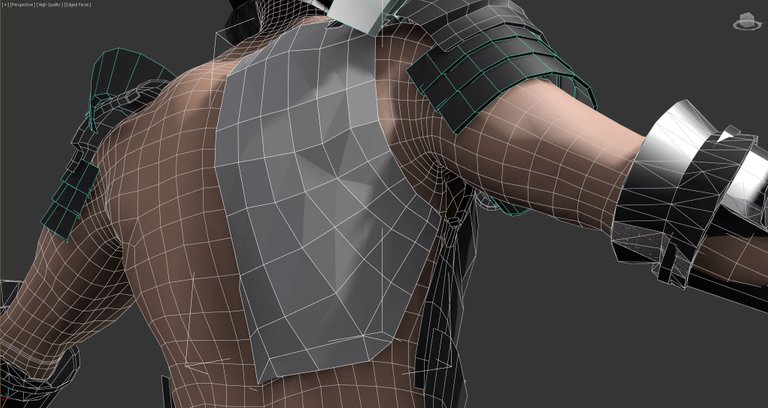
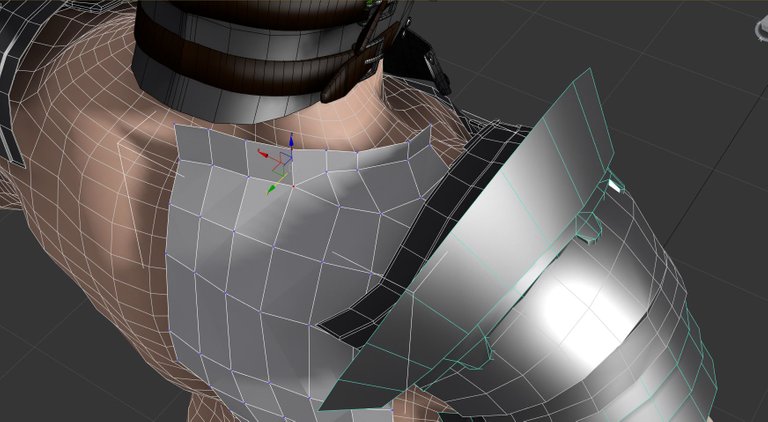
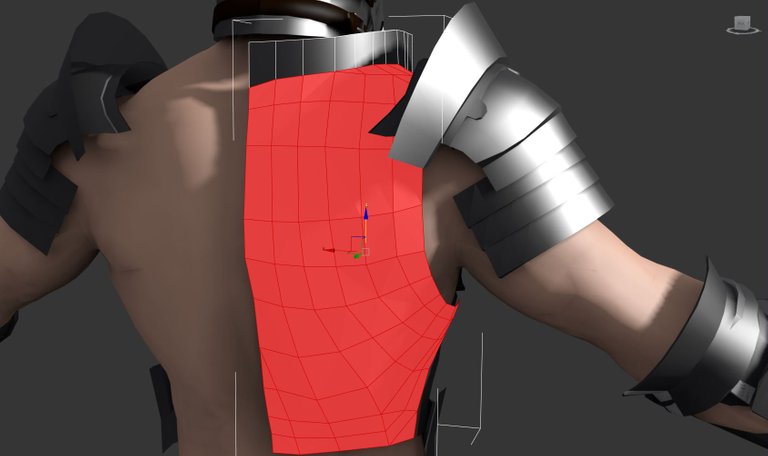
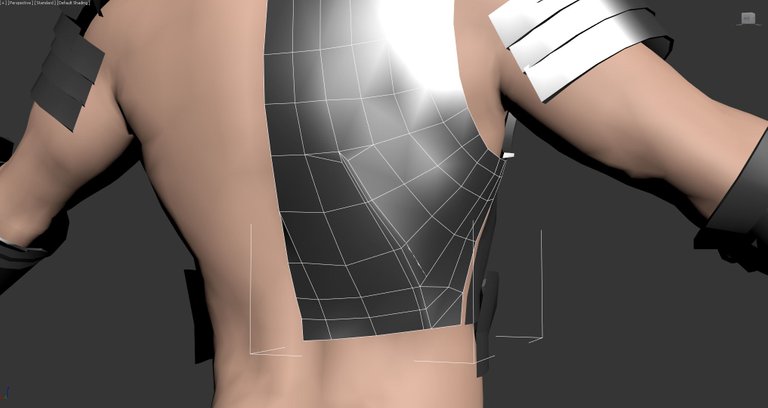
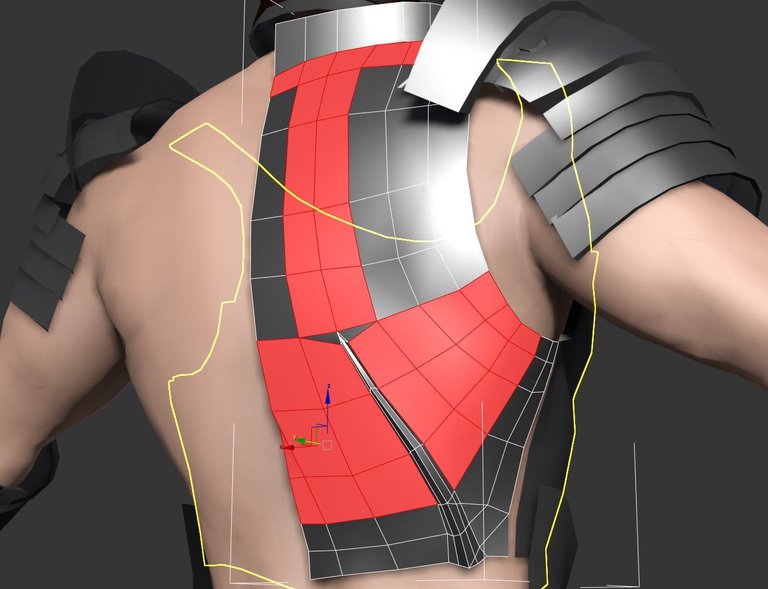
Now that we achieved a big part of the back plate let's add a neutral grey texture / material so we have a better look at the shape and edges pops out a little bit more, easier to see for yourself. As we are going to stop retopologyzing but actually modelling.
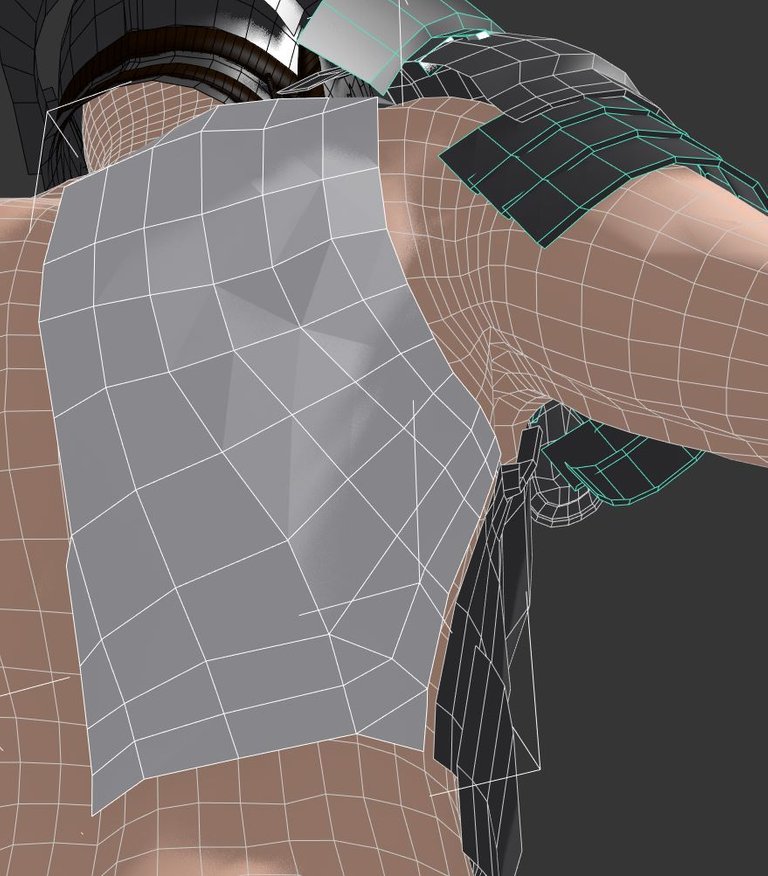
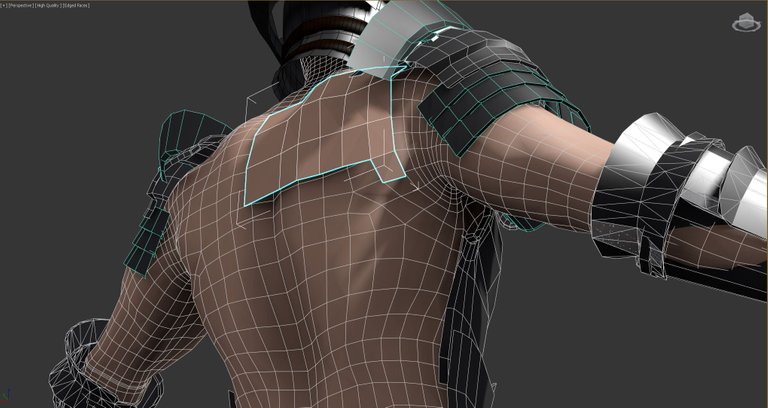
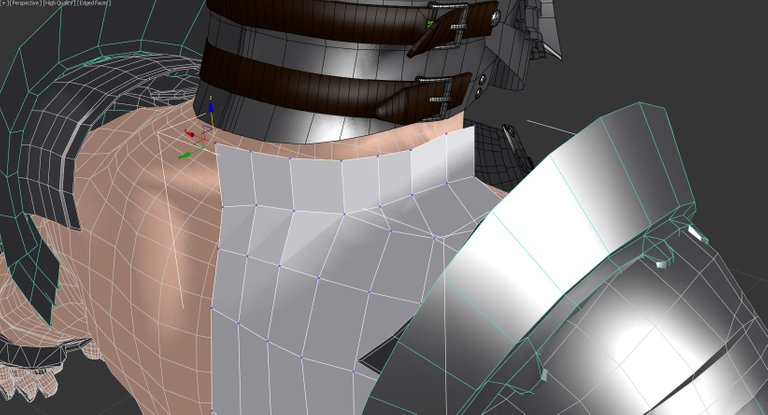
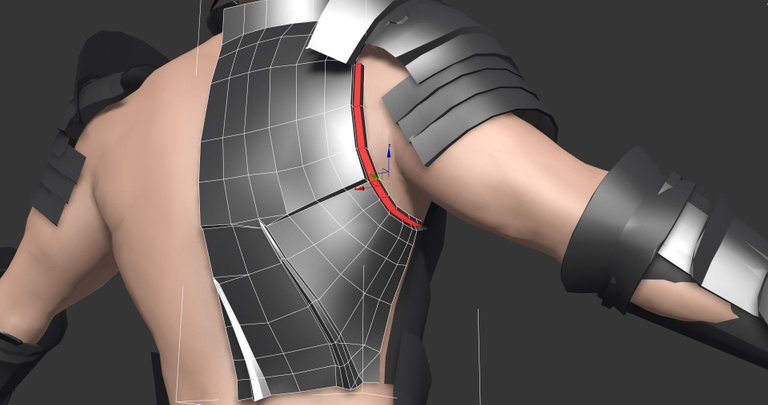
Adding new edges up there, and shaping them so they follow the neck muscle and the base of the neck back there.
Creating a "collar" around the neck by extending edges and cutting some.
We need to change the position of the vertexes progressively so they actually follow more naturally the body's shape but with their personnalized position too.
Reposition, reshaping, and rotating around to see if it fits "okay".
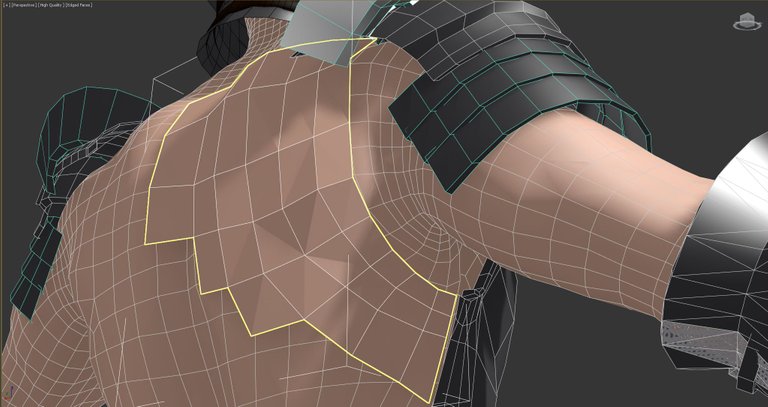
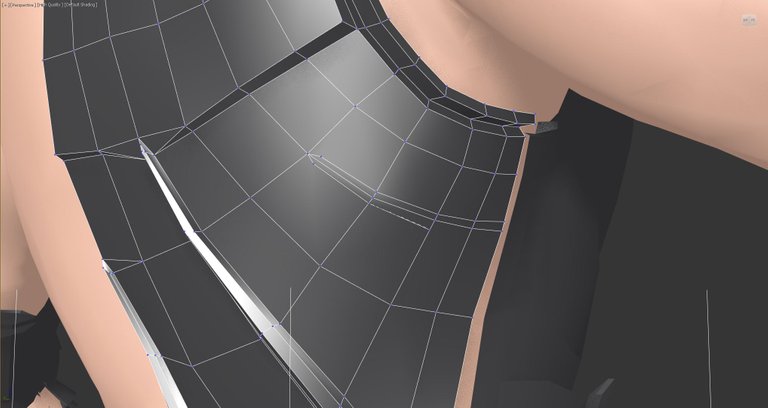
Extending the collar.

Extending part of the attachment to the front plate.
Same thing.
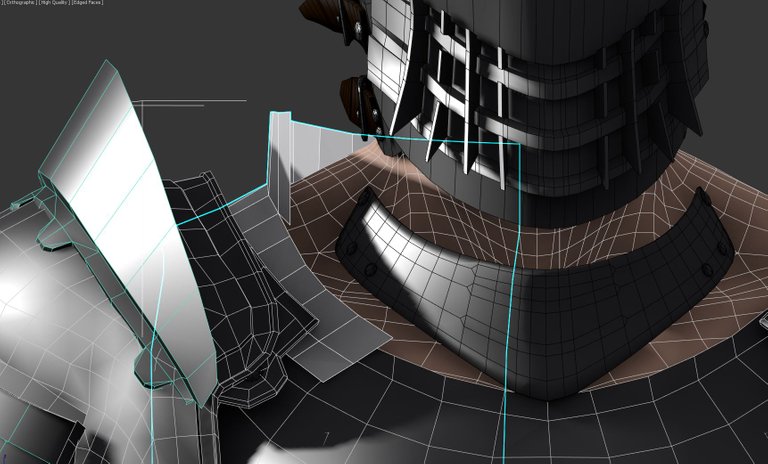
Adding a corner to the collar.
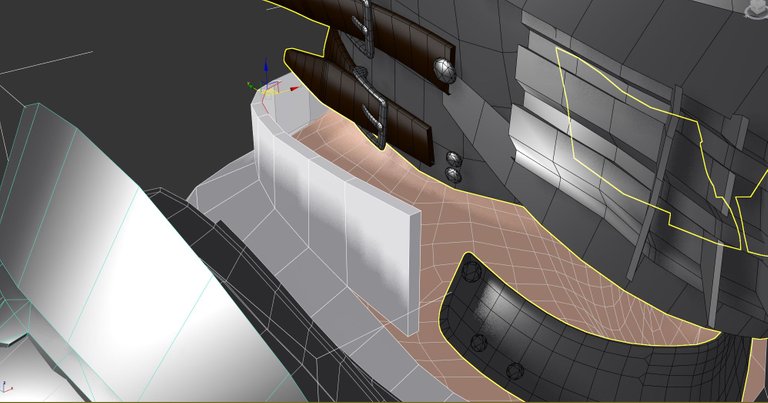
Adding inside walls to the collar.

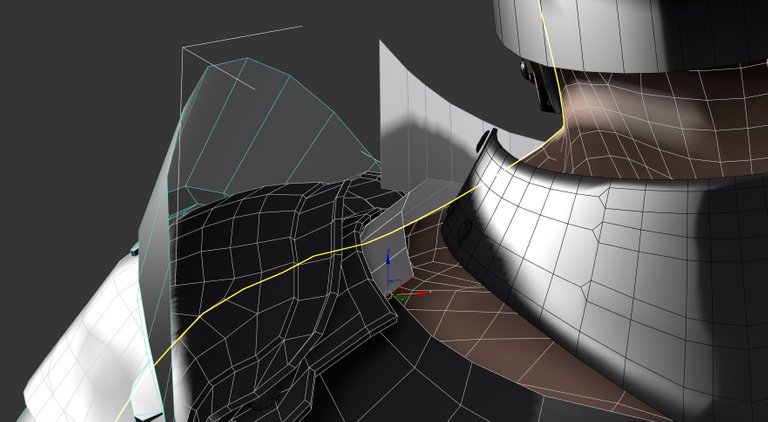
And using target weld with vertexes so they "catch" their base down there, the base following the shape of the neck.
Okay so that's how it looks so far...
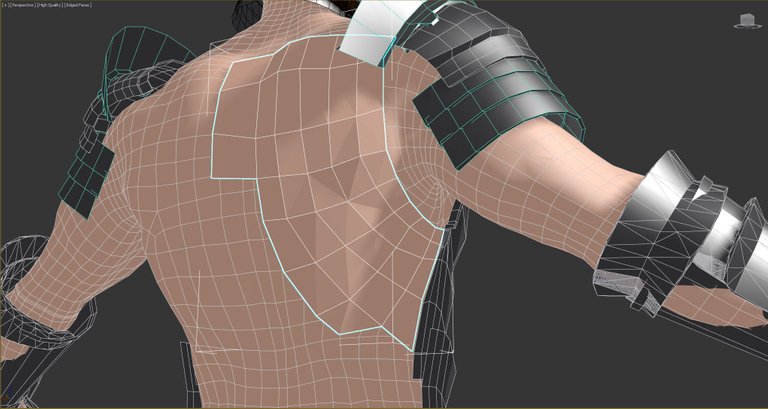
Now we can add the metallic material but it looks pretty weird.
We are going to use separate smooth groups to make it appears as our backplate as different "hard surface" sections.
First you want to select the polygons you want to isolate it's smoothness from the rest of the mesh / object.
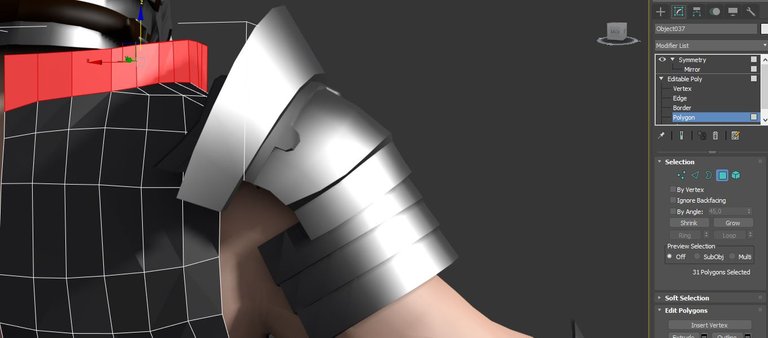
Then, apply a simple smooth with an angle of around 30° to these poly selected. ( scroll down the subtools of the poly section of the modifier after selecting polys and click on auto smooth you could specify a number for the smooth group id but it's not mandatory for this. )
See ? We have smoothed the appearance of the low polys so they look much nicer, even tho it didn't added any level of detail to the mesh.
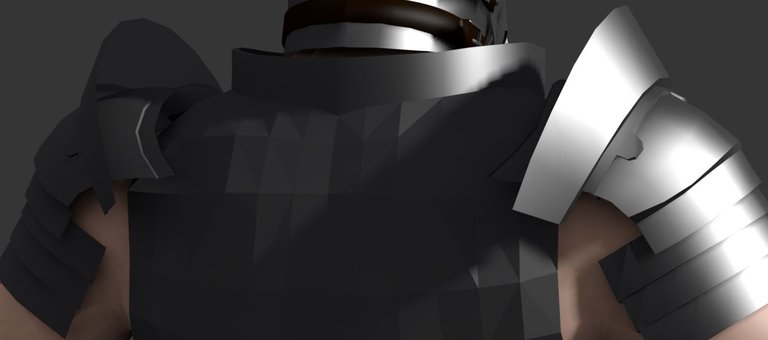
Let's do the same for the rest of the back plate.
You can see it made two separate smoothing groups and they make a clear line in the material of the mesh.
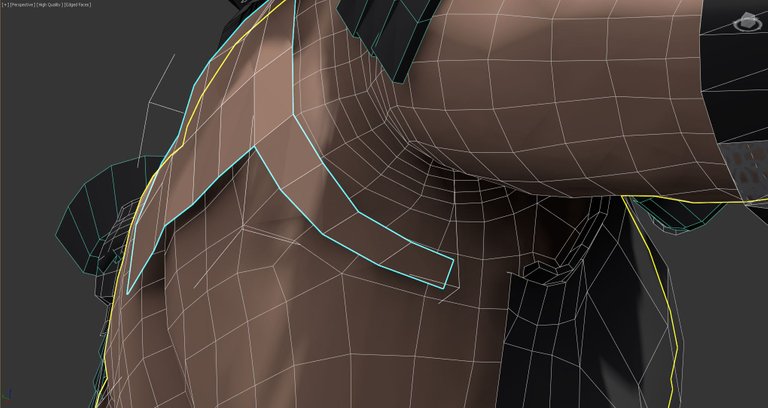
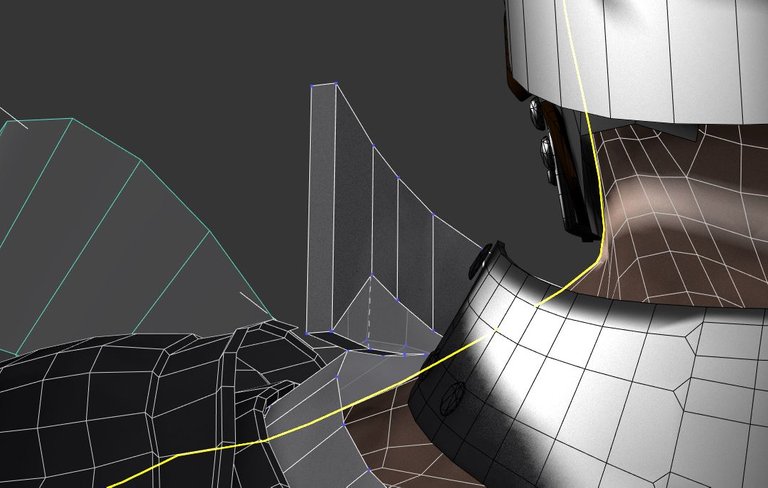
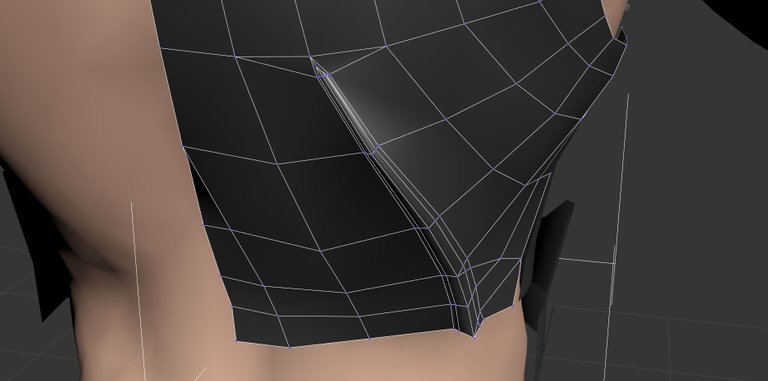
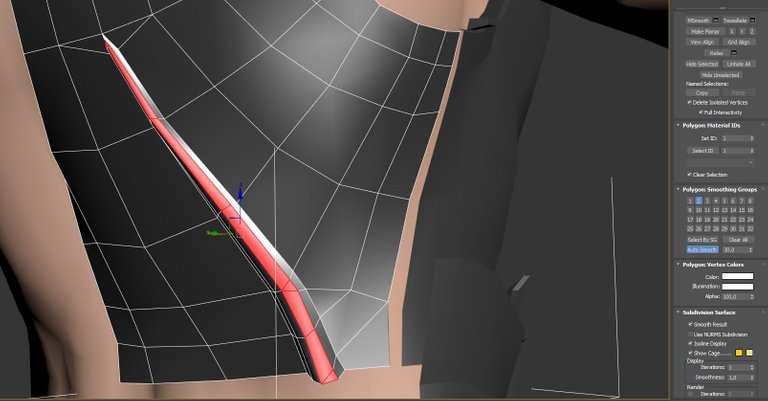
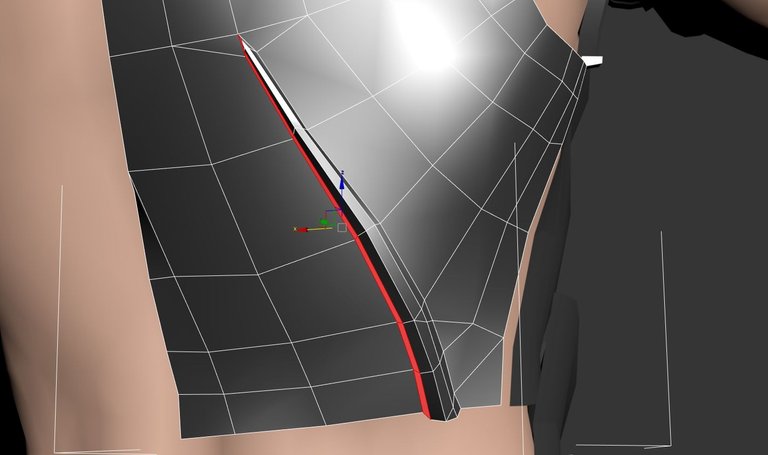
I want to add some "german" / gothic armor design down there, so i cut edges in this specific manner :
repositionning "out" these vertexes.

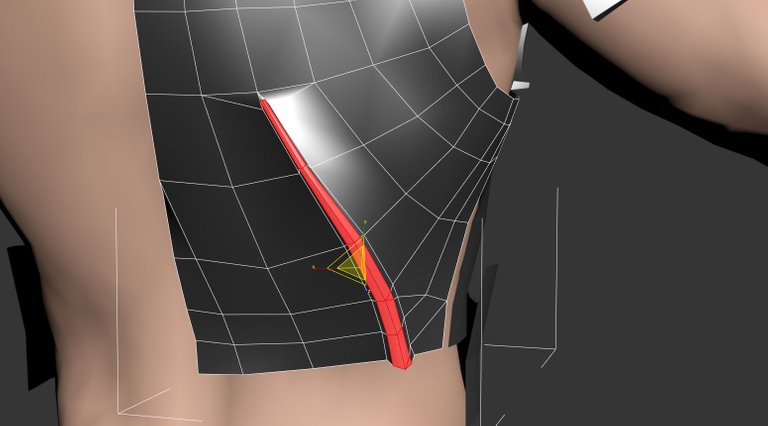
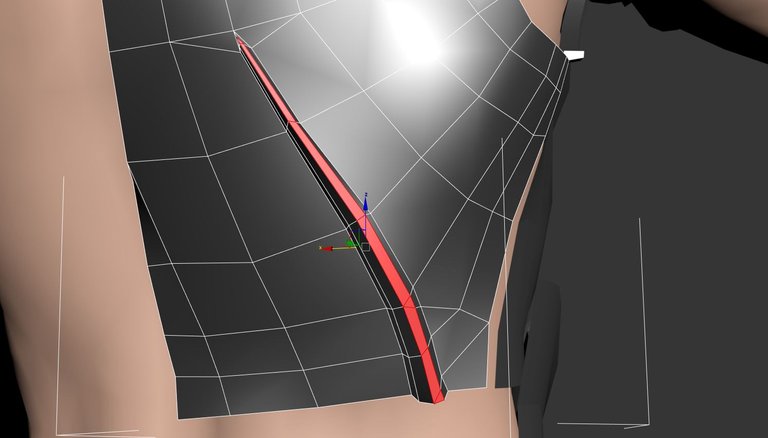
Adding one level of detail to this specific area by cutting again :
I used a "local" transformation and scaled down just a little bit.
I then proceeded to select multiple polys to add smoothing groups to these parts.
Done that for them separately.
Same thing.
And separate / enlarge a little bit of the end of the shape so it takes a better shape.
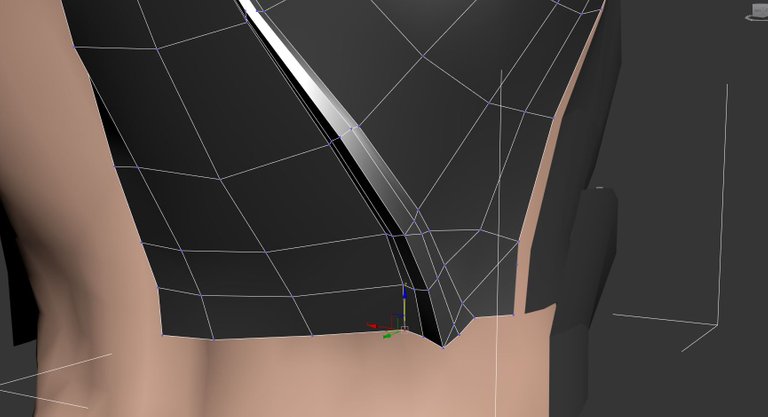
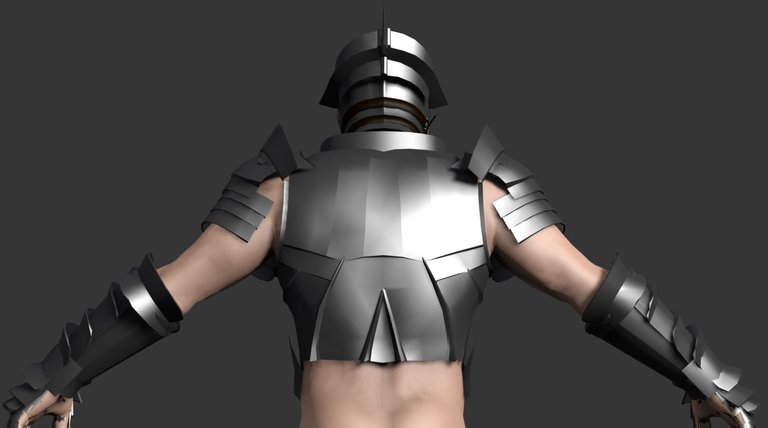
That's how it looks now :
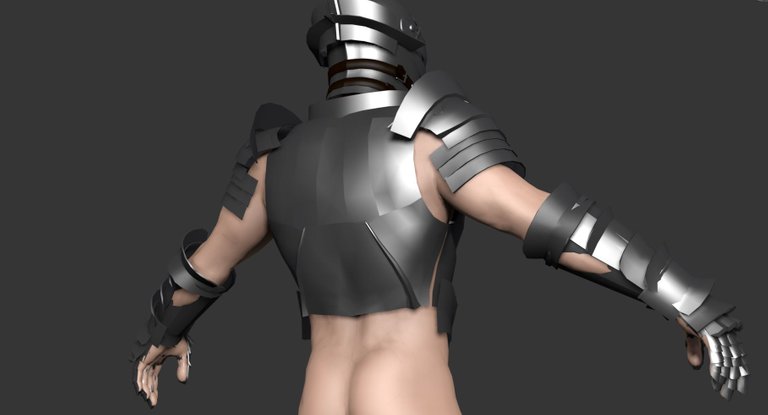
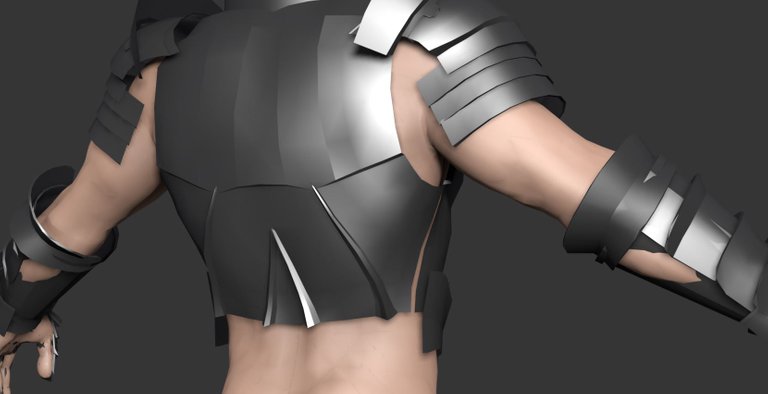
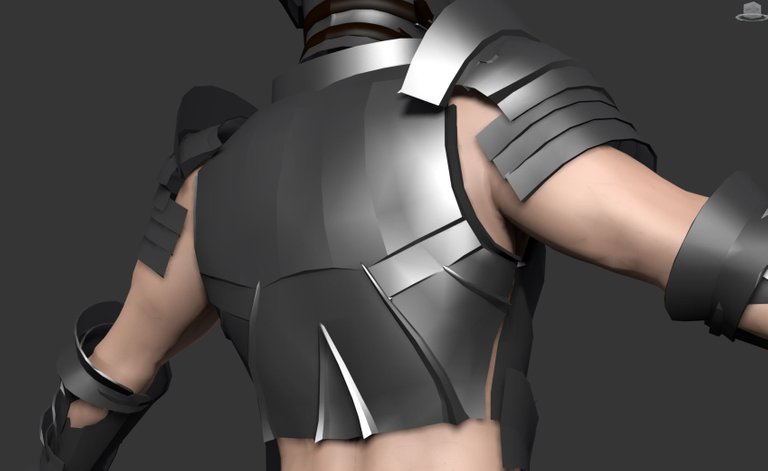
I will be smoothing other and muliple pieces of the back plate so they look more interesting and catchy to the eye :
Heeey... That's... okay. I guess.
I wanted to add more of these :
So, i repeated the previous steps to this area too !
Re positionning and shaping it to achieve the same effect :
Nothing much to add here, i basically re do what i've already done, so no comment ! (except this haha )
Hmmmm as it was looking nice, i wanted to add one more layer of complexion to the model for looks, so i smoothed this part but i soon realised that it would be better if i take some of the vertexes backward so the shades / shadow act a little bit more "strongly" on this so it looks like a section of the armor.
Tadaa, not too bad.
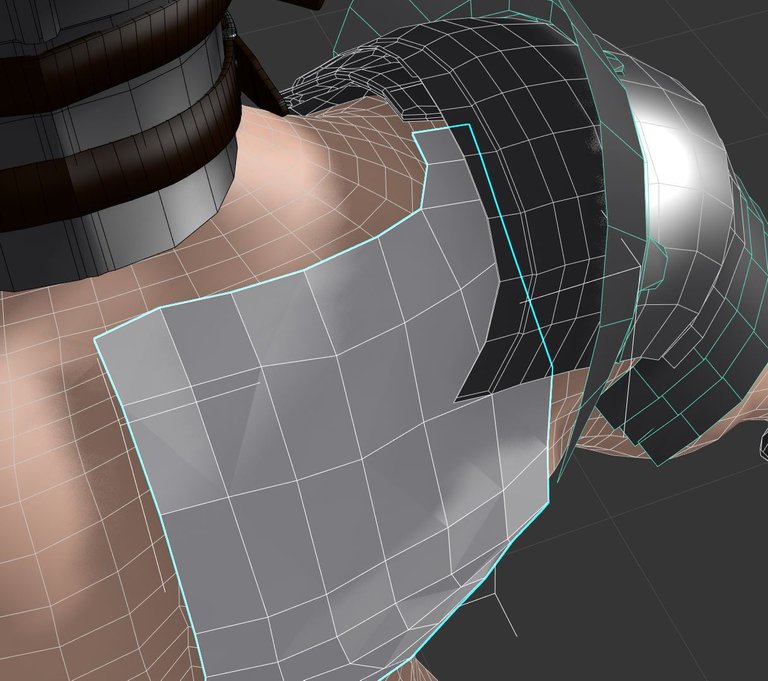
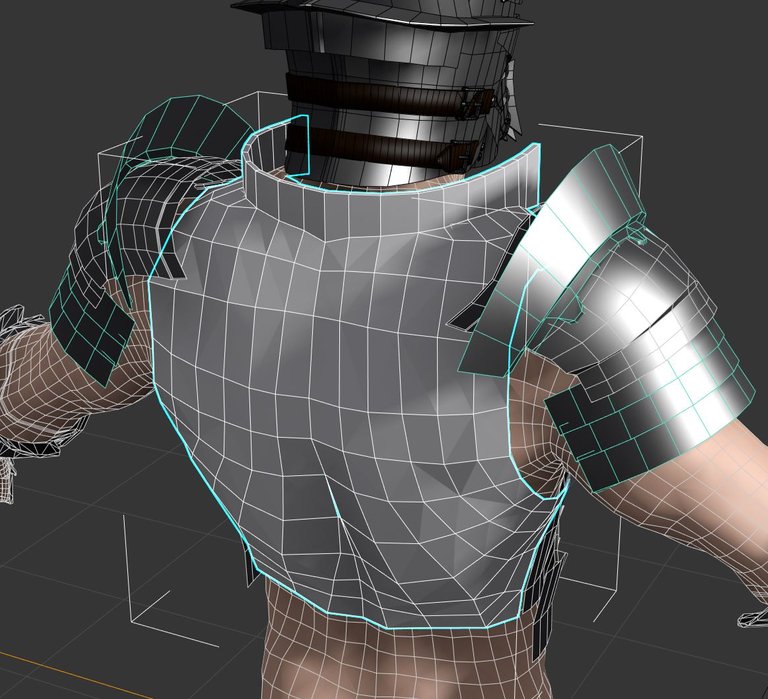
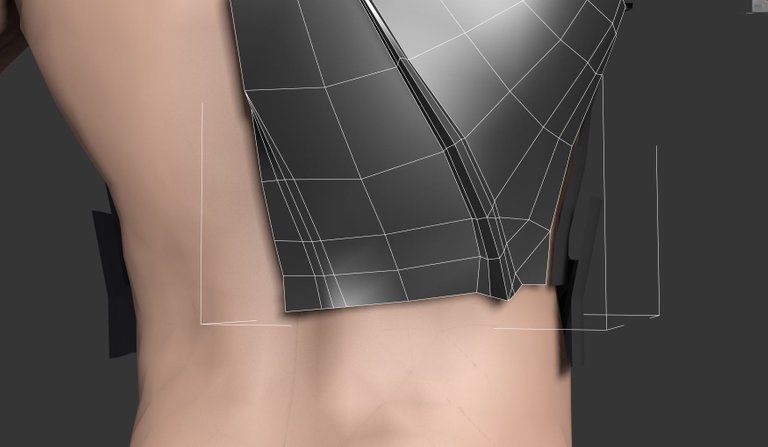
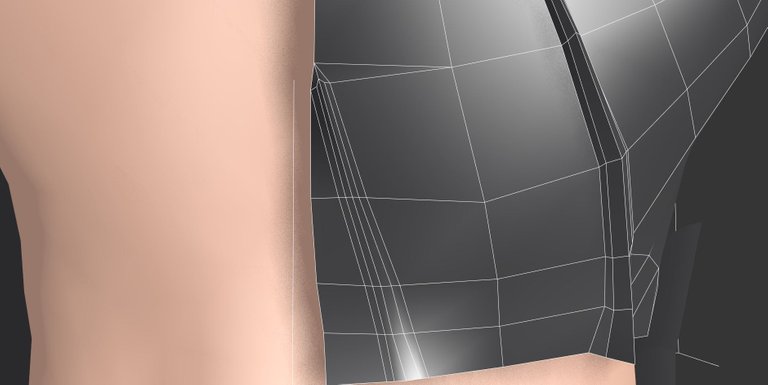
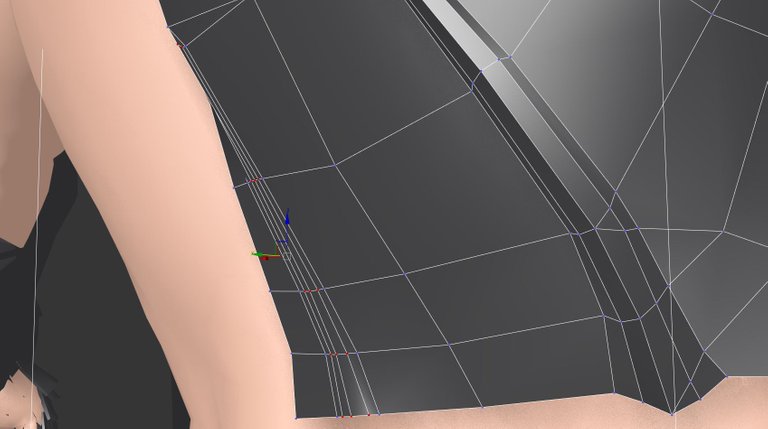
Let's make the inner faces of the side / arm passage.
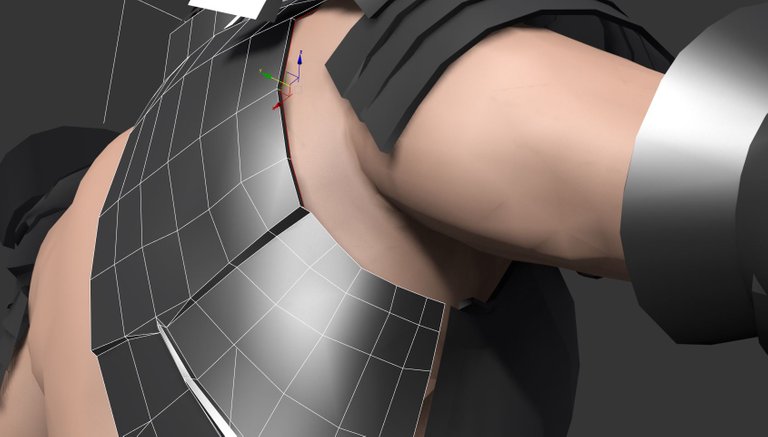
I'm adding this "rail" under the arm / across this section so it fits and match the rail of the front plate.
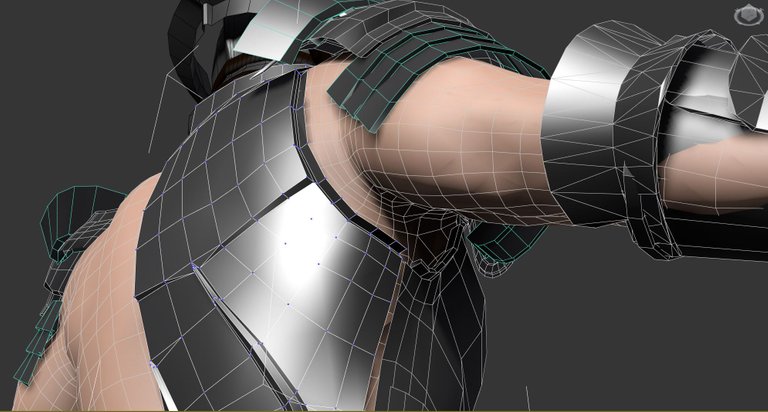
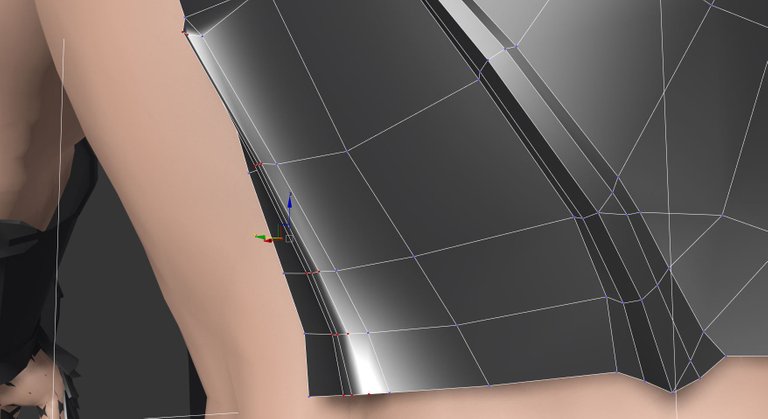
Adding the corner :
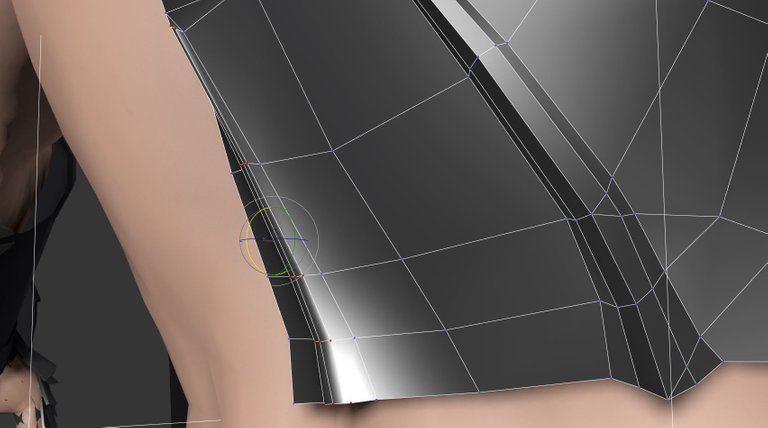
And the inside / inner faces :

Smoothing these parts individually just as the rest of the piece.
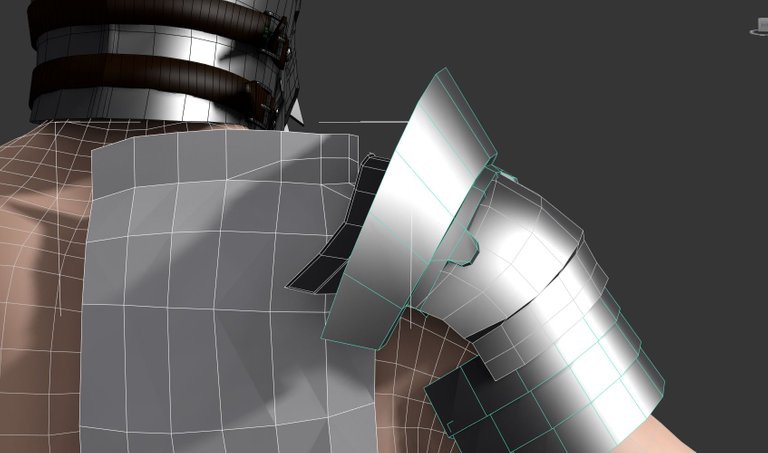
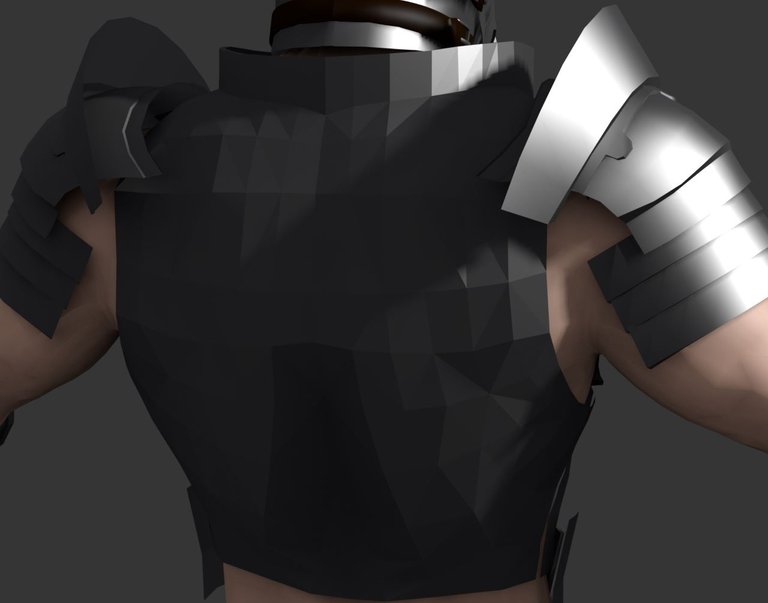
You know what... After i took a good look at it and wondered... That whole area seem a little bit barren, and weird without adding one more of these, now (yes it's very subjective, someone else wouldn't have added anything there, but... i don't know it felt weird to me, or uncomplete. not "cool". ) :
So, let's repeat the same process we did two times already, shalle we ?

Heeeey, that looks pretty cool now. I personnally like it.
What do you think ?
Tell me in the comments below if you read until here xD Thank you ^^
Looks amazing. Are the plate and all the equipment now separate objects?
If you animate would you animate the whole group but can still do individual parts? I have been fiddling in blender and wondering at the back of my mind after making these simple things what would be the best way to approach clothing , seems like it would be tricky to get the objects to stay "around" the character without the meshes , well meshing.
This is looking awesome though and you make it seem so simple.
It really depends of the use you are going to make of the model.
Here it's intended for rendered animation, so i would keep them separated and link armor parts to the bones, or for more precision and realism, i could make them part of one whole mesh, but apply a physics modifier on parts like shoulders, keeping some vertexes attached to the skinned mesh so it just don't go "fly" away, and have cloth physics or rigid body physics running on most of the pauldron, for that i'll need to add another belt around the middle of the biceps so it does't just flaps in every way possible even if it's attached to the chest plate.
i could definately attach / make the back plate and front plate a whole object tho.
If you would use this model for video game purpose then it would be best to fuse everything together and make bones to animate every parts you want to move, and export skin , blending shapes, animations to a program like unity.