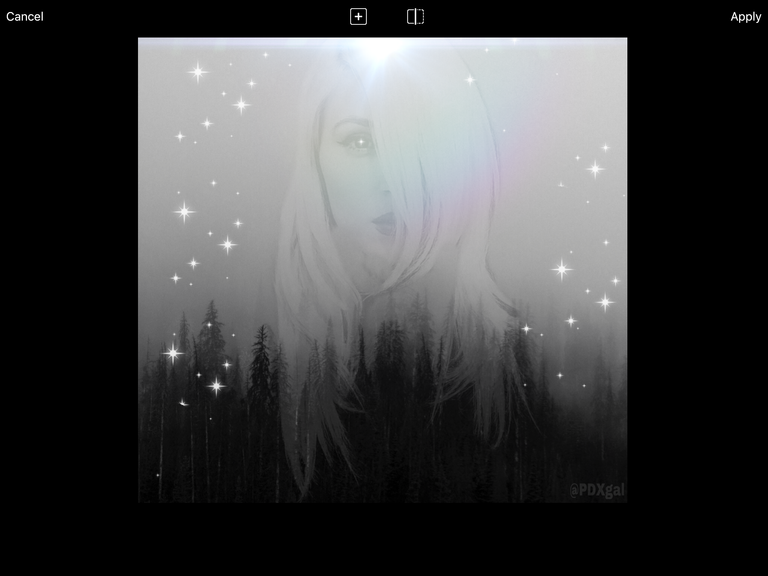
This is the finished product. I kept it simple for this tutorial.
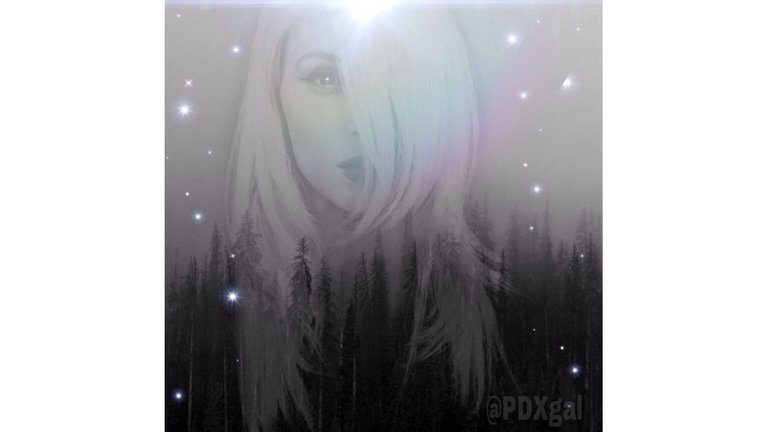
Watch this video to see how I create the finished image in 4x the speed.
Download this app, its available in Android and iOS
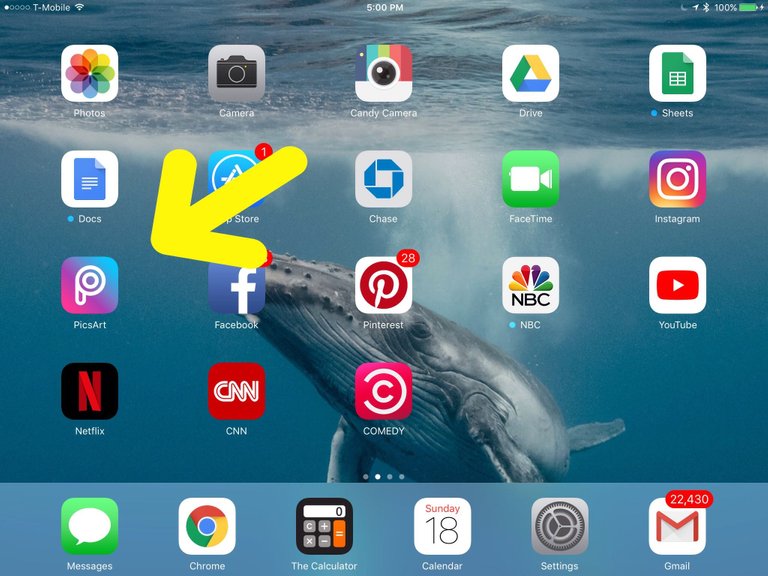
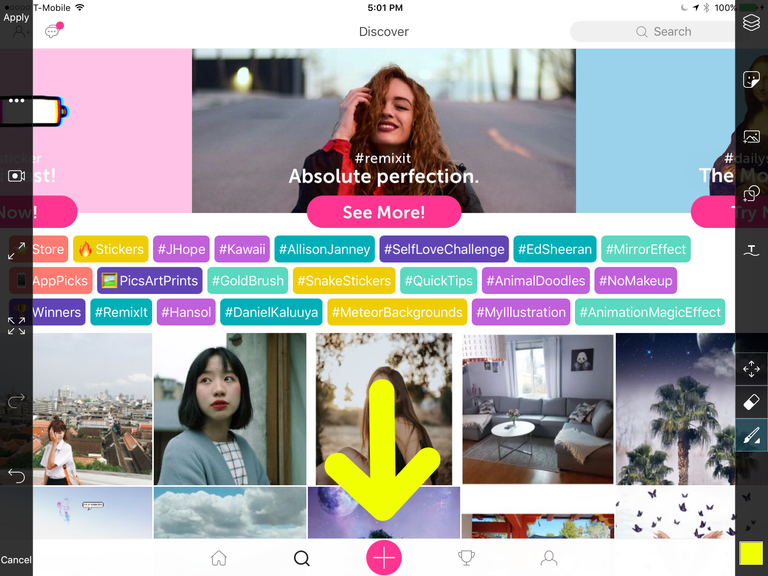
Once you have downloaded the app and you have opened the app, You will see a pink circle with an X on it. Click on that pink circle.
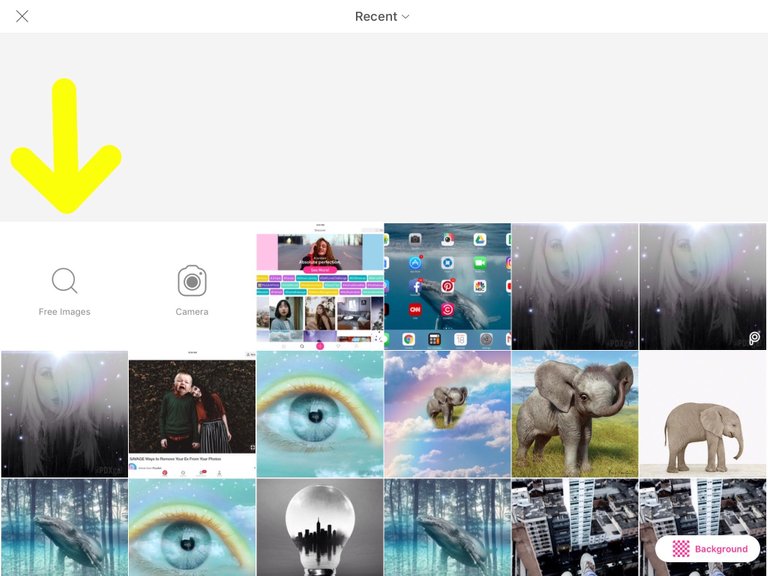
On this page you will see images that are from your PicsArt gallery and you can choose the camera icon to take a picture, but we want to click on the (FREE IMAGES) button.
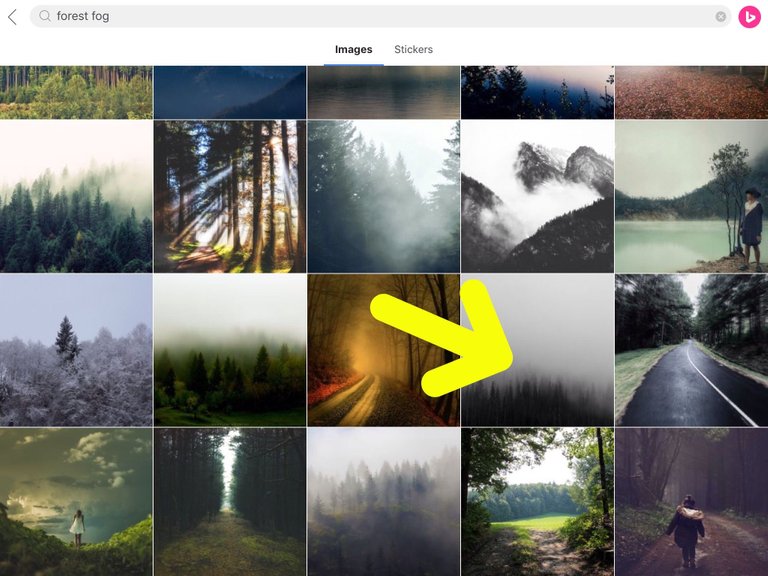
I typed (forest fog) and these images popped up and then I clicked on the image I wanted.
Click on the (Tools icon)
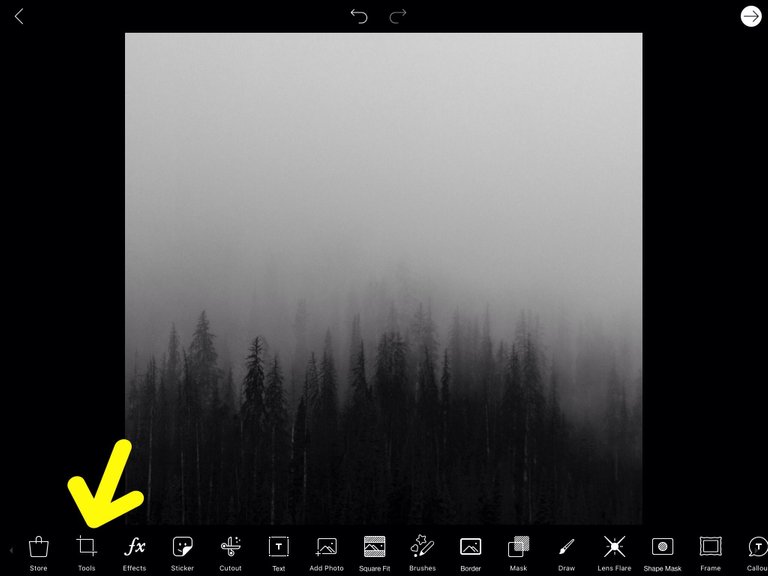
Click on the (Crop icon)
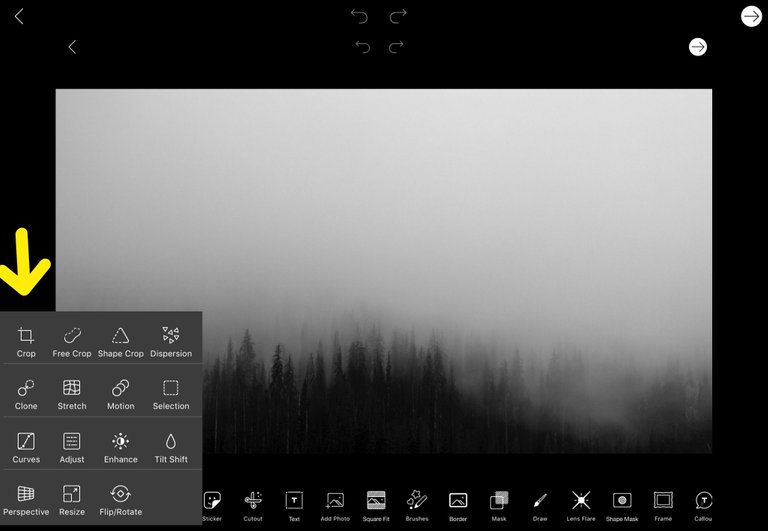
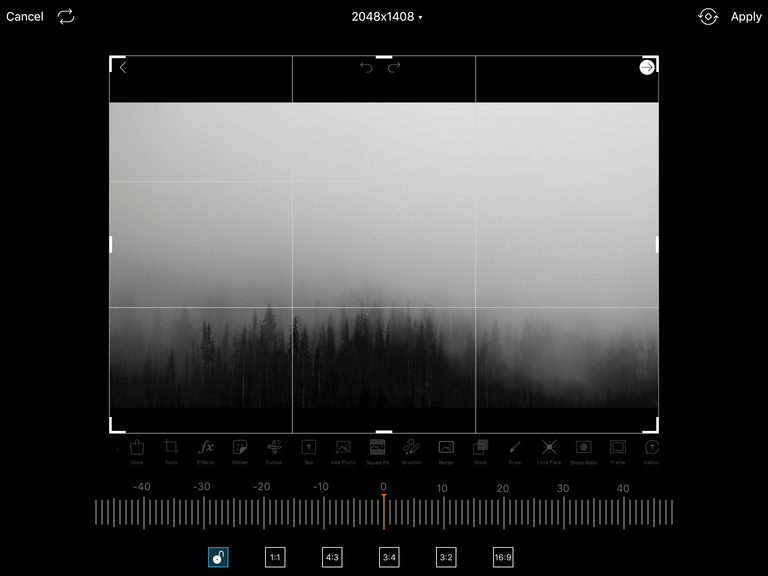
It will look like this.
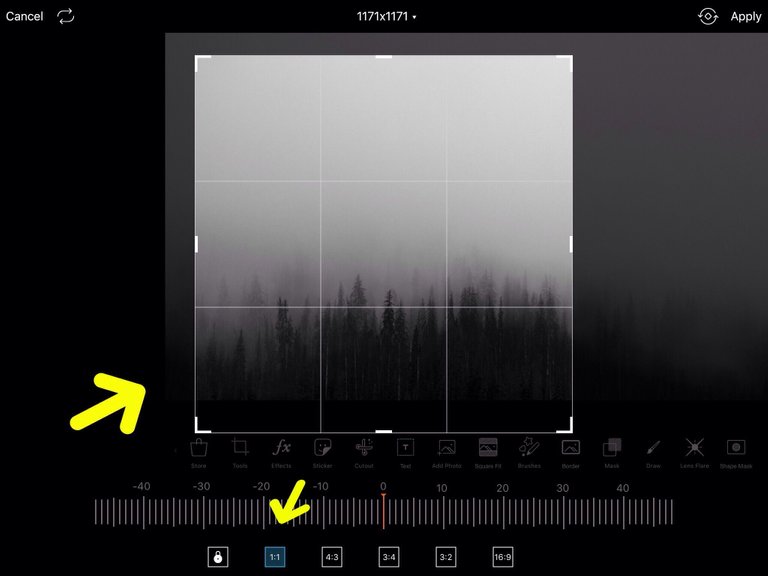
Then click on the box marked ( 1:1) and that will crop the image to a square. Click apply. its in the top right corner.
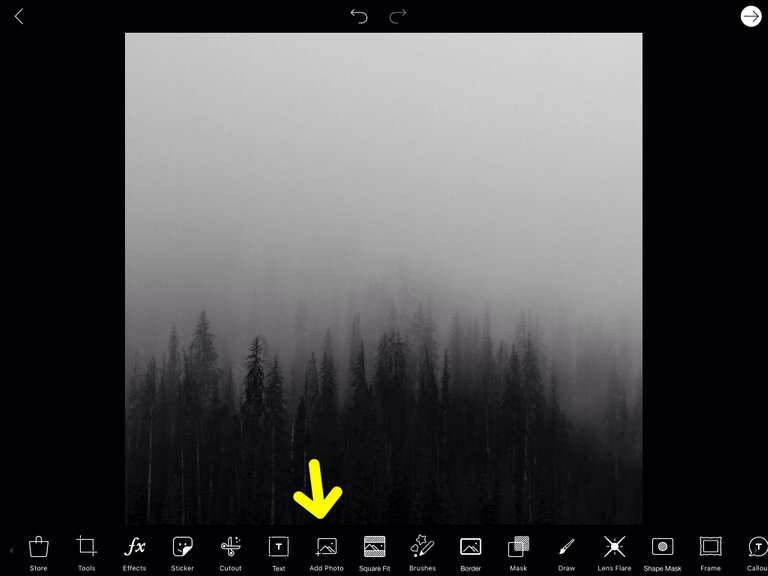
Click the (Add Photo) button and your gallery will pop up.
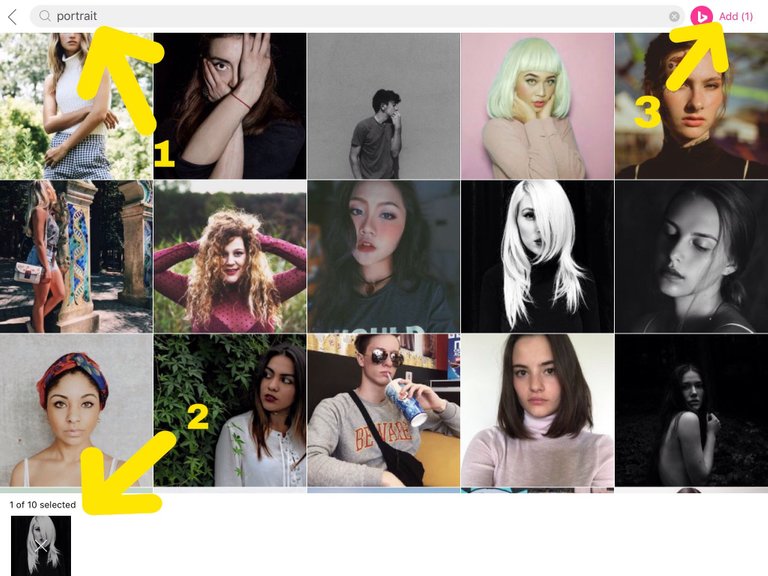
Click on (FREE IMAGES) This time I typed (portrait) and then I picked one.

- I typed (Portrait).
- I clicked on a portrait I liked and it showed up here.
- It will let you pick up to 10 at a time, but for this project we only need one image. click (Add 1) in the top right corner.
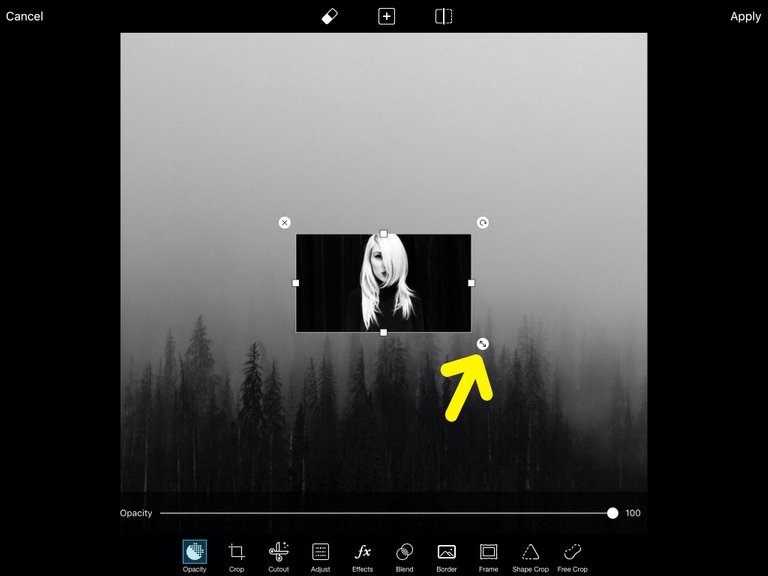
The portrait image will show up over your last image. put your finger on the double (arrow icon) and drage the image out, until it covers the forest image.
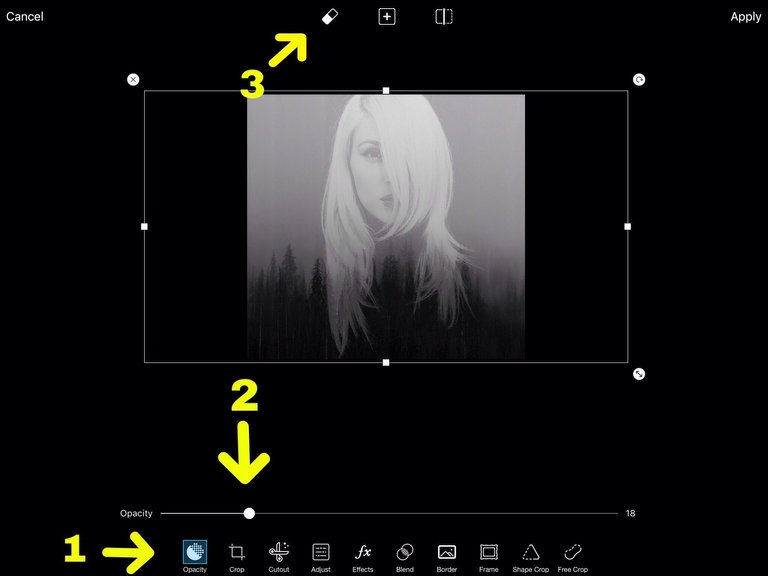
- The (Opacity) button is already highlighted and you can drage it to the spot you want.
- I did it just enough to see the trees.
- Now your ready to erase. click the erase button at the top of your page.
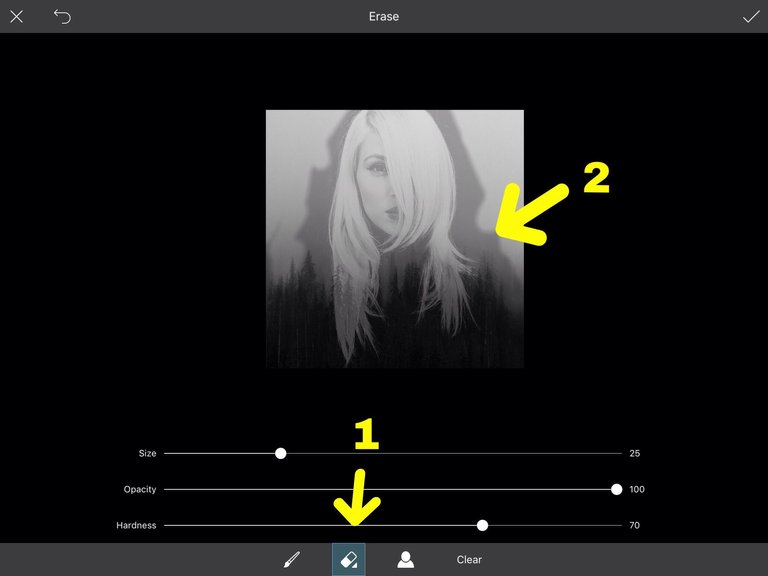
The goal is to erase all that black around her, so you can see the trees.
- These bars allow you to adjust the size, opacity and hardness of you erase brush.
- You can see in this image I didn't get too close to her with this brush, but after this I adjusted the brush to have a soft edge and I expanded the image and went in to those small spaces and erased it. When you're done, click the check mark in the top right corner.
See the brush button?
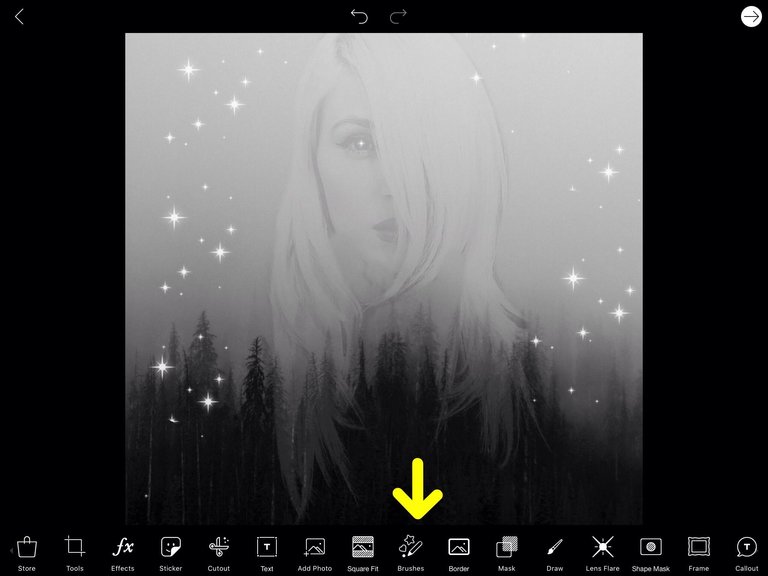
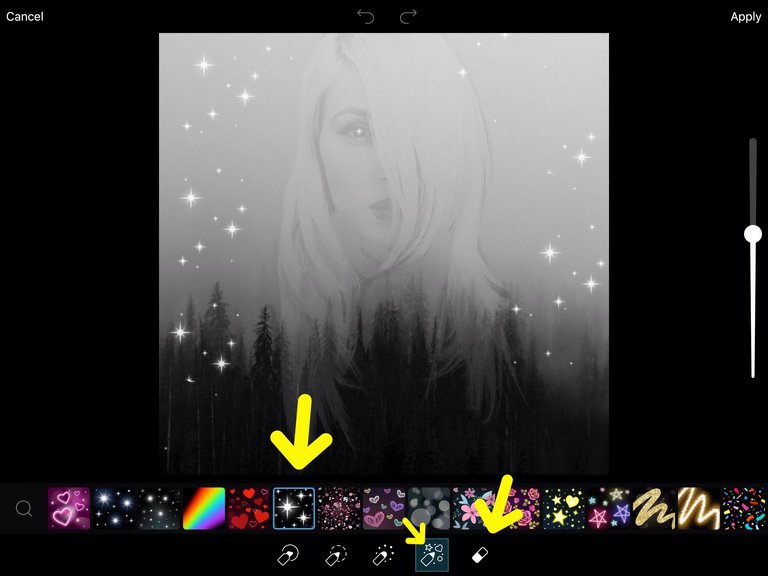
It is full of fun easy stickers that you can brush over your image. I chose stars. You can adjust their size and you can erase individual ones.
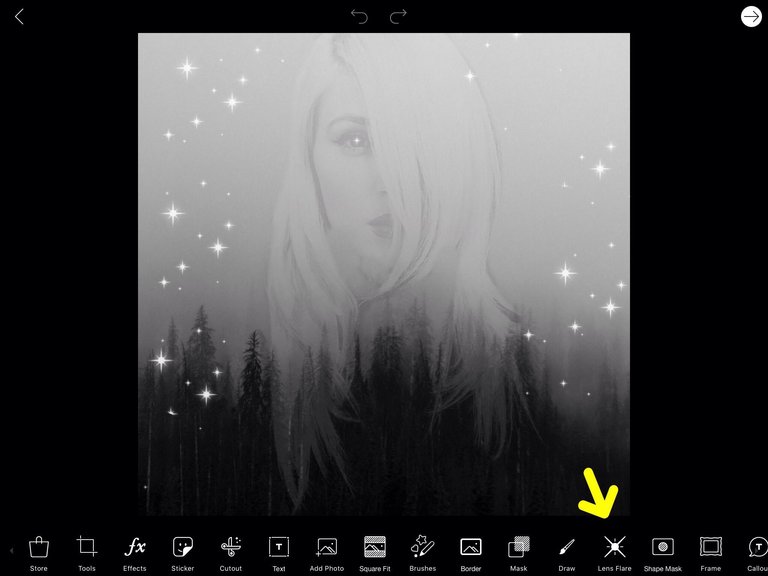
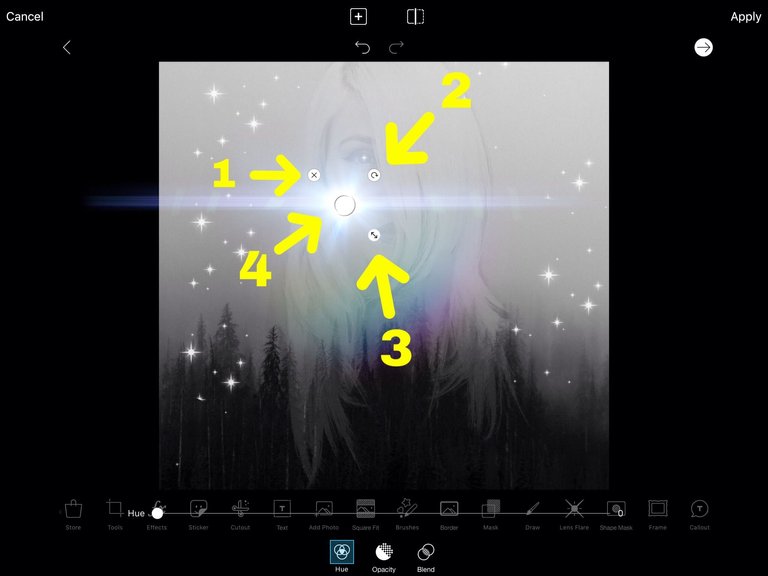
Now click on (Lens flair)
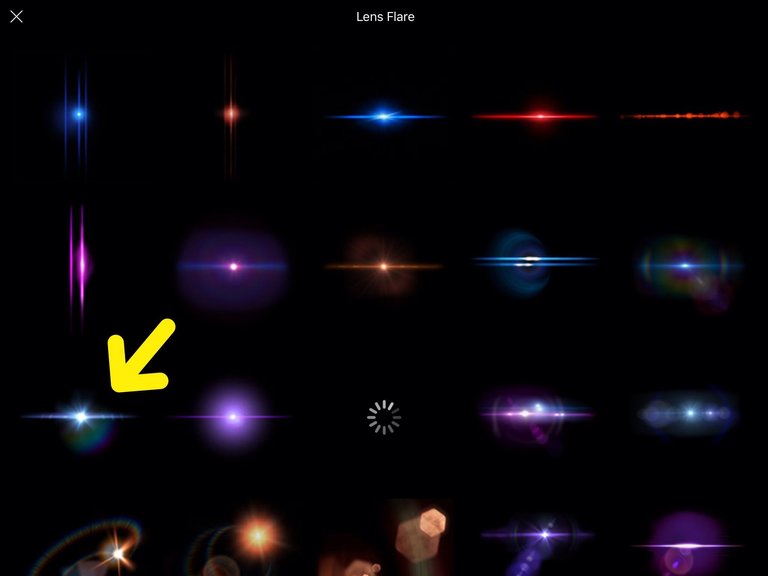
I chose this one.
- delete
- rotate
- expand
- move
I placed it over her head and half off the page.
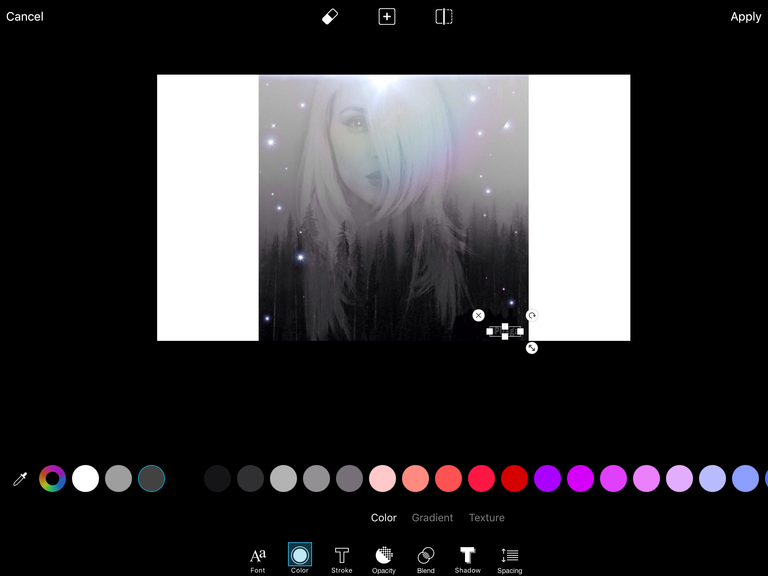
Next you want to click on (Text). then type your watermark.
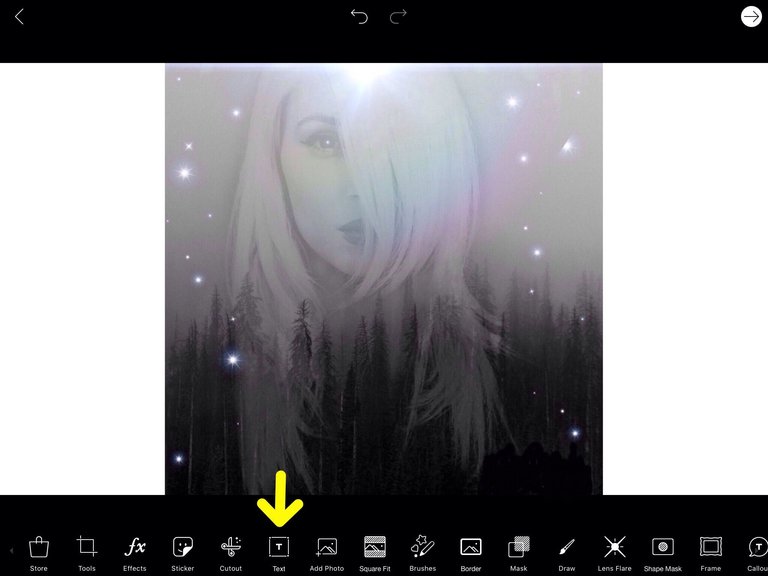
Like this.
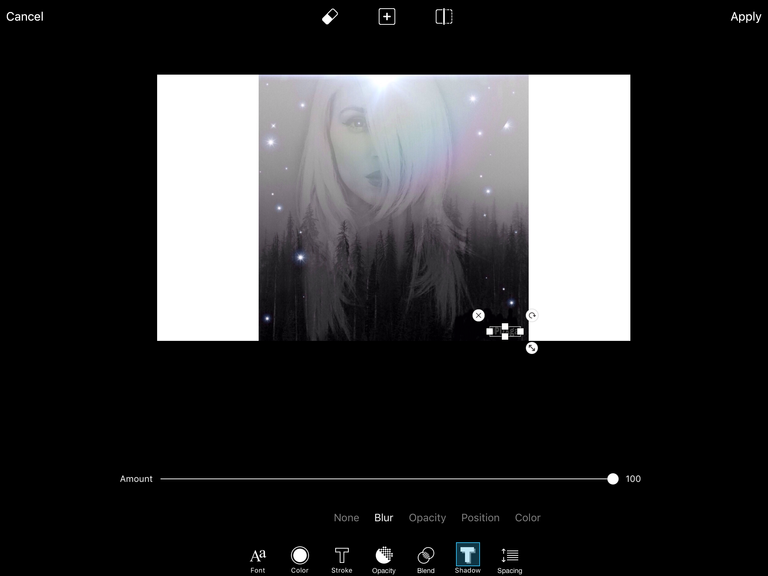
There are so many good tools here. You can fade your watermark, change the text, shrink it, change the color, add a shadow and other techniques. I suggest you play with them.
I chose grey on the bold font with the shadow blurred.
And here it is!
I hope this tutorial is helpful. It's the first of many to come!


Oh, WOW! You are talented! Thanks for the beautiful tutorial. I did not expected to be in such detail :)
It was really fun! It just took some time to find the right app for recording the video. I'll do more soon! Thank a bunch!
Hey @ntony, Thank you for the Steem! That was very kind of you. If you like PicsArt and have any questions, let me know. Steem on 🐳
I have not tried PicsArt yet, I'm installing it now :)
You got a 2.35% upvote from @mercurybot courtesy of @pdxgal!
This post has received a 1.27 % upvote from @booster thanks to: @pdxgal.
Here is my first try on PicsArt
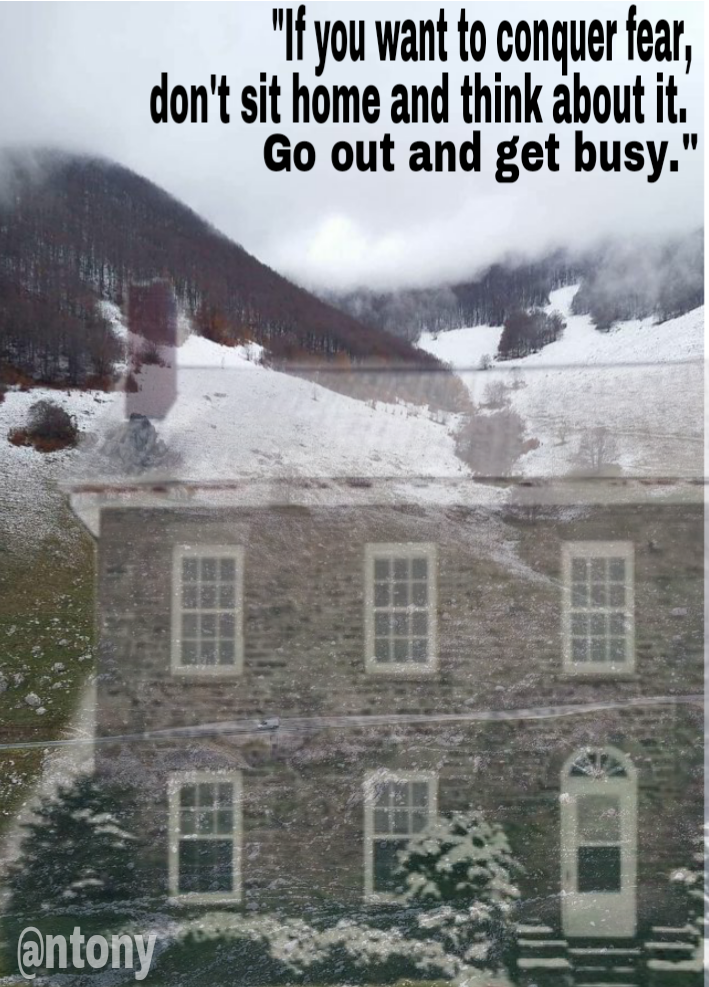
The app is easy to use but there are some ads. Pics from the app are free to use but I feel like I should use my own pictures to be more original.