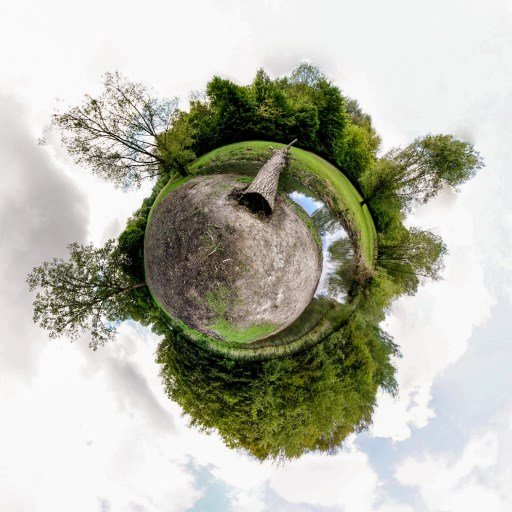
In this little tutorial I will explain how you can make little planets like the one above from a number of photos using the free program
Hugin. I'll show 4 different example sets of photos taken with different cameras or lenses and go through the process of turning each of them into a little planet.
Choosing a location
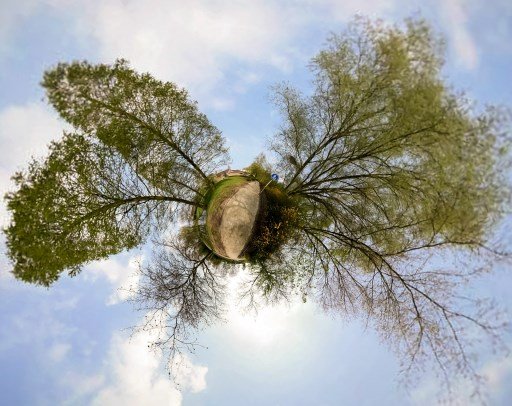
There are a few things to consider when choosing a suitable location for making a little planet. First of all, try to avoid being close to really high objects. If you have tall trees next to you, their tops will be blown out of proportions. In the original photos, the treetops will be small and blowing them up will make those areas blurry, see the example below.
Since you'll be stitching photos together, be careful with anything that moves, for example Water can cause problems if there are waves. If you do have moving subjects, try to get them in the center of your photos and not at the edges where the photos will be merged.
What you'll need
Obviously, you'll need a camera. Any kind of camera will do, but the wider the lens is, the less photo's you'll need to make and the easier and faster it will be to merge them.
Unless you are using a fisheye lens, you'll probably need a tripod (optionally with a panohead, as I'll explain later) or some other kind of stand.
And of course you'll need a computer (PC or Mac) to run Hugin.
Taking the photos
Basically, what you'll need to do is choose a point in space and take pictures in all directions from that point (except that you don't really need the entire sky). All those pictures will need to have enough overlap so that they can be stitched together.
How many pictures you'll need depends on how wide your lens is. With a fisheye lens, just 4 is enough, but using a cell phone, you might need 50 or so. The order in which you take the pictures is not important, but you need to make sure you cover everything.
Whenever you take pictures that will be stiched together, it's good to have the same settings for each photo. Some people say you have to use manual mode. From my experience however, hugin is very well able to compensate for any change in exposure, so using auto mode is fine.
But autofocus can sometimes cause problems if one image is focused differently than the next, the stitching might not work.
But before you start, there is something important to know. Consider the following setup:
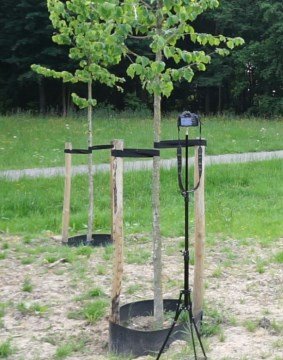
Here is a camera on a stand in front of two trees. Now if we take photos and simply rotate the camera using the tripod mount, we get the images below. Notice how the position of the tree in the back changes in relationship with the tree in the front when the camera is rotated. Such differences can cause huge problems when you try to stitch such photos together.
Every lens has a so called
nodal point (or
no parallax point). If you rotate around that point, the images will overlap correctly.
You can easily find the nodal point of your camera by experimentation. You need a little object in front of the camera and a reference object in the distance. Try rotating the camera at different points and find the point where those objects remain the same when you rotate.
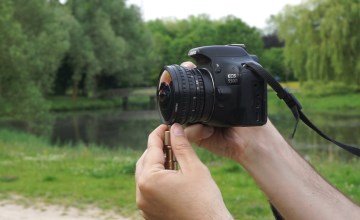
For this lens, the nodal point is almost all the way at the front, if you rotate around that point, you get the images below (that's my fisheye lens BTW).
There are special
panohead mounts that will let you mount your camera at the correct distance to the axis so you can just rotate your tripod. If you have one, that's great, but you don't really need it. There are also tripod mounts that let you easily rotate a certain number of degrees, so you can be sure that all your photos will have the exact same overlap. Also great if you have it, but you can do without.
I usually just use the stand or tripod as a reference point and hold the camera by hand, making sure the nodal point is above the stand. It's good to have some kind of system to make sure you cover the entire view. I usually take the photos vertically and often start by going around the horizon.
Example photos
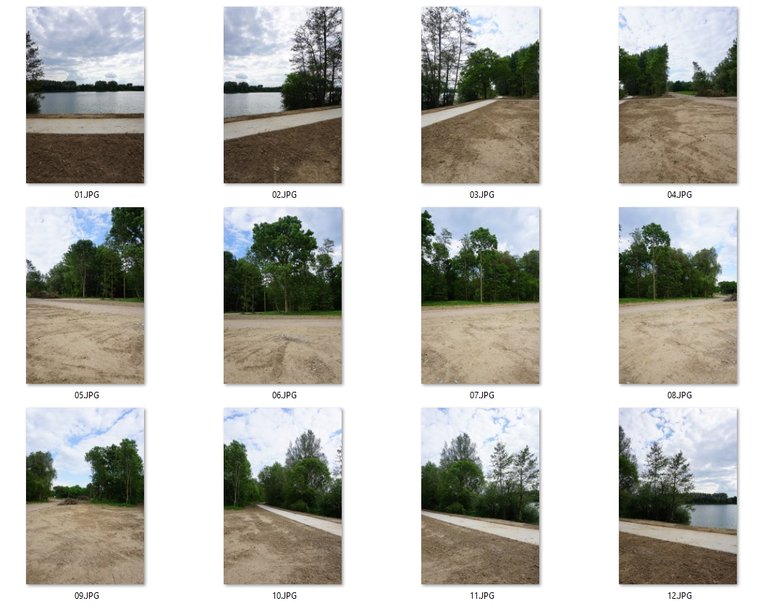
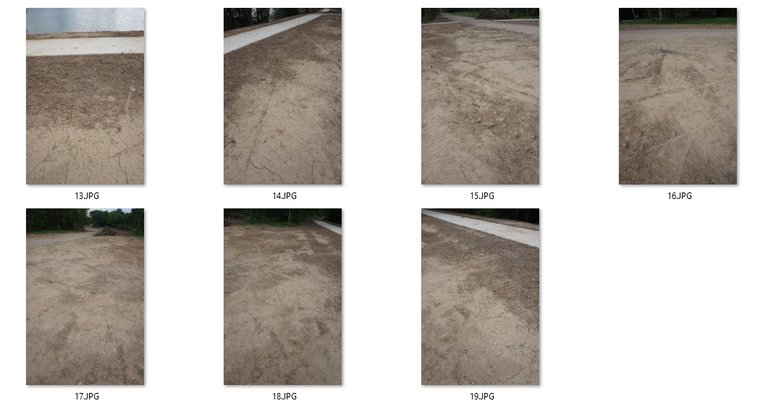
The first set of photos were taken with a Sony mirrorless camera with the 16-50mm kitlens at 16mm. Here I used 12 vertical photos to cover the horizon (there is more overlap than really needed, so probably 10 would also have been enough), and 7 for the ground (also more than really needed). I'll usually take photos with a little more overlap than really necessary, just to be sure. If the overlap is too small, you'might end up having to set up control points manually and that is a lot of work.
As a second example, I'm using an action camera (Gitup Git2), which has a pretty wide lens. Even though this camera is really small, it has a nodal point too (also at the front of the lens) and you get the same kind of distortion as above if you don't use it.
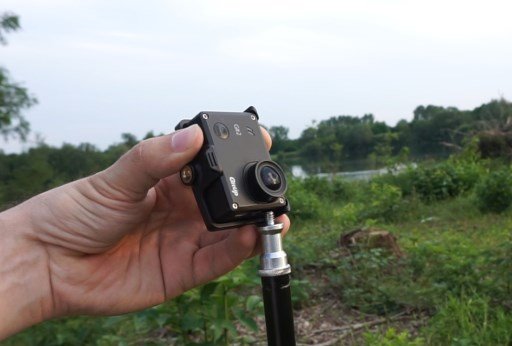
We still need two photos for each direction (one to the horizon and one a bit down, where you start to see the bottom of the tripod). Here , taking photos in 7 directions covers the whole scene.

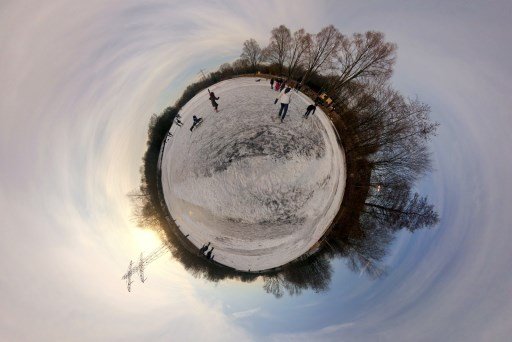
The third set of photos are taken with a Canon 10-18mm lens at 10mm. Because of this wide lens, the water can be stitched without problems. I tried this same scene years ago with a much narrower lens and could never get it to work.
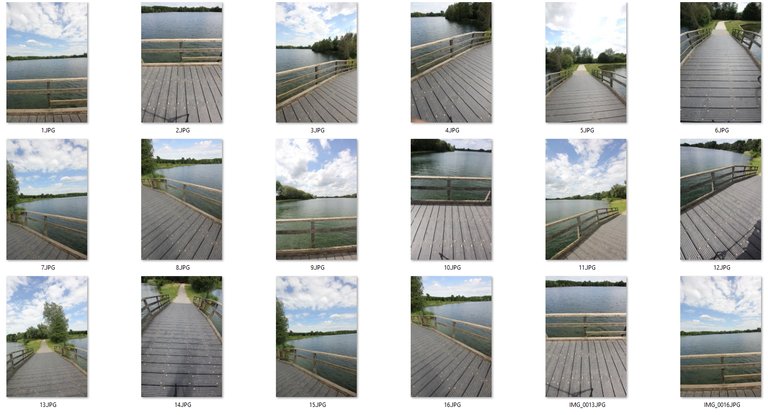
The final set of photos was taken using a fisheye lens, which is by far the easiest way. You only need 4 photos (actually it can be done with 3, but 4 is easier and safer) and you can do it handheld.

For any handheld photos you take, it's probably a good idea to always take 2 or 3 shots, just in case you don't hold still.
Installing Hugin
You can download and install Hugin from the website
hugin.sourceforge.net.
You can probably use the newest version.
However, I'm using an older version, since I wanted to be able to use Autopano-SIFT-C (which I think used to be included with Hugin and is very good at automatically finding control points). I couldn't get it to work with newer versions. Eventually, I followed the steps in
this video, using the 32-bit version of Hugin (it won't work with the 64-bit version). You can extract files from a zip file from
here over the installed program and that adds support for Autopano-SIFT-C. For me it works great now and I haven't tried to update the program since then.
Creating the planets
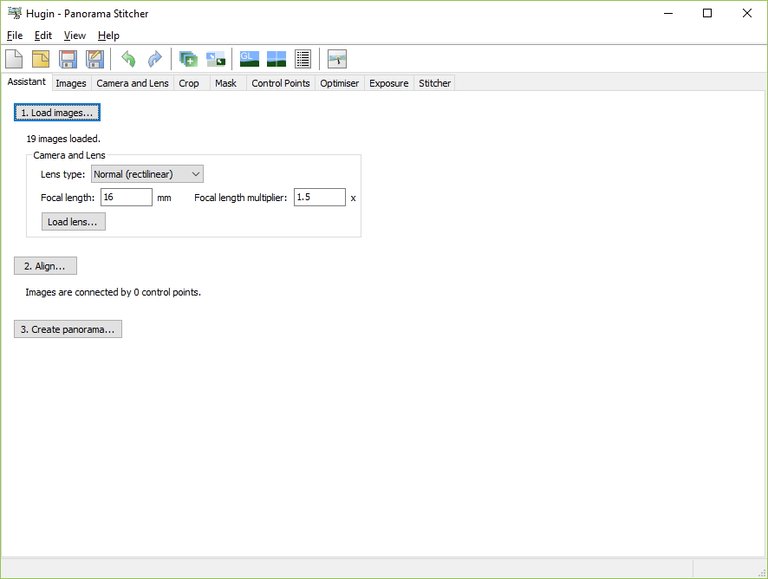
When you start hugin you get the Assistant screen and you can start by loading images. In this case, I loaded the images from the first panorama (Sony 16mm). It automatically detects the information (focal length, crop factor) from the exif data of the photos.
After clicking
Align... (and waiting about 5 minutes) the program shows the stitched panorama:
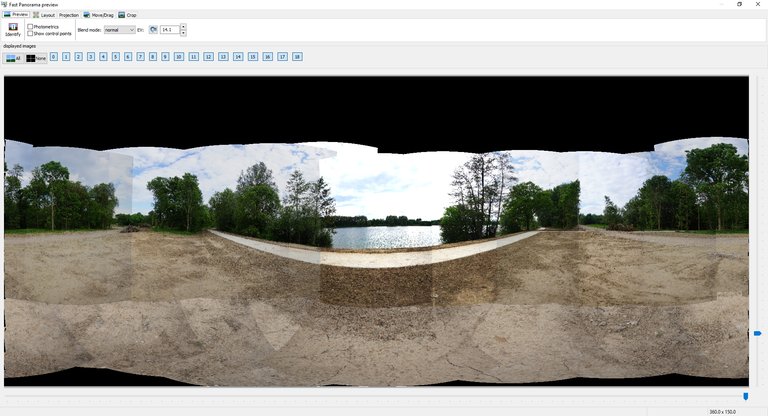
To make the planet, you first need to go to
Move/Drag at the top. Type 90 for pitch and click Apply.
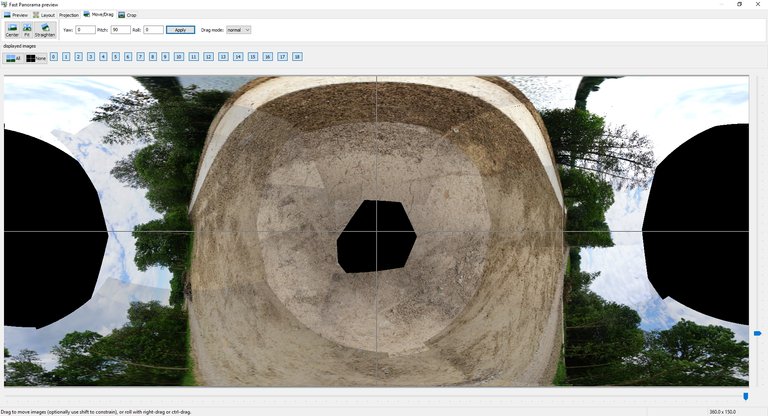
Then go to
Projection at the top and choose
Stereographic. Now you'll see just a small spot in the middle of the screen and you need to drag the little handle at the bottom right to the left to resize your planet so that you can see it.
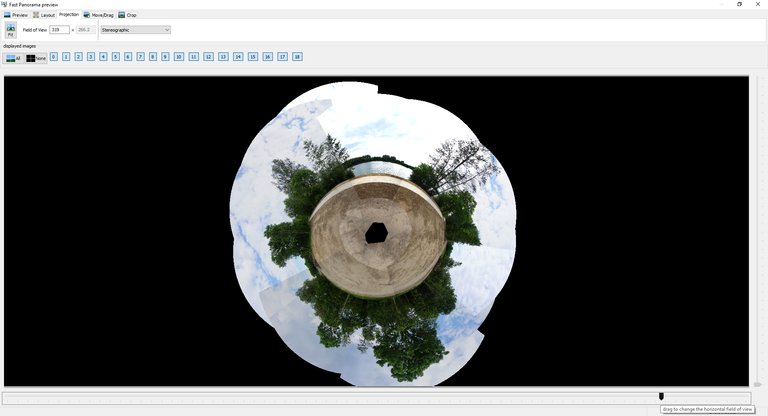
Now you can optionally go back to Move/Drag and change your planet a bit. Try dragging a point with the mouse. Here I drag the trees at the bottom up a little, until I think the balance is right.
Now switch to the other Hugin window (Alt+Tab) and go to
Stitcher at the top right.
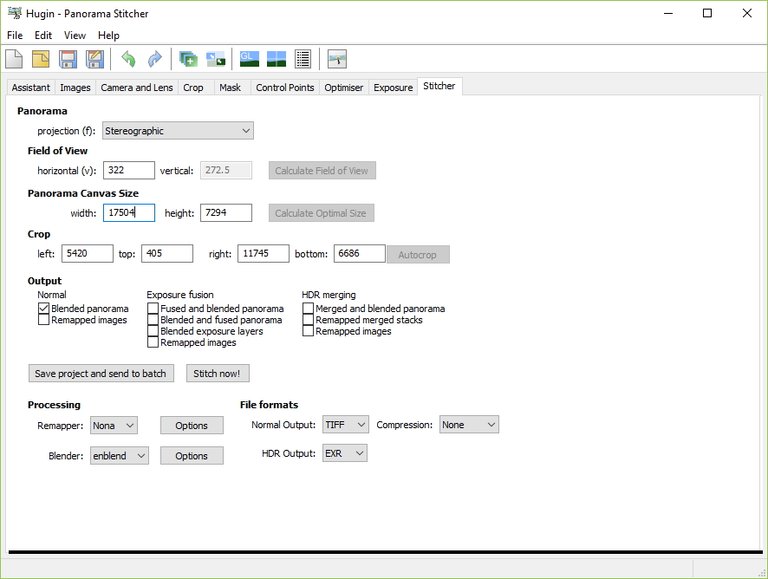
Here you can enter the size of the final image. Choose a size, for example (4000, 4000), then set the crop to (0, 0, 4000, 4000). Switch back to the Fast Panorama preview (Alt+Tab), Crop panel, and adjust the size of the planet so that it fits well in the cropped area. Then back to Stitcher and choose the output file type (I usually use PNG or JPG instead of TIFF) and then hit
Stitch now!, enter a name for your image. In this case, the result is:

Here there is quite a big gap in the middle because I didn't aim the last shots low enough (there should be some where you see the tripod). Sometimes at the end, I'll take away the tripod and take a photo of the ground (but didn't think about that here). But we can easily correct that with Photoshop or Lightroom. See the final result at the bottom.
The second set of images (made with the action camera) doesn't have enough information in the EXIF data, so you need to supply it. The wide lens is kind of like a fisheye lens, so I select Circular Fisheye, and from trial and error I've found that 17 works as focal length.
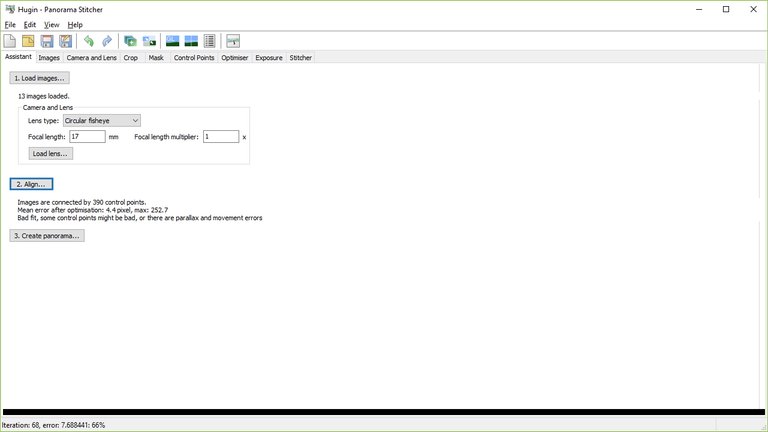
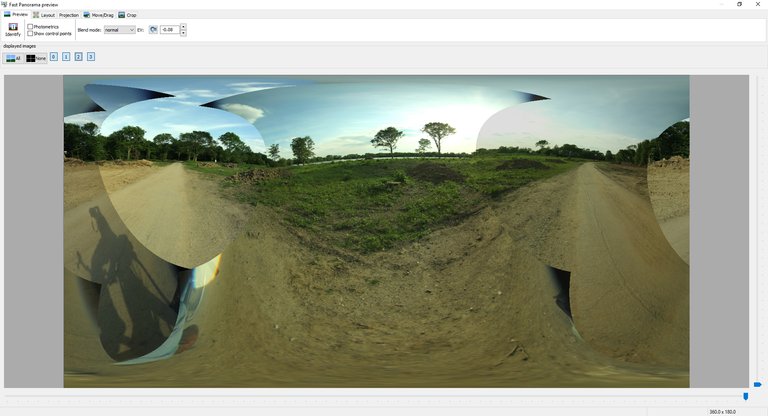
After running Align... the image looks like this:
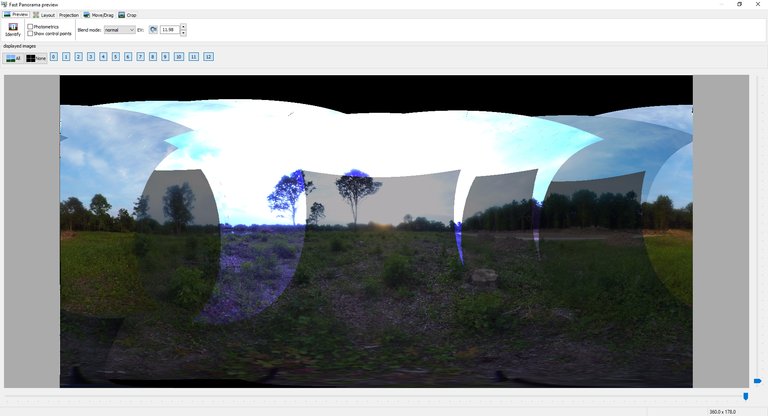
Again we go to Move/Drag and apply a pitch of 90 degrees, go back to Projection and select Stereographic and scale it up using the slider at the bottom:
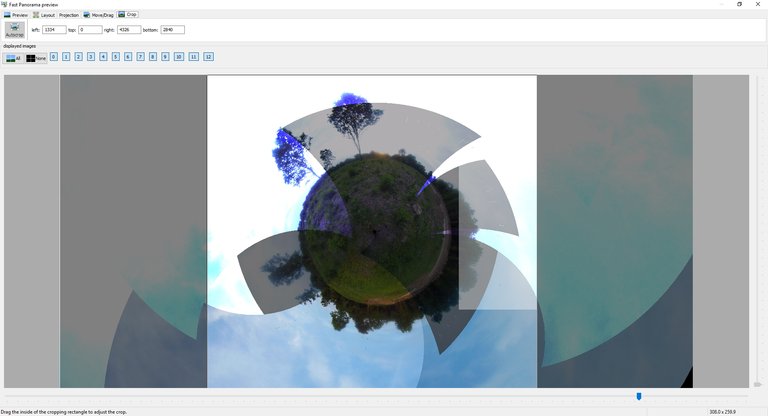
Then we go back to the Stitcher and set the size (4000, 4000) and crop (0, 0, 4000, 4000). Go back to the Fast Panorama preview and adjust the size of the planet again to fit nicely into the crop. Go back to Stitcher, select the file type you want (I use PNG) and run Stitch now! and I get the following result:
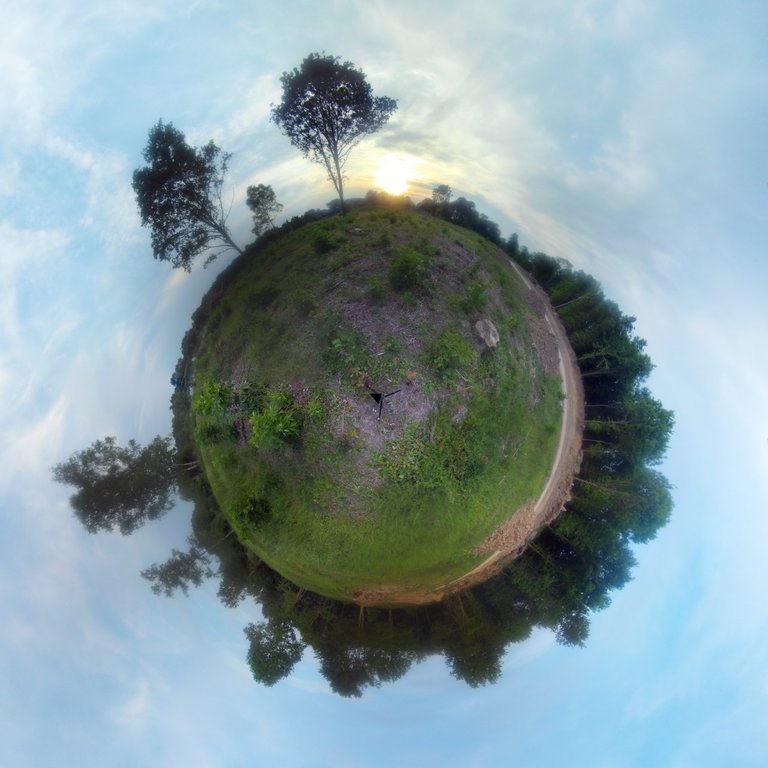
You can still see parts of the tripod in the middle so this image needs to be edited a little too.
For the third set of images (Canon 10mm) we don't need to change any lens data and everything loads correctly.
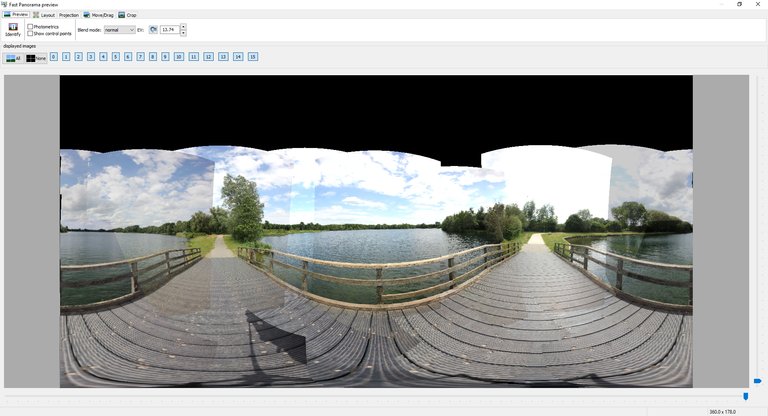
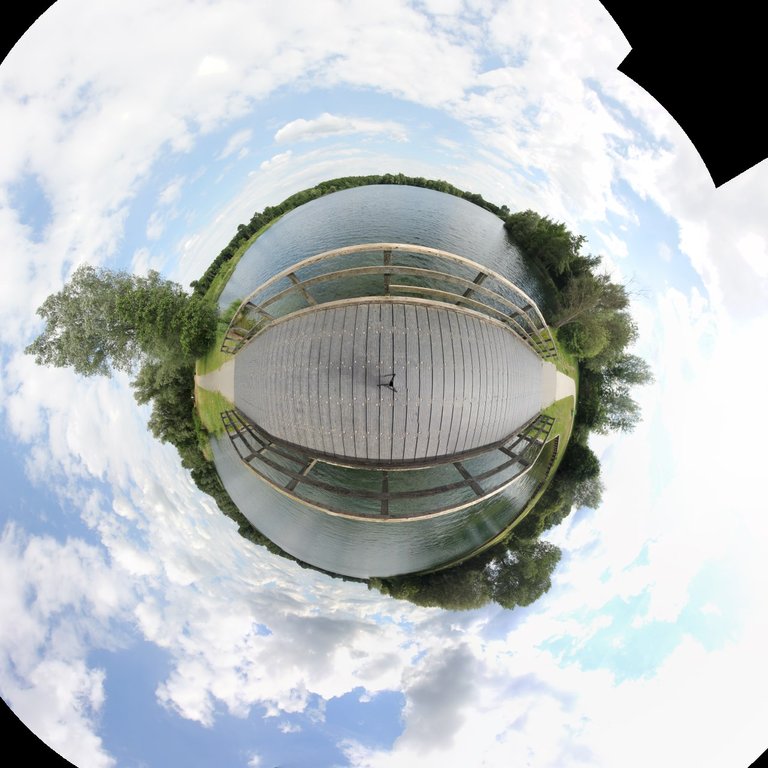
Here we go through the same process again: apply 90 degrees pitch, stereographic projection, enlarge, stitch and crop. Here is the result (which also needs to be edited a little):
For the last set of images (made with the fisheye lens) we do need to supply data, since it is a fully manual lens. Lens type is Circular Fisheye, focal length 8mm and the multiplier is 1.6. Importing goes fast with only 4 images:
After going through the same process as above, the exported image looks like this:

Here are the 4 final images after doing some editing in Lightroom:
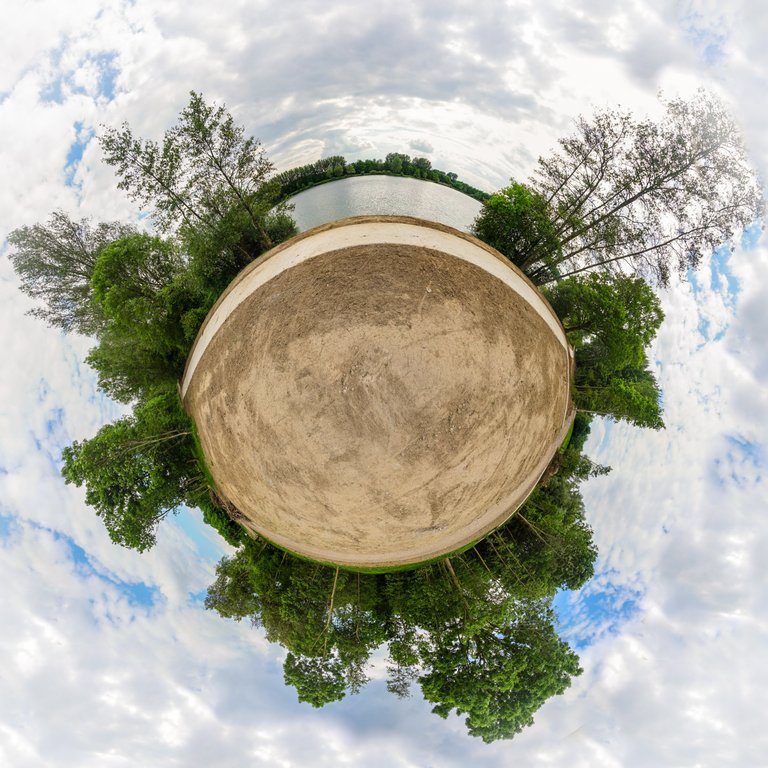
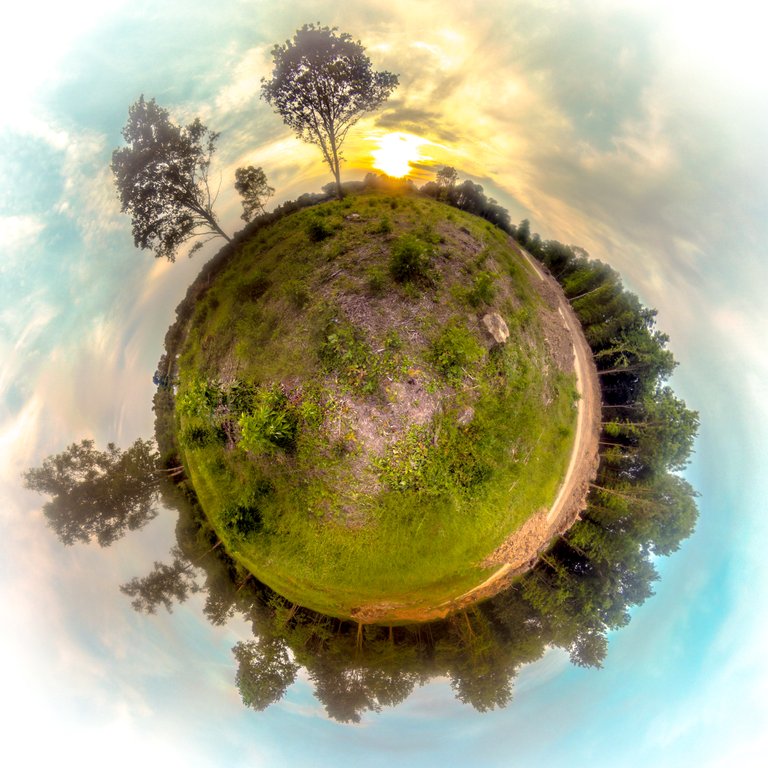
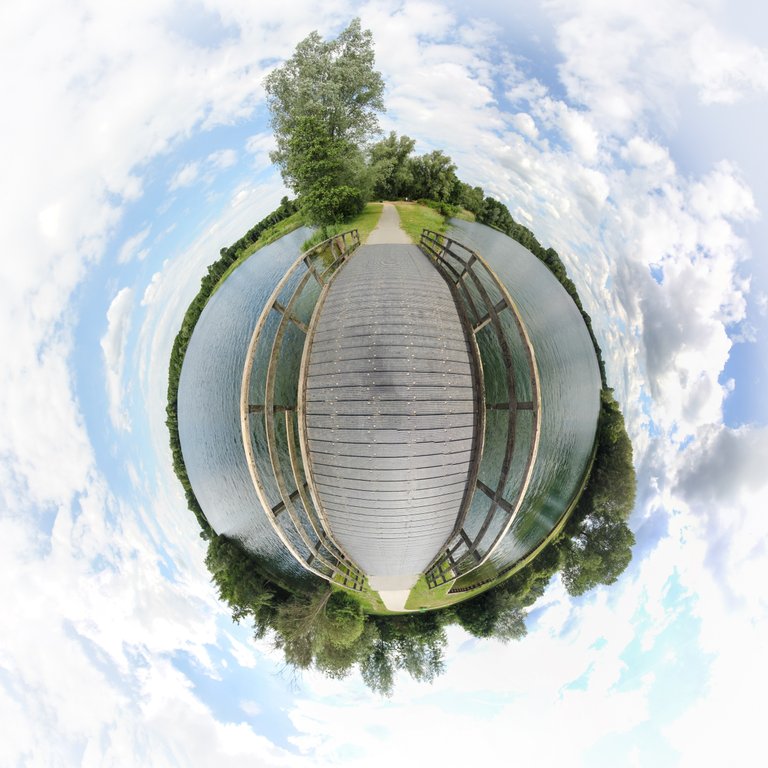
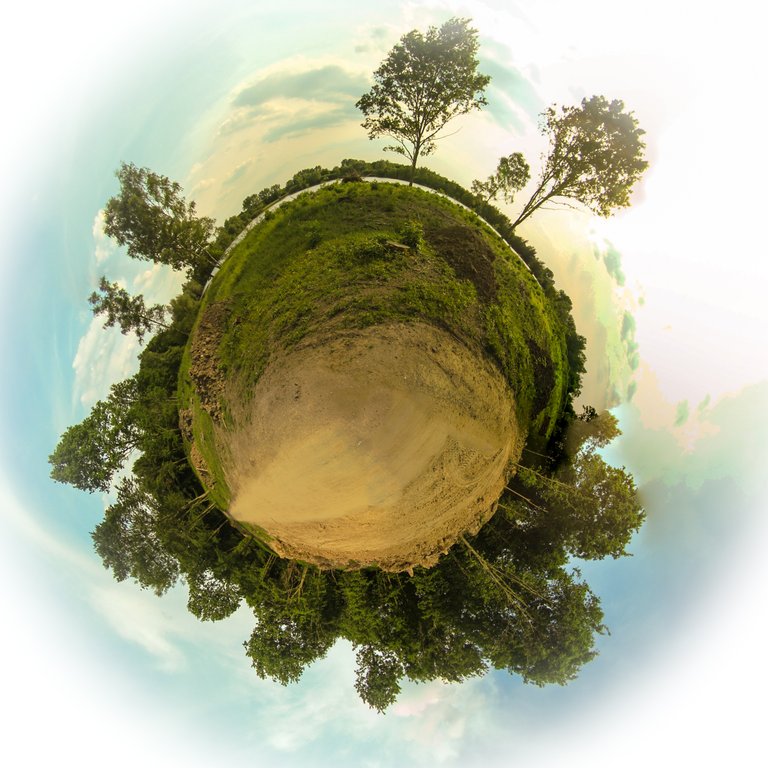
Thank you for reading, I hope this tutorial is useful. If you followed it to create your first little planet, please post the result in the comments!


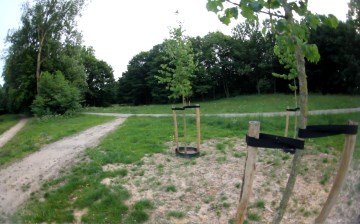
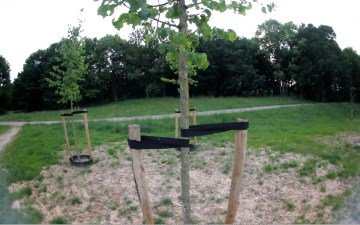
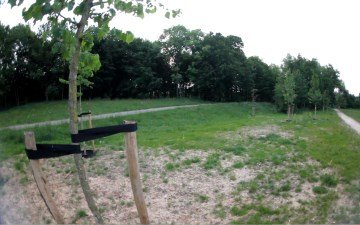

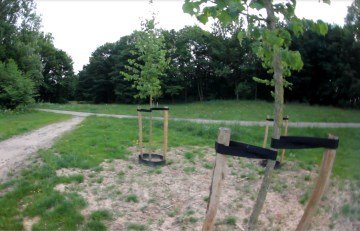

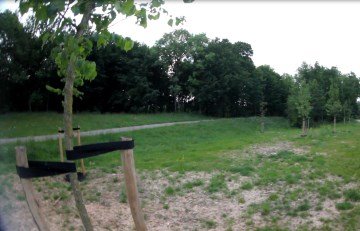

 As a second example, I'm using an action camera (Gitup Git2), which has a pretty wide lens. Even though this camera is really small, it has a nodal point too (also at the front of the lens) and you get the same kind of distortion as above if you don't use it.


This is a detailed and high-quality post, the kind you usually don't find in here, but only outside steemit! If I googled "how to make little planets from photos", that's the kind of thing I would expect to show up in the top results. We need more of this on steemit! Very good job!
Cool to know about this process. Really nice output. :)
@weiring
creativity at its best !
Thank you for this tutorial ! Cheers from Mongolia
it's looks great.carry on..
This is so rad! Gotta try this. Thank you for the tutorial!
please please please please please
one upvote me @wiering please
not cool