Всім привіт пані та панове. Перепрошую за такий довгий час що був відсутній. За цей час в моєму житті сталося дуже багато подій, як хороших та і не дуже приємних. З хорошоготе що я нарешті запустив свій стелаж для мікрозелені, зустрів людину яка хапала в мою душу і наштовхнула мене на таке, що я б ніколи і не подумав робити. З поганого це регулярні стреси, нерви, хоч із за дрібниць. Але я не здаюсь, найкраще все попереду. Тож почну.
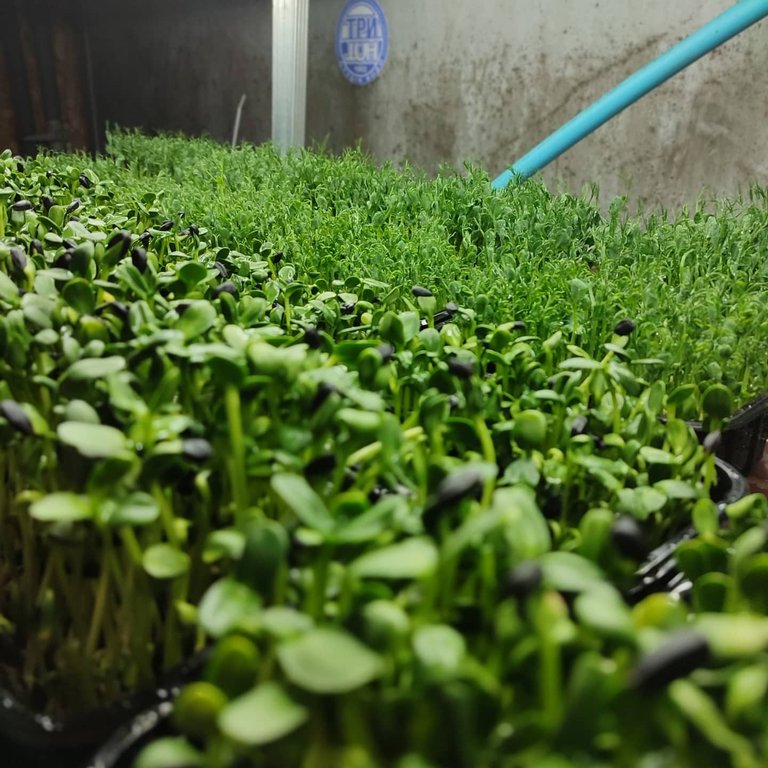
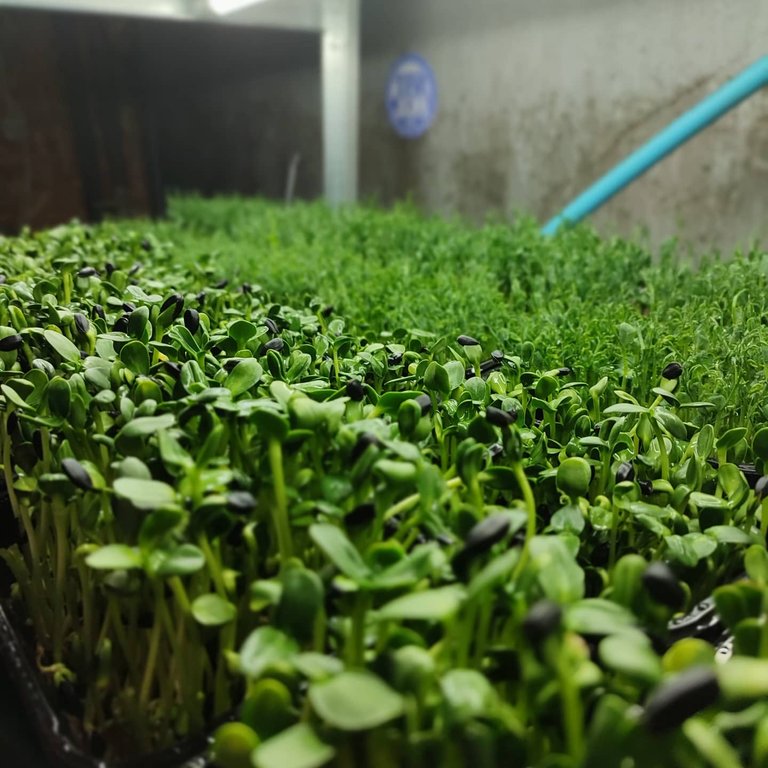
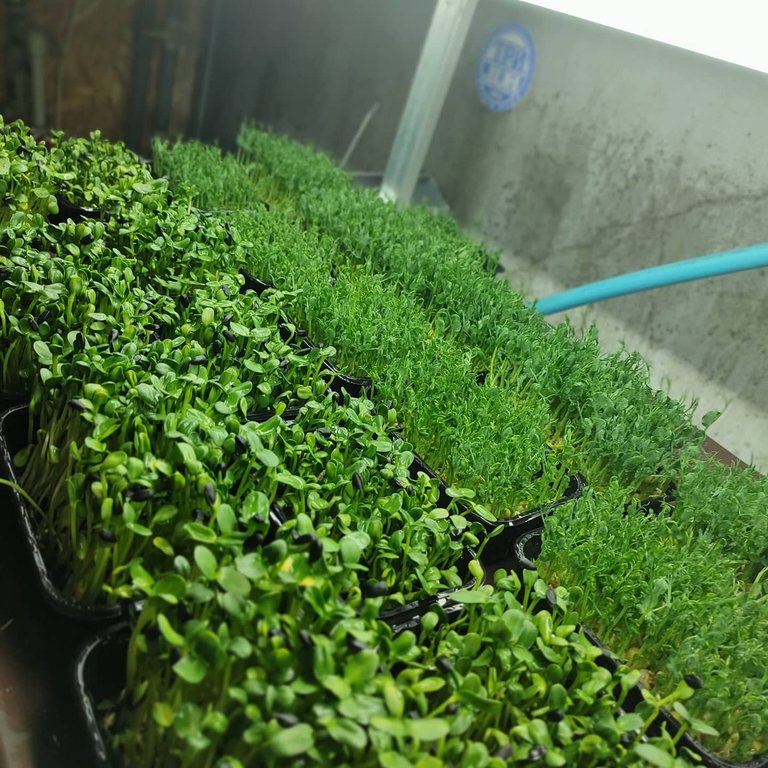
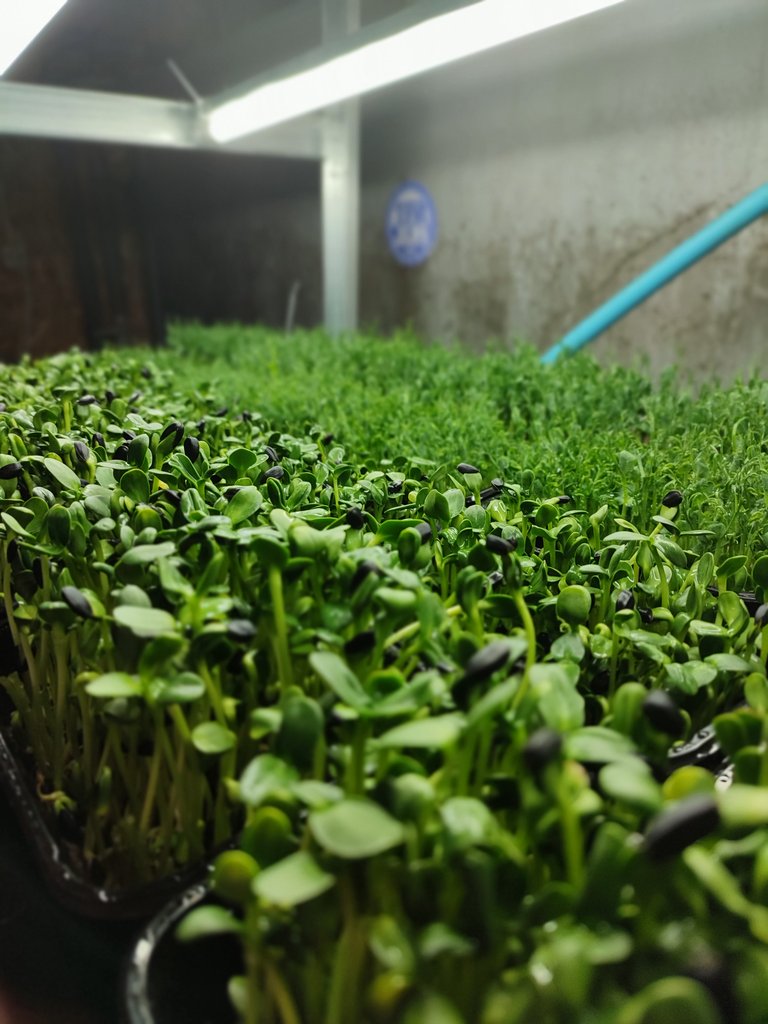
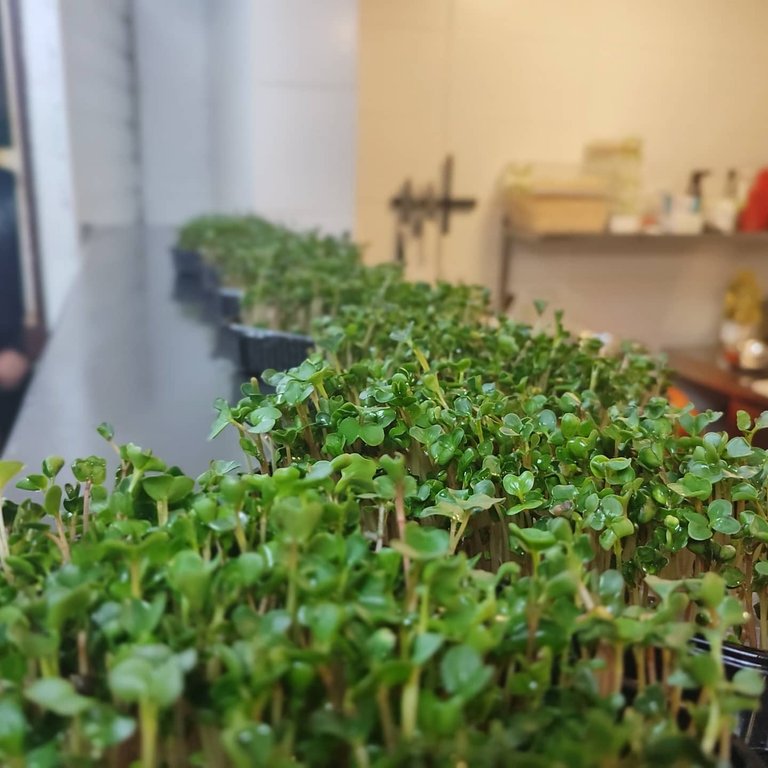
Як і обіцяв - зробив стелаж. І хочу вам сказати що на такий стелаж було витрачено до 150 доларів і це ще немає обдуву але в моєму випадку для початку не потрібно було вентиляція. Зараз вже потрібно бо весь стелаж буває заповненим і циркуляція повітря необхідна. На майбутнє: якщо ви вирощуєте дома, вам буде достатньо тієї вентиляції яка у вас дома. Якщо вже так як в мене,то вентиляція потрібна сто відсотків.
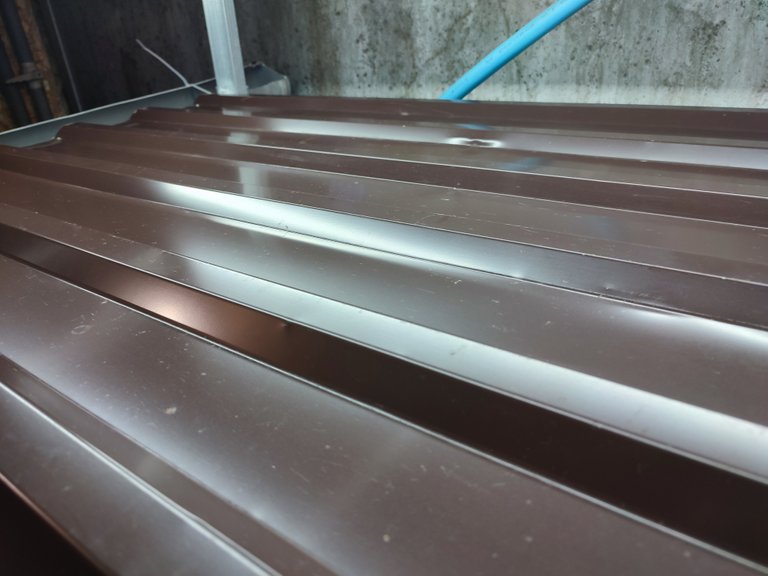
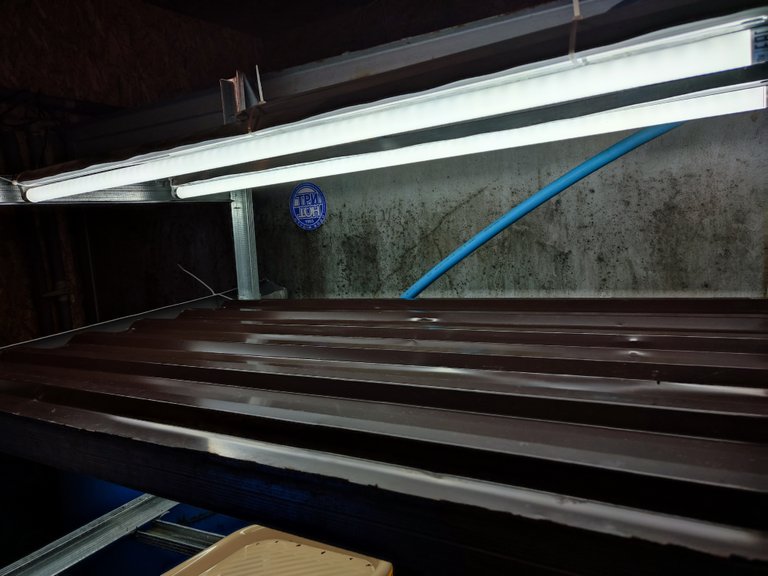
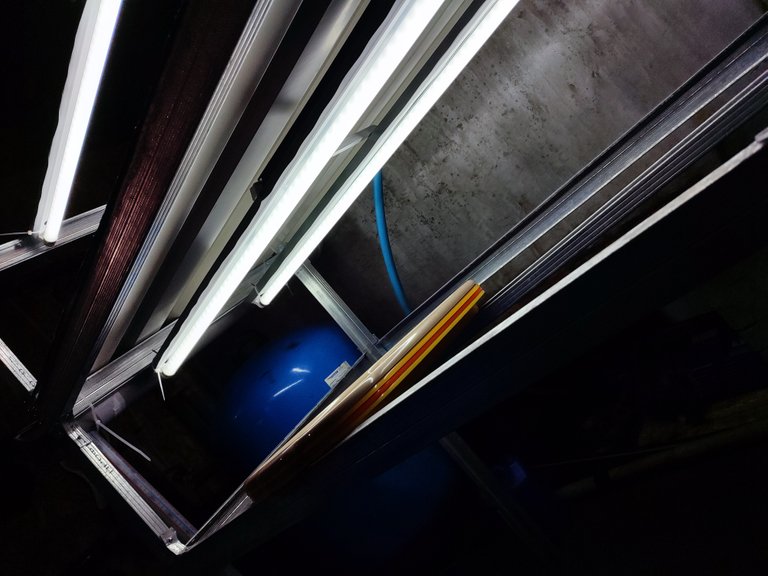
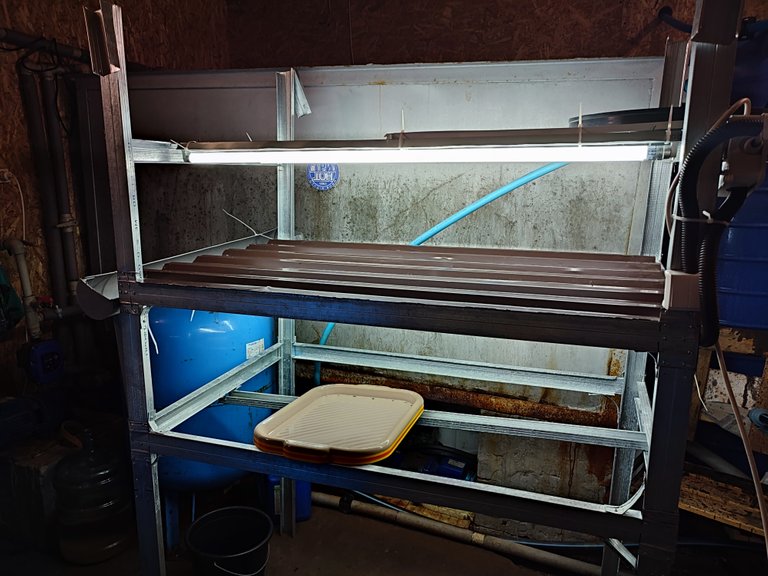
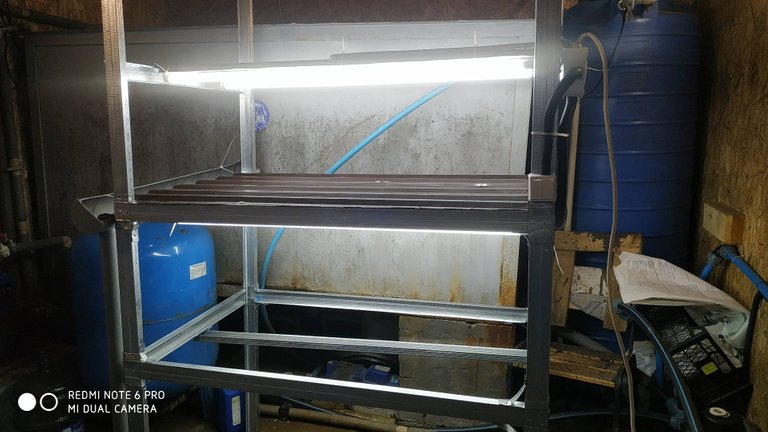
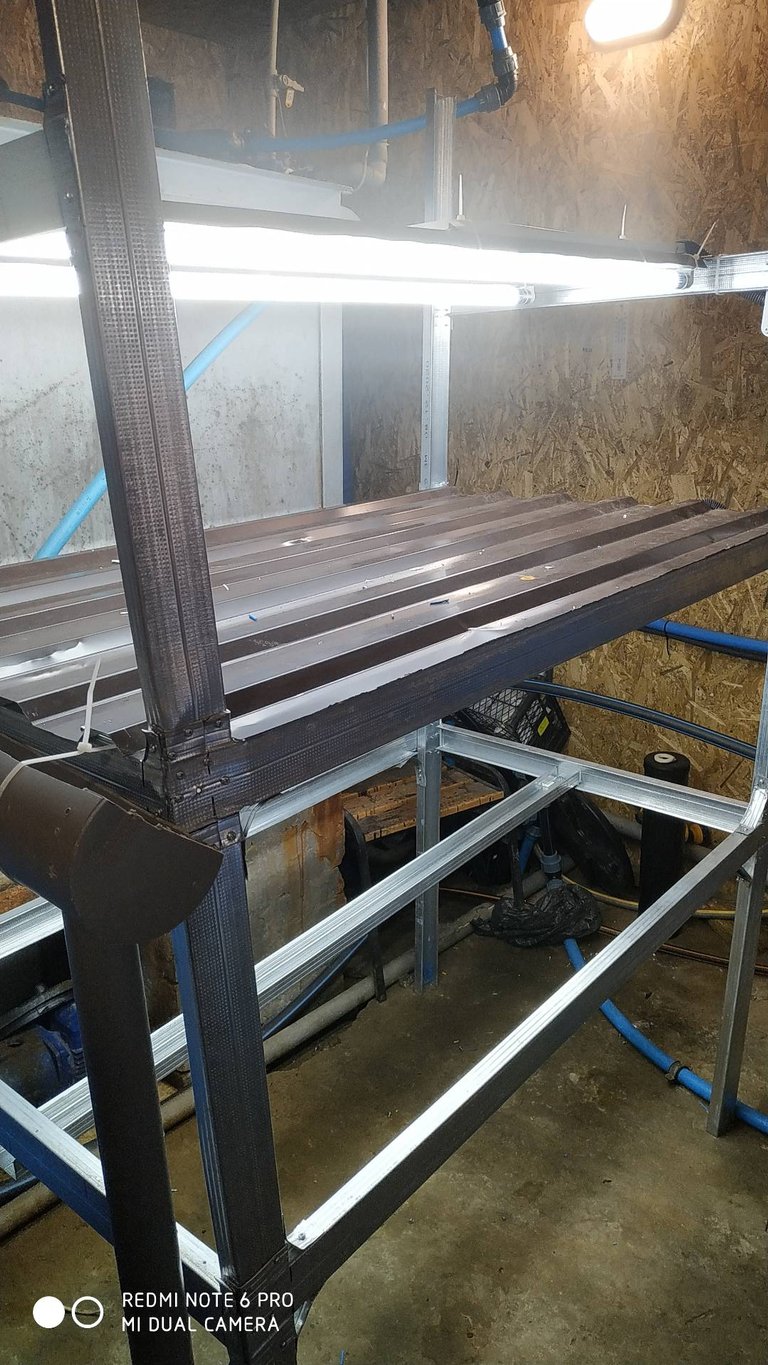
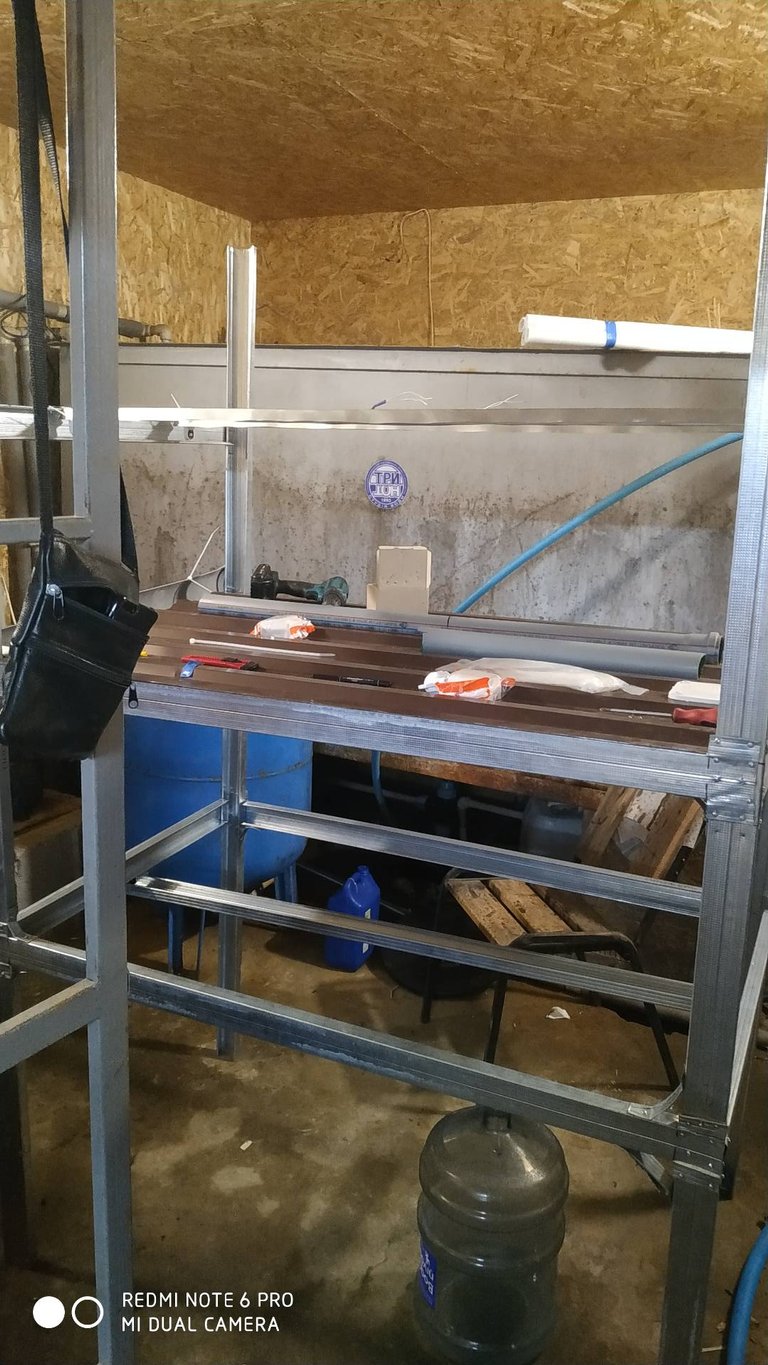
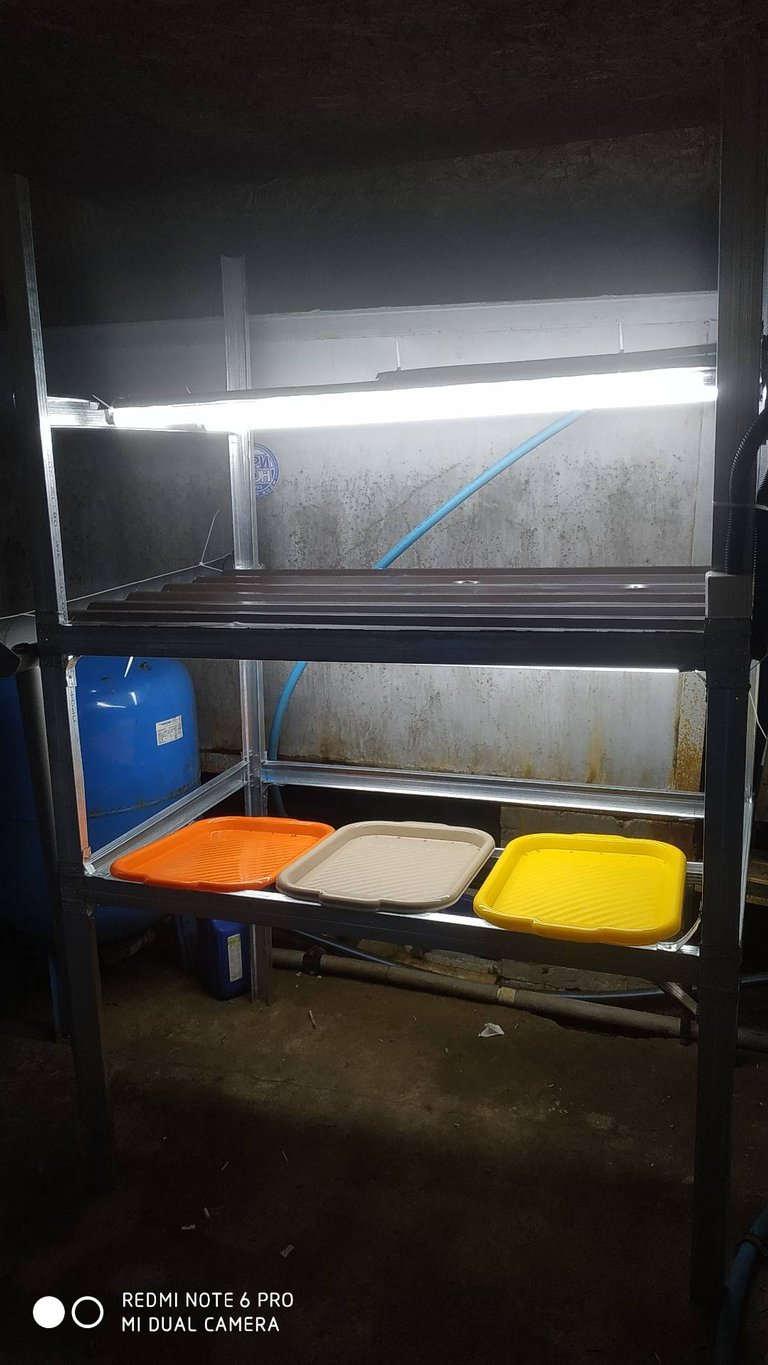
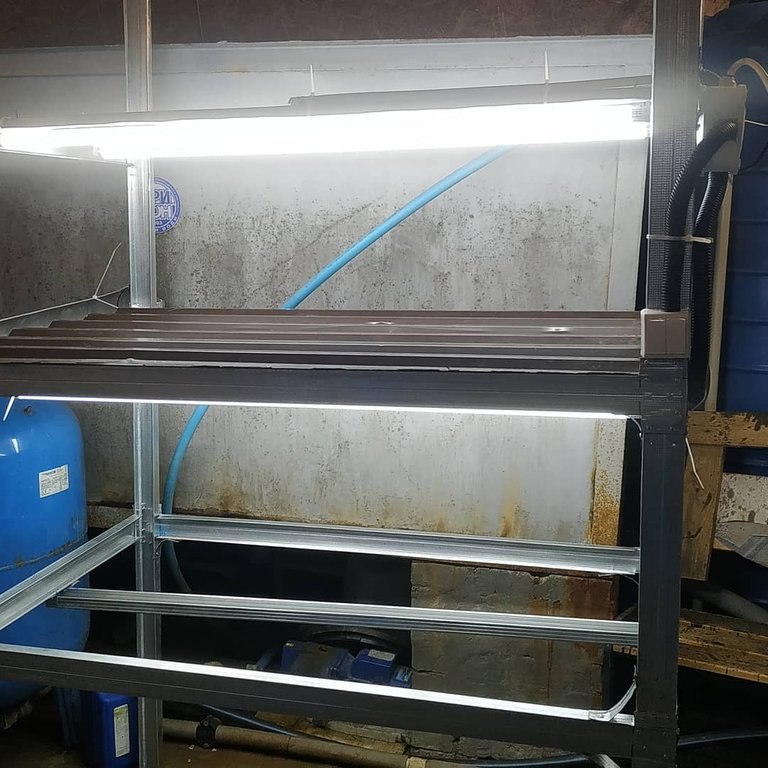
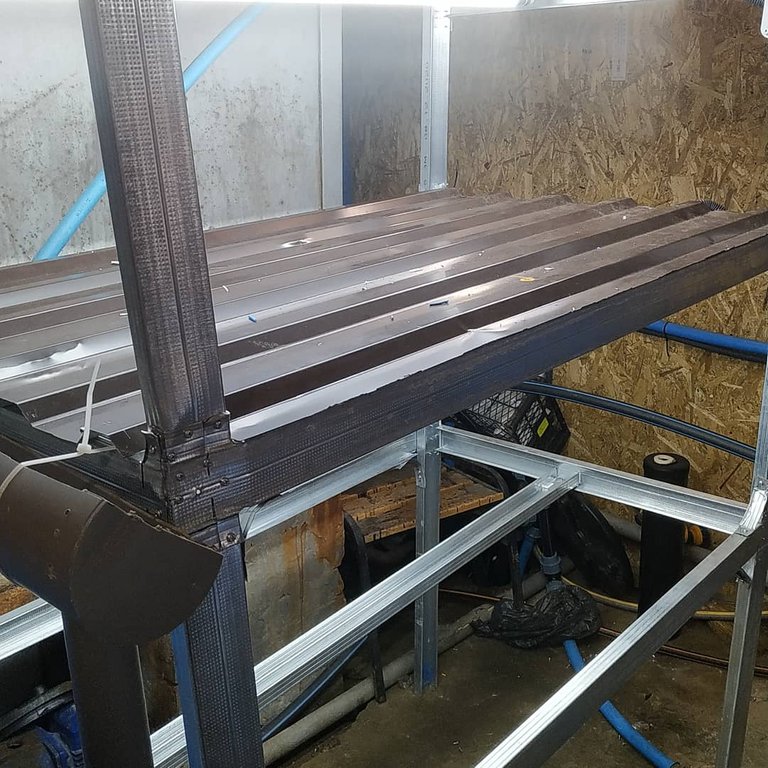
Конструктивно стелаж не дуже важко зробити, головне питання було в тому, щоб зробити водопровід і щоб вода на стелажі не застоювалась. Рішення прийшло саме по собі: на верхній полиці профіль зробив під нахилом а знизу зробив жолоб під нахилом щоб вода стікала в резервуар. Не робив складу систему водопроводу тому, що це пробний стелаж для того щоб зрозуміти як це працює, де і як в майбутньому зробити краще.
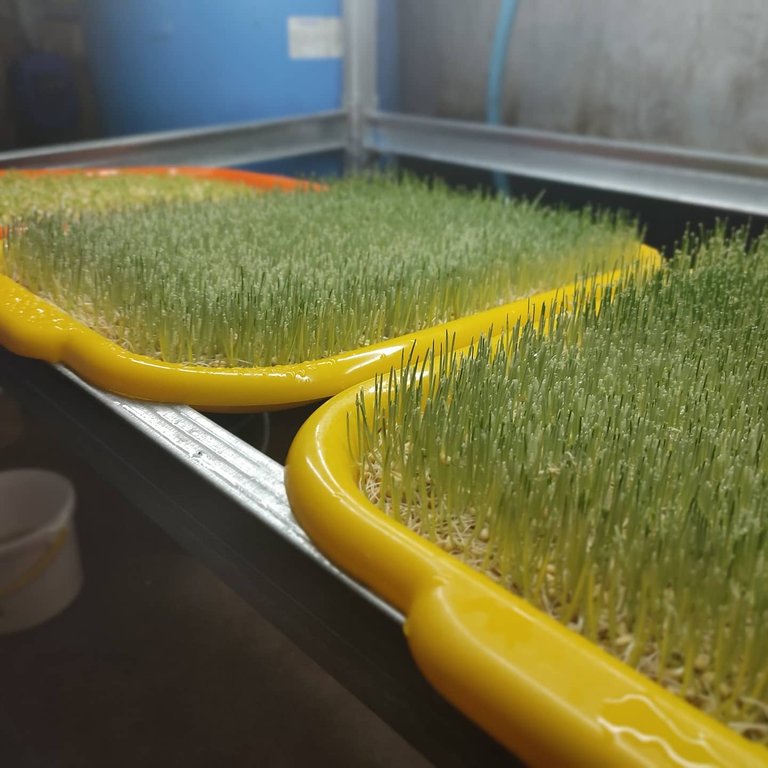
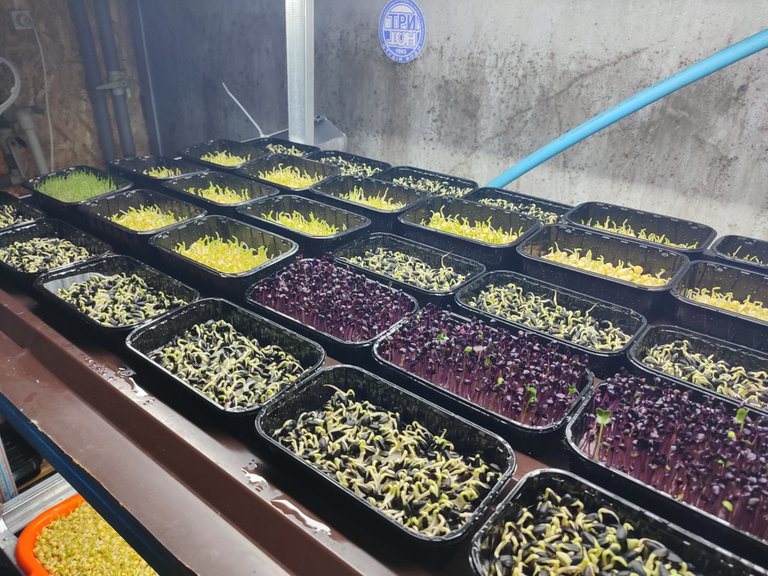
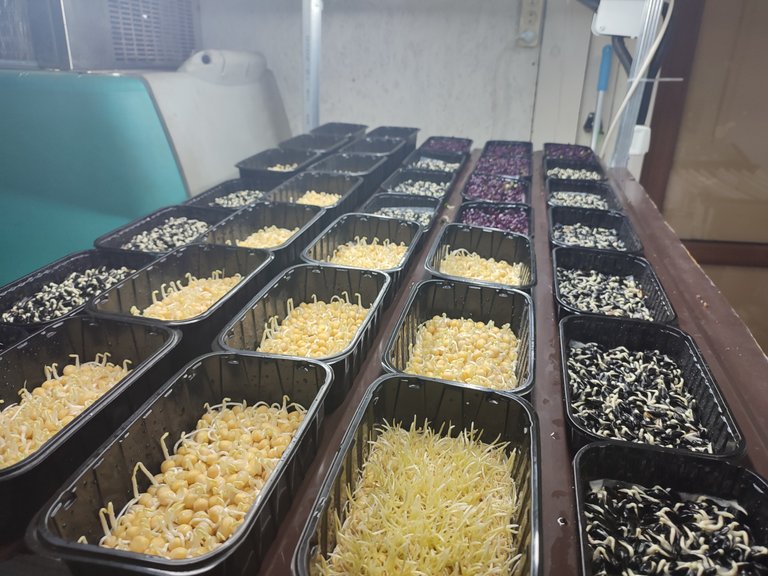
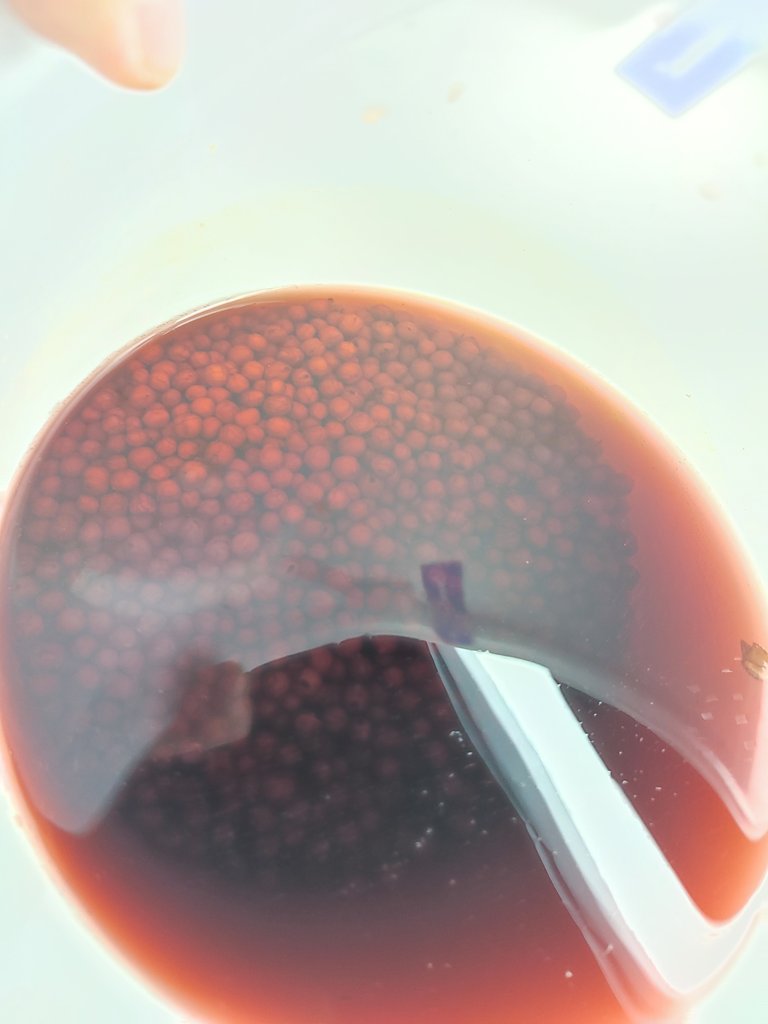
В приміщенні температура не перевищує 23 градуса цельсія, постійна вологість повітря 60-75 відсотків. В процесі вирощування я побачив, що насіння деяких культур можна також замочувати з додаванням перекису водню. Пам'ятайте на один літр води 40 мілілітрів перекису водню. Насіння соняшнику, з моїх спостережень, краще замочувати у розчині Перманганат калію ( в народі марганцовка ). Вирішив спробувати замочити горох в такому розчині. Подивимося що вийде.
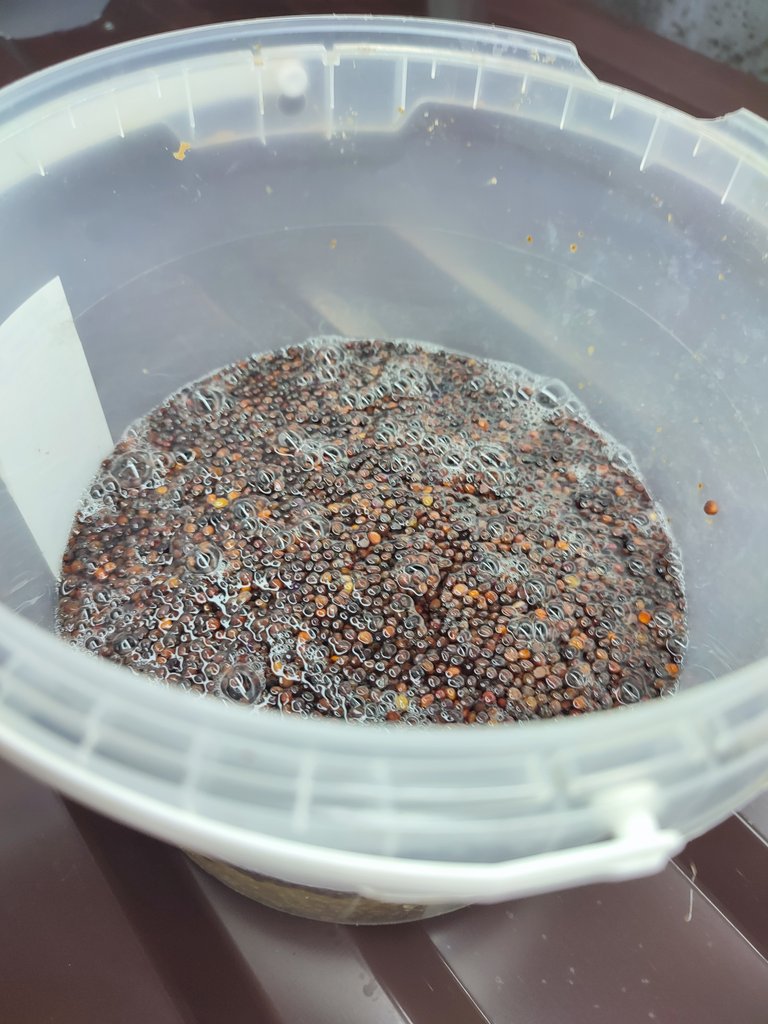
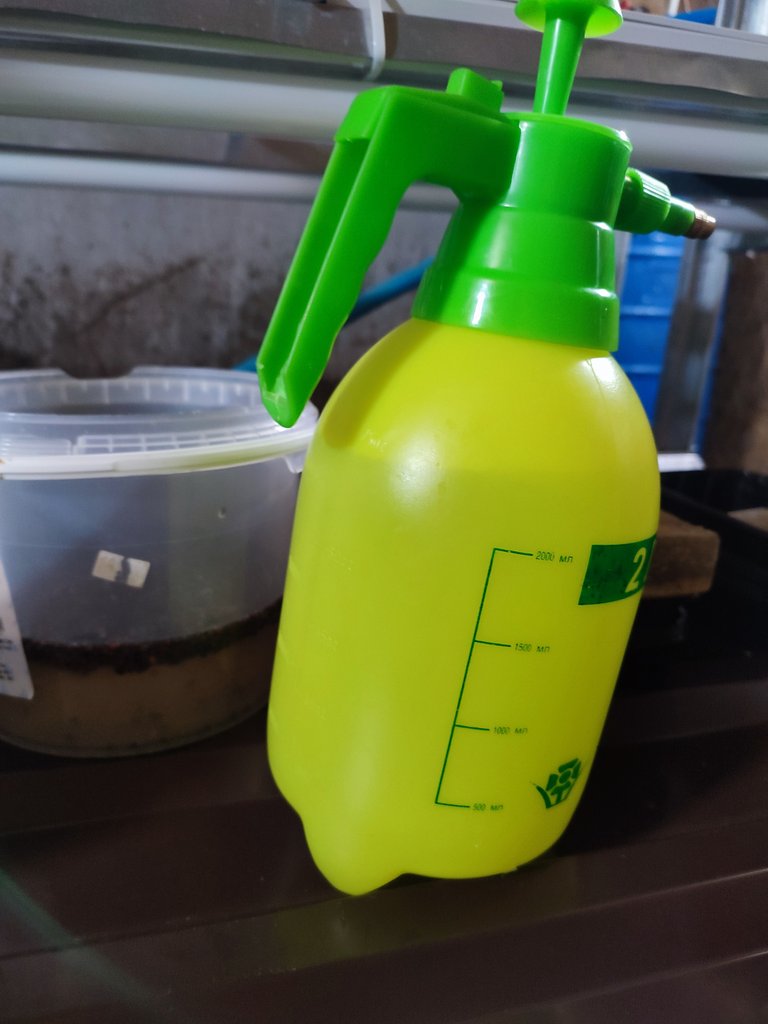
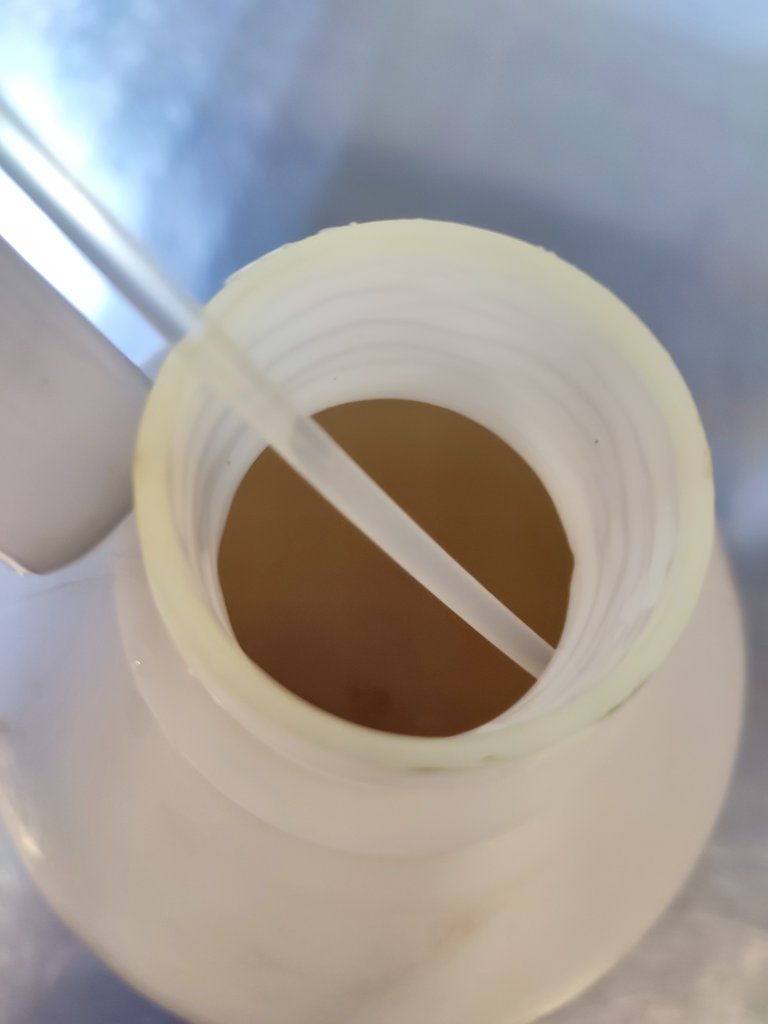
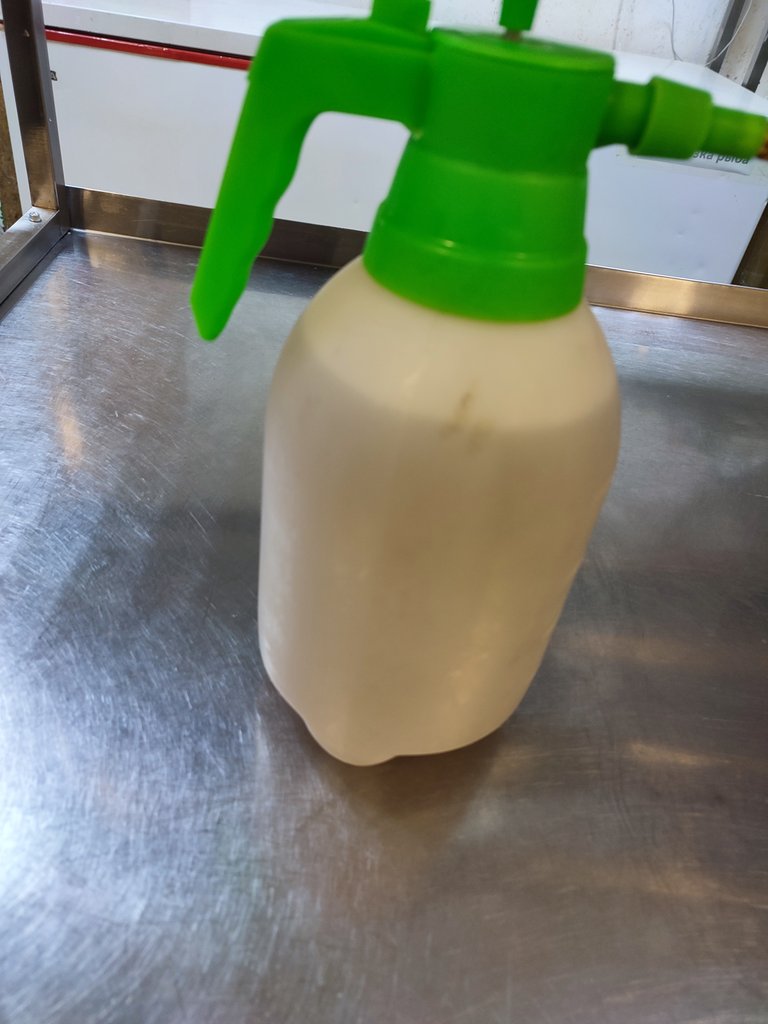
Що стосовно як проходить процес росту і чим я обробрляю на протязі всього процесу, зараз я все розповім. В мене є два помпових оприскувача, в одному з них є розчин фітоспонина та триходерміна, у другому або звичайна вода або розчин гумінових добрив. Ще може бути розчин з захисними добавками, але все це натуральне та органічне. Ми з хімією не працюємо взагалі.
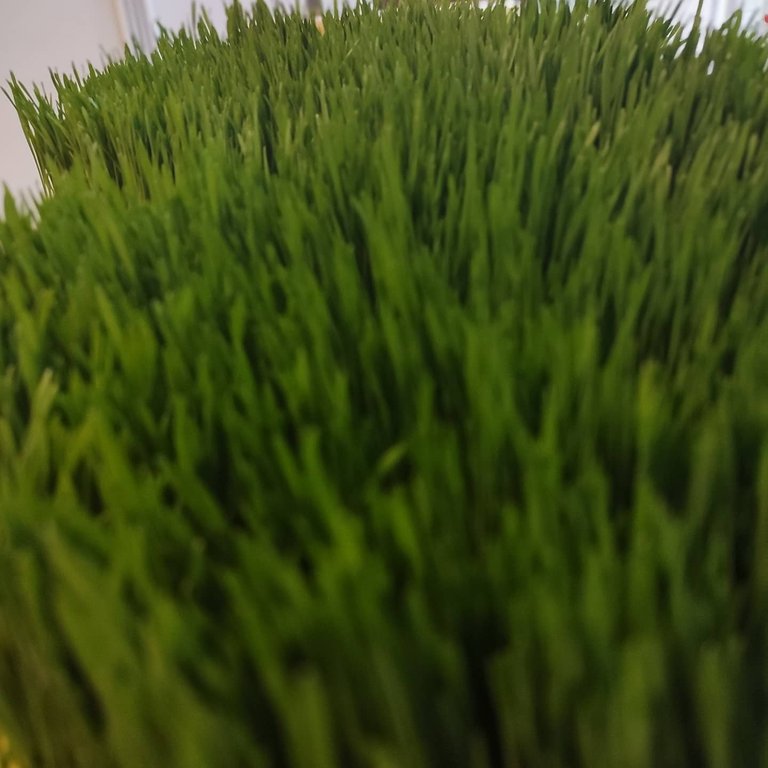
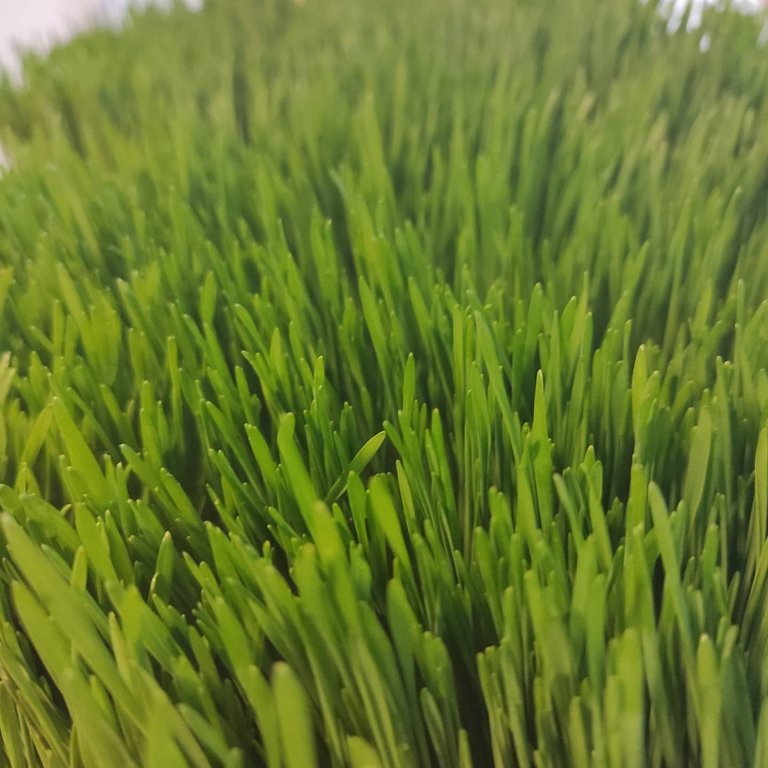

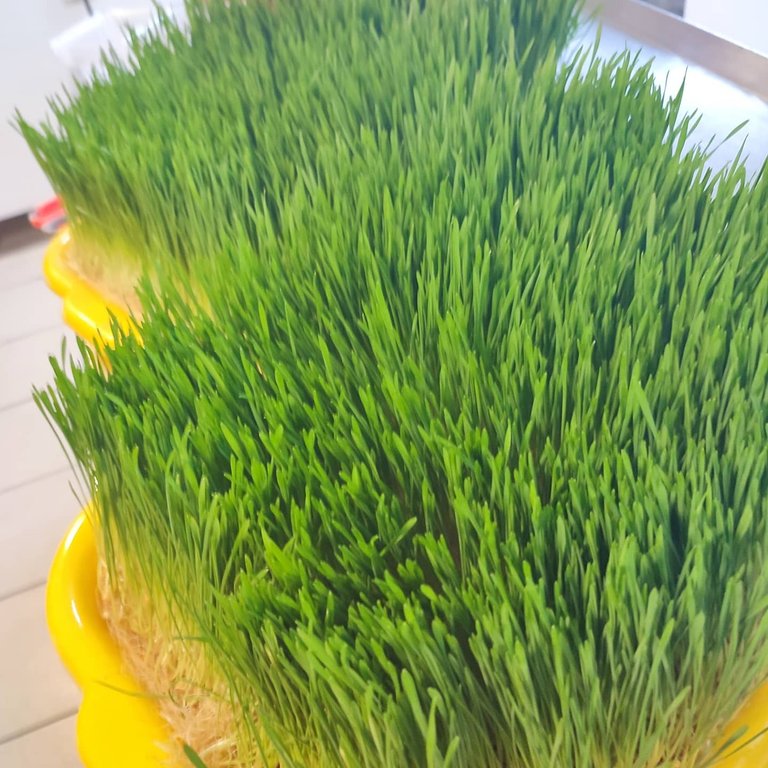
Перший бар'єр який я здолав це була пшениця. Те яка вона вийшла, вразило навіть мене. Але є один нюанс, якщо на коренях з'являються рижі плями - нічого страшного. Їх можна випити на протязі декількох днів. Для такого в мене шланг з насадкою на якій декілька режимів поливу. Для таких плям я зазвичай використовую режим " душ". Він не пошкодить корені і достатньо добре вимиє все з коренів. Для поливу зверху на початковій стадії я використовую режим " туман ". Він схожий на дрібний дощ, тому це те що треба. Також в процесі вирощування, намагайтесь вмикати і вимикати світло в один і той самий час та поливати в той самий час, але стосовно поливу могу сказати, що все залежить від вашого субстрату. Якщо ви вирощуєте на серветках - частіше потрібно поливати, якщо льняні килими або кокосовий субстрат - рідше. Чому так можна здогадатися легко.
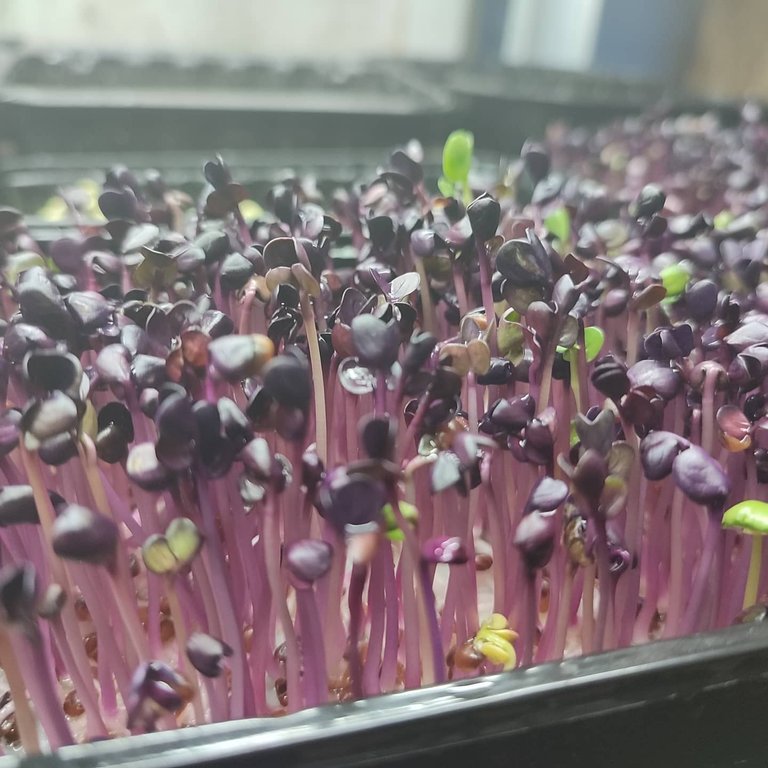
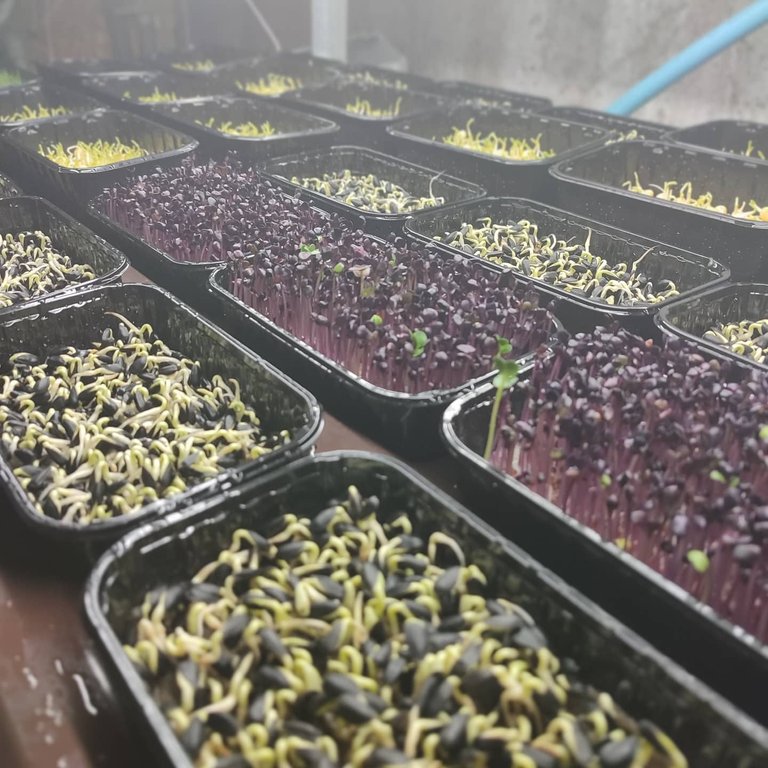
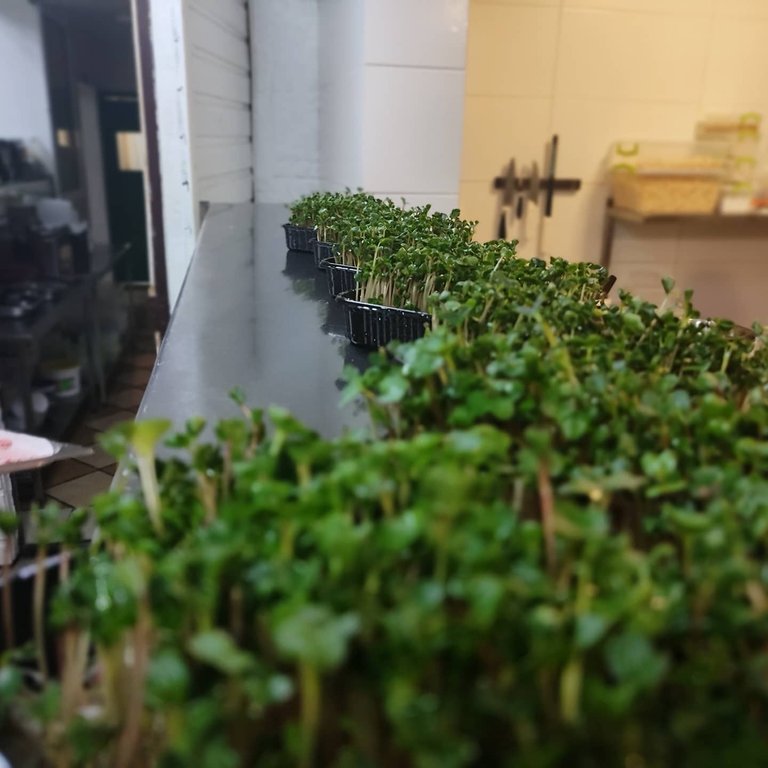
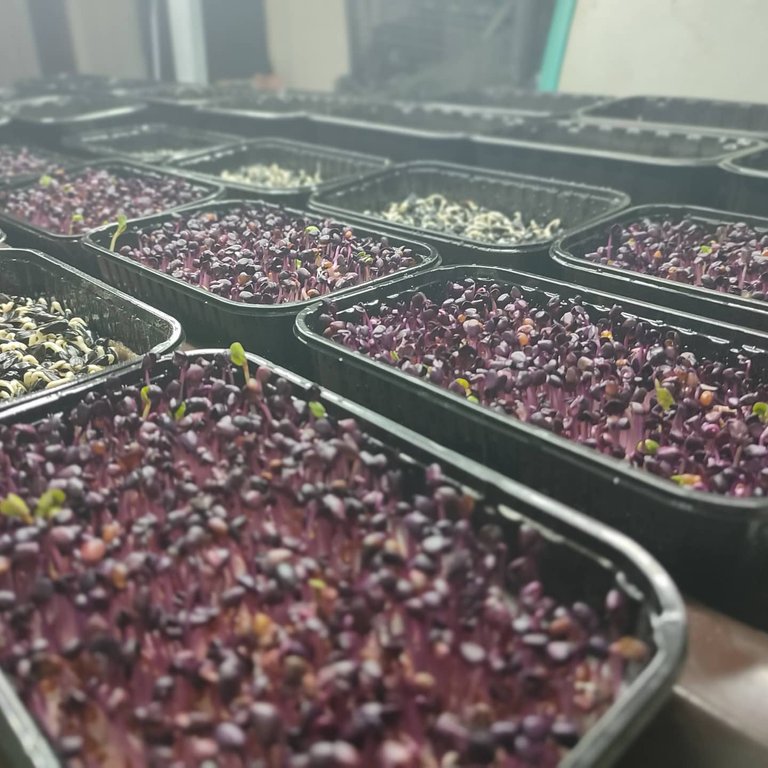
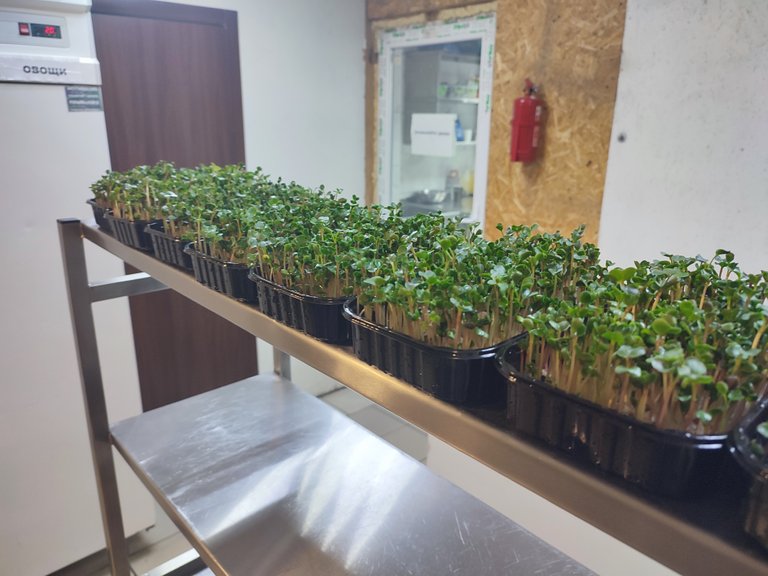
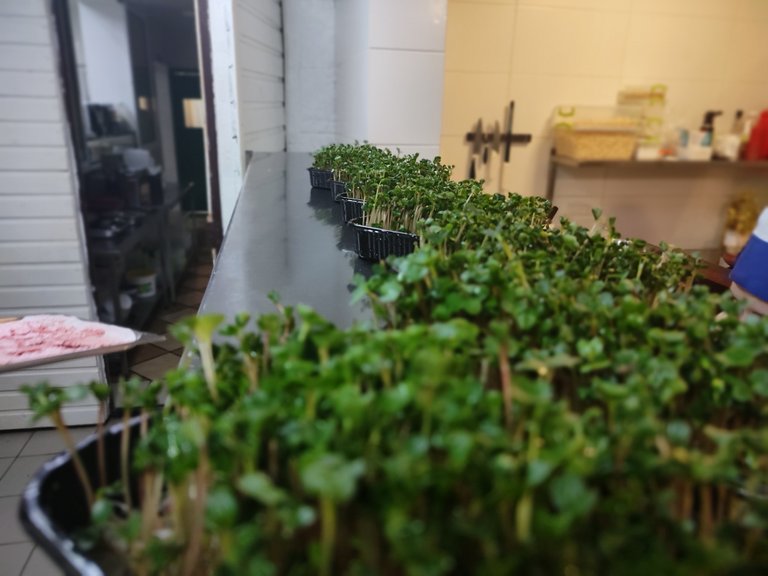
Наступна культура яка мені піддалась це редиска. Тут я помітив, що при замочуванні насіння, воно росте краще ніж одразу в контейнерах. Різниця приблизно в два, три дня.
Важче всього, поки що дається цибуля. Потрібно вивчити цю культуру краще на майбутнє, щоб не було проблем.
Поки що не вирощував на цьому стелажі люцерну. Але я гадаю що з нею проблем не повинно бути.
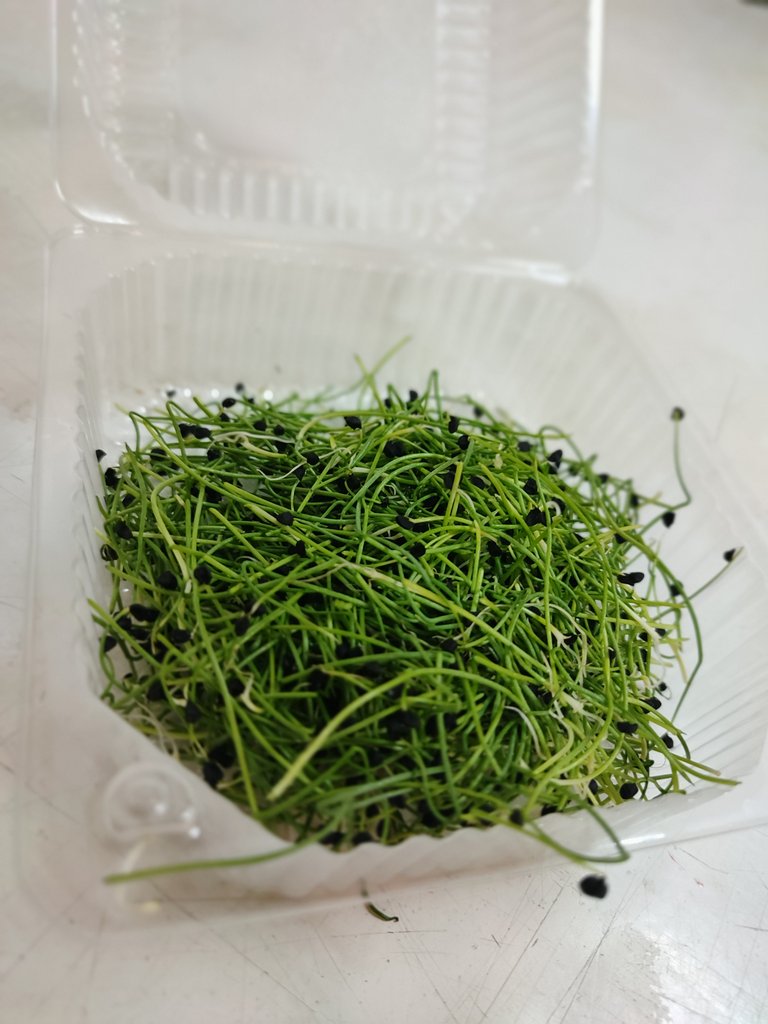
Поки що це все. Далі буде ще більше всього цікавого. Нові культури, нові способи вирощування. Якщо у вас виникли питання або поради, пишіть коментарі я завжди відповім. МІКРОЗЕЛЕНЬ ВПЕРЕД.
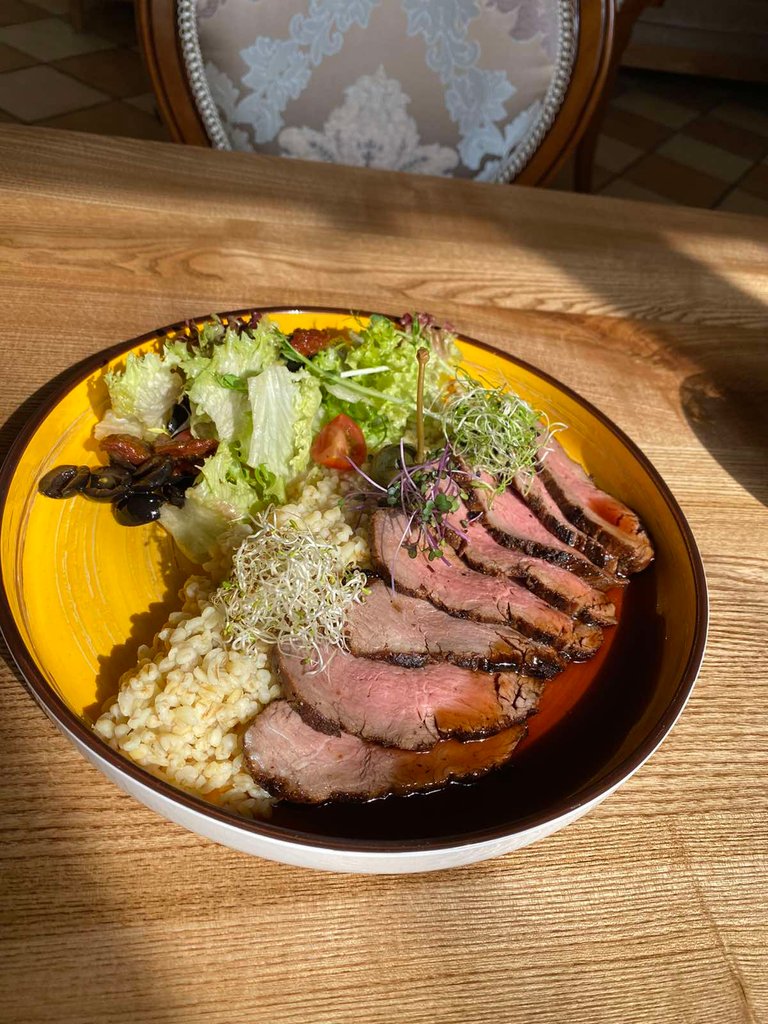
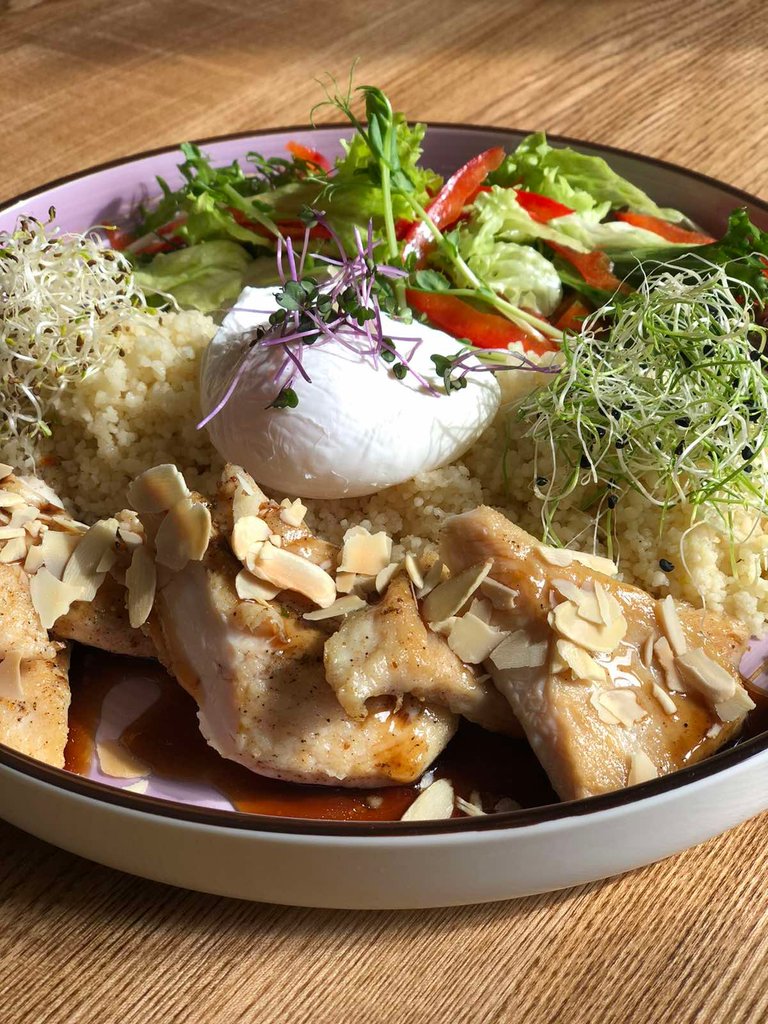
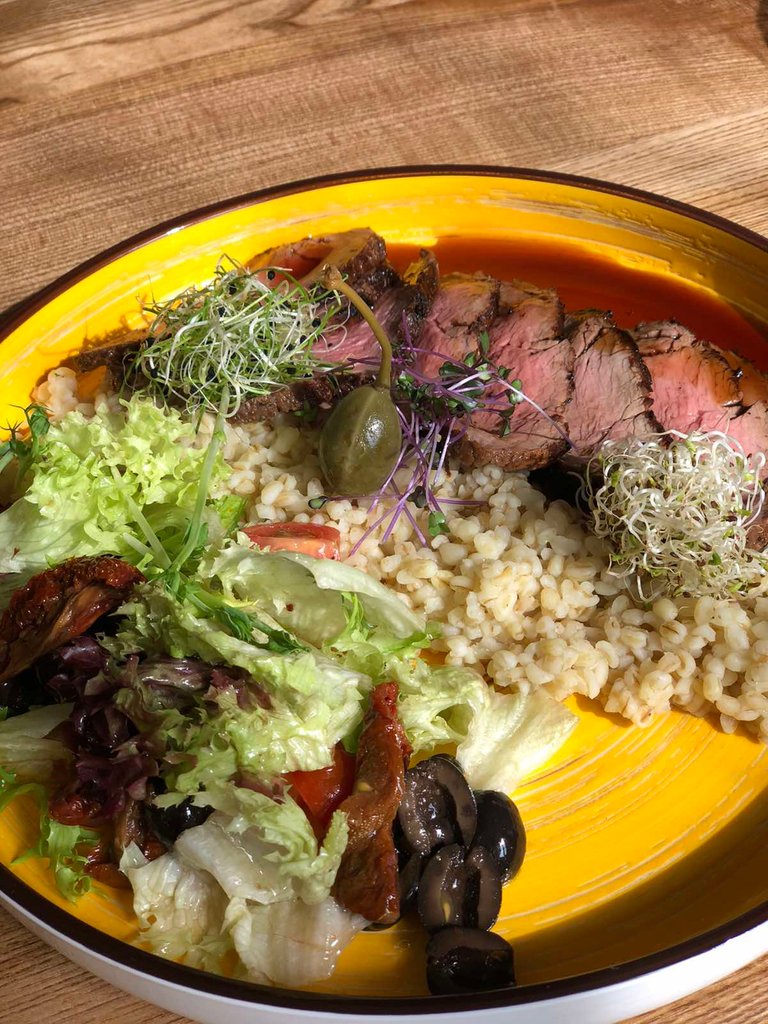
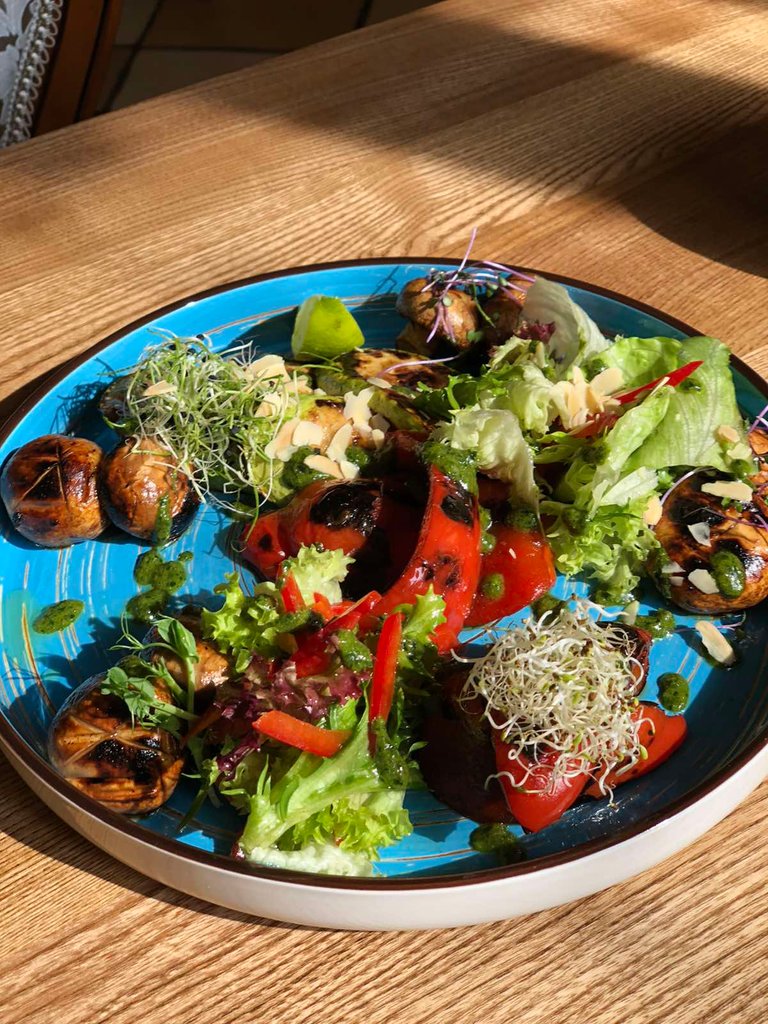
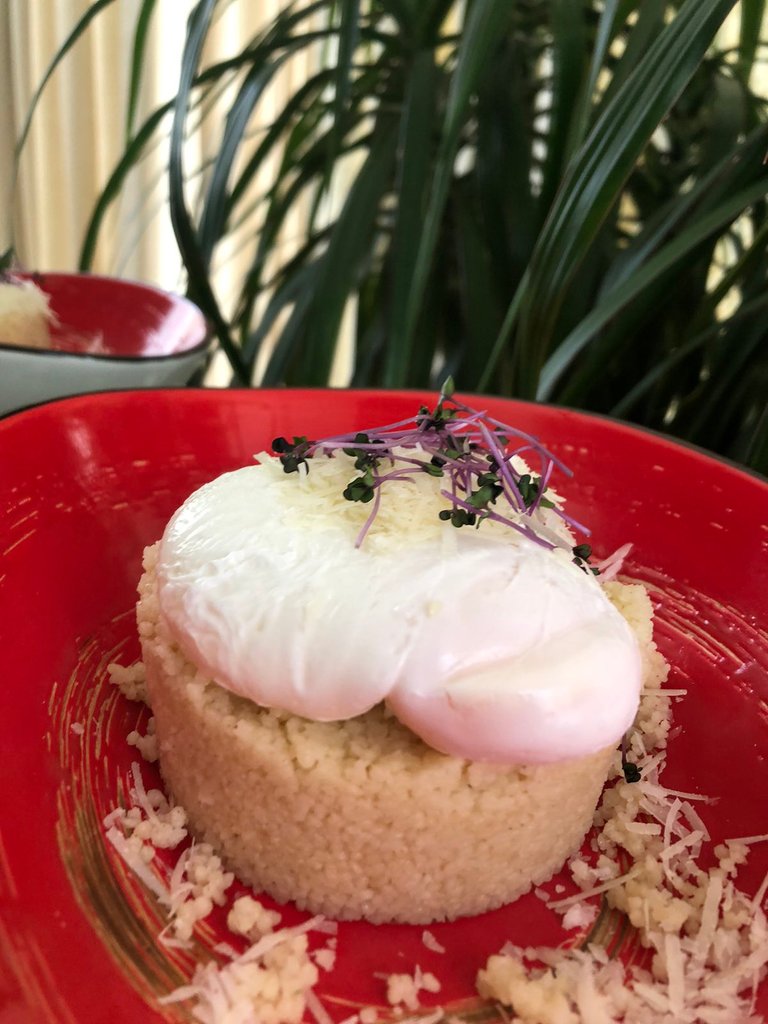
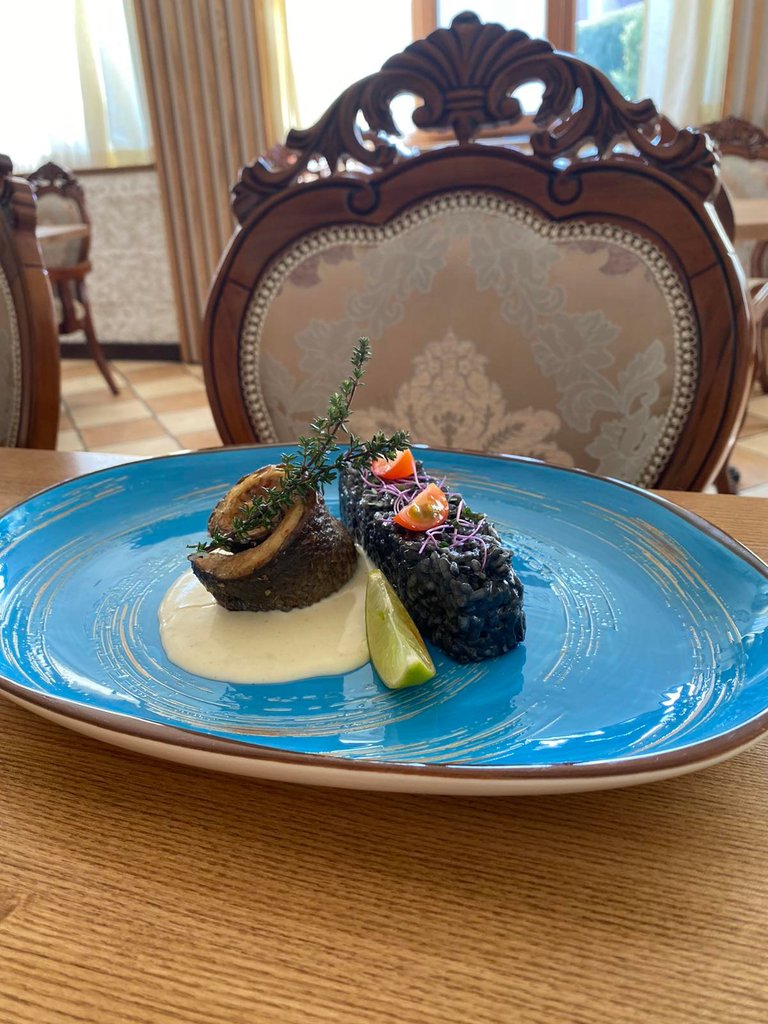
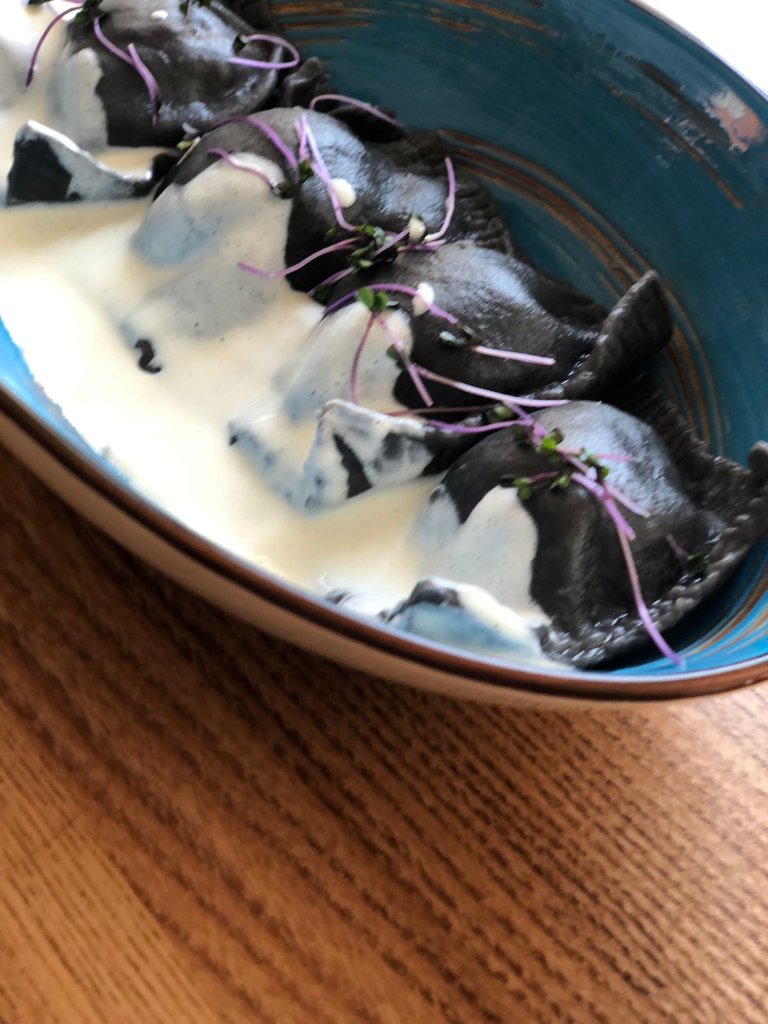
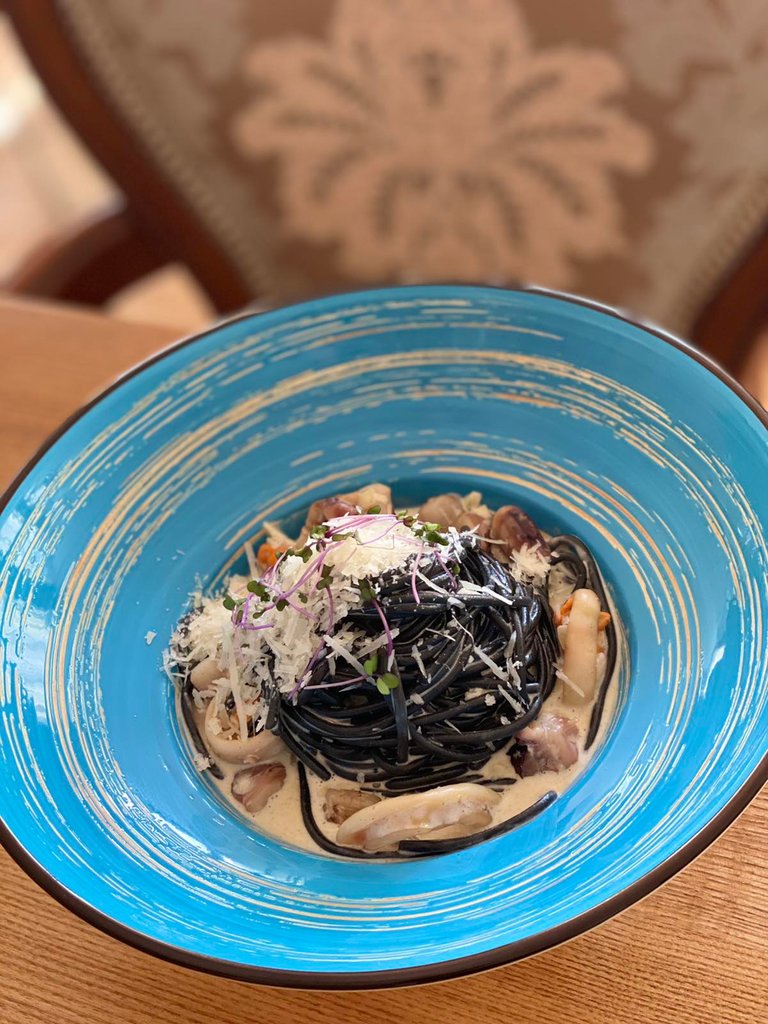
P.S І на додаток трошки фото страв з моєму мікрозеленню.
Hello everyone, ladies and gentlemen. I apologize for such a long time that was absent. During this time, many events have happened in my life, both good and not so pleasant. The good thing is that I finally launched my rack for microgreens, met a man who grabbed my soul and pushed me to something that I would never have thought to do. From bad it is regular stresses, nerves, though for trifles. But I don't give up, it's best to go ahead. So I'll start.
As promised - made a rack. And I want to tell you that up to $ 150 was spent on such a rack and it is not blown yet, but in my case ventilation was not needed to begin with. Now it is necessary because the whole rack is full and air circulation is necessary. For the future: if you grow at home, you will have enough of the ventilation that you have at home. If so as I have, then ventilation is needed one hundred percent. Structurally, the rack is not very difficult to make, the main issue was to make the water supply and that the water on the rack does not stagnate. The decision came by itself: on the top shelf the profile made at an inclination and from below made a gutter at an inclination that water flowed down in the tank. Did not make a plumbing system because it is a test rack to understand how it works, where and how to do better in the future.
Indoor temperature does not exceed 23 degrees Celsius, constant humidity 60-75 percent. In the process of growing, I saw that the seeds of some crops can also be soaked with the addition of hydrogen peroxide. Remember 40 milliliters of hydrogen peroxide per liter of water. Sunflower seeds, from my observations, it is better to soak in a solution of potassium permanganate (in the people manganese). I decided to try soaking peas in this solution. Let's see what happens.
As for how the growth process takes place and what I process throughout the process, I will now tell you everything. I have two pump sprayers, one with a solution of phytosponin and trichodermin, the other with either plain water or a solution of humic fertilizers. There may still be a solution with protective additives, but it's all natural and organic. We do not work with chemistry at all.
The first barrier I overcame was wheat. The way she came out impressed even me. But there is one nuance, if red spots appear on the roots - no problem. They can be drunk for several days. For this I have a hose with a nozzle on which several modes of watering. For such spots, I usually use the "shower" mode. It will not damage the roots and will wash everything from the roots well enough. For watering from above at the initial stage, I use the "fog" mode. It looks like a light rain, so this is what you need. Also in the process of growing, try to turn on and off the light at the same time and water at the same time, but regarding watering I can say that it all depends on your substrate. If you grow on napkins - you need more watering, if linen carpets or coconut substrate - less often. Why it is so easy to guess.
The next crop I succumbed to was radishes. Here I noticed that when soaking the seeds, it grows better than just in containers. The difference is about two or three days.
The hardest thing so far is given onions. We need to study this culture better for the future so that there are no problems.
I haven't grown alfalfa on this rack yet. But I think there should be no problems with it.
That's all for now. Next will be even more interesting. New crops, new ways of growing. If you have any questions or tips, write comments and I will always answer. MICROGREEN FORWARD.
P.S And in addition a little photo of dishes with my microgreens.*****
Awesome microgreens farm .I have a plans to make one in mear future
!BEER !ENGAGE 5
ENGAGEtokens.View or trade
BEER.BEERHey @icefresh0254, here is a little bit of from @outlinez for you. Enjoy it!Learn how to earn FREE BEER each day by staking your
BEER.Your content has been voted as a part of Encouragement program. Keep up the good work!
Use Ecency daily to boost your growth on platform!
Support Ecency
Vote for Proposal
Delegate HP and earn more
Congratulations @icefresh0254! You have completed the following achievement on the Hive blockchain and have been rewarded with new badge(s) :
Your next target is to reach 400 upvotes.
You can view your badges on your board and compare yourself to others in the Ranking
If you no longer want to receive notifications, reply to this comment with the word
STOPЦе просто супер! А яка висота полички мін макс?
Мінімальна в мене 30 сантиметрів а максимальна 47 сантиметрів.