This morning, we did it again, we had a breakfast in the garden and made our coffee and grilled some chestnuts on the rocket stove. My wife joined us this time and we had a great time together.
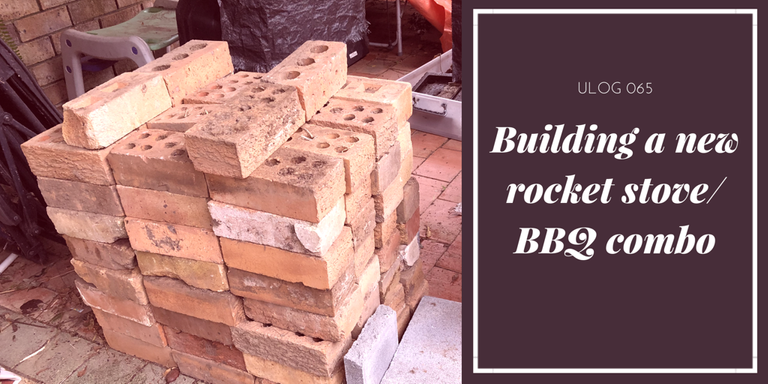
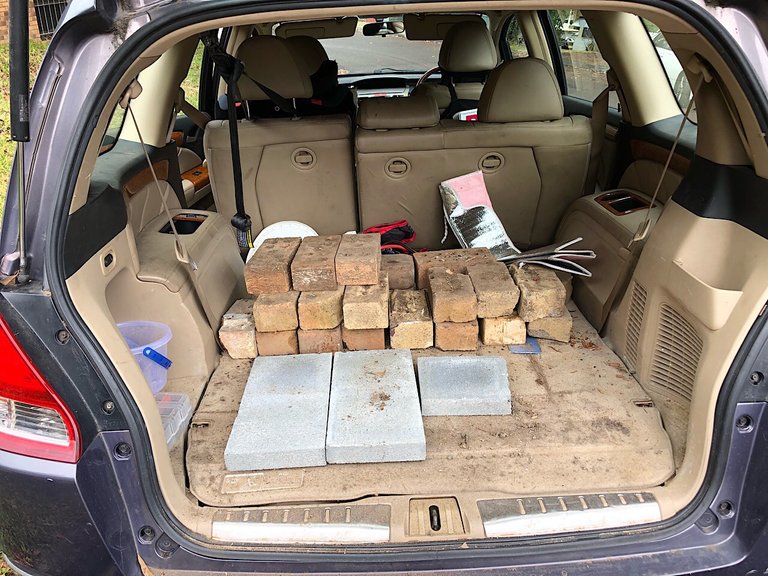
Then, I saw an ad on the Facebook marketplace for some free bricks. Someone was demolishing something and had plenty of bricks left. I went there before lunch and loaded the car. The photo below is after I've unloaded most of the bricks after getting home:
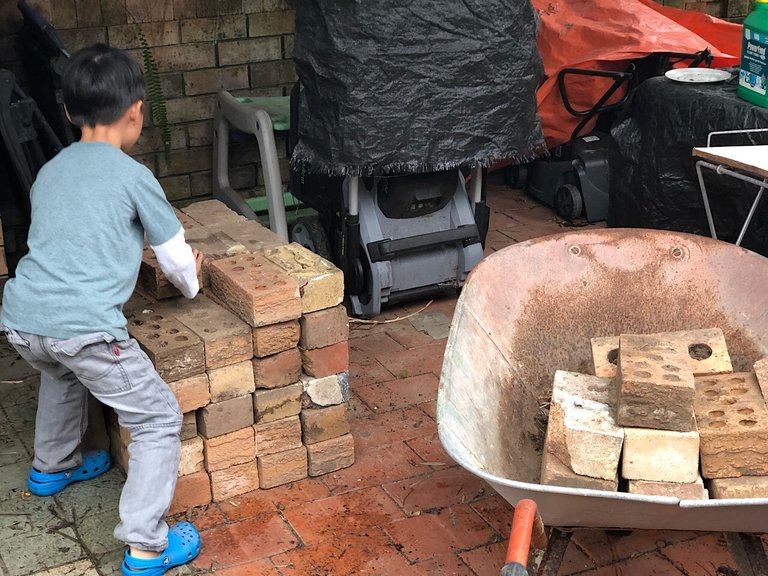
It was very heavy so I had to spread the load to the front as well to even out the pressure on the shock absorbers. San was very helpful and lent me a hand carrying the bricks. We piled the 100 bricks up and I started to start trying a design I had in mind.
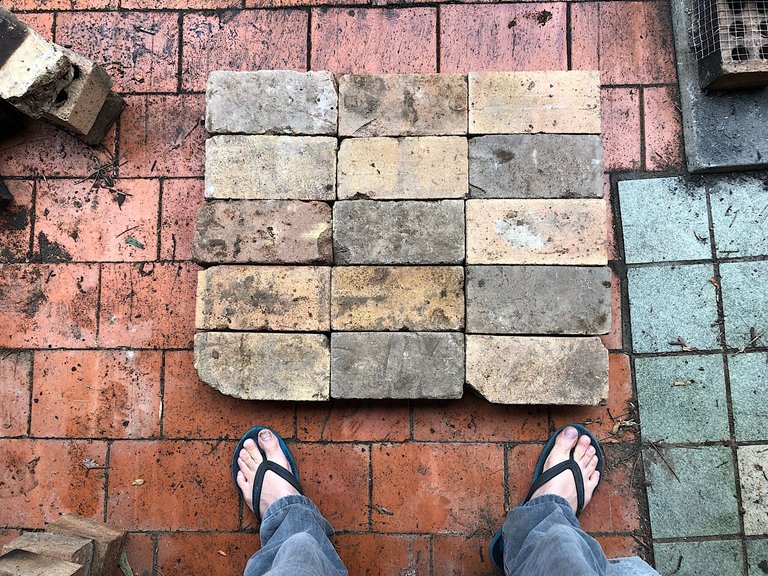
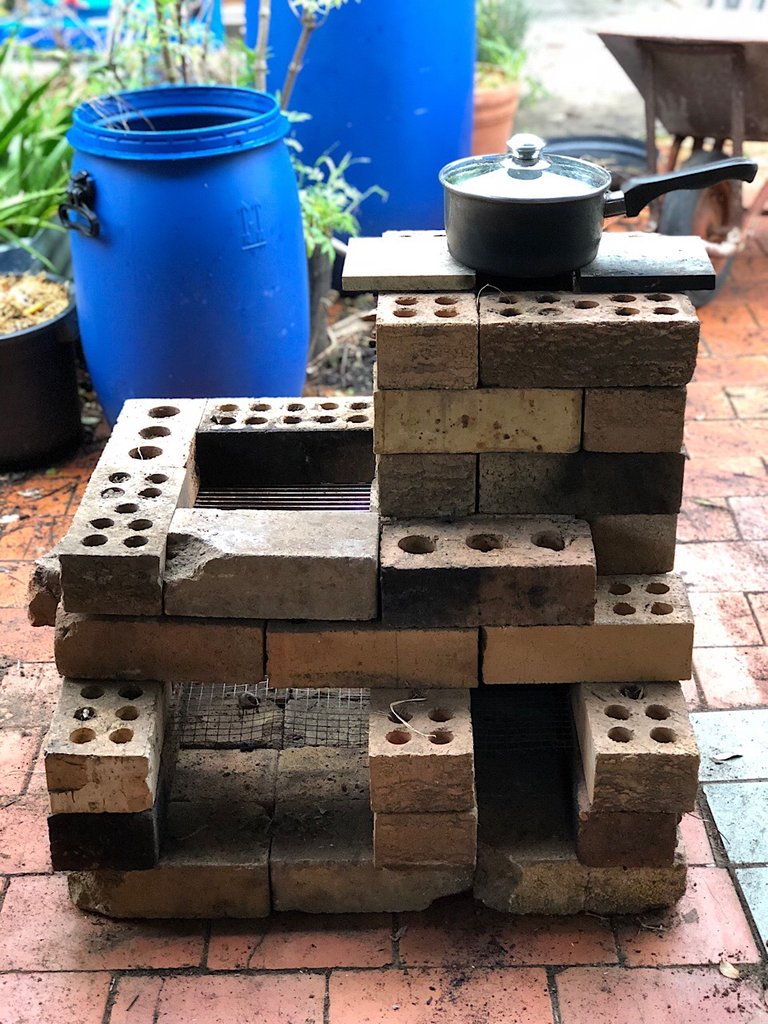
I started with 15 bricks on the floor as a base. This will keep the pavers underneath clean when I clear out the stove.
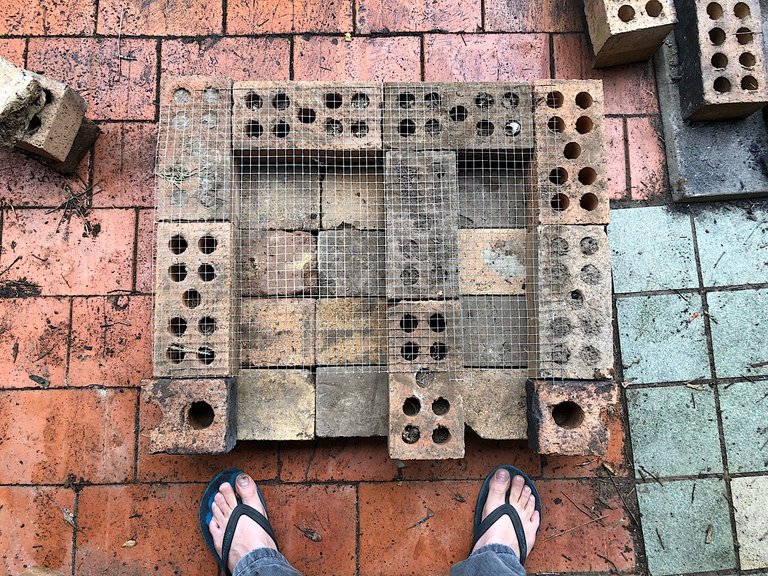
I've now added the second layer with a wire mesh above the gap. This will be where the wood would sit, the gap below is to bring oxygen under the burning wood.
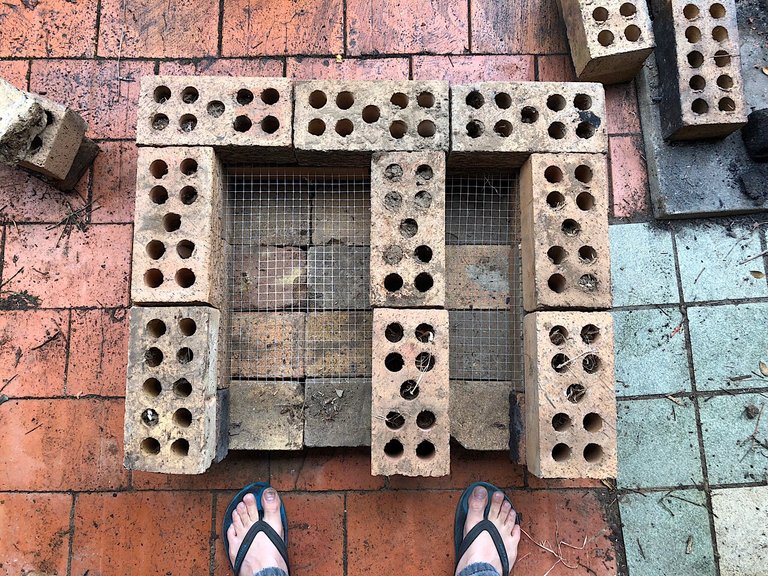
A third layer of bricks will keep the wire mesh in place and create the channel for the wood to get in.
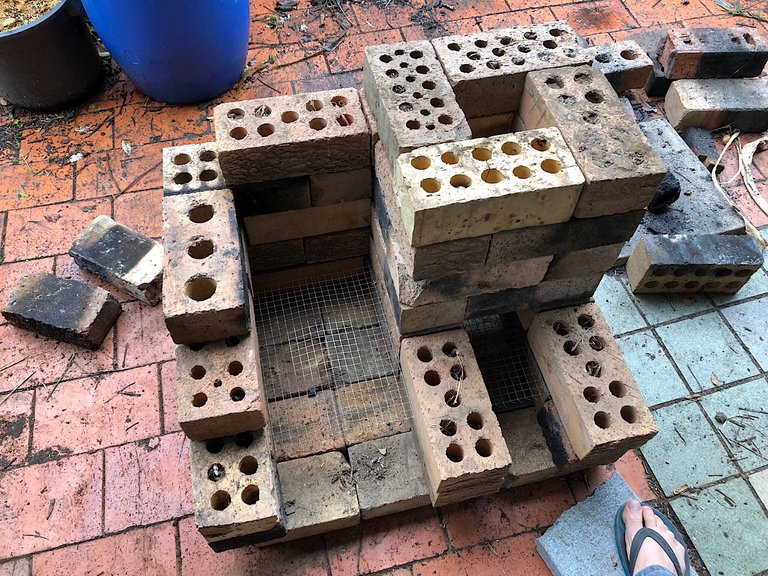
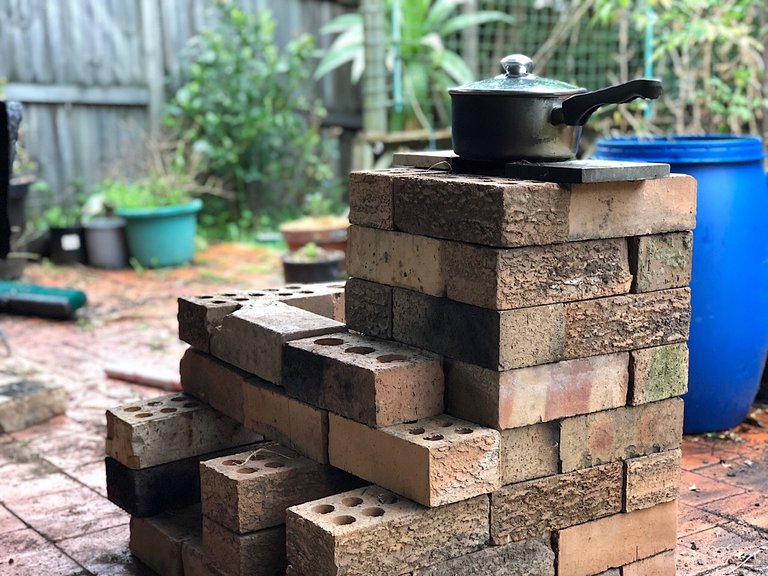
I then added more layers to the right section to create the chimney for the rocket stove until I get the height I wanted. On the left side, it's the same concept except that I made a larger opening to make a BBQ so we can grill more food, it is also not as high as you just want a grill that sits not too far from the coal.
Here is the finished product. After discussing with my wife, I will undo the left side and make it even bigger so we have more cooking space.
This is just a proof of concept, I will re-do everything better.
Previously on my Ulog:
- ULOG 064 - Marshmallows and Rocket Stove Fun
- ULOG 063 - Working on a new Chrome extension to help with blogging on Steemit
- ULOG 062 - New Shanghai restaurant in Chatswood
Vote for my witness
On Steem, Witnesses are playing the important role of providing a performant and safe network for all of us. You have the power to choose 30 trusty witnesses to package transactions and sign the blocks that will go in the Steem blockchain. Vote for me via SteemConnect to help me do more useful projects for the communities.
| I'm a member of | these communities |
|---|---|
 |  |
 |  |
Credits
- The image at the top has been generated with the Canva app using my own photo.
Protect your money against Phishing Scam!
Cryptos accounts are the target of international scammers because they want your hard earned money!
Those people are very clever and in a moment of inattention, you've given them your login and password!
I've created a Chrome extension that can help you detecting scam links!
Install Steemed Phish Chrome desktop browser extension now!
Password and Private Keys security
You all know that your Steem password is the access to all your STEEM, SBD, posting, transferring, everything... right?
So, please, follow these simple steps and keep yourself safe:
- Apart from the initial setup of your account, NEVER use your password ANYWHERE, if stolen, it will give full control to your Steem account.
- Backup your password and keep it somewhere safe. Use a password manager like Lastpass, print it on paper and put it in a safe (no kidding). If you forget your password, no one can help you out.
- To login for creating content and curating, use your Private Posting Key
- To make transfers and account operations, use your Private Active Key
- To encrypt and decrypt memos, use your Private Memo Key

Very nice design!
Thanks so much for sharing with us.
Thank you 😊
Posted using Partiko iOS
No problem!
Such great info needs to be shared. Gave it a resteem.
My witness vote as well.
Keep up this great content!
Will you cement it once you have the design finalised or leave them as loose bricks? Looks like the proof of concept has proven the concept all right :)
From my few previous experiences with a Rocket stove this size, you don’t need to cement them. If you overlap the bricks from layer to layer then the whole thing will be strong enough. I like leaving the brick loose so I can dismantle everything and reassemble at will.
Posted using Partiko iOS
Very nice!! I like the design with 2 chambers so you can have two styles of cooking at the same time. Nice going getting your kids involved and helping with the project :)
Thanks mate. I might even extend the design to have a third chamber on the other side of the chimney for a small fire pit. We sometimes grill stuff at night in the mild winter and a small fire would be nice to keep us warm.
Posted using Partiko iOS
Come join us on discord!
https://steemit.com/ghsc/@ghscollective/today-s-promoted-post-wombloom-and-quochuy
Congratulations! Your post has been recommended by @goldendawne to be the Global Homestead Collective's promoted post of the day. We invite you to use our tag #ghsc!Thanks guys!
Posted using Partiko iOS
Niffy design!
😺
Posted using Partiko iOS
howdy there quochoy! hey I like this stove design because it's so practical but effective, I like the fact that it can be built with no messing with mortor! great design!
Hi @janton, thanks for your feedback. Playing with bricks is like playing with grown ups LEGOs hahaha. The nice thing is it does bring the family together, enjoying some fun time in the backyard.
Posted using Partiko iOS
hahaha! yes sir quochuy..that is so true and this is a practical project, I assume you do alot of these types of posts?
Awesome...!!!!!!!
Thank you