What Will I Learn?
- You will learn about Content Management System (CMS)
- You will learn about CouchCMS
- You will learn how to integrate CouchCMS to an existing website in an easy way
- You will learn how to update content of your website using CouchCMS
Requirements
- You must have a working knowledge of HTML and CSS
- You must know the basics on how to create a website
- You need Text Editor, Local Server (Wamp Server or Xamp for windows and Mamp for Mac OS),
web browser and internet to download resources - You need PHP version 5 and above and MySQL version 4.1.2 and above running on your local server
Difficulty
- Intermediate
Tutorial Contents
CouchCMS is a free and open source Content Management System (CMS) used by web designers and web clients who wants simplicity. CouchCMS can be integrated into existing websites without no knowledge of backend technology like PHP or Python. All you need to turn your website into a Content Management System (CMS) is the custom Couch Tags that you will add to the sections of the site you want to make editable.
Why CouchCMS?
- The Couch Admin Panel allows the admin to update site content, media and users with simplicity.
- Some clients find WordPress to be too technical. CouchCMS is usually used by less techy clients or Web Designers who wants something neat and simple to work with.
- For those that loves working with HTML and CSS frameworks love the fact that their design will be intact without any outside entity and still be editable.
Installing CouchCMS
Visit https://www.couchcms.com/ to download the latest version of the software.
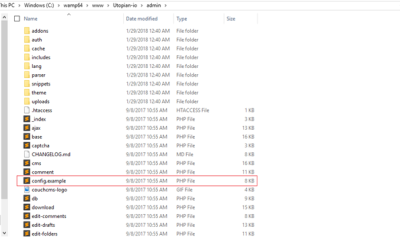
Create a development folder on your local server (htdocs or WWW) and move the CouchCMS we just downloaded to the folder after you unzip it. I renamed my CouchCMS-2.0 to “admin” for easy remembrance.
My folder looks like this;

Open the “admin” folder or “Couch” in your case and locate a file named “config.example”, rename the file to config.php.
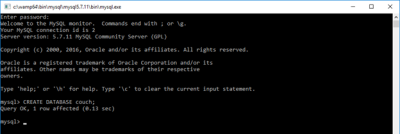
Create a database for your website using phpMyAdmin, MySQL Console or something similar to store the content of your website.
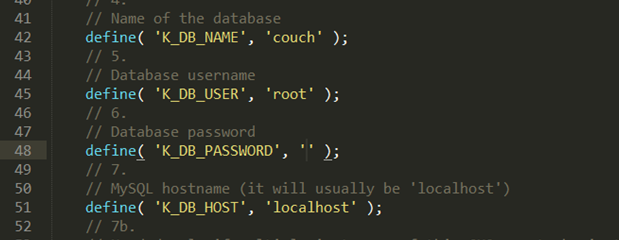
Open config.php in your text editor and edit/add the following; Your Database name, your Database username, your password and MYSQL Host which is usually localhost. The password filled is empty because I don’t have a password on my database.
How To
Launch your text editor and create a file named “index.php”.
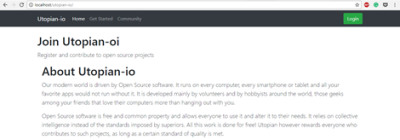
Write the necessary HTML standard tags plus some few content in the main body as shown below.
Preview in Browser;
Add the following piece of code below at the top of the “index.php” file. What the PHP code does is to include/reference by letting our CouchCMS know that its attention will be needed. My couchCMS folder is named “admin” so the PHP code will look like this.
<?php require_once('admin/cms.php' ); ?>
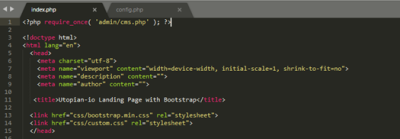
- Add the following piece of code at the last line of the “index.php” file.
<?php COUCH::invoke(); ?>

Making the section of a website Editable
- If we want to make a section on our index page editable we just add the Couch Tags to the section. You can visit the couchCMS documentation for more tags
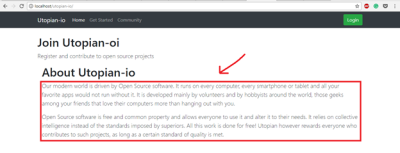
<cms:editable name='about_utopian' type='richtext'>
    Your Content here...
</cms:editable>

- Visit your website, the index.php. Using your local folder it will look like this. “localhost/yourfoldername”. You will be prompted with CouchCMS Installation page. Something like this;
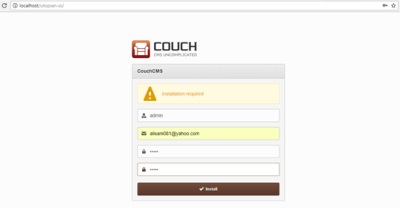
Enter your details, Username, email and password and then click on Install. You will be notified that your installation is successful. Click Login and login using the details you provided.
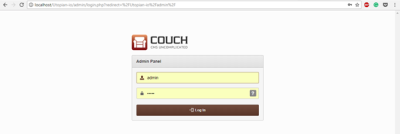
- Your Admin Dashboard will contain the content of the section we made editable in WYSIWYG editor. Something like this;
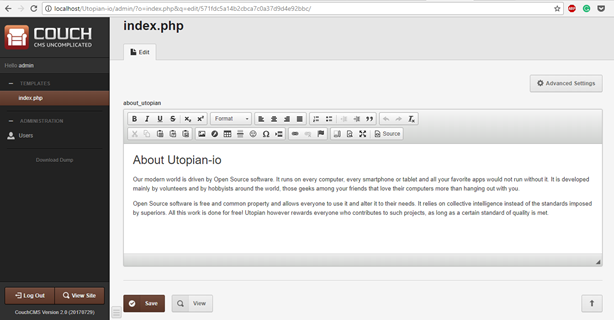
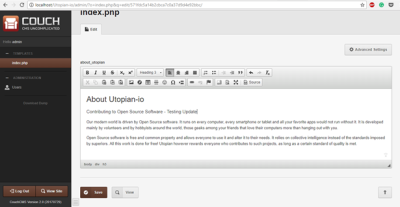
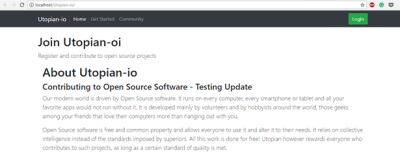
Edit the Content and Click Save. Visit your website by clicking View Site to see the update.
The Final Result. It's working.
There are various Couch Tags to you can add to your website. Visit the CouchCMS website and check their documentation for more: https://www.couchcms.com/
Curriculum
This is the first contribution of a course curriculum.
Posted on Utopian.io - Rewarding Open Source Contributors
Thank you for the contribution. It has been approved.
You can contact us on Discord.
[utopian-moderator]
Thank you @sakibarifin
Hey @aliyu-s I am @utopian-io. I have just upvoted you!
Achievements
Suggestions
Get Noticed!
Community-Driven Witness!
I am the first and only Steem Community-Driven Witness. Participate on Discord. Lets GROW TOGETHER!
Up-vote this comment to grow my power and help Open Source contributions like this one. Want to chat? Join me on Discord https://discord.gg/Pc8HG9x
I am also using CouchCMS on a Debian server. The web hosting with php and mysql I am using has Debian based stack with Apache and Nginx. I was following your guide to integrate Couch on a custom PHP website. However I am getting 503 error when I try to load the site. What could be the issue?