What Will I Learn?
- Reader will learn inroduction to java programming language
- The reader will learn how to install JDKs and Eclipse IDE in a simple way
- The reader will learn how to setup the workspace environment
Requirements
Write here a bullet list of the requirements for the user in order to follow this tutorial.
- Java JDK
- Eclipse IDE
Difficulty
- Basic
Tutorial Contents

Welcome here budding programmers. So we are heading to our journey into programming world today using that very popular programming language, JAVA. Once again, I welcome everyone reading this post to this step by step practical tutorial which is focused on making us see programming in an easy way and not the other way round.
I won't be telling you the background history of JAVA as I'm assuming you already have some background knowledge about this language already. If you don't have any knowledge of coding before, then I will recommend you check some introductions on google.
Why choosing Java?
The issue of having to choose which is the best among programming languages has been existing for a while. I'm not here to tell you which is the best among them, but I'm here to tell you that regardless of the advantages of some other programming languages over it, JAVA was designed to be relatively beginner-friendly in that it assumes the programmer is not that smart or careful, so programmers will be less likely to shoot themselves in the foot when coding Java apps. Hence beginning our journey into the coding world is best started with JAVA. I hope you are all with me now. Let's start guys!
Lesson 1: Setting up the JAVA IDE environment
Below are the tools we're going to download from the web. They are must-have toold for writing our Java codes with Eclipse.
- JDK:
This is rather known as Java Development Kit. It has the JRE (Java Runtime Environment) included and is ideaal recommended when you're working with IDE. - Eclipse IDE
This is an Independent Development Environment, a GUI interface for developing JAVA applications.
After downloading those 2 tools, then we are ready to setup our IDE and start coding.
Installing Our JDK with JRE included
Installing your tools including the JDK, JRE, IDE (Eclipse) is as simple as ABC. It's just the way we normally install other software on our Windows OS. Check the processes below.
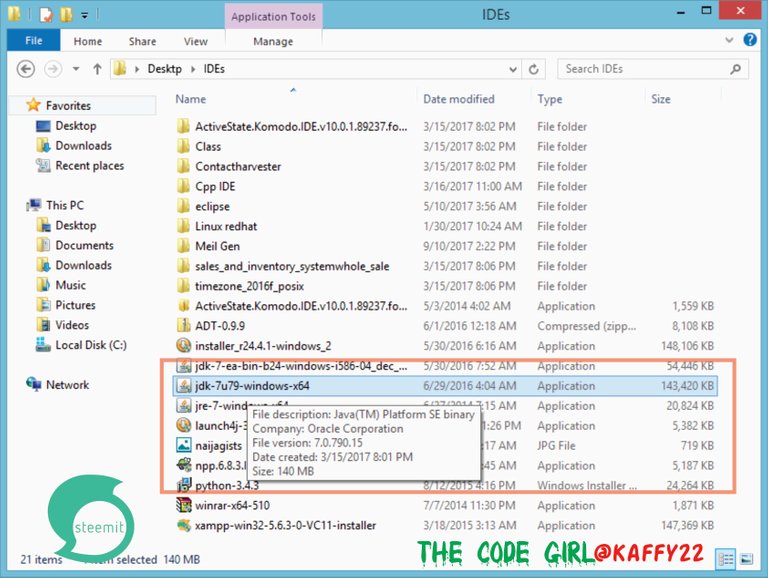
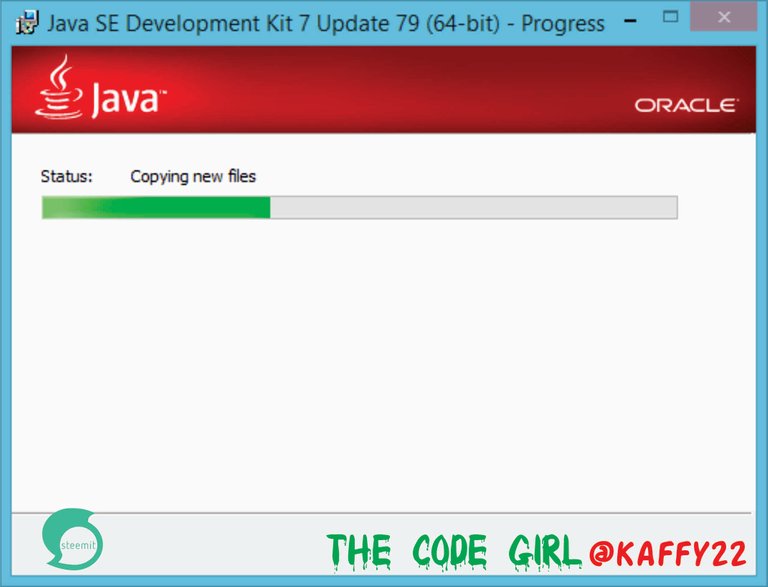
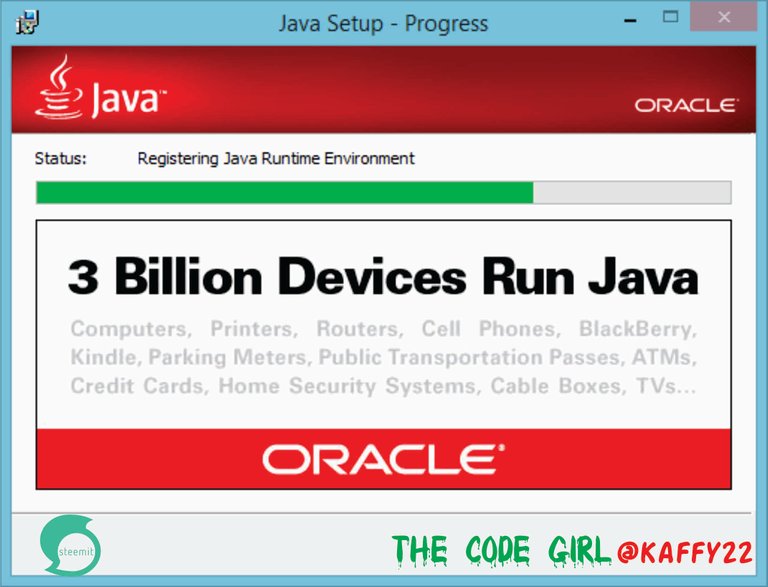
With the simple processes shown above, you've successfully installed your JDK and JRE. now the next thing to do is to setup our Eclipse IDE.
Setting up our Eclipse IDE
Depending on how you sourced your Eclipse IDE, all you need to do after downloading it is open, the folder. Check the below screenshot showing how an ideal Eclipse IDE folder looks.
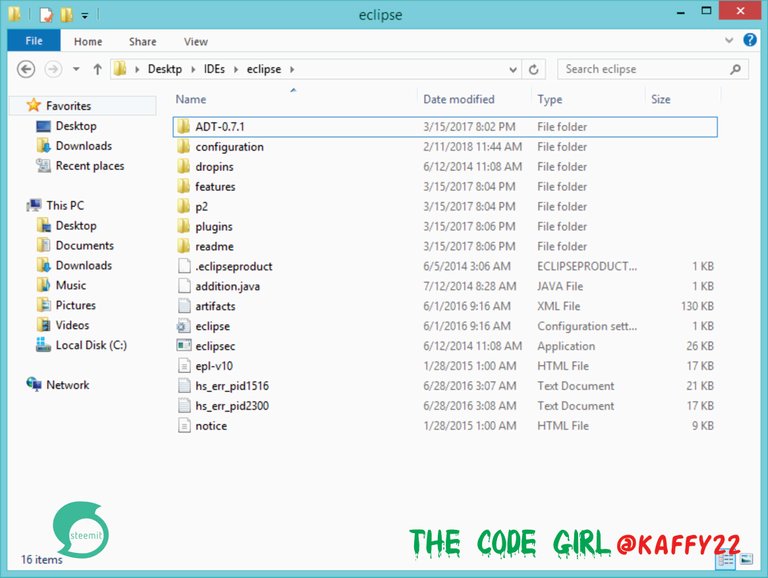
Although, yours might not have the ADT folder included. I downloaded the ADT for another work entirely (to be working on android apps), so you don't need that for now. Right-click the Eclipse .exe app file and run as administrator for the first time.

The above shows up and after a while the IDE starts up.
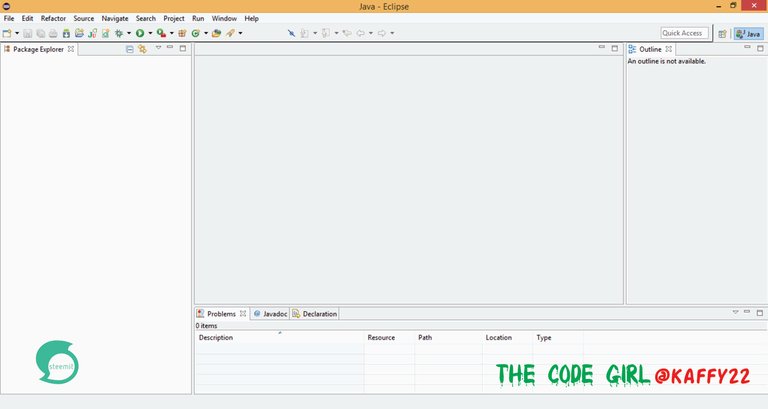
Behold! Welcome to the eclipse environment!
Now that we are here, te first thing we have to do is prepare our workspace. Your workspace is where your projects (applications you developed) are saved. So you have to specify where you want your works to be saved for easier retrieval. The following screengrabs will help you through,.
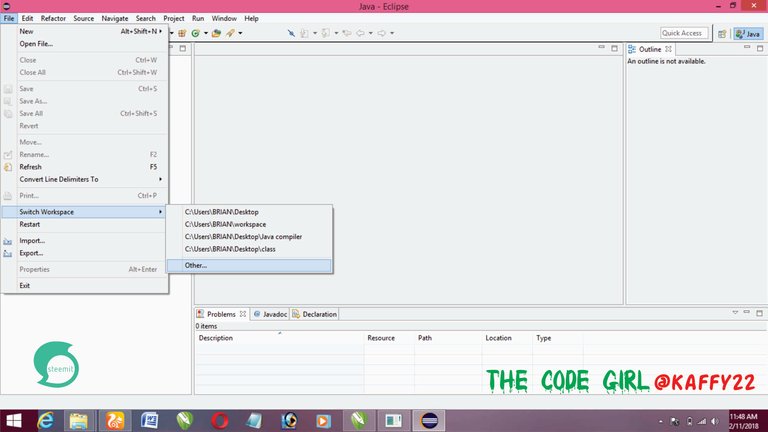
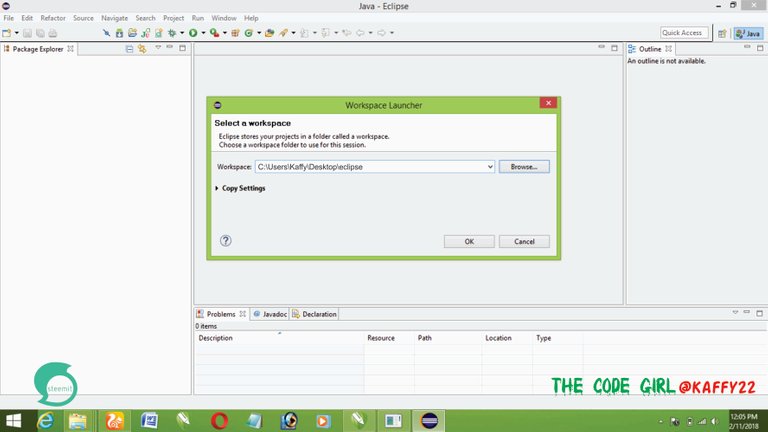
Yes! we are all set to start coding. Do you see how easy this is?
programming ain't as hard as many people make it seems, you just have to be focused and be committed with it. In no time, you're going to become a great programmer!
That's all for now guys, stay with this blog as I'm dropping the next tutorial soonest.
Be sure to drop your comment.
Curriculum
Posted on Utopian.io - Rewarding Open Source Contributors
Your contribution cannot be approved because it does not follow the Utopian Rules.
Hi, these are the reasons your contribution was rejected
I recommend you read the rules before contributing again in the future.
You can contact us on Discord.
[utopian-moderator]