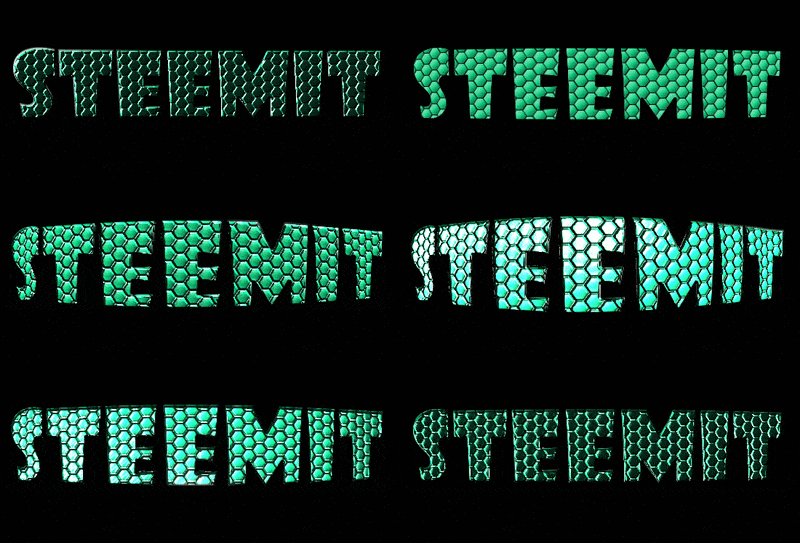
How to make animation text using GIMP 2.8
First you need to create a new project.

Then change the size of width and height of your frame


- After that go to Text and then change the font that you want to use and change the size of the font make it 125 and make sure the color that you use is black.


Then if you done that type the word that you want to use in your animation text, i use steemit for example.

After that go to move tools and select your text and drag it into the center.


-And then go in the right side in layers and right click your text layer after you click that click the Layer to Image size.

and then make sure that you delete the background of your text.
this is the result after you delete the background

After you do that, Right click again your layer and click the Alpha to selection to select your text.

And after that go to Select click Shrink and after you click change the shrink selection from 1 into 2.

After that click the bucket fill tools and choose the color you want to use in your text.


Then After that make sure you change the color of background in black and then switch it in white color foreground click the arrow up and down to switch it.

In the top you see the Tools Filters and Windows, Click the filters and click the distorts and click mosaic.

Change the tiles height in to 10.0 and spacing in to 1.0 and change the tiles neatness in to 1.00 and the color variation in to 0.00.

Go to Select and then click none to remove the Alpha in Selection

And then go again in Filters and click again the Distorts and click Iwrap

In this part you need to change the Deform radius in 175 and make sure that your Deform amount is 1.00

And go to animate and change the number of frame make it 5

Click the center of the text in 4 times like this


After that go back in to the layer and you see that there are 5 layers

Delete the first one.

After you delete that go to Frame 4 and right click and Duplicate it from 4 to 2 you need to duplicate it.

after duplicating your frame click the frame zero and then go to Filters and click Light and shadow and Click the Light effects

Change the intensity from 1.00 in to 2.00

After that enable the Bump mapping

And move the Blue circle in the top of your text, move it in the center of your first letter text.

- After that select the frame 1, what you did in frame 0, as well as what you would do in frame 1 would follow that step in frame 0

And then go to Bumpmap image and select the frame you select it's number 1

Likewise in frame 2, 3, 4, 5, 6, 7, 8 what we did in frame 0 and 1 we will also do the next frame
- This is the pattern of your Light follow this step or patterns

And After that go to Filters and click Animation and click Playback


And Then Right Click the frame and then click Remove Alpha channel, You do this from the first frame to the last frame


- And this is it the last step is to save your

work or project, go to File and click export then save your file as GIF then Export.


Thanks for reading to my Tutorial to how to make animation text this is the step of our animation text Thanks to all of you God bless
Posted on Utopian.io - Rewarding Open Source Contributors
Thank you for the contribution. It has been approved.
You can contact us on Discord.
[utopian-moderator]
Thanks sir :)
Hey @leonardo1967 I am @utopian-io. I have just upvoted you!
Achievements
Suggestions
Get Noticed!
Community-Driven Witness!
I am the first and only Steem Community-Driven Witness. Participate on Discord. Lets GROW TOGETHER!
Up-vote this comment to grow my power and help Open Source contributions like this one. Want to chat? Join me on Discord https://discord.gg/Pc8HG9x
Congratulations @leonardo1967! You have completed some achievement on Steemit and have been rewarded with new badge(s) :
Click on any badge to view your own Board of Honor on SteemitBoard.
For more information about SteemitBoard, click here
If you no longer want to receive notifications, reply to this comment with the word
STOP