What Will I Learn?
EOSIO - Tutorial 2
EOSIO smart contract development with EOSFactory framework
Setup for smart contract development on Linux OS (should work on Windows and Mac)
- You will learn how to setup EOSIO with EOSFactory for smart contract development
- You will learn how to install and build
- You will learn how to test EOSFactory
- You will learn how to generate contract from template
- You will learn how to script, build and simulate contracts
Repository
https://github.com/blws/eos-devenv
Requirements
Linux OS (should work on Windows and Mac)
4 GB RAM
visual studio code
basic python knowladge
basic C++ knowladge
basic EOSIO knowladge you can find my last tutorial here
installed clang-4-0 lldb-4.0
sudo apt-get install clang-4.0 lldb-4.0
sudo update-alternatives --install /usr/bin/clang clang /usr/bin/clang-4.0 40 --slave /usr/bin/clang++ clang++ /usr/bin/clang++-4.0
sudo apt-get install clang-4.0 clang++-4.0
update cmake
https://askubuntu.com/questions/859256/how-to-install-gcc-7-or-clang-4-0
- installed python3-pip
- installed termcolor
sudo apt install python3-pip
python3 -m pip install termcolor
- visual studio code
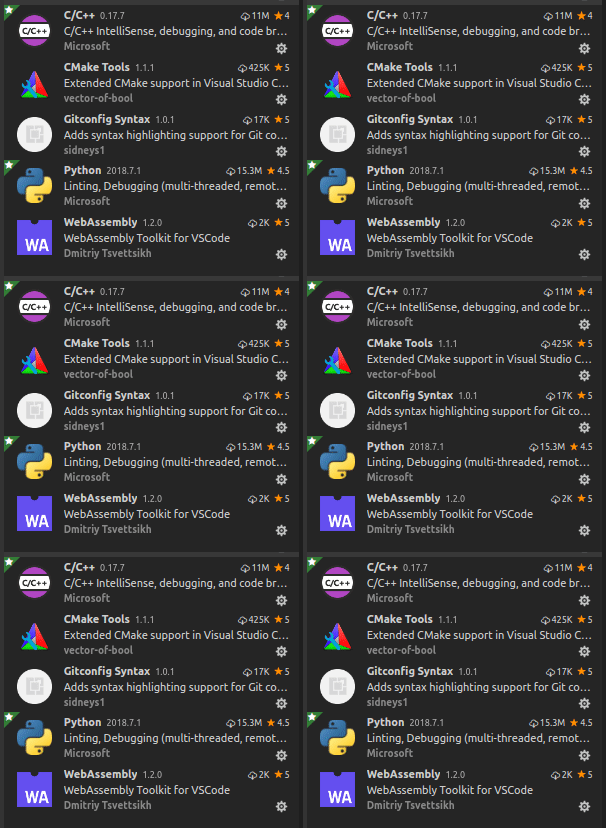
- plugins for studio code:
- C/C++ IntelliSense, debugging and code browsing.
- CMake Tools
- Python
Difficulty
- Basic
Tutorial Contents
This repository is an enviroment to script, build and develop eos smart contracts.
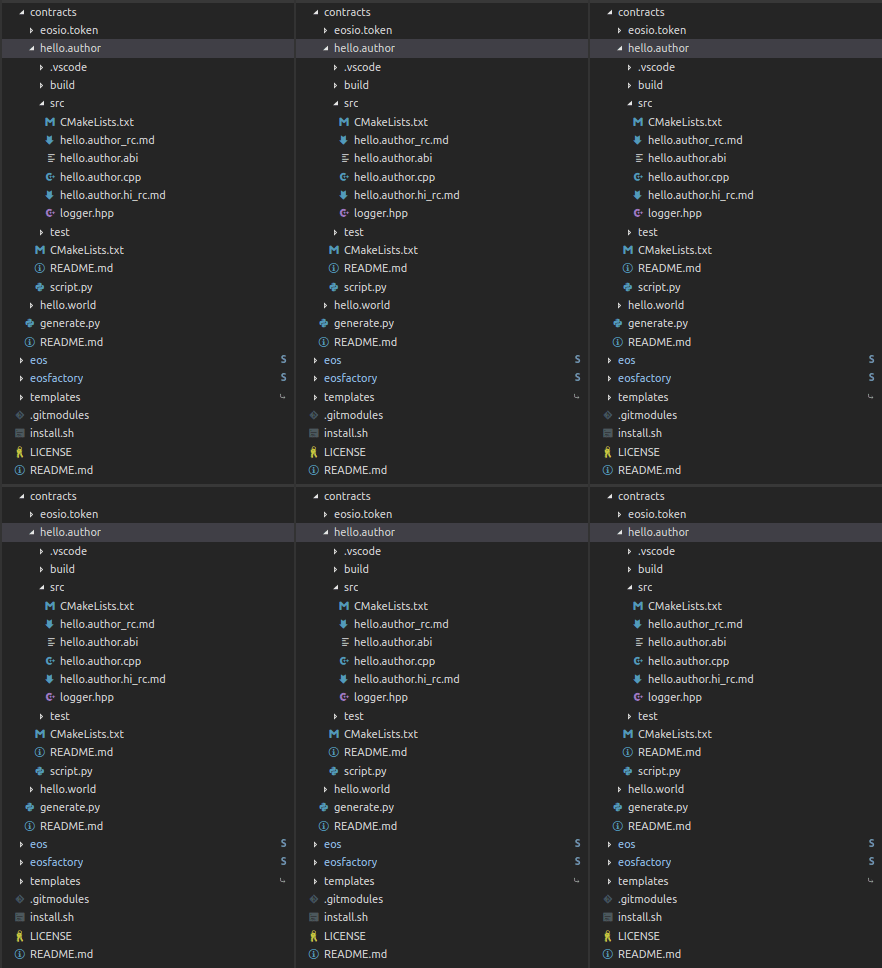
Project structure

I'm using eos and eosfactory submodules forked from https://github.com/tokenika
Clone
Clone repository like this
git clone https://github.com/blws/eos-devenv --recursive
Install and build
After download
cd eos-devenv
sudo ./install.sh
or manually install
cd eos
./eosio_build.sh
cd build
sudo make install
cd ../..

cd eosfactory
./build.sh ~/your_install_path/eos ~/your_install_path/contracts
source ~/.profile
Test EOSFactory
To make sure everything works test EOSFactory
cd eosfactory
source ~/.profile
python3 ./tests/unittest1.py
python3 ./tests/unittest2.py
python3 ./tests/unittest3.py
cd ..
Generate contract from template
Templates are located in eosfactory/templates
or you can make your own.You can find templates https://github.com/blws/eosfactory/tree/master/templates/contracts
To generate contracts change directory to eos-devenv/contracts, then
source ~/.profile
python3 generate.py -name -template
It generates skeleton template if no template
Examples
cd contracts
python3 generate.py example1
python3 generate.py example2 hello
python3 generate.py example3 eosio.token
Build and Script
Visual Studio Code setup and extensions
Open contracts/hello.author folder with visual studio code.
First time you open select clang 4

Enable IntelliSense

Install extensions

Hello world example
Open contracts/hello.author
Open src/hello.author.cpp
#include <eosiolib/eosio.hpp>

//how to include logger
#include "logger.hpp"

using namespace eosio;

class hello : public eosio::contract {
  public:
      using contract::contract;

      /// @abi action
      void hi( account_name user ) {
         logger_info( "user: ", name{user} );
      // how to requre auth
         require_auth( user );

         print( "Hello, ", name{user} );
      }
};

EOSIO_ABI( hello, (hi) )
This is just modified hello contract with 3 added lines: include, log, require_auth
This shows how to log and requrie authentication.
Take a look at hello.author/script.py before we build contract
#import everything you need
import node
import sess
import eosf

#resets and starts testnet
node.reset()

#deploys eosio.bios and creates
#sess.eosio sess.alice sess.bob sess.carol
sess.init()

#create account
john = eosf.account(sess.eosio, name="john")
sess.wallet.import_key(john)

#sets conctract
contract = eosf.Contract(john, "hello.author")

#builds
contract.build()

#hash before deploy
contract.code()

#deploys
contract.deploy()

#hash after deploy
contract.code()

#Will not work
#contract.push_action("hi", '{"user":"' + str(sess.carol) + '"}', sess.alice, output=True)

#Will work
contract.push_action("hi", '{"user":"' + str(sess.carol) + '"}', sess.carol, output=True)

node.stop()
Code is pretty self explanitory.
User has to be authencticated to recive hello message.
To run script first set
source ~/.profile
Run
python3 script.py
To run without exit comment out node.stop() and
python3 -i script.py
press Ctrl + D to exit
eosio token example
This example shows how to create issue and transfer tokens
Open contracts/eosio.token folder with visual studio code.
Open contracts/eosio.token/script.py
#create users
#load bios.contract and eosio.token contract
#deploy
###############################################
import node
import sess
import eosf
import cleos

node.reset()
sess.init()

bpaccount = eosf.account(sess.eosio, name="bpaccount")
sess.wallet.import_key(bpaccount)

john = eosf.account(sess.eosio, name="john")
sess.wallet.import_key(john)

adam = eosf.account(sess.eosio, name="adam")
sess.wallet.import_key(adam)

#Error 3060003: Contract Table Query Exception -> if wrong name
contract = eosf.Contract(bpaccount, "eosio.token")
contract.build()
contract.code()
contract.deploy()
contract.code()

contract.push_action("create", '{"issuer":"' + str(sess.eosio) + '", "maximum_supply":"1000000000.0000 EOS", "can_freeze":0, "can_recall":0, "can_whitelist":0}')

contract.push_action("issue", '{"to":"' + str(bpaccount) + '", "quantity":"100.0000 EOS", "memo":"memo"}', sess.eosio)

contract.push_action("transfer", '{"from":"' + str(bpaccount) + '", "to":"' + str(john) + '", "quantity":"25.0000 EOS", "memo":"memo"}', bpaccount)

contract.push_action("transfer", '{"from":"' + str(bpaccount) + '", "to":"' + str(adam) + '", "quantity":"25.0000 EOS", "memo":"memo"}', bpaccount)

keyarray = cleos.WalletKeys(is_verbose=0).json['']

unqnamearray = []

for key in keyarray:
    namearray = cleos.GetAccounts(key,is_verbose=0).json["account_names"]
    for name in namearray:
        if name not in unqnamearray:
            unqnamearray.append(name)

for name in unqnamearray:
    print(name)
    contract.table("accounts", name)

node.stop()
After we push all actions
keyarray = cleos.WalletKeys(is_verbose=0).json['']
cleos.WalletKeys() returns array of public keys (6 accounts owner and active plus default)
unqnamearray -> all accounts
for name in unqnamearray:
    print(name)
    contract.table("accounts", name)
Last for loop prints all accounts and balances
adam
{
  "rows": [{
      "balance": "25.0000 EOS"
    }
  ],
  "more": false
}


carol
{
  "rows": [],
  "more": false
}


alice
{
  "rows": [],
  "more": false
}


bpaccount
{
  "rows": [{
      "balance": "50.0000 EOS"
    }
  ],
  "more": false
}


john
{
  "rows": [{
      "balance": "25.0000 EOS"
    }
  ],
  "more": false
}


bob
{
  "rows": [],
  "more": false
}
Useful links:
http://eosfactory.io/sphinx/build/html/
Curriculum
This is Tutorial 2
Proof of Work Done
https://github.com/blws/eos-devenv/commits/master
https://github.com/blws/eosfactory/tree/36721be4eb693dfa0eda757dab85ab8e799aa6fc
https://github.com/blws/eos/tree/2a4ffd7ae89dc4f184537b88cf3e905162de93f3
https://github.com/blws/eos-devenv/blob/master/install.sh
https://github.com/blws/eos-devenv/blob/master/contracts/generate.py
https://github.com/blws/eos-devenv/tree/master/contracts/hello.world
https://github.com/blws/eos-devenv/tree/master/contracts/hello.author
https://github.com/blws/eos-devenv/tree/master/contracts/eosio.token
Thank you for your contribution.
Your contribution has been evaluated according to Utopian policies and guidelines, as well as a predefined set of questions pertaining to the category.
To view those questions and the relevant answers related to your post, click here.
Chat with us on Discord.
[utopian-moderator]Need help? Write a ticket on https://support.utopian.io/.
Thanks for contributing on Utopian.
We’re already looking forward to your next contribution!Hey @proba1
Want to chat? Join us on Discord https://discord.gg/h52nFrV.
Vote for Utopian Witness!
Congratulations @proba1! You received a personal award!
You can view your badges on your Steem Board and compare to others on the Steem Ranking
Vote for @Steemitboard as a witness to get one more award and increased upvotes!