Introduction
GRUB(GRand Unified Bootloader) is a powerful open source bootloader which can load most of the existing operating systems. It is simple, effective and customizable. Thus, most of the Linux distributions are released with GRUB as default bootloader. I prepared this tutorial because people who install Windows after any Linux distribution are unable to reach their Linux distribution since overwritten Windows Loader doesn't support Linux distributions to load. In addition, GRUB might be broken as a result of some booting or disk operations.
Full documentation of GRUB:
Github Project of GRUB 2:
https://www.gnu.org/software/grub/manual/grub/grub.pdf
https://github.com/coreos/grub
What Will I Learn?
- Recovering a broken bootloader
- Diagnosing partitions
- Mounting/Unmounting partitions
- Changing root
- Installation of GRUB 2
- Updating GRUB
Requirements
- A Bootable Ubuntu Live CD/Flash
Difficulty
- Basic
Tutorial Contents
The tutorial involves X steps which are:
- Boot Ubuntu Live CD/Flash
- Detect Partition to Install GRUB
- Mount Partitions
- Change Root to the Mounted Partition
- Install GRUB
- Update GRUB
- Unmount Partitions
- Reboot Computer
1. Boot Ubuntu Live CD/Flash
Boot your Ubuntu live cd or flash using booting options menu in the startup screen of your computer. Common hotkeys for booting options are: Esc, F9 and F12.
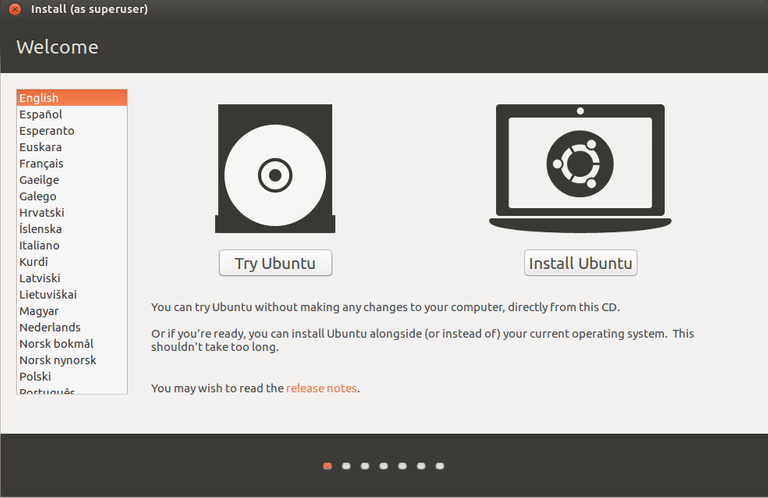
After you boot the live CD, you will be met by this Ubuntu screen below, wants you to choose between trying or installing Linux. Click Try Ubuntu and follow next step.
You can find a table for which boot menu hotkey your brand using here: http://www.disk-image.com/faq-bootmenu.htm
2. Detect Partition to Install GRUB
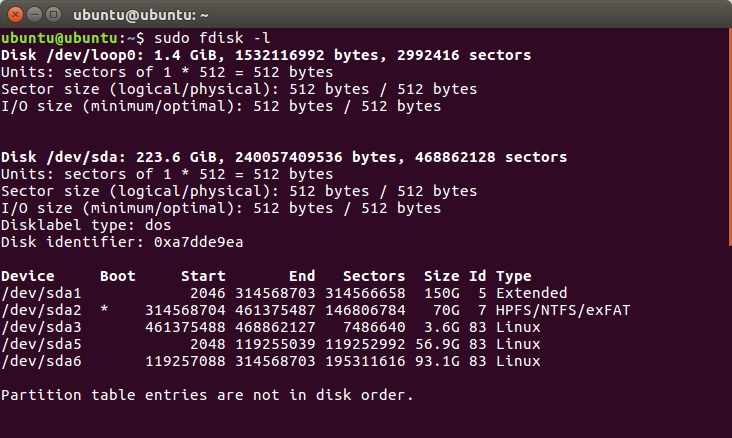
Open terminal by pressing Ctrl + Alt + T, and run fdisk to detect your root partition which you should mount.
If you don't know how, useCtrl + Shift + CandCtrl + Shift + Vto copy and paste in the terminal.sudo fdisk -l
In this case, /dev/sda5 is the path of my root partition. You should get the device path of your root partition for next step of the tutorial.
3. Mount Partitions
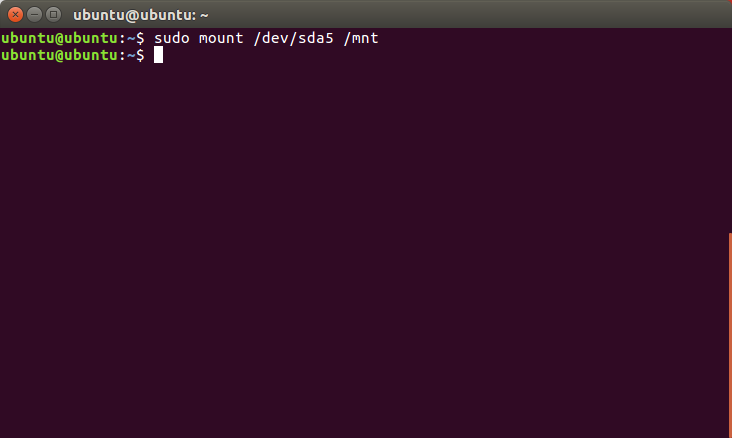
In order to make changes and install grub, mount the root partition into /mnt directory.
sudo mount /dev/sda5 /mnt
If you have an assigned partition for your /boot directory, also mount it into the /mnt/boot directory.
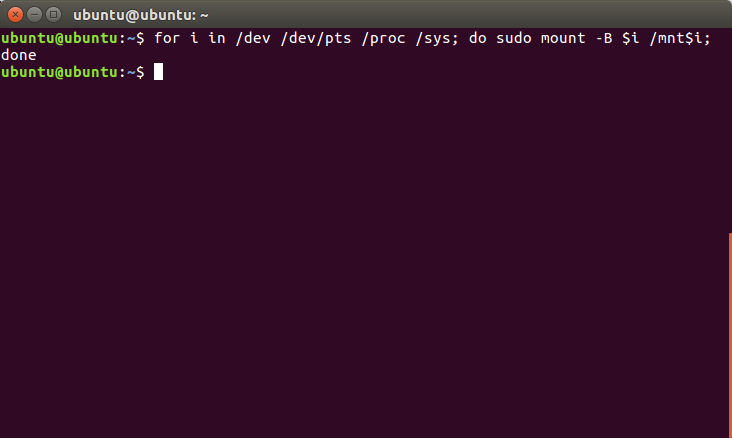
To mount the directories which is needed by GRUB to detect other working devices and operating systems, run the code provided below. This code, iterates over the folders /dev, /dev/pts, /proc and /sys and mounts them under /mnt.
for i in /dev /dev/pts /proc /sys;
do sudo mount -B $i /mnt$i;
done
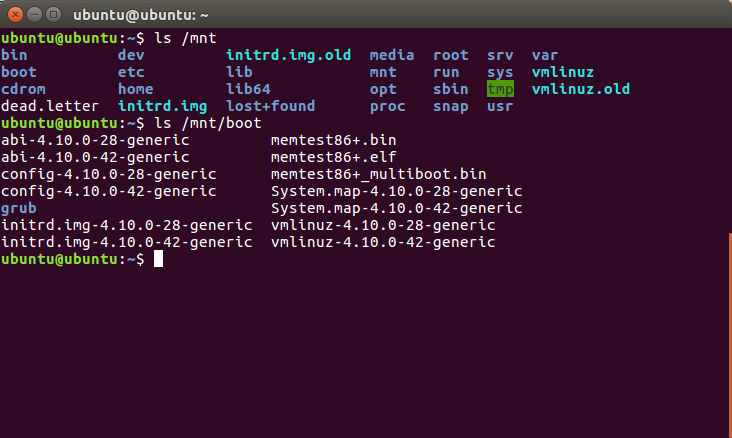
Check /mnt and /mnt/boot folders to verify that the directories are mounted properly.
ls /mnt
ls /mnt/boot
4. Change Root to the Mounted Partition
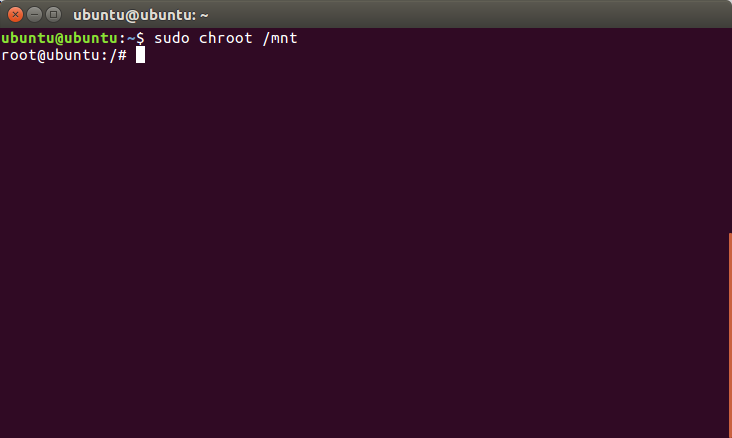
If everything looks fine, change root to make operations in the desired partition.
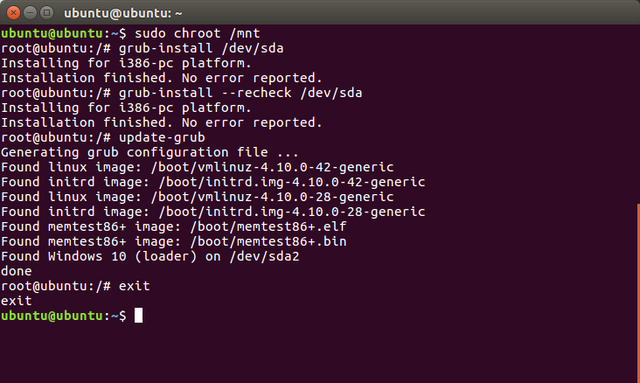
sudo chroot /mnt
Now, you should be connected to the new root. It can be verified by checking username and host in the shell. You can go back to the main root anytime by pressing Ctrl + D.
5. Install GRUB
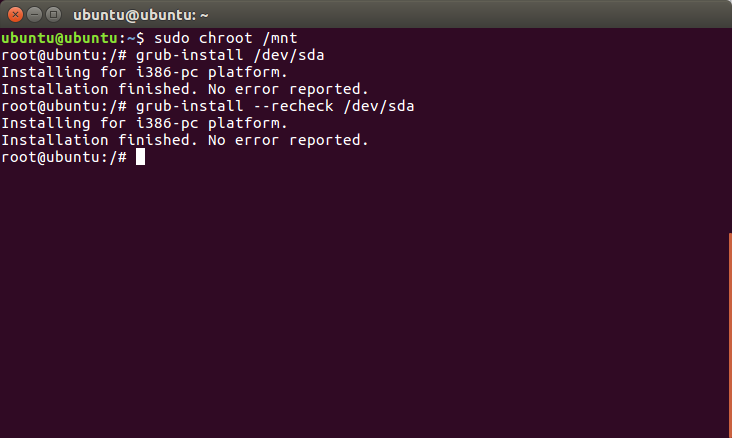
Run grub-install to make grub installation in the desired device, pay attention to what we are using to install grub. It is /dev/sda, not /dev/sda5 this time. You should install grub into the device your root partiton belongs.
grub-install /dev/sda
If you added or removed a disk, the device map should be rechecked. With the option--recheck, installation renew the existing /boot/grub/device.map file. If you are not sure what to do, run this code instead since there is no difference in functionality except rechecking as shown in below.
grub-install --recheck /dev/sda
If no errors reported during installation, follow the next step.
6. Update GRUB
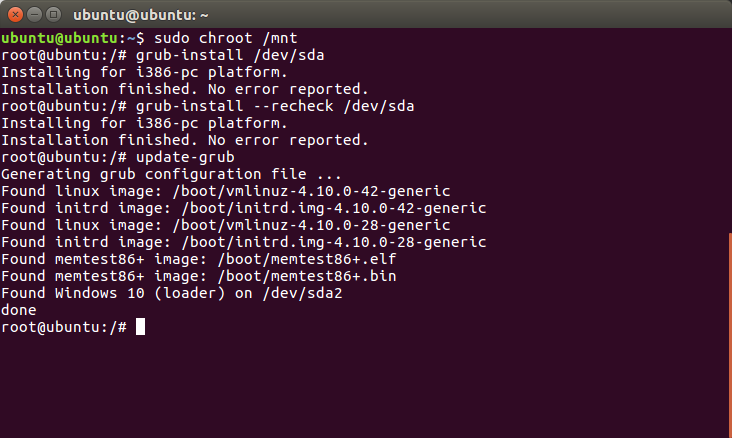
To generate grub 2 config file, run update-grub. After the update of grub, actual installation is finished. Before jumping into the last steps, run exit to go back to original root.
update-grub
exit
7. Unmount Partitions
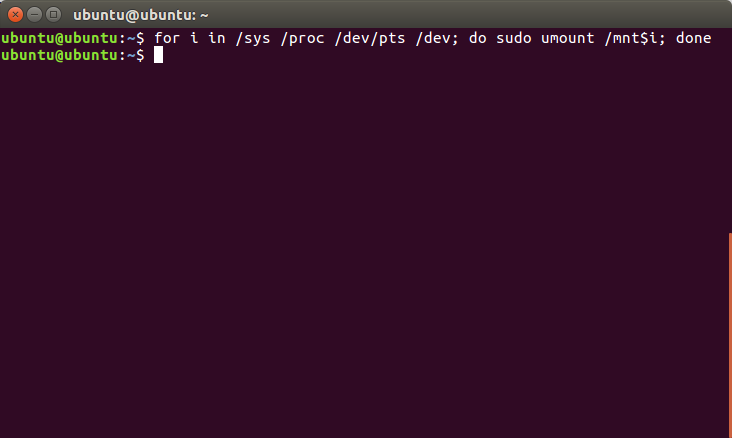
To avoid locked filesystems, partitions should be unmounted before finishing the process. First, unmount additional devices we mounted,
for i in /sys /proc /dev/pts /dev;
do sudo umount /mnt$i;
done
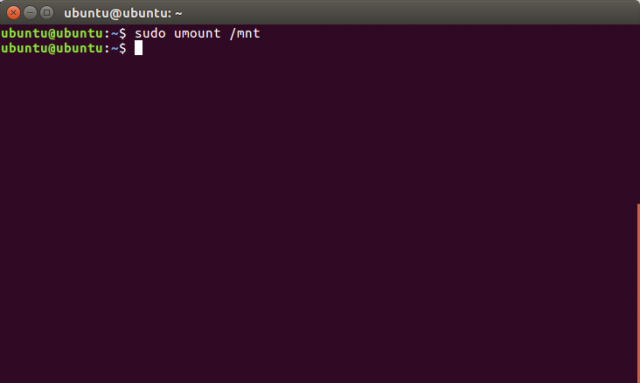
Then, unmount the root partiton by typing:
sudo umount /mnt
8. Reboot Computer
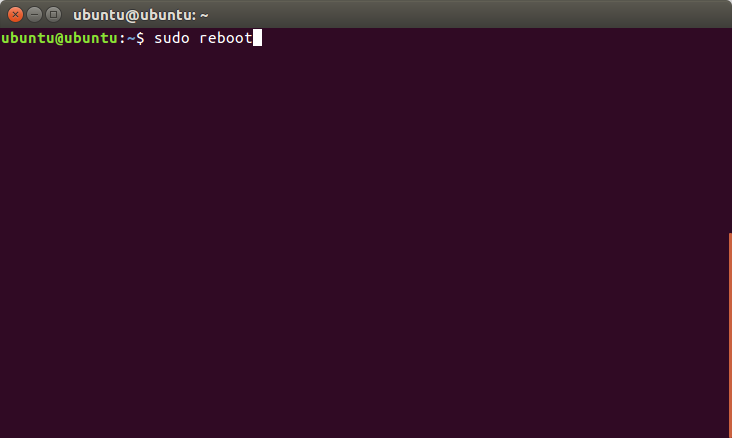
If unmounting of used devices are also completed successfully, GRUB 2 installation or repairing is finished. You now can boot all of existing operating systems properly after rebooting the system.
sudo reboot
Posted on Utopian.io - Rewarding Open Source Contributors

Thank you for the contribution. It has been approved.
You can contact us on Discord.
[utopian-moderator]
Hey @sedatyildiz, I just gave you a tip for your hard work on moderation. Upvote this comment to support the utopian moderators and increase your future rewards!
Hey @roj I am @utopian-io. I have just upvoted you!
Achievements
Suggestions
Get Noticed!
Community-Driven Witness!
I am the first and only Steem Community-Driven Witness. Participate on Discord. Lets GROW TOGETHER!
Up-vote this comment to grow my power and help Open Source contributions like this one. Want to chat? Join me on Discord https://discord.gg/Pc8HG9x
Why am I get banned in utopian I have not yet share any contribution. I am just still starting .. you did not even give a warning..!!!!
pardon... Can you still give a chance..??