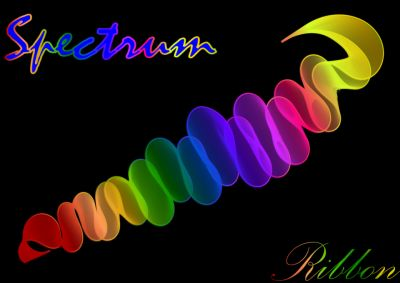
Good morning everyone! Hopefully you are always in good condition and can perform daily activities, and hopefully your weekend is fun. On this occasion I try to share again a tutorial, and would like to invite you novice designers to play the imagination in making a design, because my tutorial at this time is not discussing how to make a logo, or how to design photo exposure and not also how to create art line portrait. But want to inviteyou who are just starting a design to develop imagination in designing and managing colors and lighting on an object.
Hopefully, through this tutorial to create a picture of Spectrum Ribbon we can improve our design imagination. But as usual, before we go into the tutorial session, I will first introduce this inkscap software in general or in outline only. For a detailed explanation of this inkscape can you read more on google.com or on my first post that discusses about this inkscape.
Inkscape
Inkscape is an open source software that is almost equivalent to corel draw, although not as famous as the corel draw itself. But this software already meets the standard XML, SVG and inkscape CSS can also run on windows operating system, so this graphic device is really friendly with you who have talent graphic designer. The main goal of inkscape is presented is to be one of the current cutting-edge graphics tools.
Okay friends, that's a glimpse of information about this inkscape, now we go into the tutorial season.
That's a glimpse of information about inkscape, hope you guys novice designers like me can understand and are interested to follow this tutorial from me.
Tutorial
Creating Spectrum Ribbon Using Inskcape Software
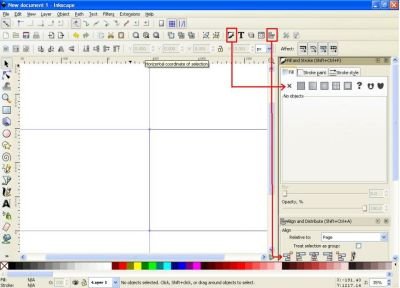
The first step, open Inkscape then click the file on the menu bar select document properties, then select PX, click landscape and click show page border on the document properties command screen. Then click edit on the menu bar, then select Guides Around Page, and click fill and stroke icon and align and distribute object icon in the menu bar, to facilitate editing on the object that we will do.
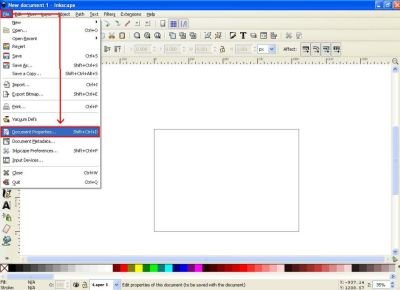
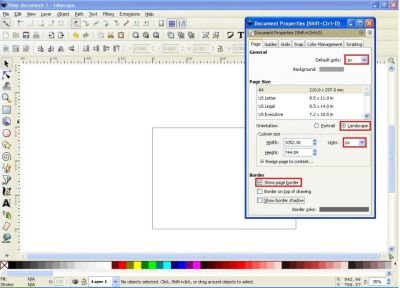
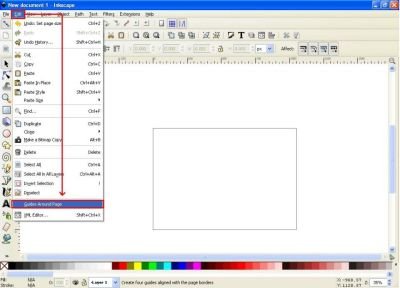
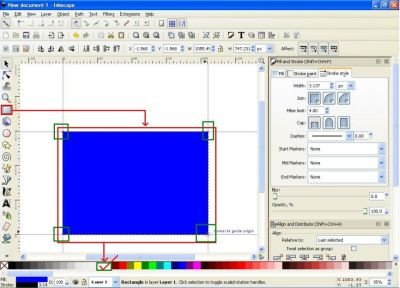
The second step click the rectangles icon on the side bar then create a square object and the size of the background on the screen. Then change the color to white.
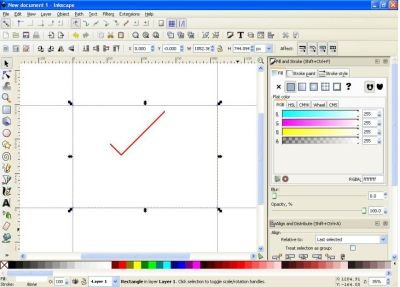
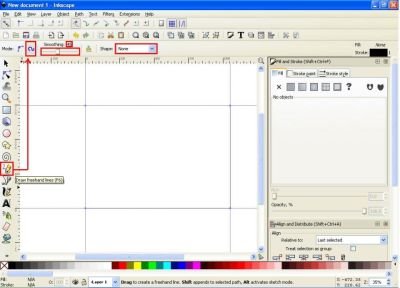
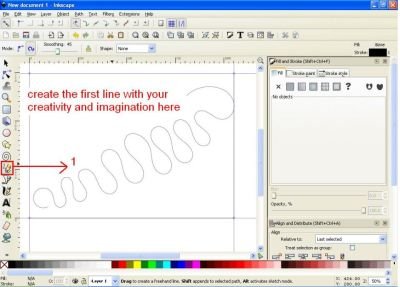
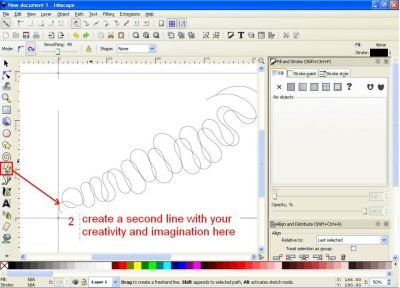
The third step click on the draw freehand lines icon on the side bar or by pressing the F6 key on your keyboard, then click the create spiro path icon on the menu bar and set smoothing on scale 45 and select none on the shape next to it. Then start creating a curved line with some curves, or along the screen in the background, and this line we call the first line. Then make one more line and hose above the first line, so there are two lines that cross each other on our work screen, or follow the instructions in the picture below.
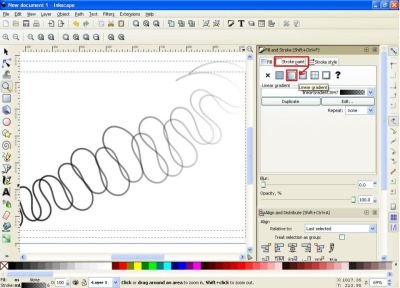
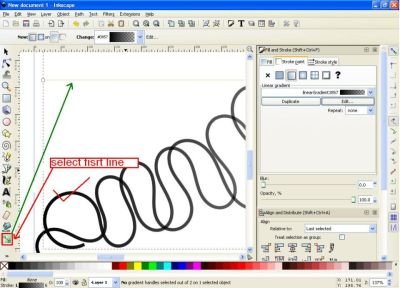
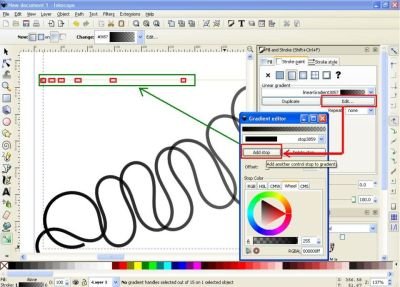
For the fourth step, click on the select and transform objects icon on the side bar and activate or block both lines, then click the stroke style button on the fill and stroke command screen we have activated earlier, then type the number 6.7,8 on the width column or adjust to your individual desires and creativity. Here I use the 6000 volume, this width number affects the size of the two lines we draw. Then proceed to the stroke paint button next to it and click on the linear gradients icon, then the two lines will change the appearance of the color becomes slightly blurred, this serves to set the color and lighting options on both objects of the line. then click the first line only, and click the icon create and edit the gradient on the side bar, it will automatically exit the color and light control. Next go to the fill and stroke command screen click the edit button, and click the add stop button on the gradients editor command screen, make the add stop as much as you like or as much as the line curve and may also match your imagination each. Then aka the tone of the color-regulating points on the line, see the instructions of the pictures below.
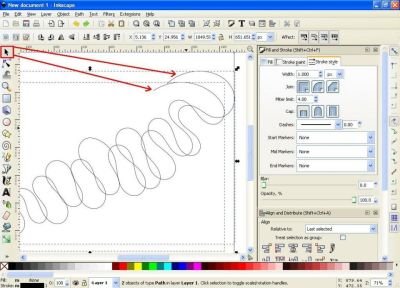
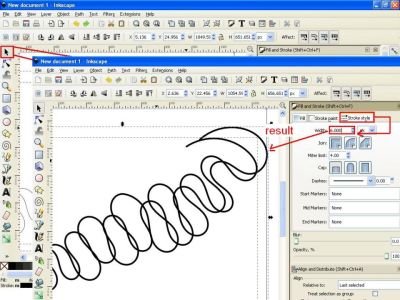
The fifth step, give a different color for each of the dots on the color and light adjustment line, by clicking on that point and select one of the many color options available in the task bar, then click the second, third and so on so all the dots have their own colors and different. Then activate the second line and set again the color and light on the line in the way you did on the first line, or it may follow the same color as the first line, by the way, activate the second line then click the stroke paint and select linear gradients then click the arrow on the linear gradients and select the color we have set for the first line, then automatically the second line will follow the first line color.
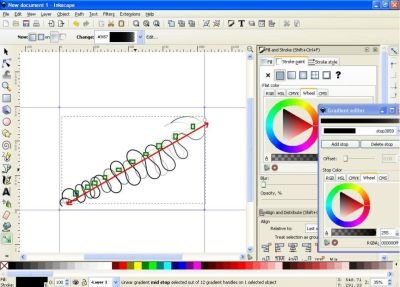
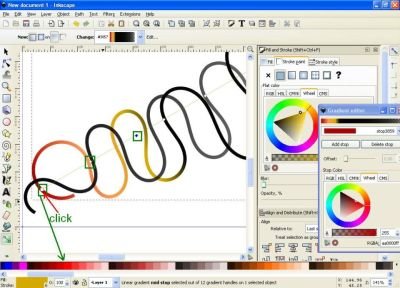
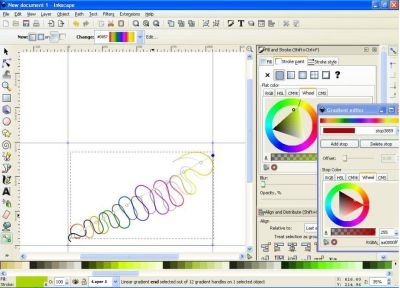
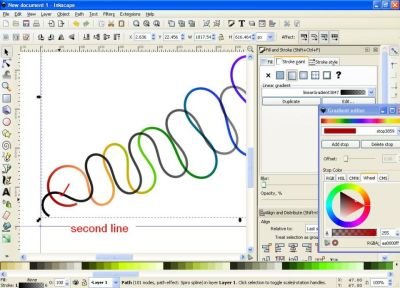
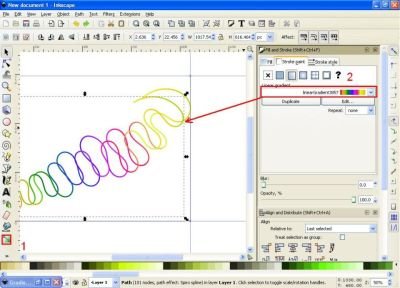
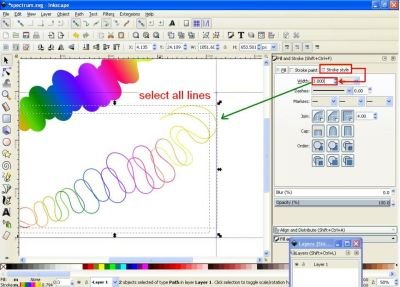
Step six of the second block of the line and then click extensions on the menu bar, select Generate from Path and select interpolate, then exit the interpolate command screen, on the screen enable live preview enable check mark on duplicate end path and interpolate style, in interpolate method give column number 1, and interpolation style give the number 100 ,, while for Exponent column let 0.0, when finished click apply. Next lift the color and remove it from both lines, then click both lines and set the style stroke to 3000 on the width column.
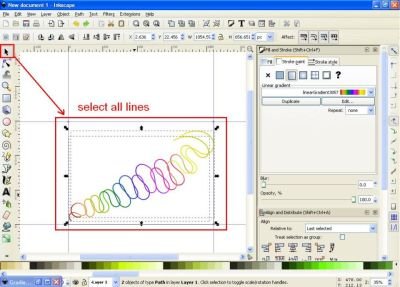
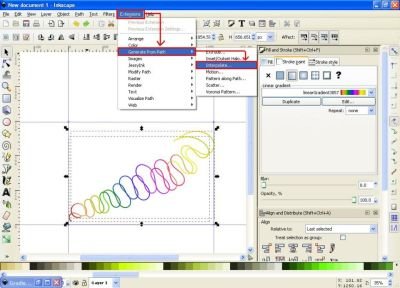
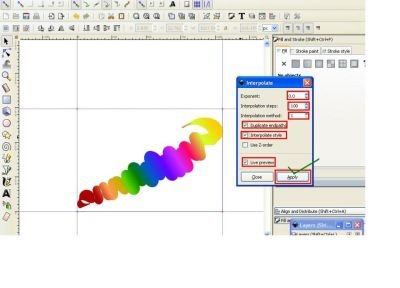
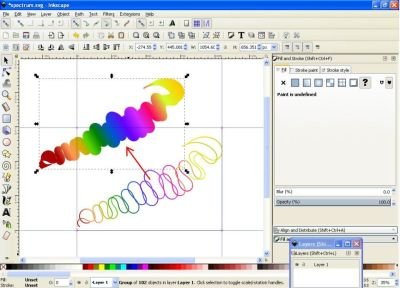
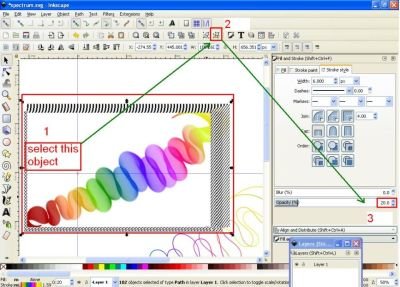
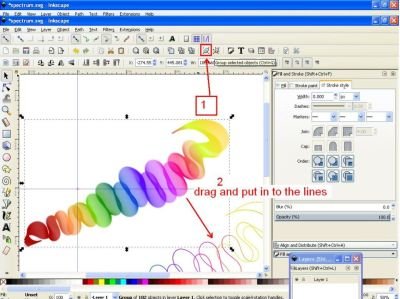
Step the seventh block we just removed and click un group icon on the menu bar or maybe by pressing CTRL + SHIFT + G on the keyboard, then lower the opacity on the fill and stroke command screen to 20%, then group back and put again into both lines. Then block the whole object except the background screen in the first step and then click the group icon on the menu bar.
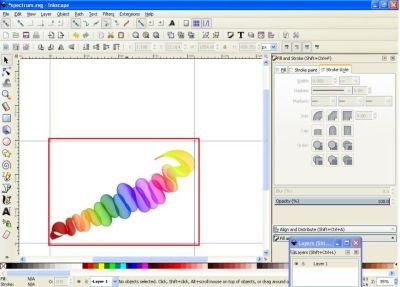
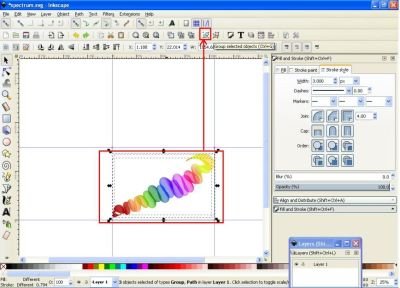
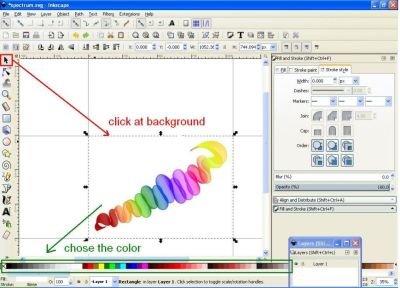
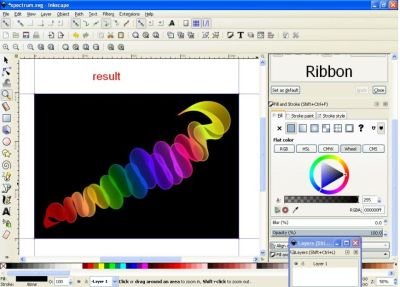
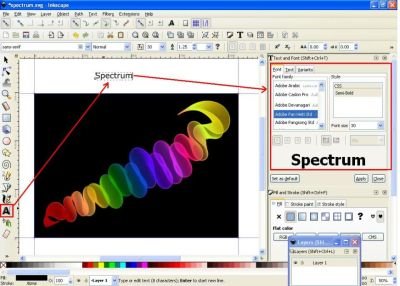
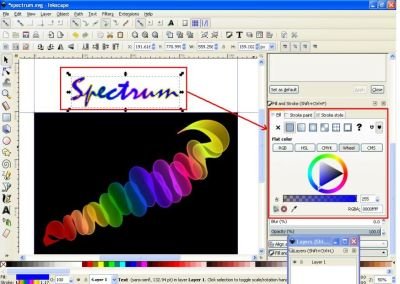
The eighth step select the background we created in the first step and give it a dark color to contrast with the object, here I use black, then if you want to beautify again by making some other spectrum also, add text click icon create and edit text object on the side bar and make writing, here I write Spectrum-Ribbon then set the font type and size of the text on the command screen text and font then set the color on the command screen fill and stroke and image Spectrum Ribbon ready to launch.
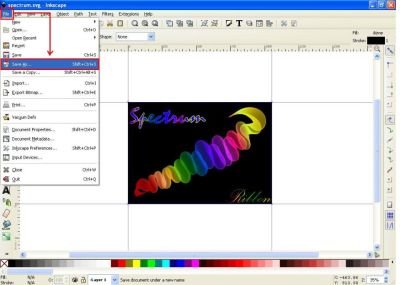
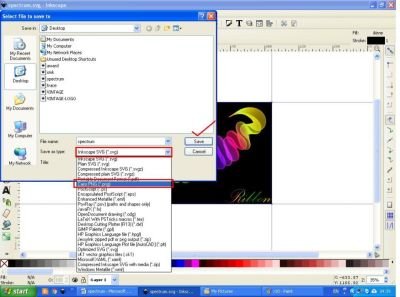
The ninth step is file storage, as usual, click the file in the menu bar then click Save As and then select one of the desired formats, but I still recommend to save in the first two types of formats select SVG format for easy editing, second save in the form of PNG to be easily accessible and uploaded on any media.
And this is the result of my work on this tutorial.

For you beginner designers who want to try to make Spectrum Ribbon is good luck and increased imagination and experience in designing an image or whatever it is. Well, this is all I can share on this morning's occasion this weekend, hopefully useful to all of us and see you in the next tutorial. Best Regards @saini88
Posted on Utopian.io - Rewarding Open Source Contributors
This post has received gratitude of 100.00 % from @jout
Thank you for your support @jout!
You got a 0.20% upvote from @postpromoter courtesy of @jout!
Thank you for the contribution. It has been approved.
You can contact us on Discord.
[utopian-moderator]
Thank you very much... @manishmike10! #utopian-moderator
Keren bang.. Saya kira tadi menggunakan photoshop rupanya bukan..
Hey @saini88 I am @utopian-io. I have just upvoted you!
Achievements
Suggestions
Get Noticed!
Community-Driven Witness!
I am the first and only Steem Community-Driven Witness. Participate on Discord. Lets GROW TOGETHER!
Up-vote this comment to grow my power and help Open Source contributions like this one. Want to chat? Join me on Discord https://discord.gg/Pc8HG9x