 Tutorial

What Will I Learn?
As part of my 
What do I mean by Wave formations?
Wave formations are patterns that the Invaders shall enter and navigate across the screen by. As provided in the tutorials, I have shown how to move all the invaders in a single pack from left to right. However, I would like to tap into other old games, such as 


The Invaders should move in a synchronised manner, following set paths and with lots of twists and turns.
I aim to show you how to build them! Although to achieve this, I've split the tutorial into two parts, due to the size of the topic.
This provides the CONCEPT part along with the Godot Engine specific Nodes to use, i.e. how to manually add the Path and Followers.
The next Tutorial will explain how to programmatically create them with complete control by code! This will allow random paths to be created and for entries and exits to be implemented.
As a preview, the following is a tech prototype of the result i'm aiming for:
This looks quite busy, but if you watch it closely, there are several groups of Invaders moving in set paths.
It is important I achieve this, because I anticipate adding 'Unlimited' wave levels to the game; where they are procedurally generated. I.E. Each level will progressively get harder, will be random per level, but each level will replay exactly, each time!
Assumptions
- You have installed Godot Engine v3.0
- You are familiar with GDScipt
You will
- Paths and following them
- Manually adding paths
- Adding followers
- Smoothing paths
- Configuring speed and rotation
Requirements
You must have installed Godot Engine v3.0.
All the code from this tutorial will be provided in a GitHub repository. I'll explain more about this, towards the end of the tutorial.
Paths are constructed for feet to tread
Wouldn't it be great if we could build Godot Engine games and ask it to simply move our sprites and objects along a hand-drawn path:

Well, you can, and I'm going to show you how this simple concept works brilliantly in certain types of games!
Godot Engine provides several special Nodes to do this:
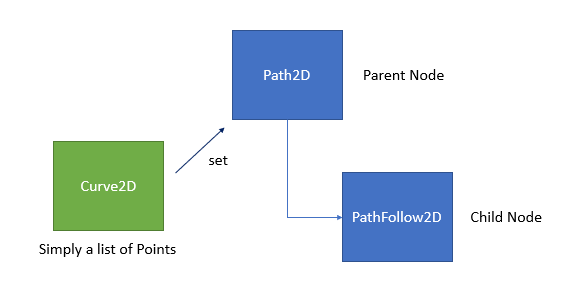
This is how I remember the Nodes that enable path following to be formed:
- A Path2D node contains the Path for a child Follower to navigate
- A PathFollower2D node is simply that; it follows the points of the path
- The Path2D is assigned (set) a list of points, contained in a Curve2D instance
Let's try it!
Manually adding a Path2D
Open a new Godot Engine project and create a Game scene.
In my sample project (see GitHub section below), I've:
- Set the background to Black
- Set the screen size to 1920 x 1080
- Set the 2D scaling to "keep"
Add a Path2D Node to the Game root node:
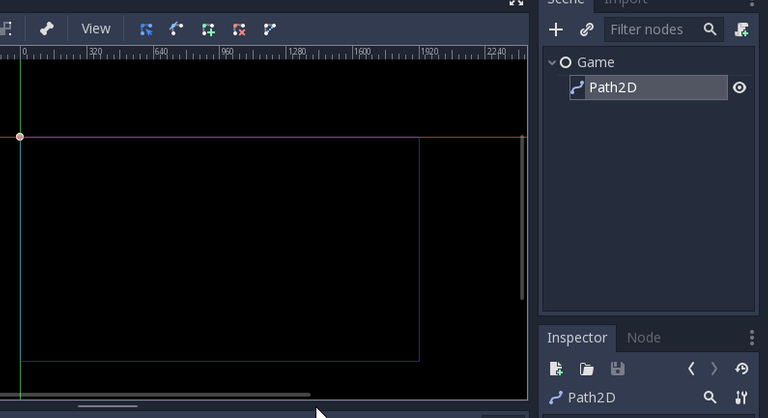
When the Path2D node is selected, several icons appear (top left of the following screenshot):

These allow us to draw our Path, much like my drawing above! Click the add point icon 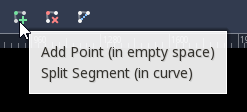
Now click on the 2D View:

A dot appears! Now try clicking to another area:
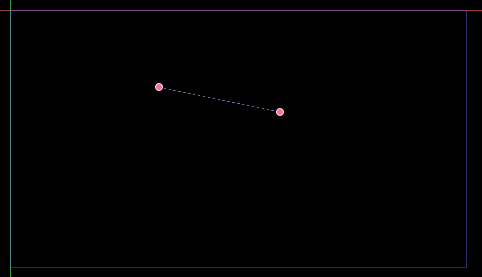
Congratulations, you now have the start of your path! Try adding a few more points:
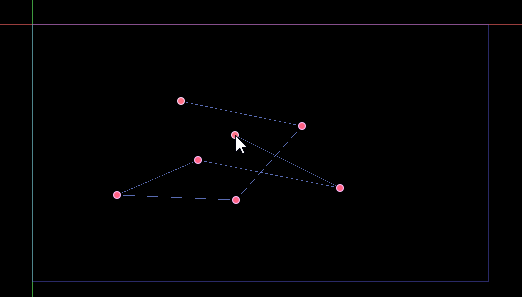
We can construct a long or short path, as required and we can eventually add a follower to it.
Now click the select points Icon 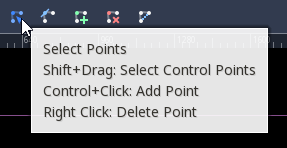
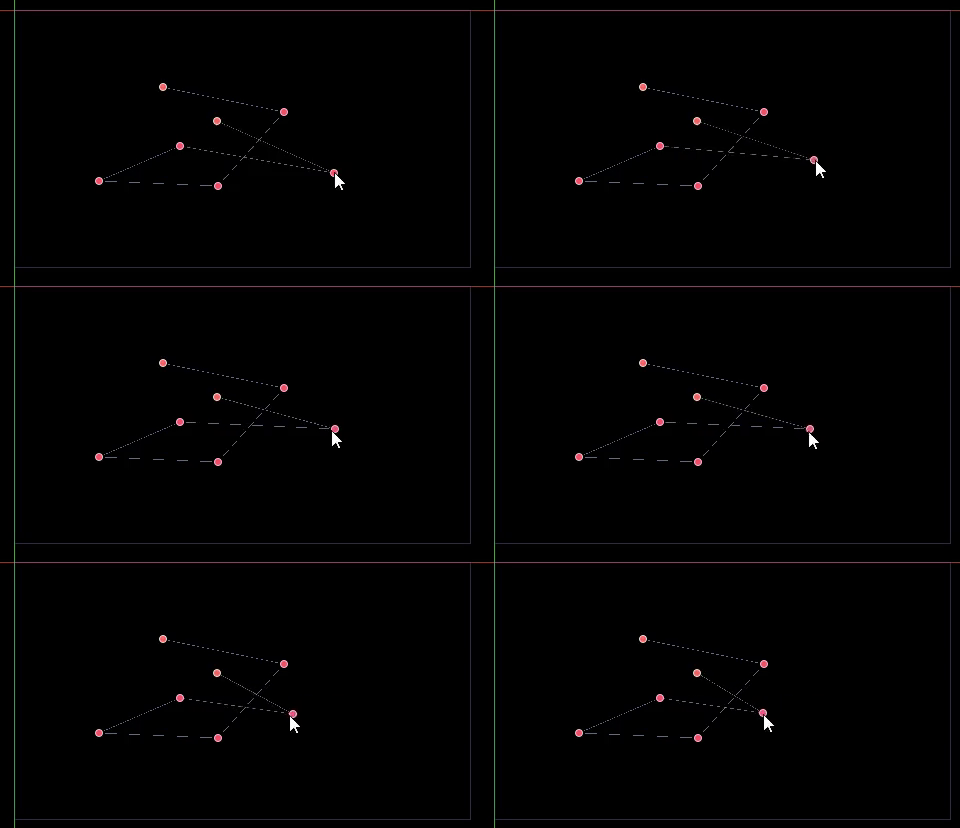
You may now click any point and move it, to reposition as required:
The next Icon is the Select Control Points 
PLEASE IGNORE THIS for now (see the "Smooth Paths" section below, as this gets confusing, quickly!)
The next Icon speaks for itself as the delete option 
Simply click points and they will be deleted, points either side will be connected. Use Undo or CTRL+Z to walk any accidental edits backwards.
The final Icon is a very important and quite easily missed function 
No matter how hard you try, you cannot add points and complete a 'closed path', you MUST click this to close it:
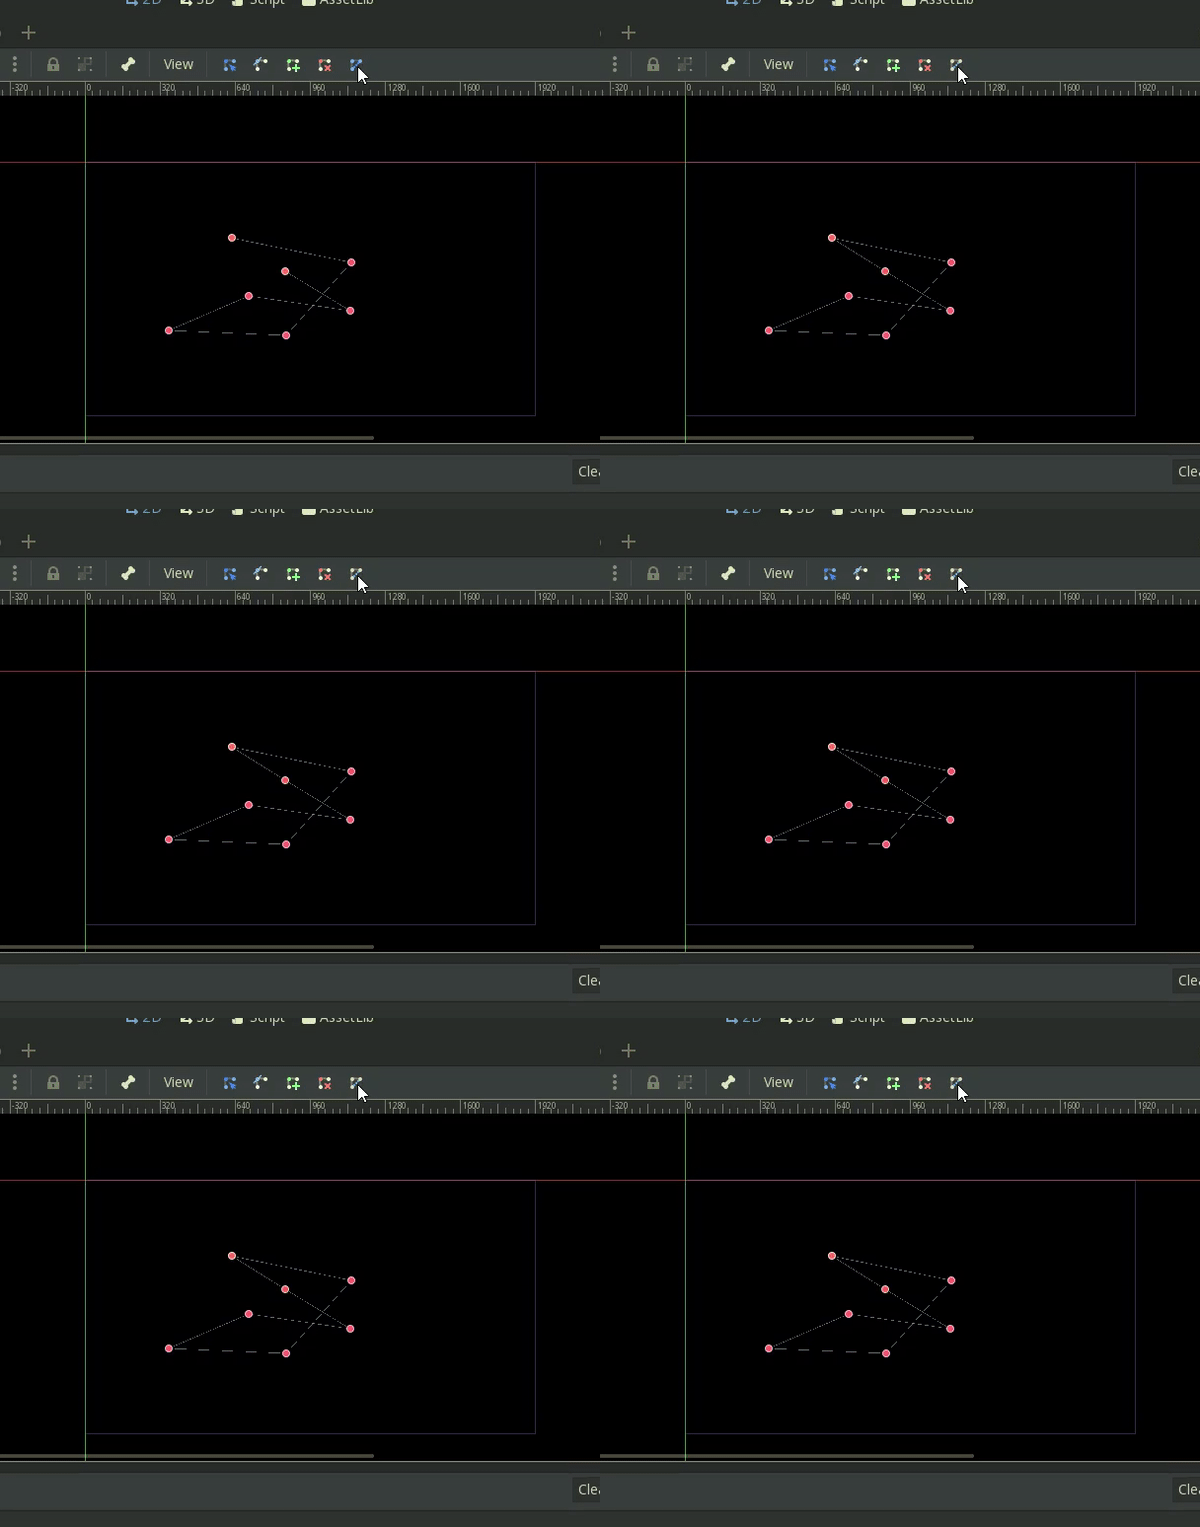
Clicking it again DOES NOT unclose it, which I find strange. Instead, you'll have to UNDO!
Try running the Game!
... There should be no surprises, you should face an empty screen! Why??? Well, we've not added a follower.
However, before we do, there is a REALLY useful DEBUG option that you should be aware of. In the editor, you are shown the path and you can set a configuration option to show it when the game is executing!
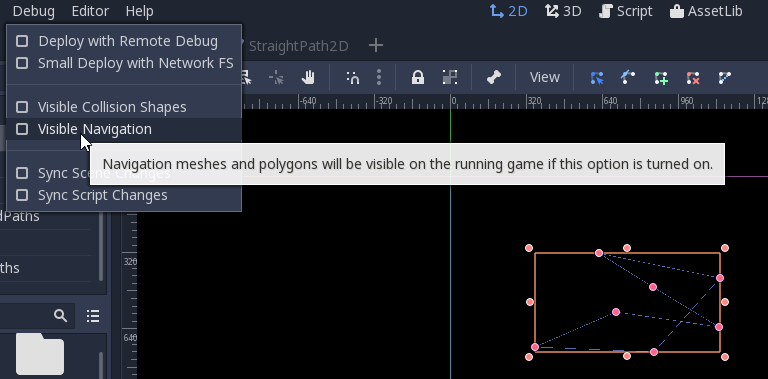
By clicking this, when you rerun, you should see the path:
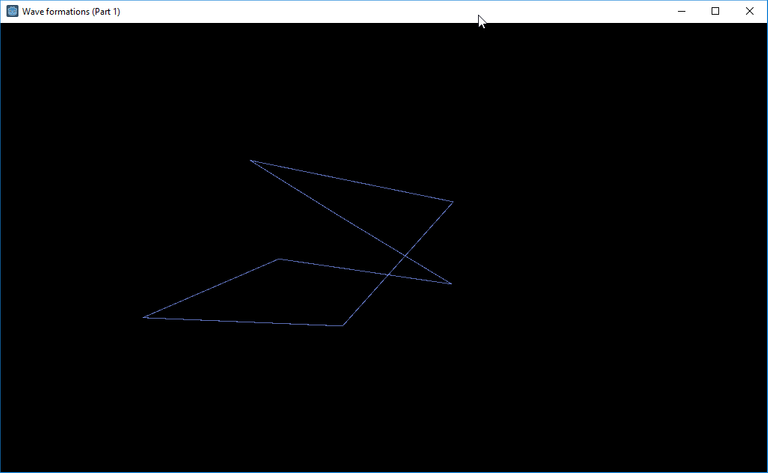
This is an extremely useful feature to know about!
Create our actor to follow the path
There is a PathFollow2D node, which is designed to be a child of the Path2D. Please add 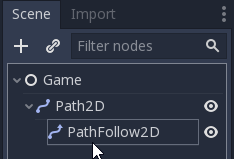
If you look at the 2D view, you'll note that a little box appears, but if you run it, nothing but the path is shown.
The follower requires further children, i.e. the content that is going to be shown on the screen, therefore add a Sprite and set the texture as the Godot Engine icon:

Try running the Game now:
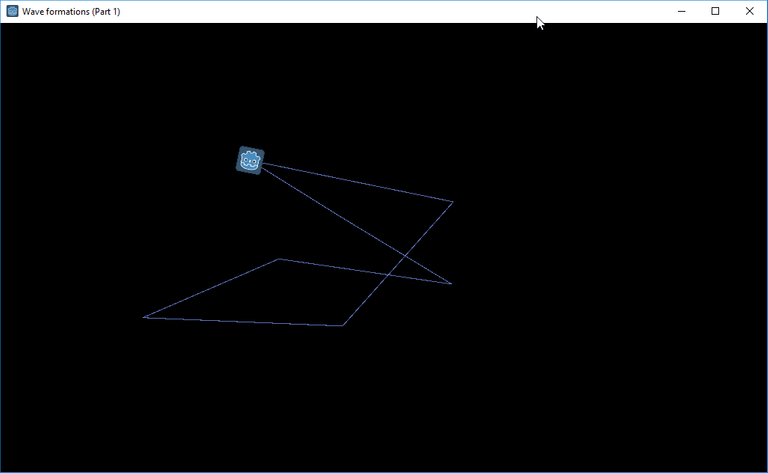
... Yay, the Sprite is shown, but it is stationary! We need to instruct the Sprite to move along the Path.
Click the Path2D node and look at the Node Inspector:
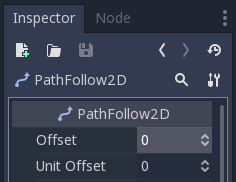
The first two properties are linked and are associated to the position along the path:
- Offset is the total length of the path in pixels
- Unit Offset is a fractional value between zero (start of the path) to one (end of the path)
If you change either value, the Follower hence Sprite will move. If you change Offset you get very strange results, as there is actually NO REAL way of determining the length until you set the Unit Offset to one:

As can be seen in the above screenshot, my path is a little over 2824 pixels! However, in my opinion, there are few uses for this option; i.e. it can be used to help calculate speeds and velocities etc. However, using the second property is preferable!
Try setting the Unit Offset property to 0.1, 0.2, 0.3 and so forth and watch how the Sprite moves along the path.
We want to automate the movement, therefore we are going to use the 'Animation Player' to trigger the movement for us!
Reminder: ensure you set the Offsets back to zero so that the Follower is at the beginning
Add the AnimationPlayer node to the same level as the Sprite:
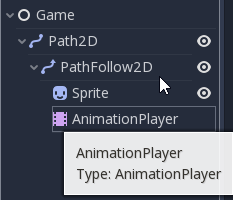
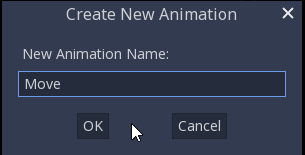
Next, click the AnimationPlayer node and Create a new animation:

I labelled mine Move:
Without going into the AnimationPlayer in depth (I will do in the future if there is demand; do ask!) we need to:
Set the time length in seconds to 5:

Select the PathFollow2D and look at the Node Inspector:

Note there is a little key to the right of the Unit Offset, click it:
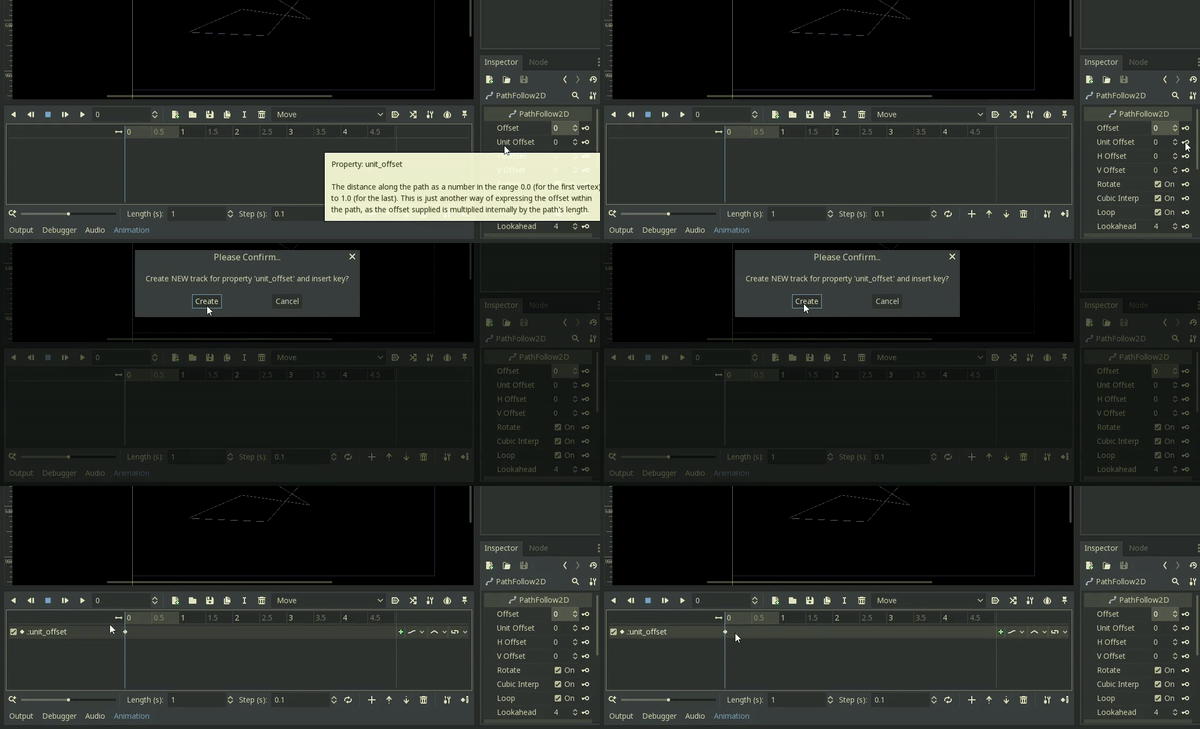
Then click create and a new keyframe item will appear.
Enable editing of individual key items by selecting this option:

If you hover over the first point at 0 seconds, its settings are shown as a pop-up:

If you click the point, its settings are configurable in the window on the right. You may manually set the values here or you can drag the point left or right to change the time to start.
Remember to put this back to 0 seconds and set Unit Offset value to start with 0 (remember its range is zero to one).
What we now need to do is add the end point at 5 seconds!

You may need to watch the above animation several times
- Scroll to the right
- At the 5 seconds point, click in the header and a line will be shown
- Scroll back to the left
- Click the first point and select Duplicate
- Scroll to the right and then click on the timeline for the Unit Offset and the point should be added at 5 seconds
- Check the editor on the right that 5 seconds is correct, or manually change it
- Finally, change the Unit Offset value to 1
Effectively, what you have configured is for the AnimationPlayer to change the Follower Unit Offset from zero to one (start to end) over 5 seconds.
However, if you run the Game, the Follower remains still! Why?
... We need to configure the animation player to 'Autostart' and to 'Loop'

Running the Game should now be successful!

All well and good! However, do you notice the Icon rotates as it moves? Try examining the settings in the PathFollow2D node. Also look for a Speed setting in the AnimationPlayer.
Remember, you ONLY need to set the keyframe points for values that need constant changes
When the AnimationPlayer starts, it will pick-up the values currently set in the PathFollow2D node, unless it is changed in the keyframe; therefore, you can turn 'Rotate' off in the PathFollow2D and it disables for the entire animation
Have a play with the settings! If you don't succeed, see the second section below.
Smoothing the path
We are going to return to the Control Points of the Path2D node (as mentioned above) 
Control points are like the lines you see in any graphical application that have Bezier curves; refer to this BRILLIANT article on Bezier curves
As stated in the first section, the Path2D is fed a list of points. These points are 'Curves' (Curve2D to be exact). You've been manually adding straight curves! By enabling the Control point option, you can now use them
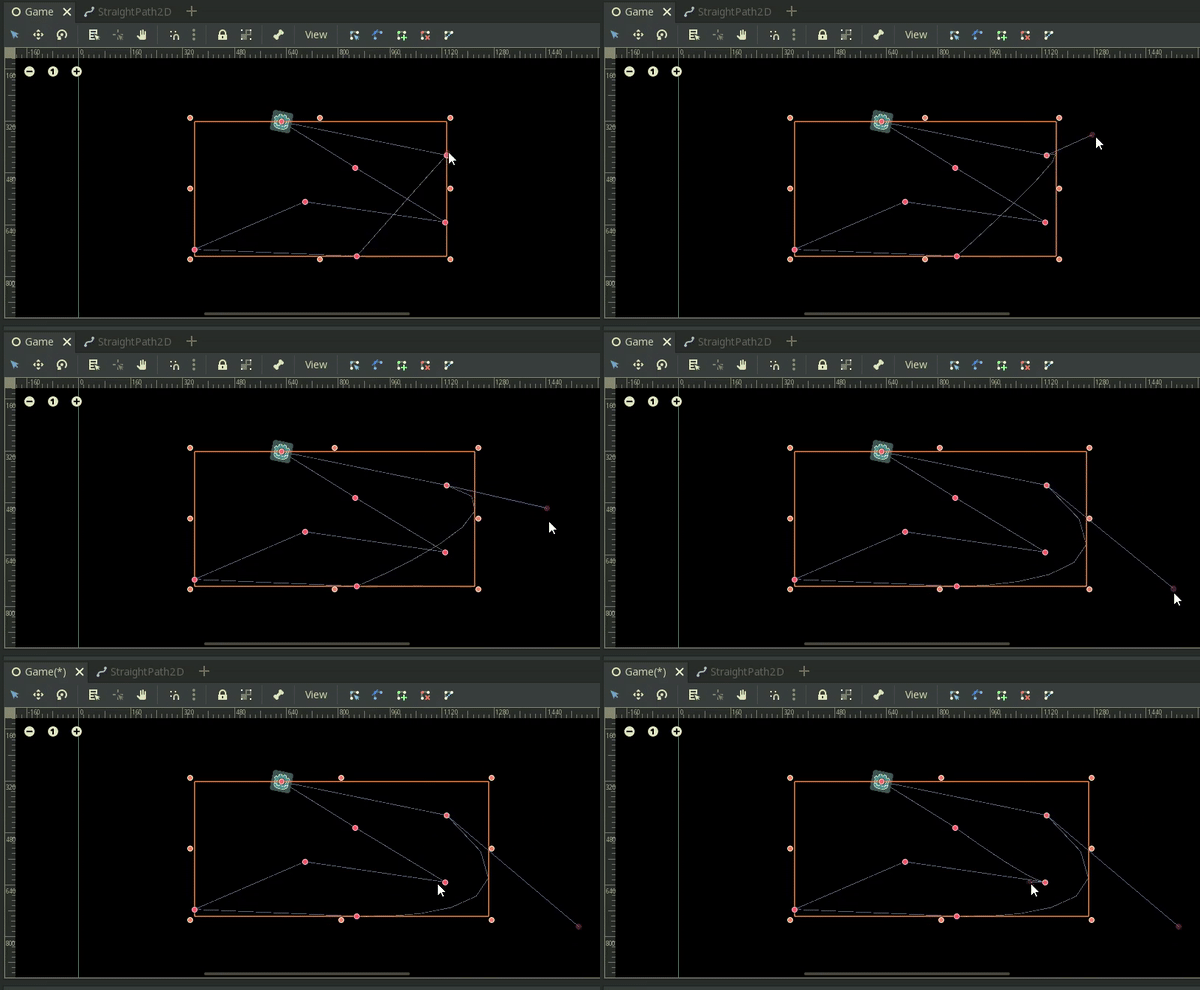
Click the point to 'bend'
Drag the line to the desired position
It is very simple and anyone who has used a paint program will understand this!
However, rushing to use this option BEFORE understanding the others 'might' result in confusion and misunderstanding; I certainly was; especially as only ONE control is provided per point, whereas there are usually more in graphics tools.
Rerun the game:
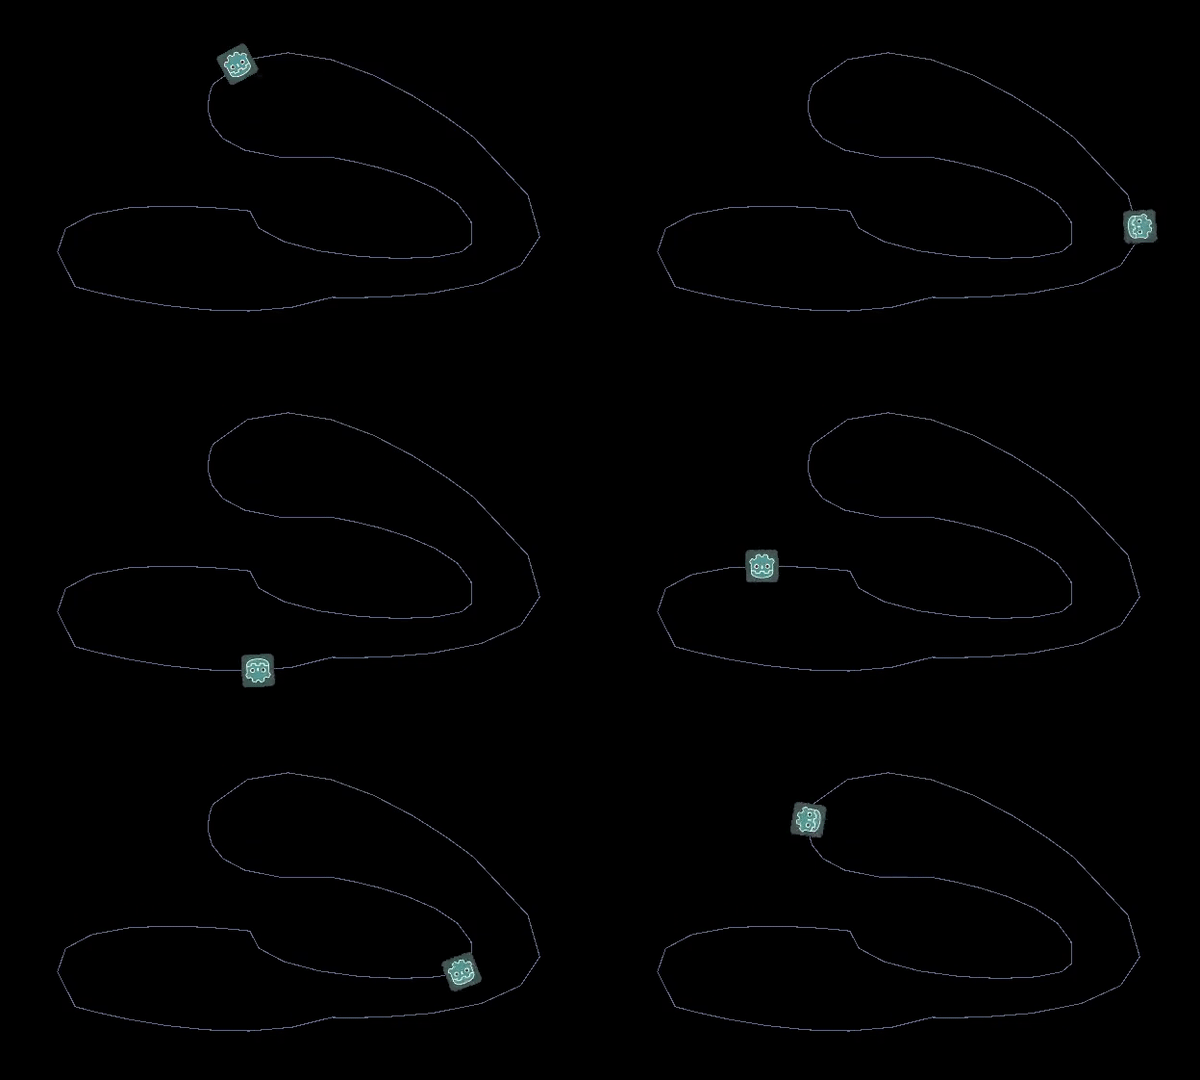
Smooth movement with nice sweeping turns! This is exactly what I need in my 'Invaders' clone.
Congratulations! If you've understood so far, you now understand the base Concepts that we need for the GDScript coding. I.E.
- A Path2D is formed from a list of curve points
- Path followers are added as children to the path and are then made to walk it
Configuring the Rotation and Speed
Before I end this tutorial, for those that didn't manage to alter the Rotation and/or Speed, this is how you do so:
To set the speed, we can configure the AnimationPlayer in two ways:
- Increase the timeline and move the keyframe points
OR - Edit the node in the Node Inspector:
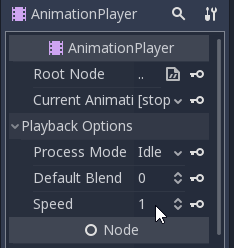
You can change the Speed property, such as to double or half the time for example! I.E.
if you set it to 2, it will play twice as fast, therefore 5 seconds / 2 = 2.5 seconds to navigate the Path
Change it to 0.5 and it will twice as long, therefore the Follower will take 10 seconds to complete the circuit
Disabling the Rotate can be found in the PathFollow2D node-inspector properties:
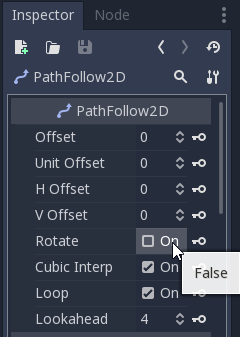
Just toggle the Rotate property on and off.
There are many other settings in these two nodes that are worth you exploring. These are explained by hovering over the properties OR within the official documentation.
Remember, some of the options exist in both nodes, i.e. they BOTH have a Loop property! Therfore understanding when a property is applicable is also important as well as knowing that these features exist.
They are all accessible via GDScript.
Try removing the Closed Point, what do you think should happen and what do you actually see happen? Again, I will touch on this in the next tutorial.
Finally
This concludes this tutorial.
Yes, I know, it didn't include a SINGLE line of code!
Its purpose is to explain, by example, how Paths and Followers work.
Without this understanding, the next tutorial will be much harder to understand.
I plan to write the second article ASAP; watch this space.
Please do comment and ask questions! I'm more than happy to interact with you.
Sample Project
I hope you've read through this Tutorial, as it will provide you with the hands-on skills that you simply can't learn from downloading the sample set of code.
However, for those wanting the code, please download from GitHub.
You should then Import the "Wave formations (part 1)" folder into Godot Engine.
Other Tutorials
Beginners
Competent
Expert
Posted on Utopian.io - Rewarding Open Source Contributors
Congratulations! Your post has been selected as a daily Steemit truffle! It is listed on rank 18 of all contributions awarded today. You can find the TOP DAILY TRUFFLE PICKS HERE.
I upvoted your contribution because to my mind your post is at least 15 SBD worth and should receive 55 votes. It's now up to the lovely Steemit community to make this come true.
I am
TrufflePig, an Artificial Intelligence Bot that helps minnows and content curators using Machine Learning. If you are curious how I select content, you can find an explanation here!Have a nice day and sincerely yours,

TrufflePigCongratulations @sp33dy! You have completed some achievement on Steemit and have been rewarded with new badge(s) :
Click on any badge to view your own Board of Honor on SteemitBoard.
To support your work, I also upvoted your post!
For more information about SteemitBoard, click here
If you no longer want to receive notifications, reply to this comment with the word
STOPThank you for the contribution. It has been reviewed.
Need help? Write a ticket on https://support.utopian.io.
Chat with us on Discord.
[utopian-moderator]
Thanks Yokunjon, I assume that means it was approved?
Hey @sp33dy I am @utopian-io. I have just upvoted you!
Achievements
Utopian Witness!
Participate on Discord. Lets GROW TOGETHER!
Up-vote this comment to grow my power and help Open Source contributions like this one. Want to chat? Join me on Discord https://discord.gg/Pc8HG9x