Welcome to Waivio!
Let’s Launch A Social Shop Together in 10 minutes.
To get started, you will need a Hive account; if you don’t have one, we have a tutorial on how to create it - check it out here.
With the Hive account, sign in to Waivio. Navigate to “Tools”, then under "Websites," click on "Create."
Step 1. Domain
For your social shop website, you can use your custom domain
or choose a subdomain with Social.Gifts. Instructions are available on how to
configure your custom domain. But for simplicity, let's use a subdomain on
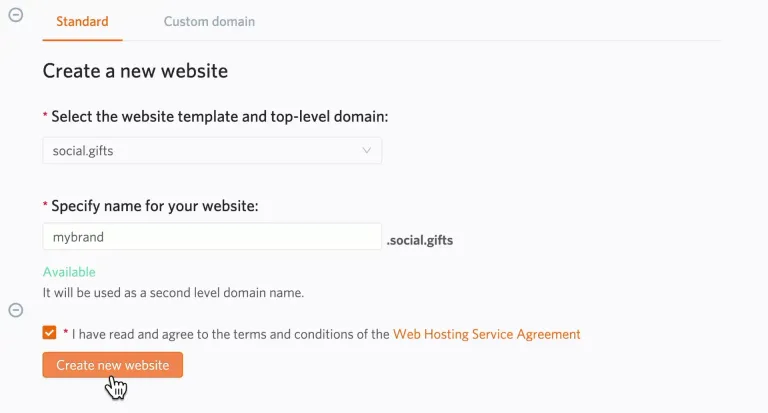
social.gifts. Choose social.gifts business template from the dropdown menu.
Choose a name that you want for your shop. If the domain is available, proceed
to read and accept the terms and conditions and click on "Create new
website".
Now Let’s customize our new website.
Step 2. Configuration
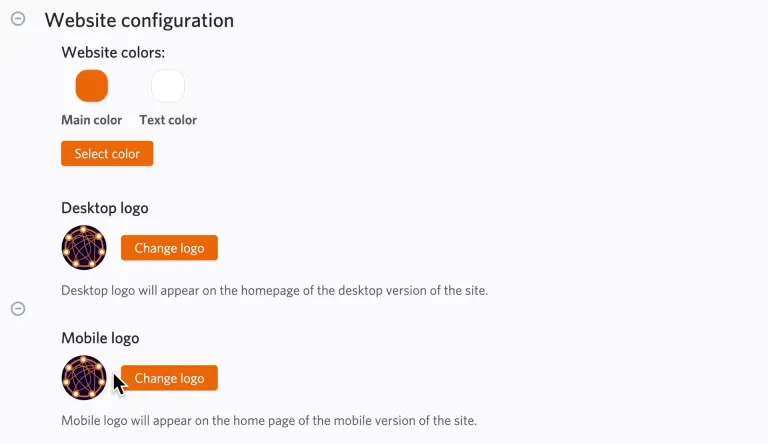
In the Configuration section, you'll have the opportunity
to customize your shop's appearance, such as text and button colors, logo,
name, and more.
2.1 Logo
First, Let’s upload both your desktop and mobile logos to ensure consistent brand
representation across all devices.
2.2 Banner
Next, Let's also add a banner to be displayed at the top of
all your website pages.
2.3 Base Object
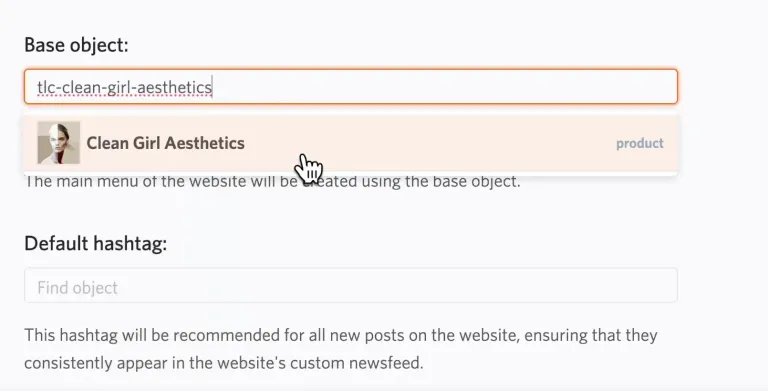
Next, In the "Base Object", you can join one of various existing projects tailored to different themes and niches. These are essentially already operational shops that you can use to kickstart your own social shop. Various existing projects can be found on the Social.Gifts Projects page.
These shops come with thousands of carefully curated products organized into categories, a community newsfeed, information pages and many other features.
For example, let's say you're passionate about beauty products. You can join the "CleanGirlAesthetics" project, which features hundreds of categories and thousands of beauty-related products.
With just one click, your website will transform into a comprehensive beauty destination, complete with a community newsfeed where users can interact and share their favourite products.
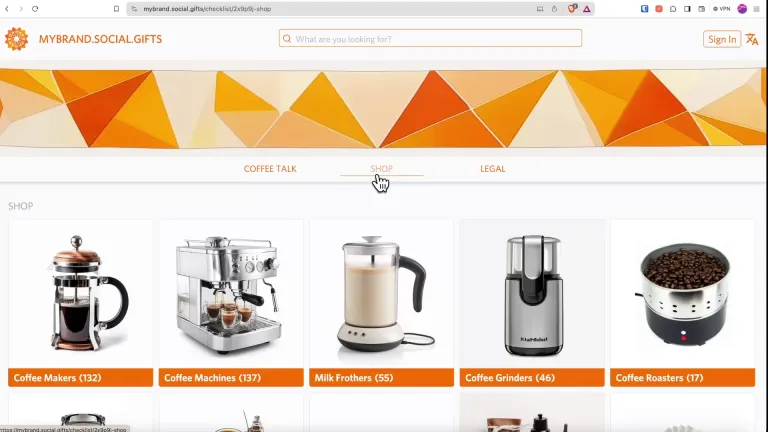
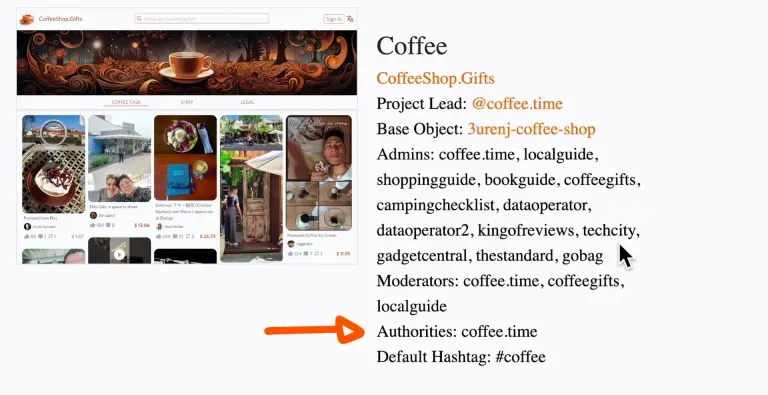
Let’s try another example: “Coffee Time” project.Your shop now includes thousands of coffee-making products, serving accessories, books, and various types of coffee. In the newsfeed, you will have coffee-related posts and reviews.
In a similar way, you can launch other shops according to your interests and preferences. Check out the existing projects on the Social.Gifts Projects page.
If none of the existing projects match your vision, you can always start a new project. We have tutorials to guide you through the process, or you can book a one-on-one session with one of our coaches. Or, you can also order a website custom-made to your specifications.
Step 3. Affiliate Codes
Now let's move on to affiliate codes. If it’s your first time creating an affiliate link, let’s create one together for Amazon.com.
Let’s go to Amazon Associates - Amazon’s affiliate marketing program. Click sign up, and enter your credentials. Provide basic information, e.g., your name, shipping address. Next, attach a link to your newly created website. Next, you will be prompted to answer a few questions about the shop. After you complete it, you will get your code instantly.
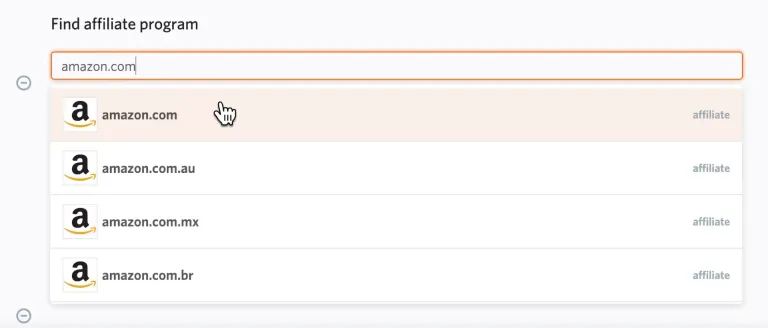
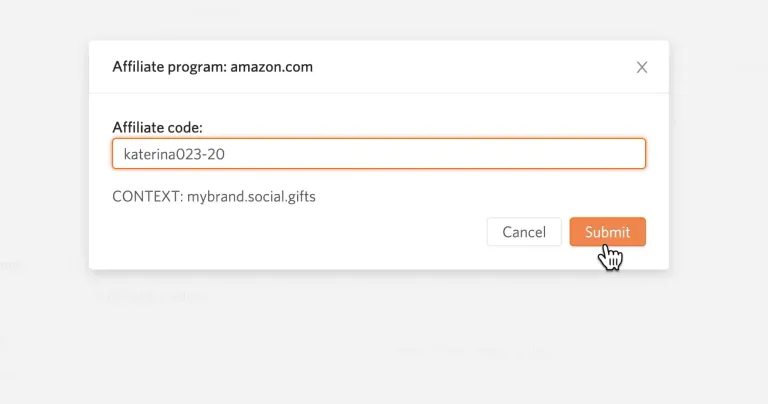
Now let’s add your code. On Waivio, search for amazon.com -> paste your affiliate link here and click Submit.
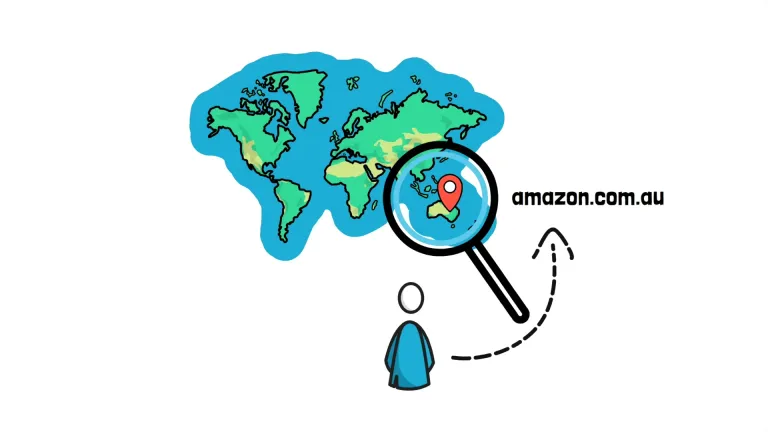
All your products in your shop will be updated with your affiliate code instantly, giving you the opportunity to earn from every purchase your visitors make. You can also add local affiliate links, such as amazon.ca or amazon.com.au ensuring that you earn commissions regardless of where your visitors are located. Your shop will automatically detect visitors' geolocation, and seamlessly direct them to the appropriate Amazon website, where your affiliate link is activated.
It's useful to occasionally check that your affiliate codes are active, especially for Amazon, since the codes can expire if a certain sales threshold is not achieved. That's the beauty of this interface because, unlike other platforms, if your code expires, here, you don’t need to update every product individually. Just update it once here and it will automatically be applied to all your products.
Step 4. Administrators
Next let’s add Administrators and Authorities.
For every social.gifts project you would see a list of users, each has a specific function to perform.
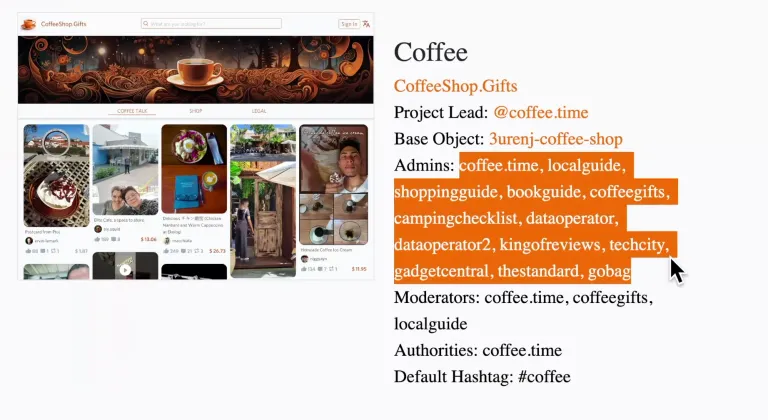
For example, administrators is a list of users whom you trust to keep product information current. These could be the manufacturers themselves or community members dedicated to keeping product details up-to-date.
To add administrators, review the list of suggested admins for your project, then copy the admin user and paste it into the administrators section.
Step 5. Authorities
Authorities have a unique role, marking products for discovery in website searches, including similar and related products, and prioritizing them in the sitemap for external search engine indexing. Unlike administrators, who may be involved in multiple projects, authorities typically focus on a specific project.
To add authority - copy the authority user for your chosen project and paste it into the authorities section.
Step 6: Website Hosting
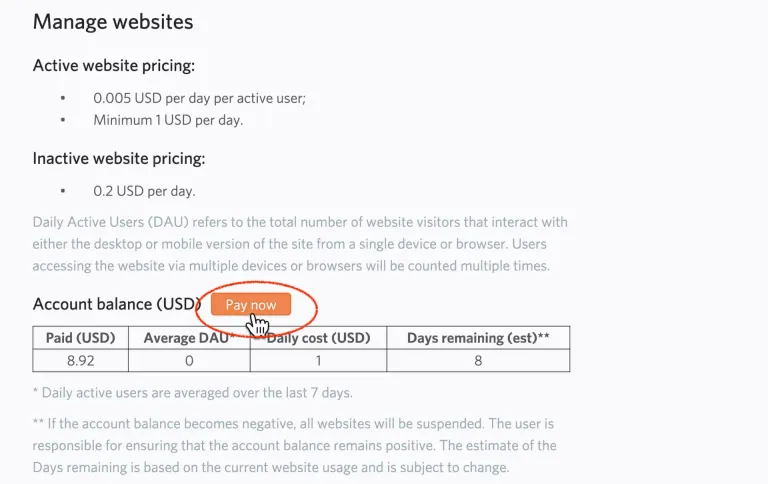
To keep your website up and running, there are hosting fees associated with maintaining your social shop. When you're ready to fund your website, navigate to the "Manage" tab, where you'll find the button "Pay Now." Here you can transfer WAIV tokens to pay the hosting fees. WAIV tokens will be converted to USD at the current market rate.
For hosting prices, check the section here. Currently, for active websites, the plan starts at 1USD/day, conditions apply.
Your Shop
Now Let’s check out our shop. In less then 10 minutes we launched a sophisticated branded social shopping website with hundreds of categories and thousands of products all with proper affiliate links. This site has an online community of like-minded people posting on a regular basis, and your visitors can join them, participate in discussions and even claim sponsored rewards by sharing product photos.
What makes this possible?
It’s only possible to build a website like this with such ease because it uses a collaborative effort and Web 3.0 infrastructure.
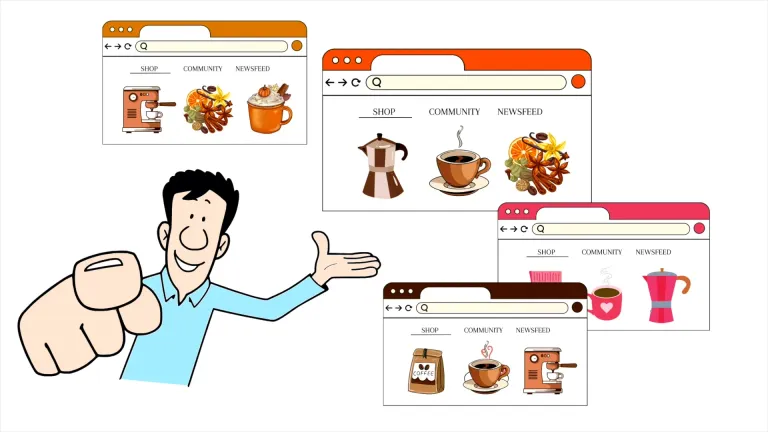
Typically, creating online stores requires starting from scratch: you must build your own user database, establish a product knowledge base, and collect user reviews. Each store functions as an isolated island, beginning to build its community from the ground up.
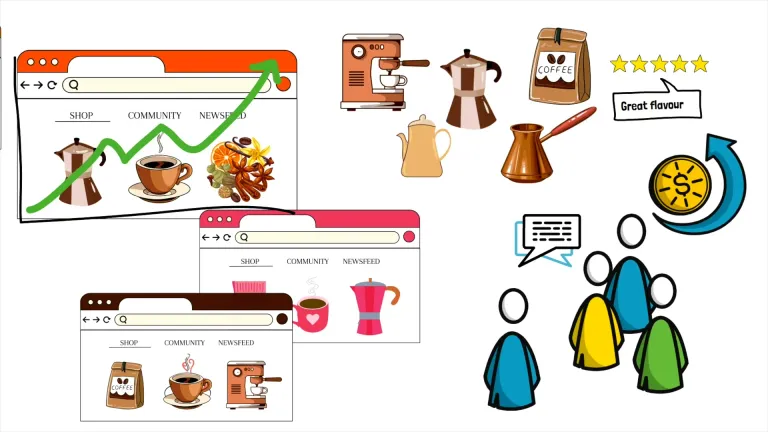
In contrast, in Web 3.0, your shop taps into the entire community, gaining access to the existing product knowledge base, as well as all product reviews and related content.
The more people like you who open similar shops, the better your shop becomes—with more products to explore, more reviews to read, more rewards to claim, more like-minded individuals to connect with, and significantly more opportunities for your shop to grow.
Welcome to the Web3 era of social shopping, where a multitude of projects come together to achieve success and economies of scale that are not possible for standalone projects.
Follow 😎@cryptodive for more tutorials
Follow @social.gifts for more updates
Learn more about Waivio
#waivio #waiv #hive #rewards #socialshopping #hivepower #hiveblockchain #shop #hivetutorial #business #commerce #amazon #ecommerce #hiveblockchain #crypto #cryptocurrency #features #hivefeatures #product #brand #marketing #entrepreneur #leo #peakd #leofinance #items #shopping undefined#affiliatemarketing #leo #peakdundefinedundefinedundefined #revenue #e-commerce undefinedundefined#socialshopping#amazon #products


Congratulations @cryptodive! You have completed the following achievement on the Hive blockchain And have been rewarded with New badge(s)
Your next target is to reach 16000 upvotes.
You can view your badges on your board and compare yourself to others in the Ranking
If you no longer want to receive notifications, reply to this comment with the word
STOP