Hello, Steemit!
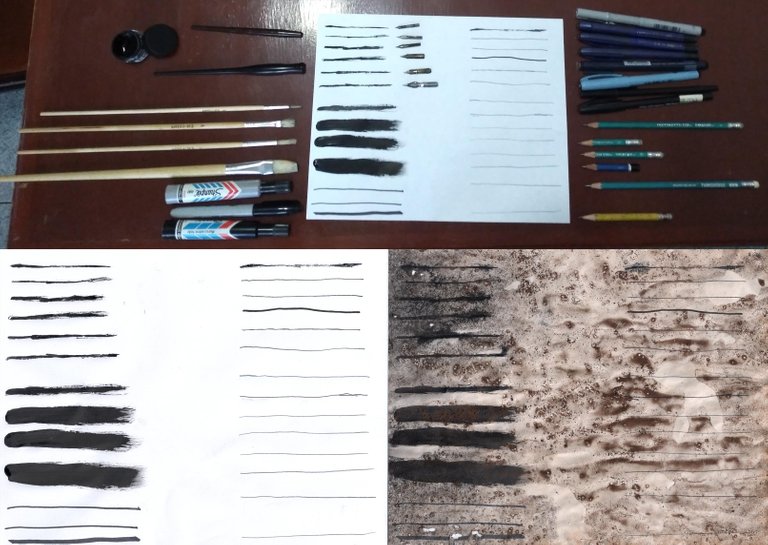
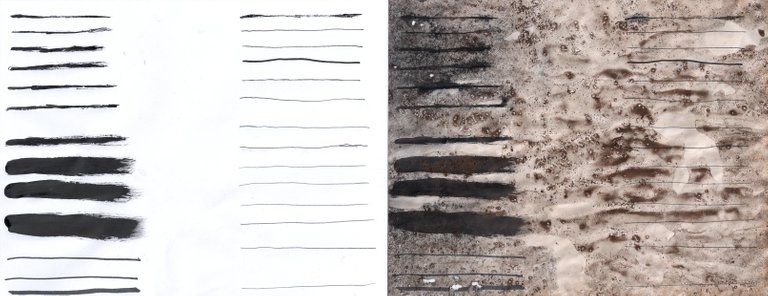
This time I wanted to experiment a bit and made my own old paper textures. I used coffee as the main component to make the paper looks like it's old, so the paper itself is a bit brownish and has some parts that resemble stain or ink marks. I also tried with a piece of paper where I applied different types of ink and pencils (which you can see in the first picture), just to see how the effect of "old paper" would make them look.
Here is the list of materials I used:
- Sheets of paper
- Coffee
- A bowl and a spoon
- Aluminum trays
- An oven (optional)
- Nibs, ink, paint brushes, markers, drawing pens, pencils (optional)
Also, to make the texture/material to use in digital drawing, I used a scanner and the softwares Adobe Photoshop and Clip Studio Paint.
I tried three different types of paper on this, two that are rough paper and one that is flat paper, just to see how it would look like.
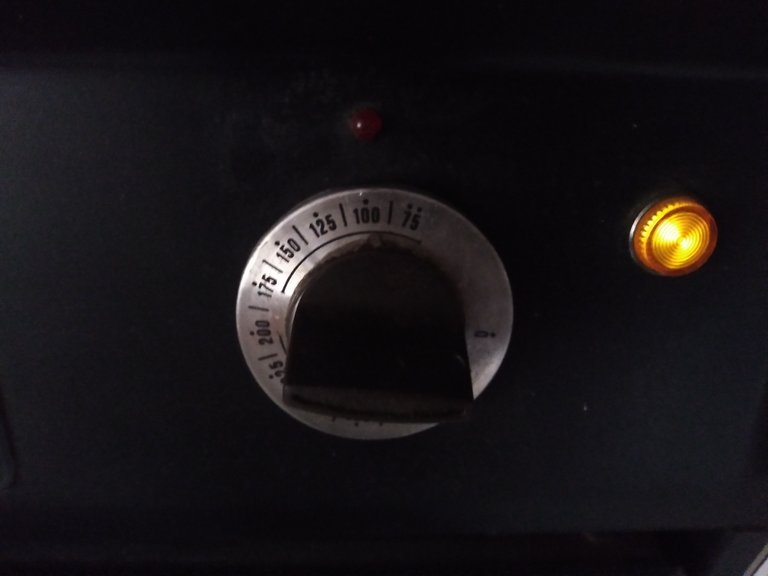
Step 0: Preheat the oven
You can use an oven to dry off the sheets of paper once you've covered them with coffee. In that case, you should preheat the oven so it will be at the temperature you want it when you need it. You've to be careful to not burn your sheets of paper, so keep the temperature low: in my case, my oven's lowest temperature is about 75-100 °C (167-212 °F).
Step 1: Make the coffee
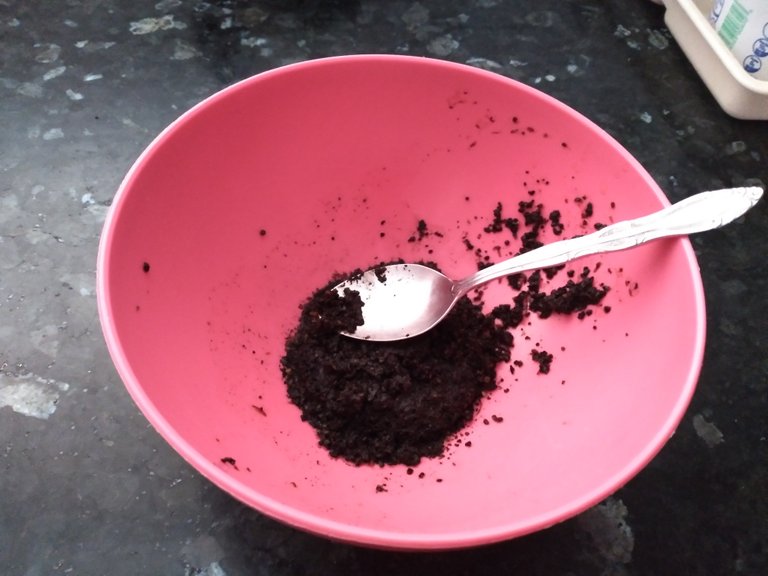
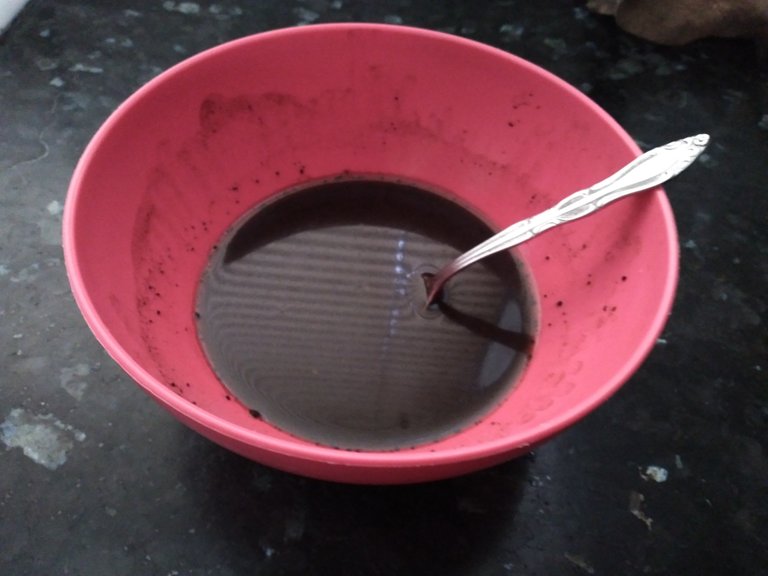
Since coffee is a luxury in here, I didn't prepare coffee just for it, but I used instead what is left in the coffee pot when you prepare coffee. I mixed this used coffee with water in a bowl using a spoon.
Of course, using this method will give you different results. You can try using regular coffee instead, but you can also try both and compared results. However, with this method you will have some lumps of coffee which are going to add some effects in the paper like stain, which can look pretty cool, and I think the final result of the color on the paper is a bit paler (or less "redish" or "brownish").
Note: Keep in mind that coffee will dry quickly (it will deposit itself again at the bottom of the bowl), so you'll have to keep spinning the coffee with the spoon to keep it mixed with the water.
Step 2: Prepare the paper
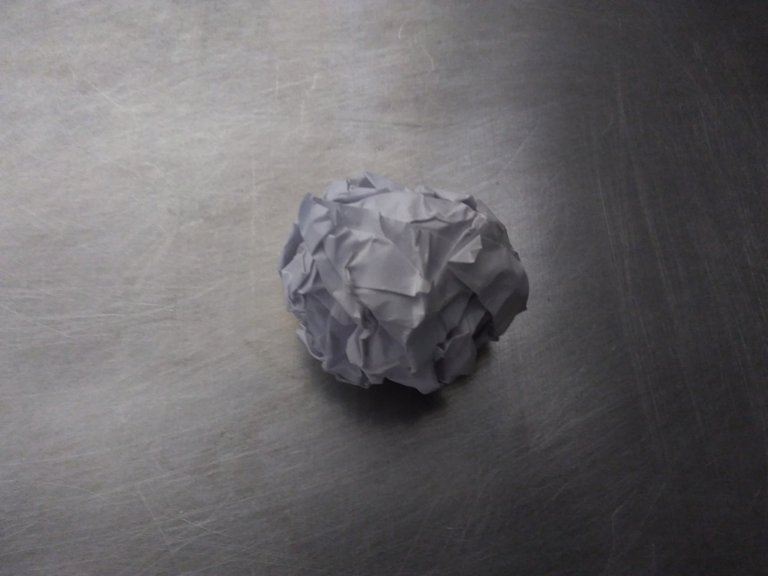
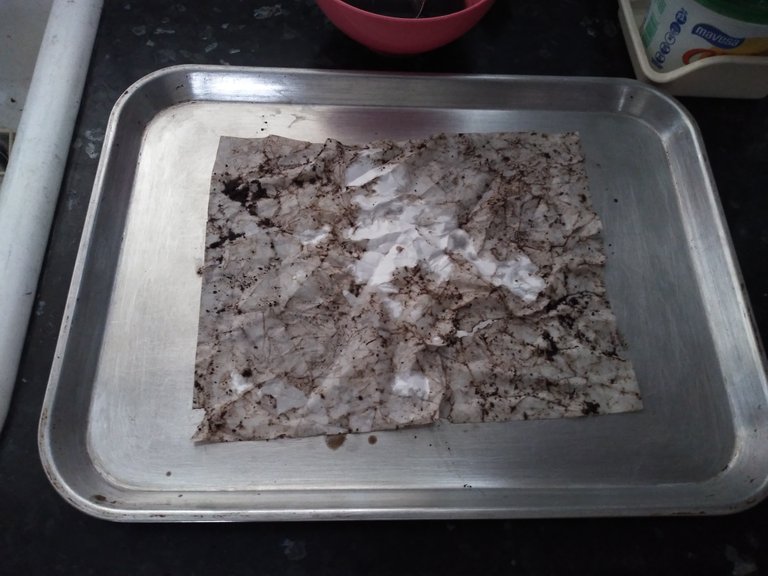
For the first texture of paper I took a sheet and made a ball. I dipped the ball into the coffee and then spread it over one of the aluminum trays.
Step 3: Dry the paper
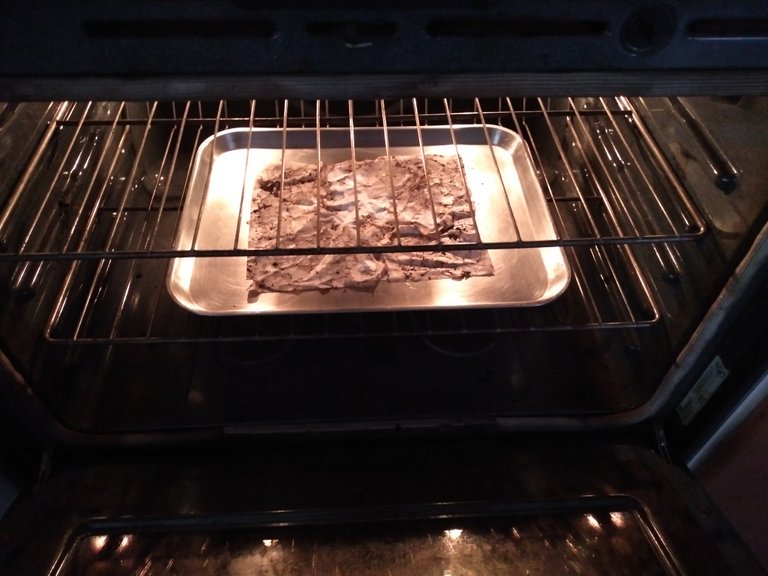
I placed the tray with the paper inside the oven for 5 minutes (it could take you more, or less, time, so be careful to avoid burning it).
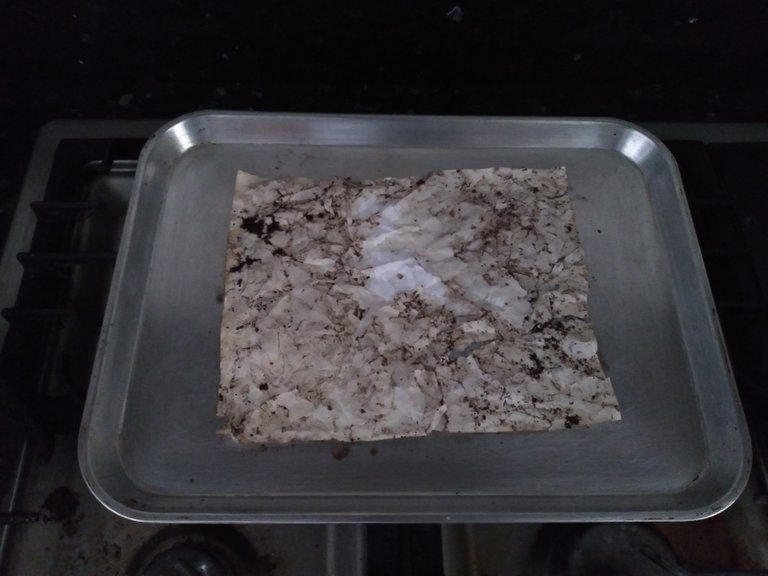
If you don't want to use an oven, you can just let it dry by itself or even hang it with cloth clippers and wait. Just remember to be careful when manipulating the soaked paper because you can rip it off.
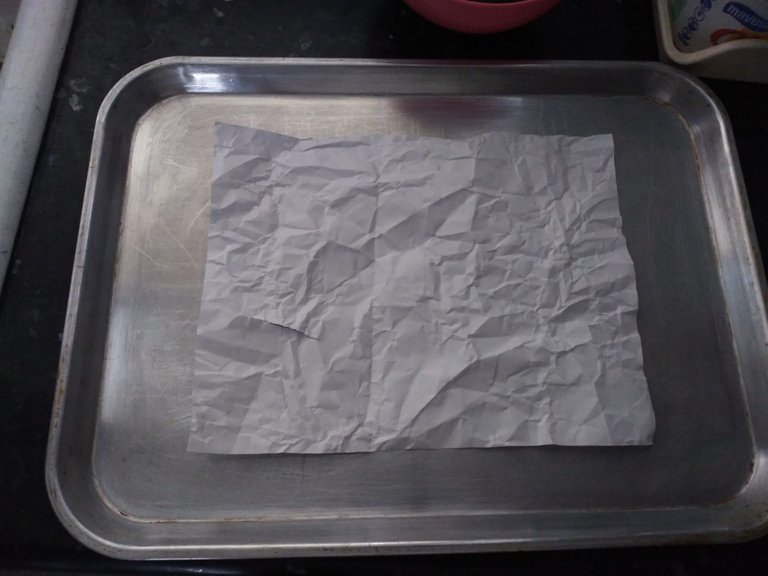
I repeated steps 2-3 with other two configurations of paper, to get other results. For the second case I made again a ball of paper but this time I spread it over the tray before covering it with coffee.
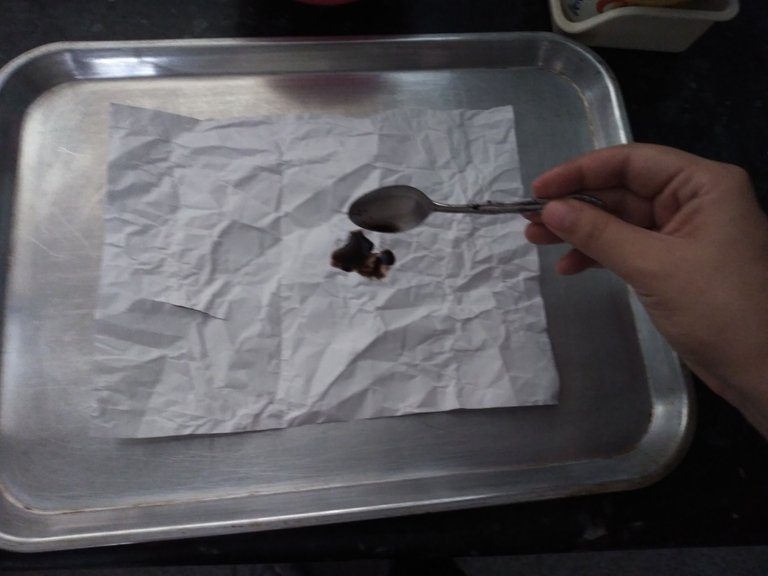
Then I spread the coffee over it using the spoon.
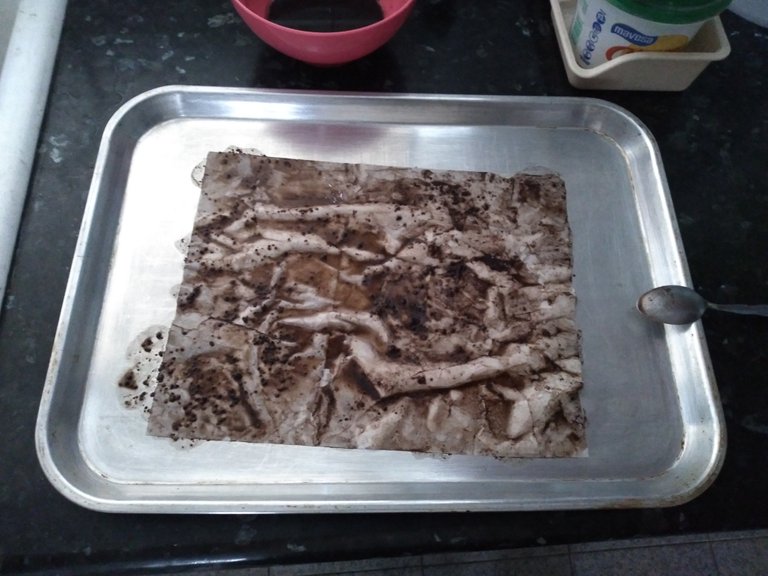
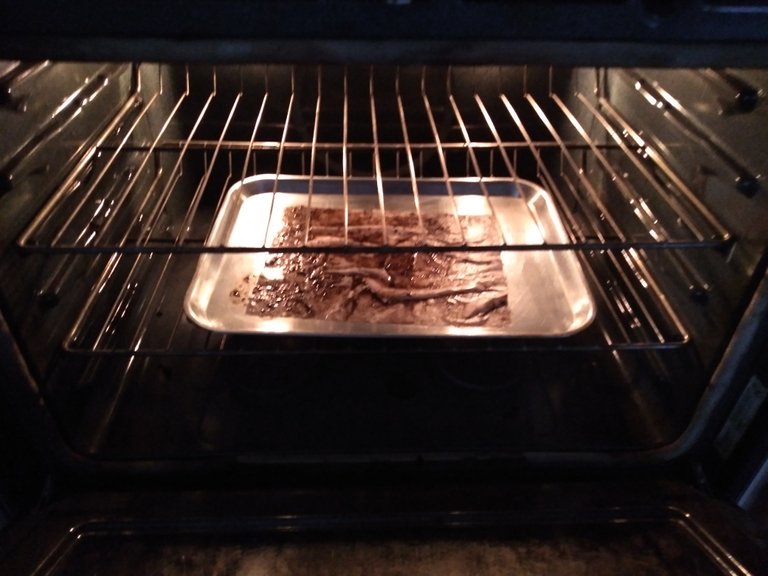
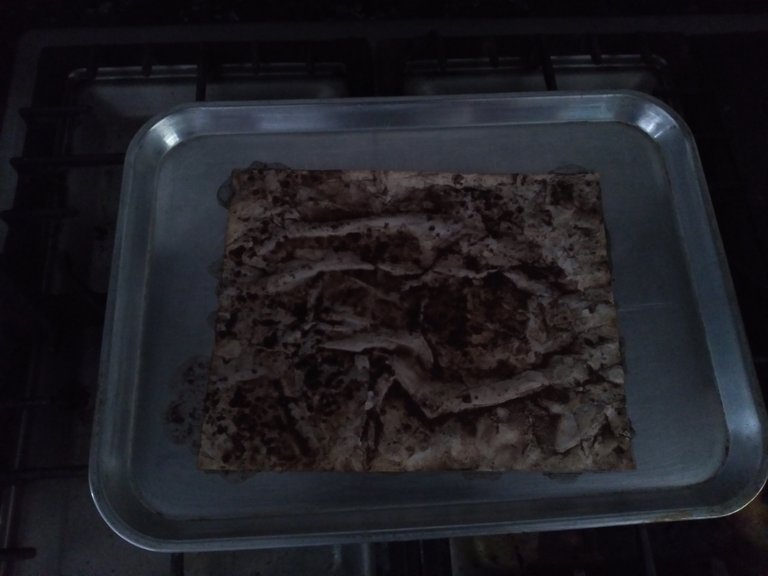
Then I dry it using the oven.
And it looked like this:
For the third case I decided to use a flat sheet of paper instead of a rough one.
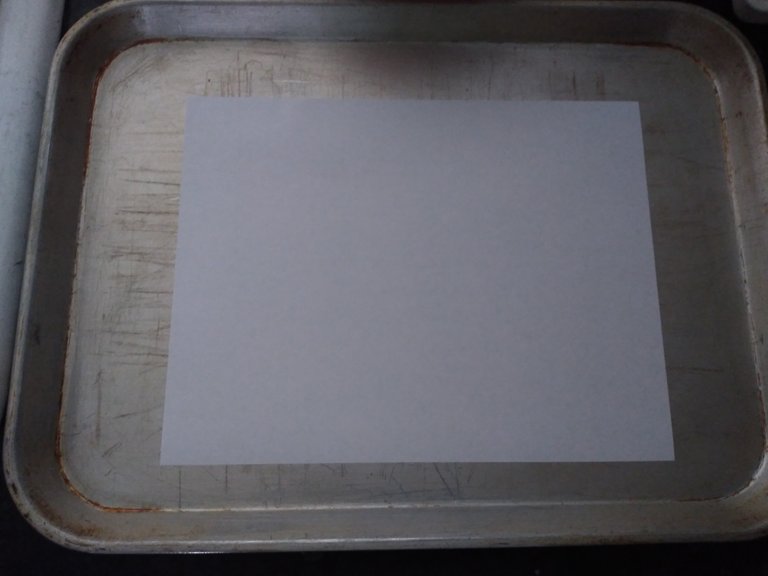
Covered it with coffee using the spoon.
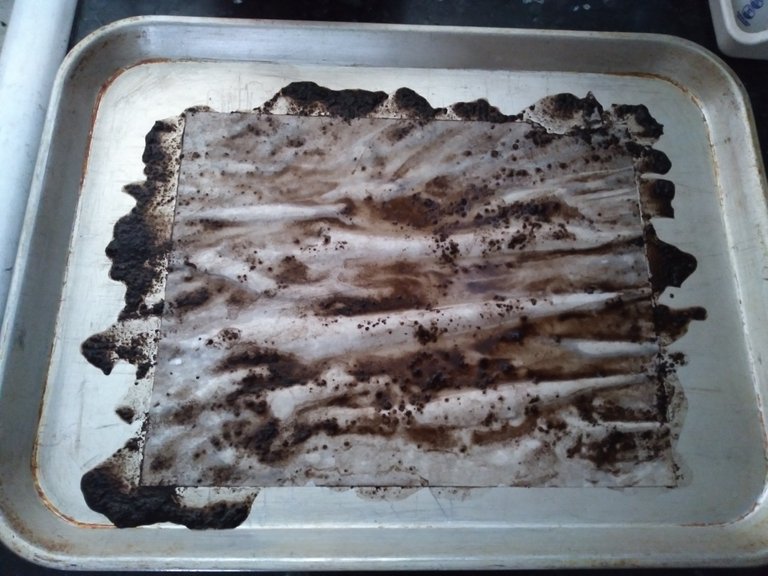
And dry it using the oven.
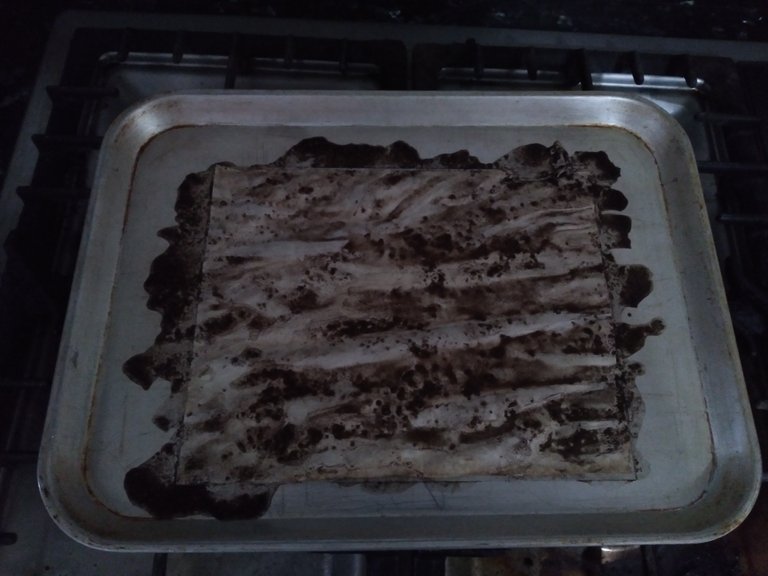
I decided to go with an additional piece of paper where I could test the effects of the coffee in different types of applying ink and pencils.
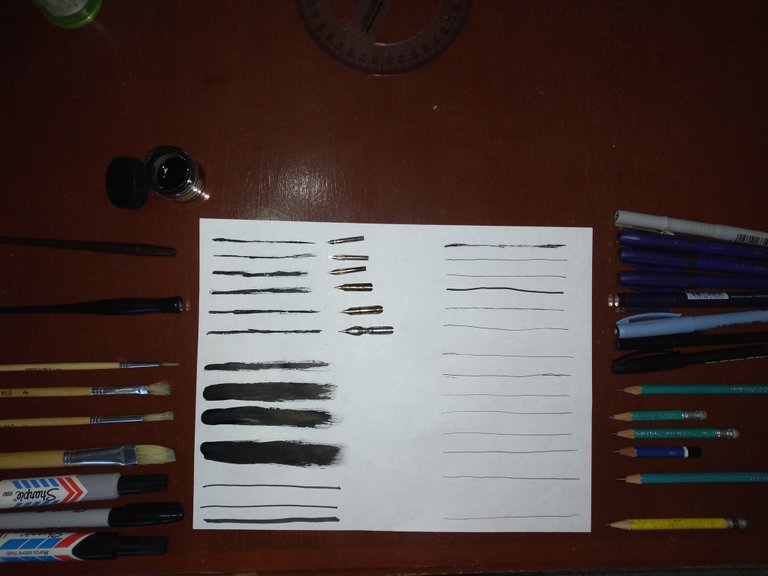
You can divide all of the tools in these categories: nibs, paint brushes, markers, drawing pens, pens and pencils. I used Calligraphy Ink (Super Black) with the nibs and paint brushes. The list of tools (from top to bottom, first the left column and then the right one) is as follows:
- Nibs:
- Hunt N° 102
- Hunt N° 107
- Hunt N° 108
- Hunt Drawing N° 66
- Hunt School N° 56
- Hunt Ex-Fine N° 512
- Paint brushes:
- Eva-foam 1
- Eva-foam 4
- Eva-foam 3
- Eva-foam 10
- Markers:
- Sharpie 690 (fine)
- Sharpie fine point
- Sharpie 680 (medium)
- Drawing pens:
- Rapidograph Faber-Castell Ecco pigment 0.1
- Pelican techno-liner 86 0.3, 0.5, 0.8
- Pizzini Drawing Pen 0.5
- Pelican techno-liner 0.5
- Pens:
- Paper Mate kilométrico plus 1.0m
- Faber Castell trilux 030 medio
- Pencils:
- B
- 2B
- 3B
- 4B
- 6B
- Mongol N°2 480
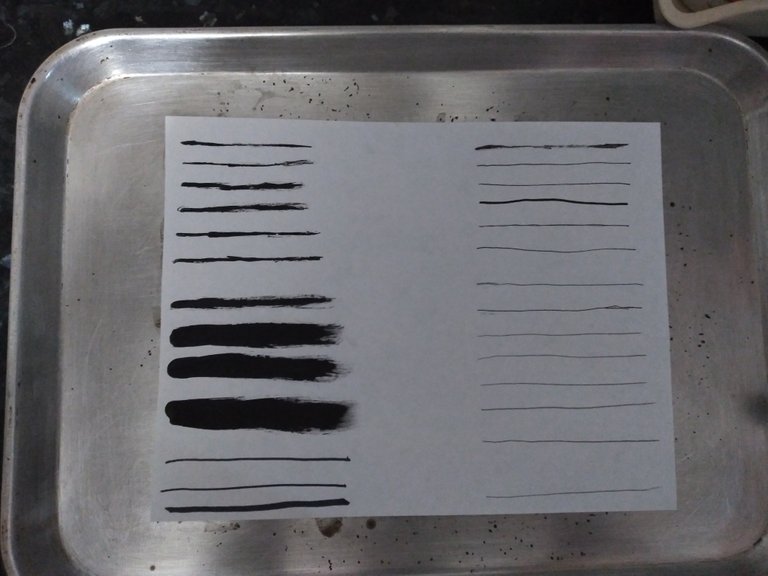
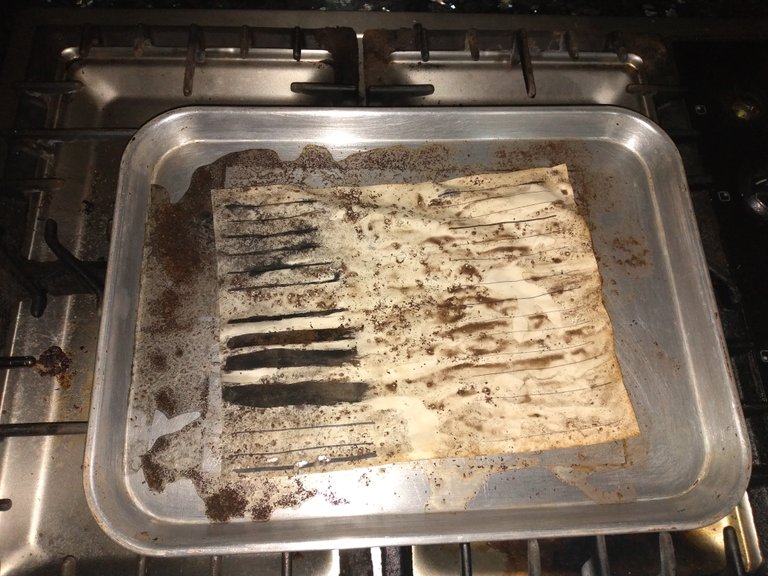
I placed this sheet of paper on a tray:
Covered it with coffee:
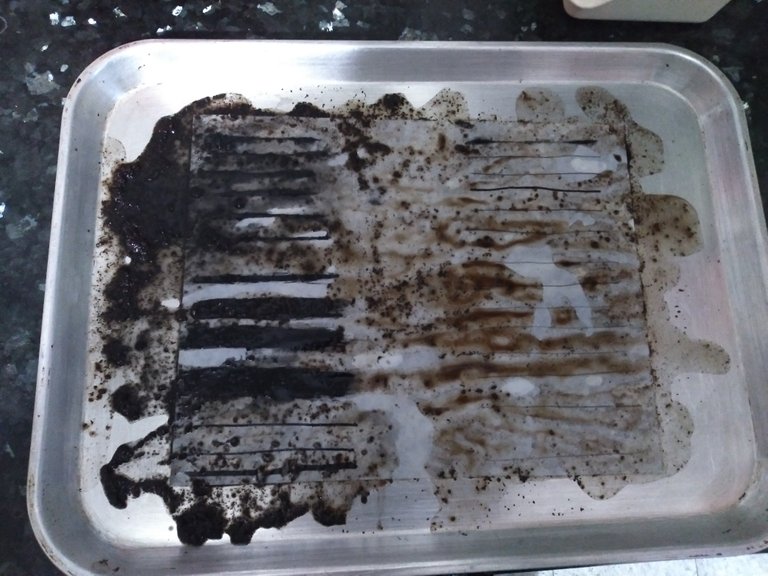
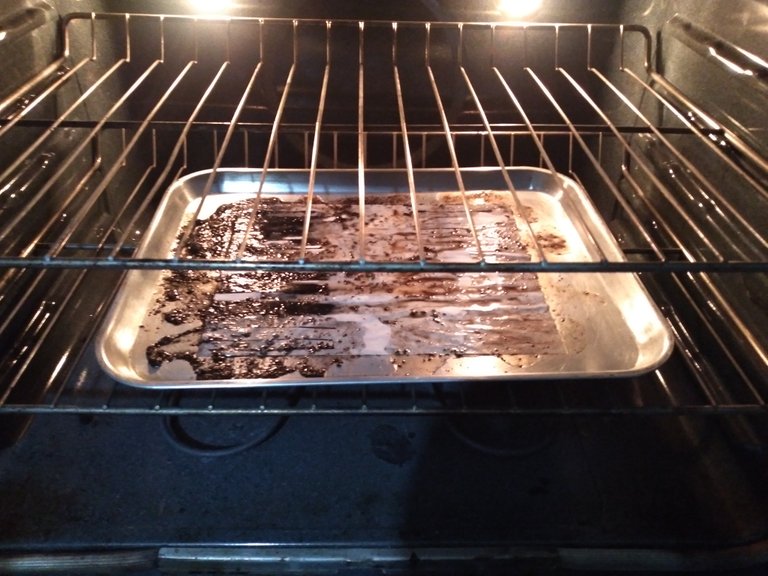
Dried it with the oven:
And ended up looking like this:
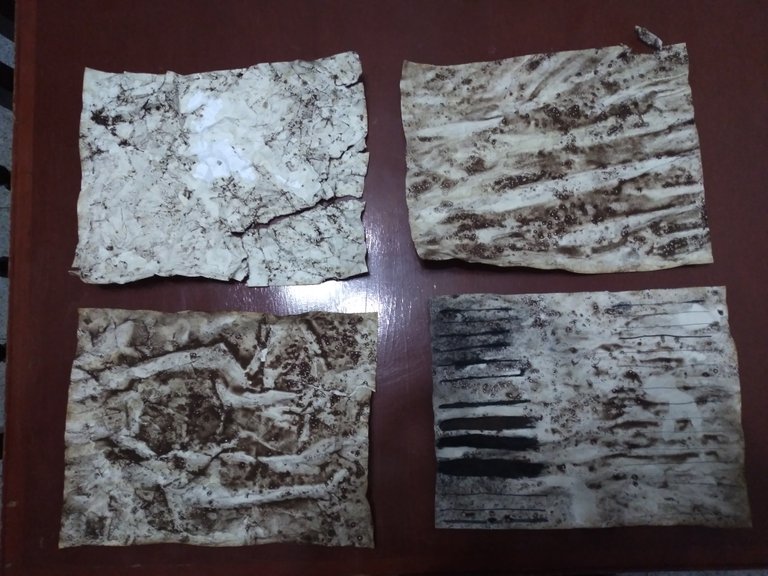
You can see here the four pieces of paper (the rough ones at the left, the flat one at the upper right):
Step 4: Scan the pieces of paper
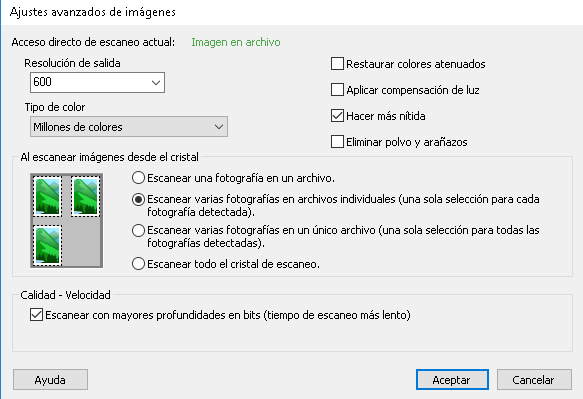
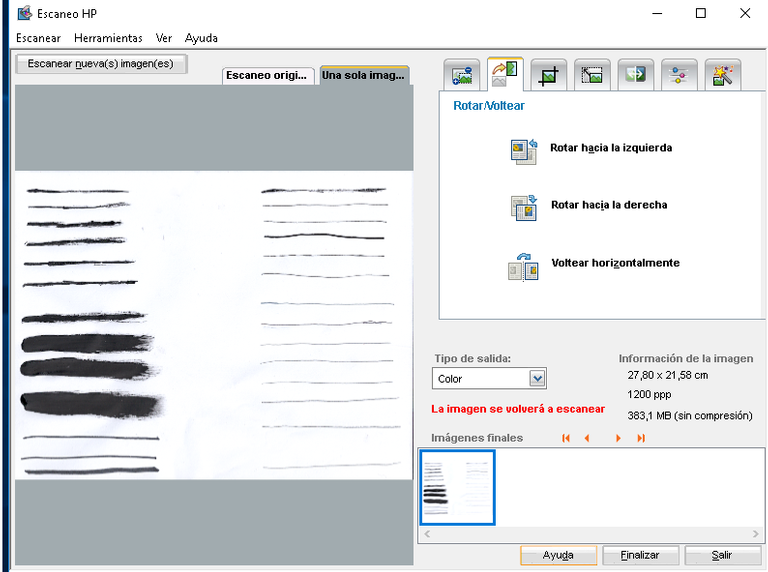
I scanned each of the pieces on both 600 and 1200 ppi (pixels per inch), just to compare the results. Since the typical resolutions are 150-300 ppi (and 300 if you're going to print), unless you need it for something so specific, 600 ppi would be more than enough (maybe even too much).
Step 5: Prepare the texture
I opened the scanned piece of paper in Adobe Photoshop:
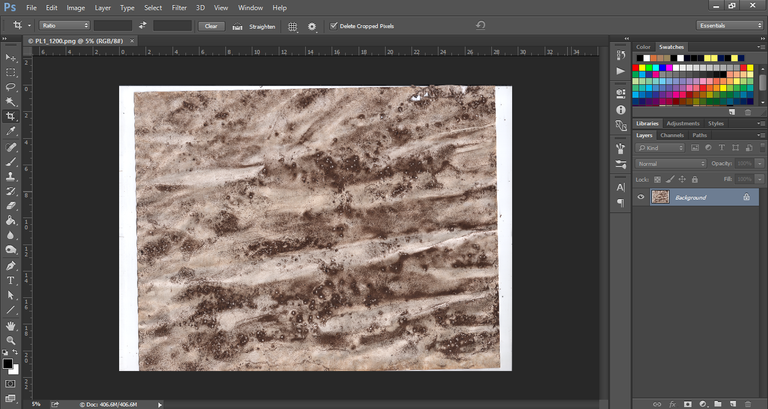
I rotated and cropped the image with the Crop Tool:
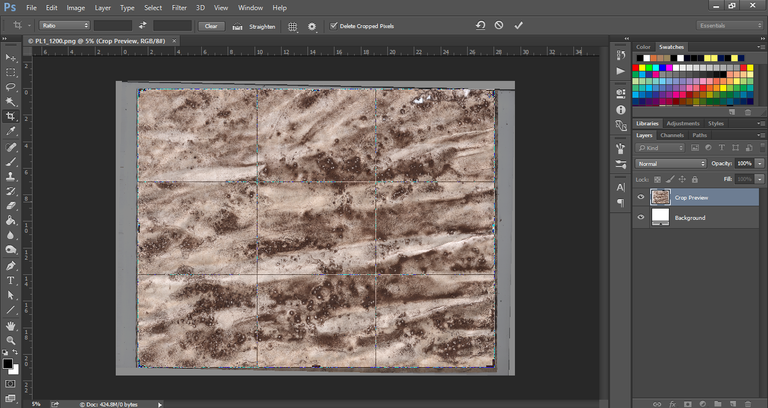
Then I duplicated it and place together the left and the right borders of the image:
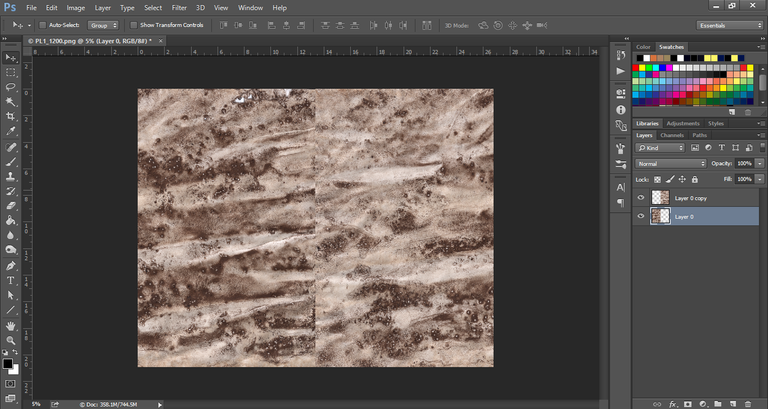
I used the Spot Healing Brush Tool to join both borders, like there is no division and the texture is a continuous:
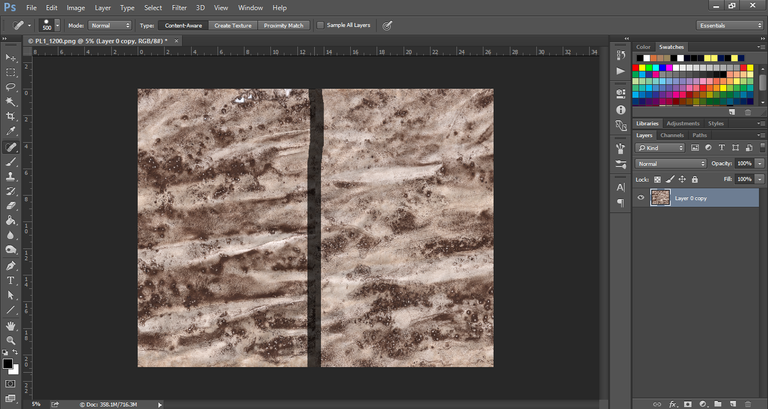
It ended looking like this:
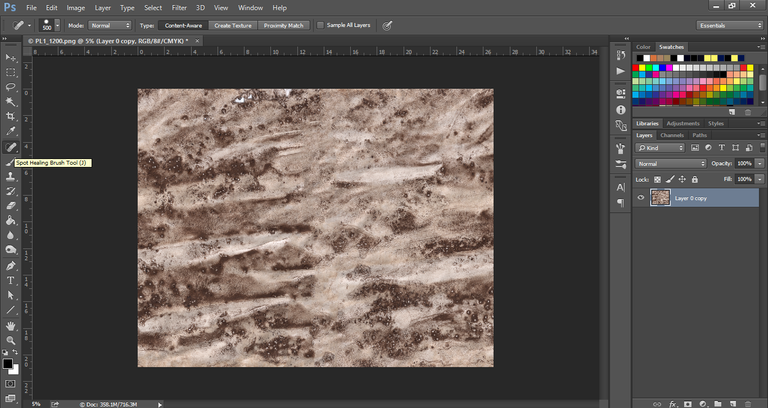
I duplicated it again and place together the upper and lower borders of the image:
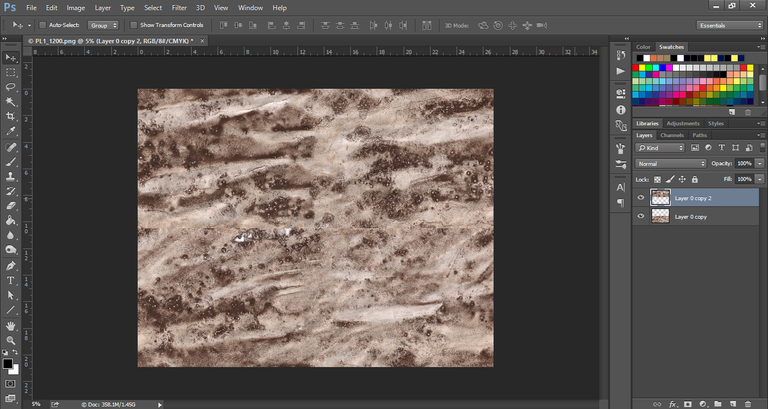
And used again the Spot Healing Brush Tool to eliminate the borders and make the image to be continuous:
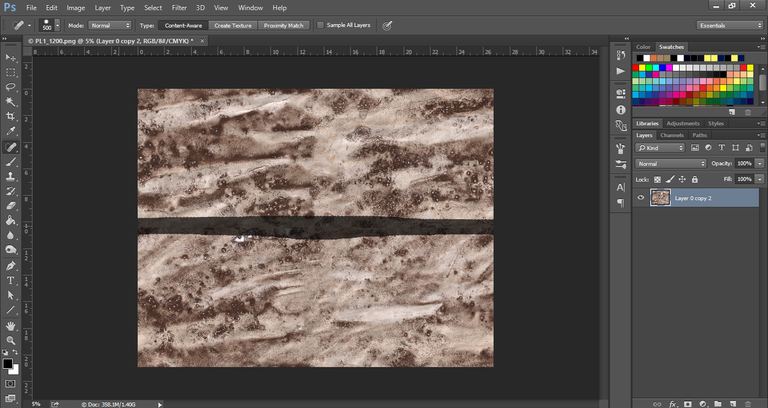
The result being like this:
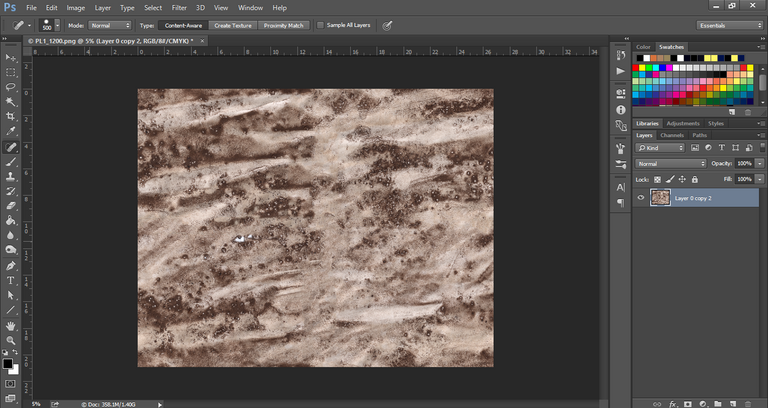
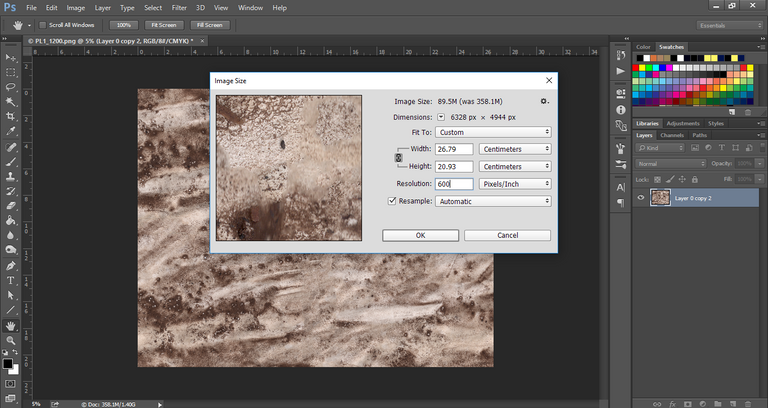
Since I used the 1200 ppi versions of the scanned images, I lowered the resolution to 600 ppi, since the image was too large to manipulate and use properly (you can even low it to 300 ppi if you don't need that much resolution).
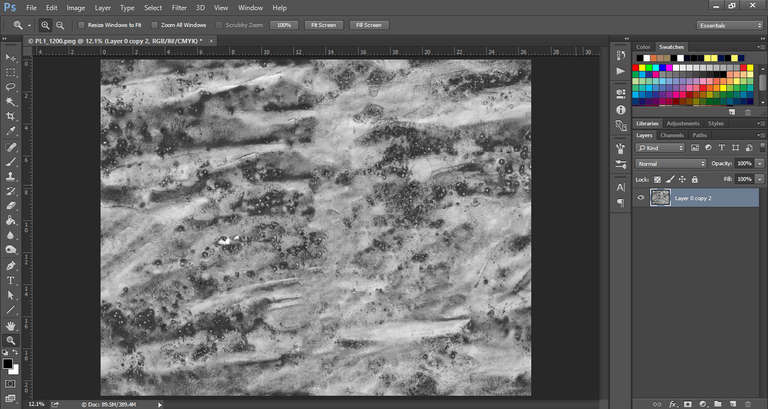
Then I save it as a PNG image. I also applied Ctrl+Shift+U to remove the colors, leaving the image in black and white to save the texture as a black and white texture as well:
I repeated the process for each of the pieces of texture I made. Here is how the three of them look like in color (up) and black and white (down):
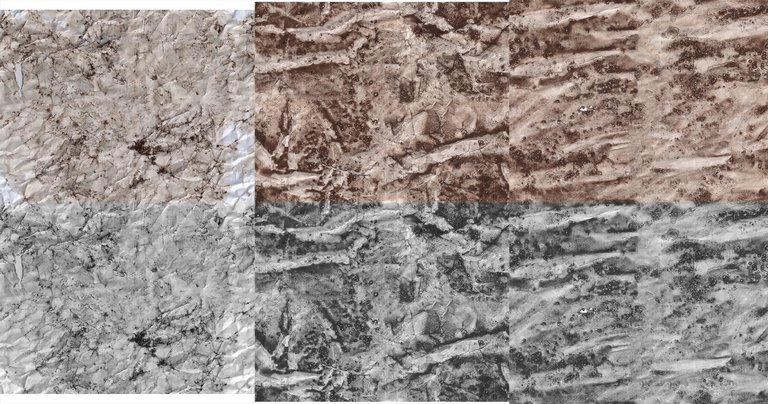
(From left to right: first rough paper, second rough paper and flat paper).
Here you can see the inked paper before and after:
Step 6: Making the material
I opened one of the textures with Clip Studio Paint:
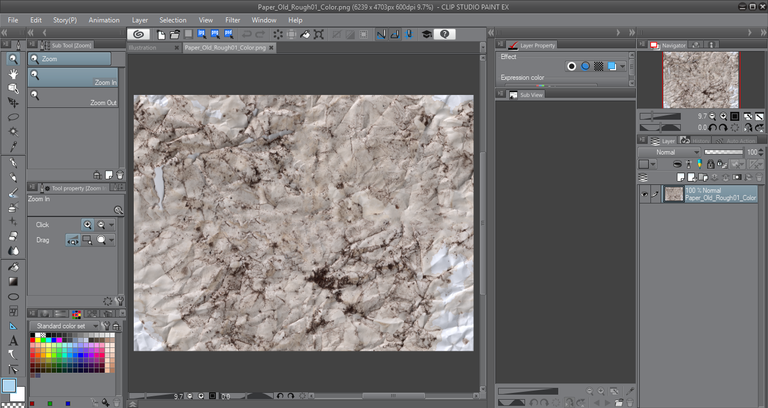
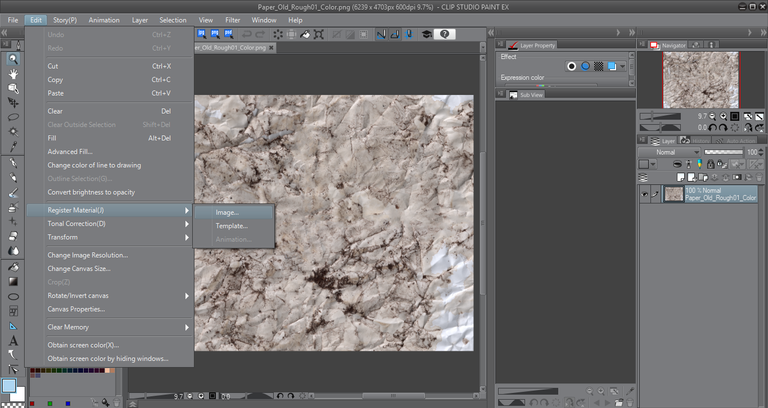
Edit -> Register Material(J) -> Image...
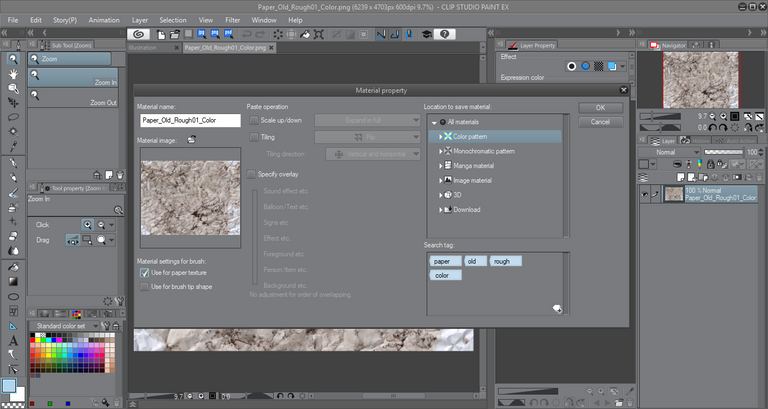
Here you can select several options depending on how you will want to use the texture. I select the options that appear on the image, place the folder location of the image (Color pattern in this case and Monochromatic pattern in the next one) and added some tags.
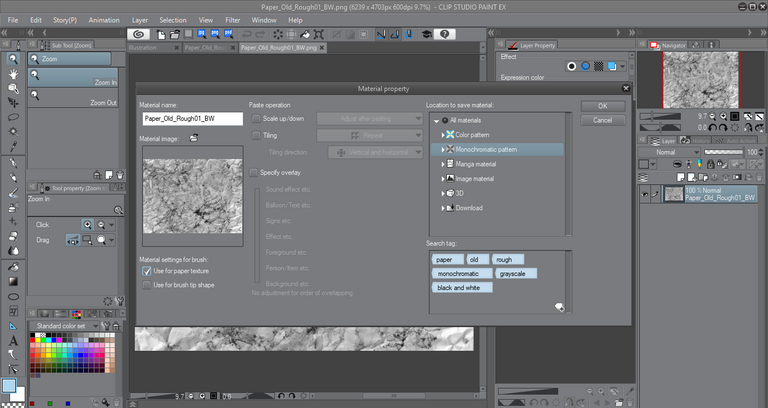
And it's done!
Step 7: Use them!
I opened a new document:
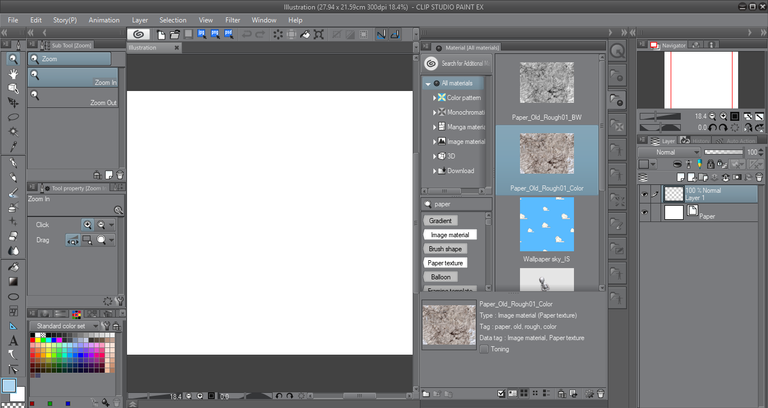
I played a bit with the textures/materials, changing blending modes and opacities, and tried a Real G-Pen on it.
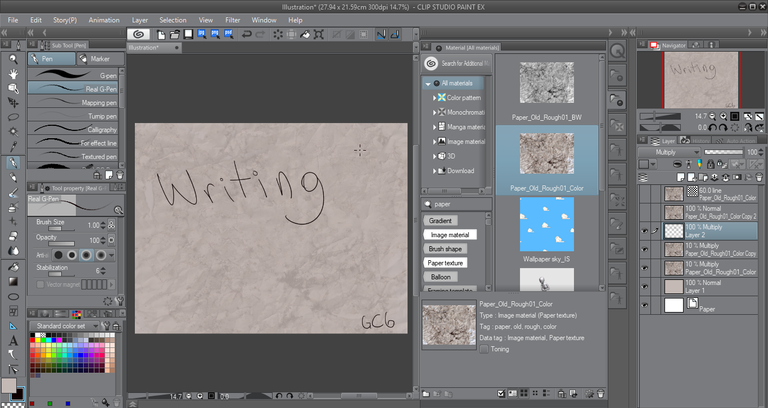
That's all for now! I hope you like it and find it useful. As always, questions, comments and suggestions are welcome.
GC6
Quite an interesting way of making your own textures! Thanks for sharing
I'm glad you like it, thanks!
Peace, Abundance, and Liberty Network (PALnet) Discord Channel. It's a completely public and open space to all members of the Steemit community who voluntarily choose to be there.Congratulations! This post has been upvoted from the communal account, @minnowsupport, by Gianphan from the Minnow Support Project. It's a witness project run by aggroed, ausbitbank, teamsteem, someguy123, neoxian, followbtcnews, and netuoso. The goal is to help Steemit grow by supporting Minnows. Please find us at the
If you would like to delegate to the Minnow Support Project you can do so by clicking on the following links: 50SP, 100SP, 250SP, 500SP, 1000SP, 5000SP.
Be sure to leave at least 50SP undelegated on your account.