So much for the Post Project Exhaustion. I am at it again. yesterday evening I felt the urge to open up my good old Blender again and do some sculpting.
I had watched a rather splendid tutorial on Youtube (yes I am a bad boy and havent left the conventional medias totally behind yet) it is a guy who do sculpting in blender, far better than me, so I watch and learn.
you can go see his tutorial here
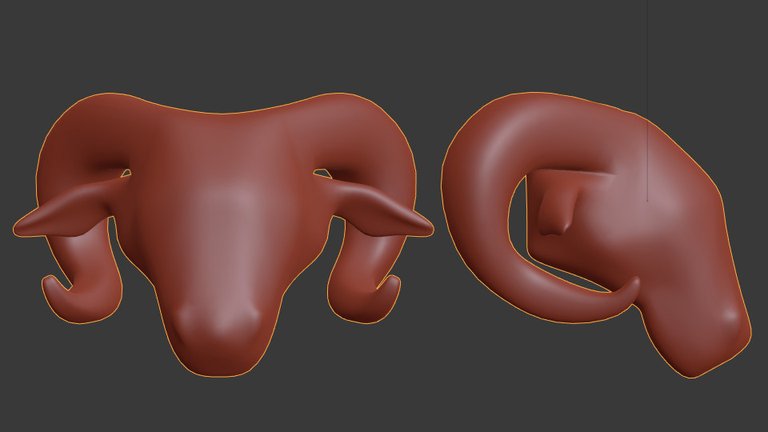
Anyways I started by modeling a really low-poly version of a rams head. With a little experience this can be done in a few minutes, maybe a quarter of an hour. I use mirror - and subdivision surface modifiers on the mesh, but apply both of them before I start sculpting.
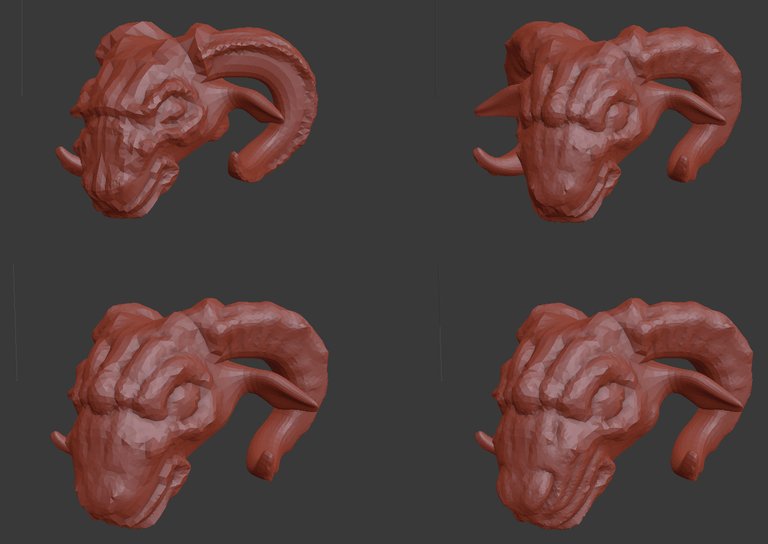
Then I go in sculpt mode and begin the sculpt as such. The more defined the start shape is, the faster the sculpt will go. I find that when doing stuff like horns or other extruded features, the sculpting tools are less than optimal so those features are better done using traditional extrusion modeling.
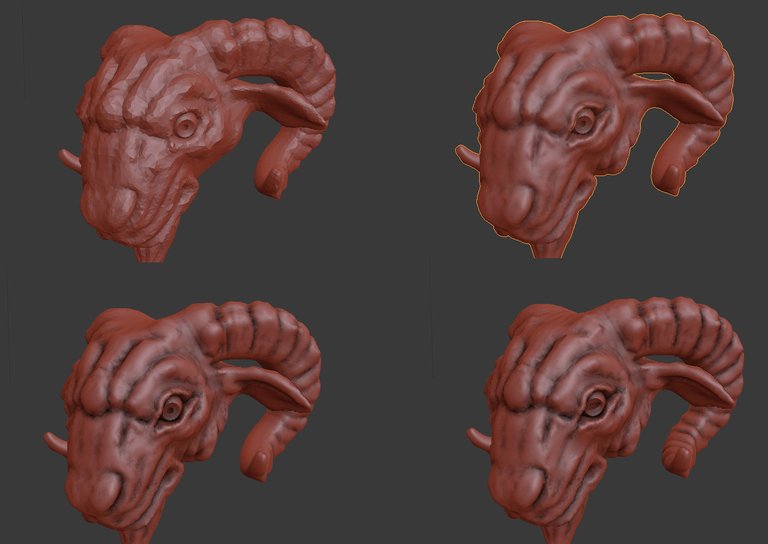
Muscles and texture on the other hand are great for sculpting i mostly use a combination of the claystrip brush, the crease brush and the smoothing brush. with these three, most things can be done.
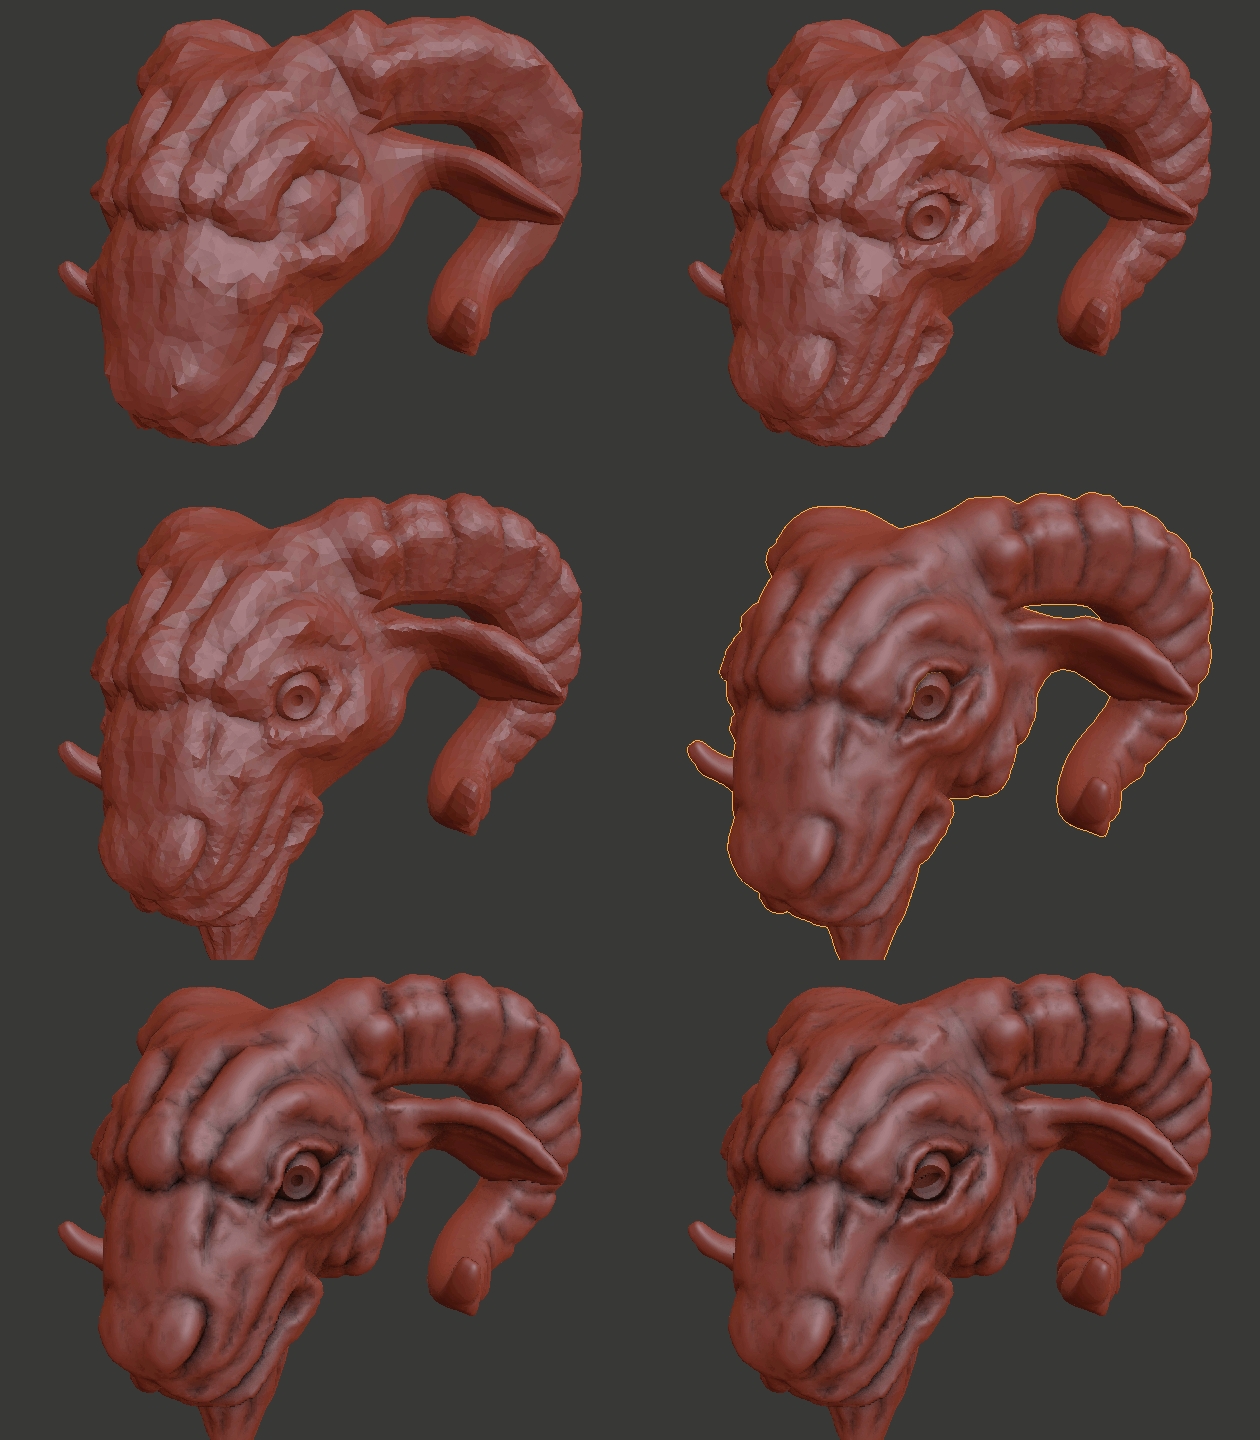
Here is a gif showing the progression, I made the gif using gimp. It is quite easy. I render images(from a fixed camera in blender) during my work (every 10-20 minutes), save them to a folder(numbered e.g. ram01-ram12.jpg). Open the gimp, choose open as layers
then I just make sure they are in the right order and choose export as gif, choose animated gif and set the amount of milliseconds per frame. Its that easy.
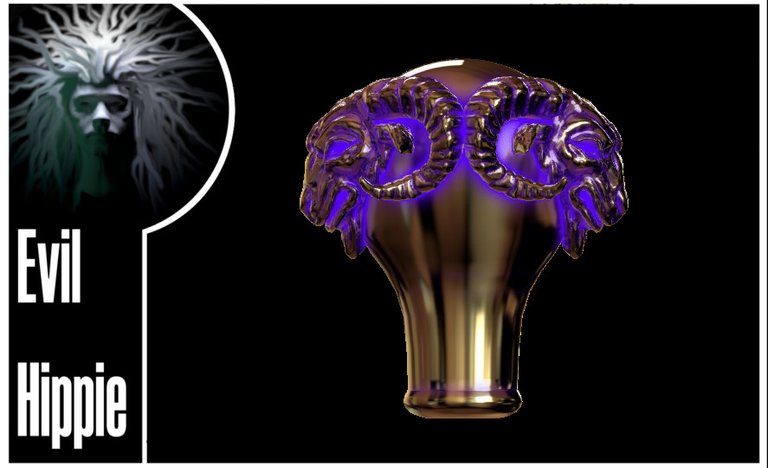
Since I had spent the time on sculpting it I decided to play around a little and make a wizards staff or walking stick rendering with some nice effects on. this is actually just an opengl render using the matcap materials. pretty neat i think
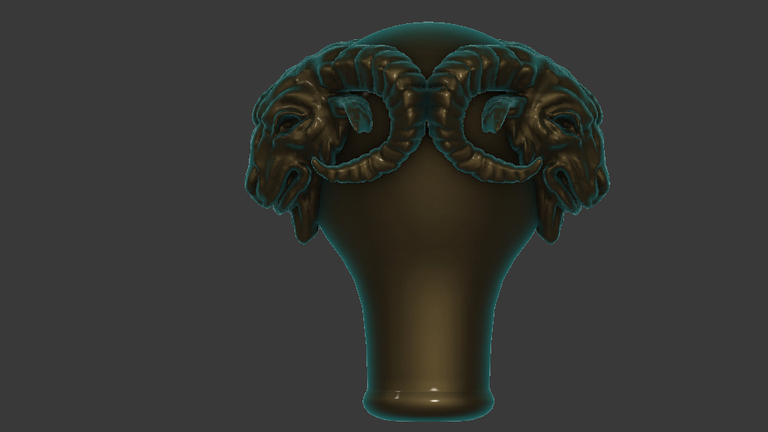
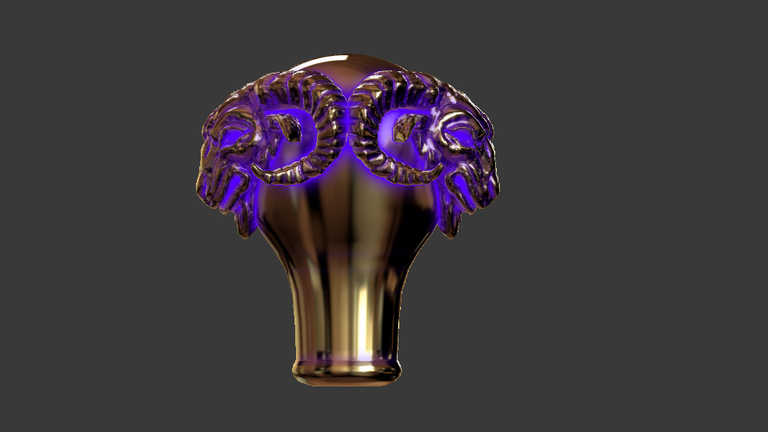
as has become my custom I release these images, and an stl file of the sculpt reachable here under a creative commons license 

Im EvilHippie, a compulsive creative and jack o' trades. If you want to know more about me, check out my introduction post here
If you like what you see, feel free to upvote, follow and resteem
or you can check out these recent posts
Screw it
Exhaustion
Tauschierung
Quillons
handling handles part 2
Congratulations! This post has been upvoted by SteemMakers. We are a community based project that aims to support makers and DIYers on the blockchain in every way possible. Find out more about us on our website: www.steemmakers.com.
If you like our work, please consider upvoting this comment to support the growth of our community. Thank you.
Wow ... when I do 3D design it is always more mathematical with sketches and then extruding :) . I think I need to learn sculpting :)
both approaches has their uses but for organic shapes sculpting is a really fast way of getting results. you will lose precision but that can be mended later by combining with traditional methods. one of the reasons i like blender so much is that it is easy to combine different modelling methods
I tried blender...but the complexity was way over my limits when I started with 3d designs. I had the easiest learning curve with Fusion 360. But also there I did successfully avoid the sculpting part :) Thanks for showing me the power if it! I will give it a chance in the future :)
very good the hands of the brother and I have upvote.
upvote back brother.