I had to help a friend rebuild his rock wall. The whole thing had collapsed after years of erosion behind the wall. The water had washed out all the fill that helped support the rock wall, and it collapsed in upon itself. I don't have a before picture of the wall collapsed, but it looked like this except it had a big pile of dirt where the hole in the wall was.
This is documentation of what I did. I am not a professional mason. This was a zero budget project. To do this right, I would have needed paver sand or some base material under the first course of rocks, and stone to backfill the wall. I also would have put weed barrier between the drainage fill and the dirt, so that the drainage doesn't get clogged again.
Day One
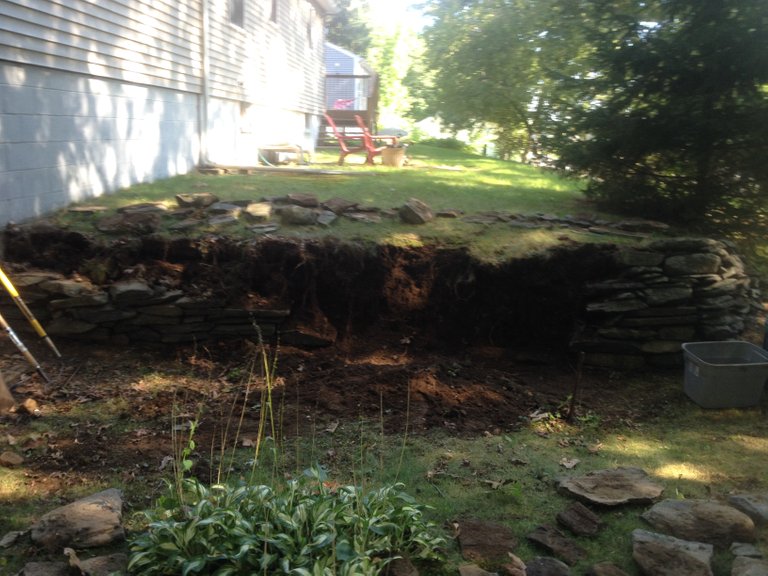
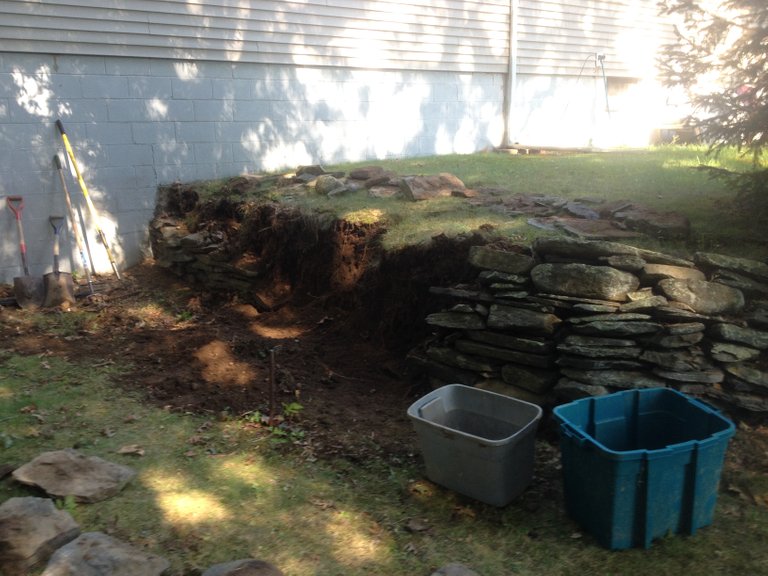
I used the plastic totes to help carry away some of the fill, along with a wheelbarrow, but I also separated out a lot of the smaller rocks to re-use as drainage behind the wall once I re-stacked the rocks. At this stage I was just trying to get a good flat base to start re-stacking.
Day two:
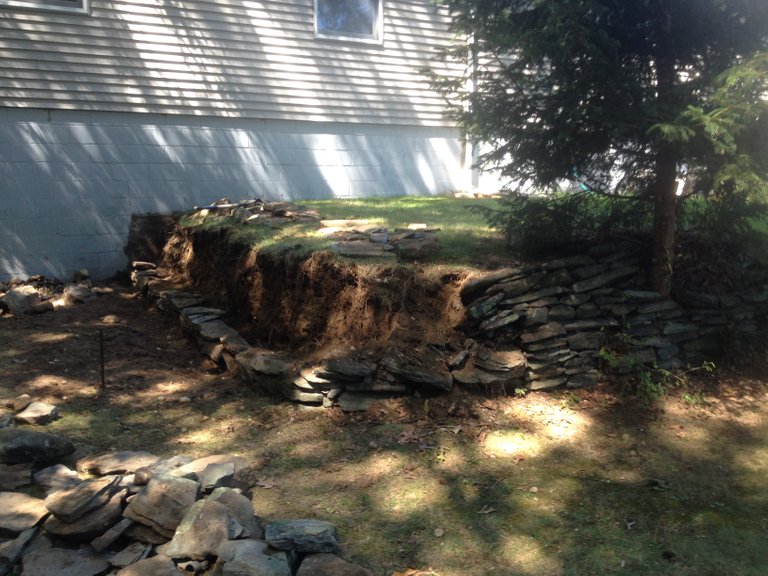
I leveled out an area between the existing rock wall and the foundation. I also laid the first course of rocks, using the largest to start with and keeping the top of the first course as flat as possible. At this stage keeping the top of each new run of rocks as flat as possible is the key.
Day three:
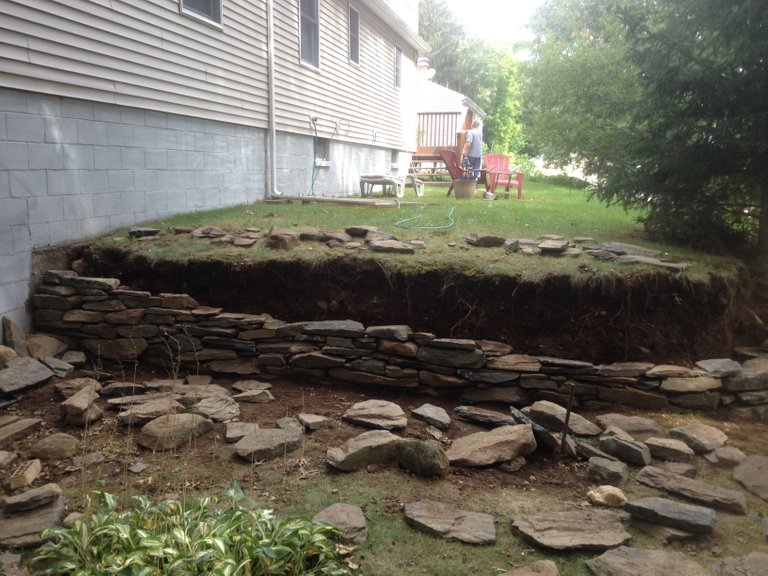
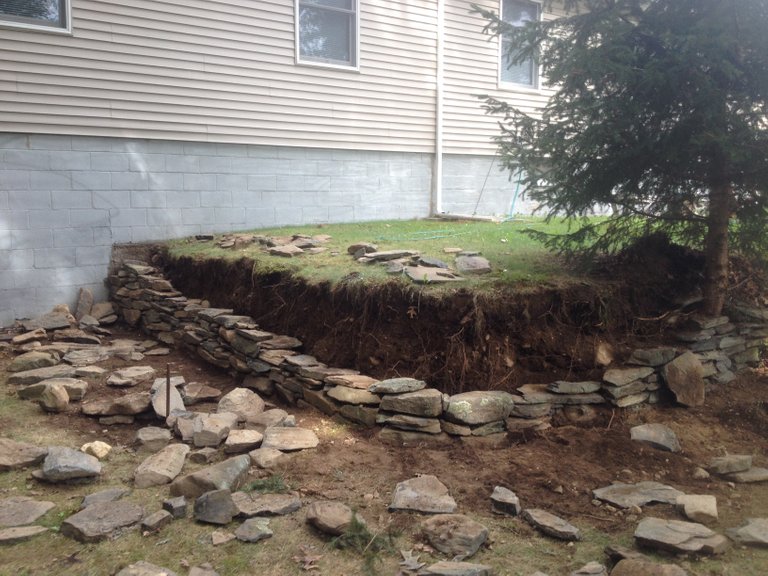
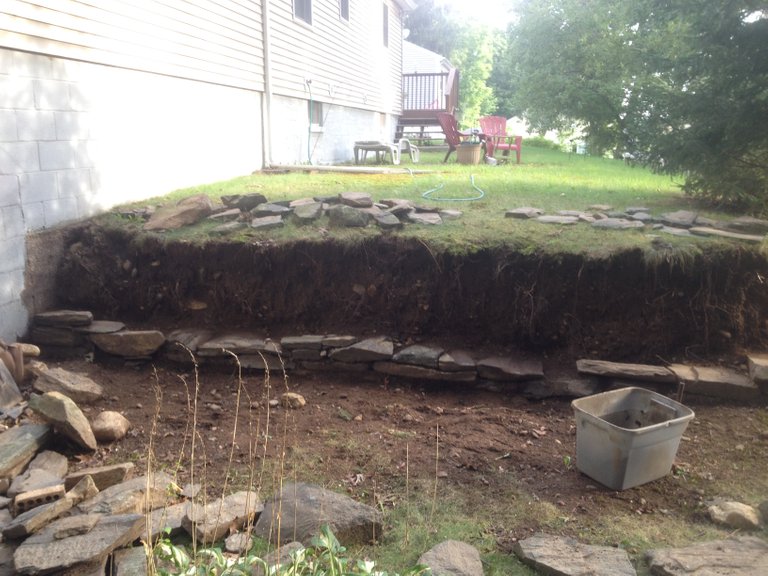
I keep stacking rocks, starting from the house foundation on the left, and going to the right until I hit the part of the wall still standing. The trickiest part was merging the existing rock wall and my newly stacked rocks. You can see in the second picture that I had to remove more rocks from the right side to do this merge.
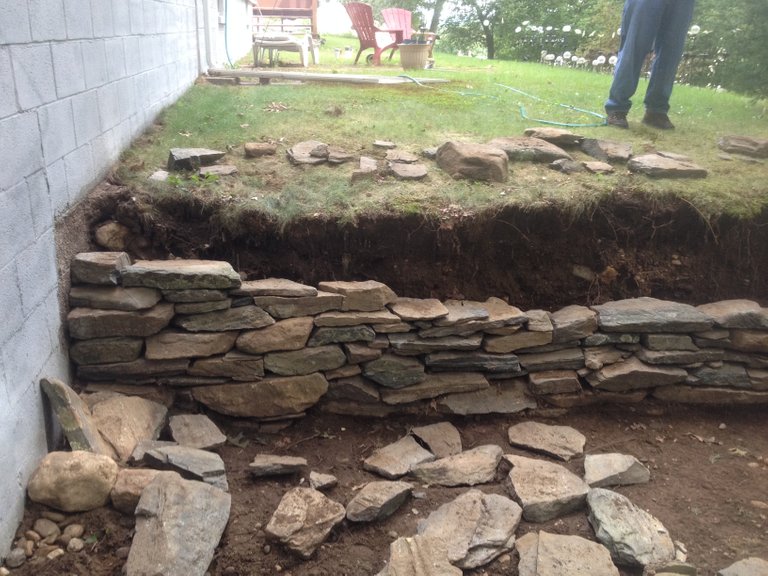
Starting from the foundation and moving in one direction makes it easier to sort the rocks by size and shape, and helps to keep the top nice and flat.
Days four and five
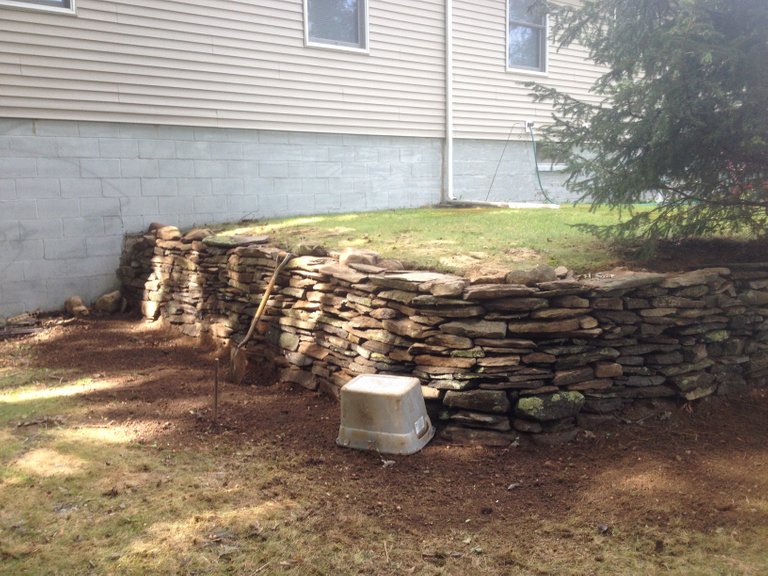
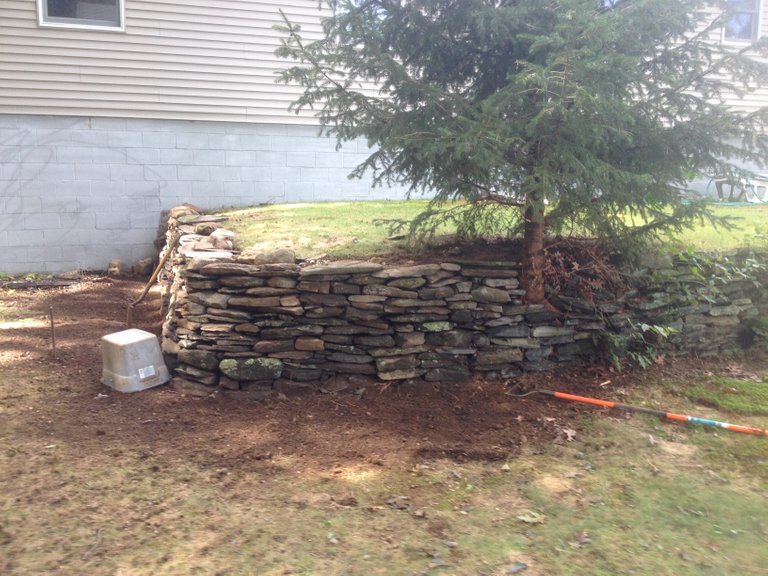
The last few days are the most tedious, because it is a lot of sorting rocks to find the one that fits properly. Because this was a zero budget project, I leaned the wall slightly back into the hill, and saved a few of the largest, flattest rocks to anchor the top of the wall into the grass. I told him to get rid of the tree, because it's going to crash the wall again in a few years, but he really liked it, so I left it. I cleaned up the area in front of the wall as much as possible. He didn't have any plant budget either, or I would have planted daffodils in front of the wall and mulched the whole area.
I really hope you enjoyed this as much as I enjoyed doing it. If you like this, follow me for more stuff like this.
click here!This post received a 1.2% upvote from @randowhale thanks to @cavemanrob! For more information,
Oh mate - I love reading about projects like this! Being a Designer for Renovations and New Builds it's always great to see what people come up with.
Check out my latest $30000 Stone Island Project I did for a client!
That's awesome! I love that sink.
I work in 3D aerospace design, but I really always wanted to do something in the architectural design sector or design for renovations. Its really a lot of fun for me doing these side-jobs I pick up from time to time.
Oh tell me about it @cavemanrob - I followed you mate - Give me one back, I'll share the jobs I do with everyone. We can keep each other inspired haha - I want to work on my rock wall now that needs a bit of love outside. Cheers mate !
Really nice work! I had a job building a fence for someone and they also got me to rebuild a section of their rock wall! It wasn't easy work!
you're right, not easy, but mildly cathartic for me. I like the labor of hauling the rocks around, because it's so different from my main line of work. I wish I had a magic wand so that I could make people who do this type of work for a living get better pay and retire earlier, because few people realize just how back-breaking this type of labor can really be.
It's crazy hard work at times! you definitely need to phase yourself for it!
Looks great! I need to do something similar. We have an old wall that was made with wood which is now rotting away. We literally have tons of rocks around so might as well use up a bunch on this project.
I'd honestly rather have done this with wood. 6 x 6 beams are nice to work with for retaining walls and last quite a while when done right. I had to do this one with no material budget, so it was a bit tougher than other retaining walls I've done in the past. It was a good learning curve, and I enjoy the labor of it.