FULL ENGLISH VERSION

welcome to a 2x1 recipe 👩🍳
Hello hello beautiful people of HIVE and especially to the food fans in the community @hivefood today I want to share with you a recipe for some delicious Arab toast and my experience preparing a recipe that I recently saw here in HIVE of a delicious sauce that surprised me how spectacular it is 🤤.
This pair of recipes are a super easy and quick to make duo, ideal for sharing in meetings, the tostadas are super crispy and delicious, my nephew says they look like Doritos and he loves them hehehehe and accompanying them with this healthy dressing is a delicious combination, excellent to pamper our guests or take to some sharing.
Recipe Arab bread toast:
Ingredients:
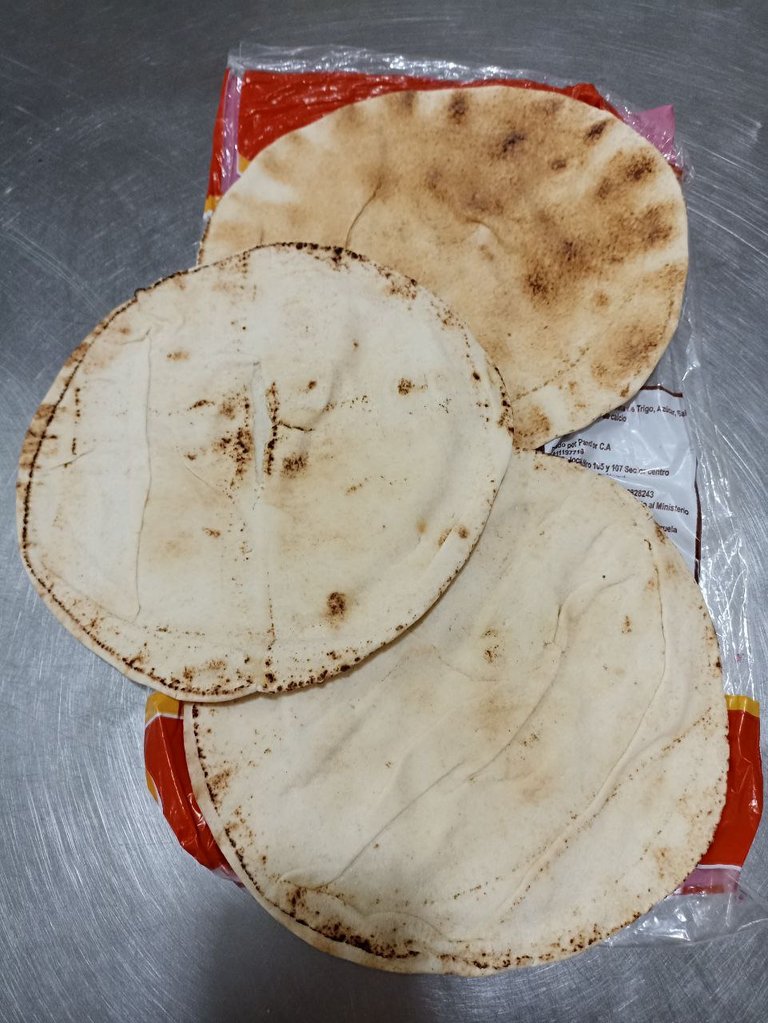
- 3 slices of Arabic bread.
- 1/4 cup olive oil.
- 1 teaspoon of adobo (this one already has salt).
- 2 tablespoons of ground oregano.
- A pinch of curry.
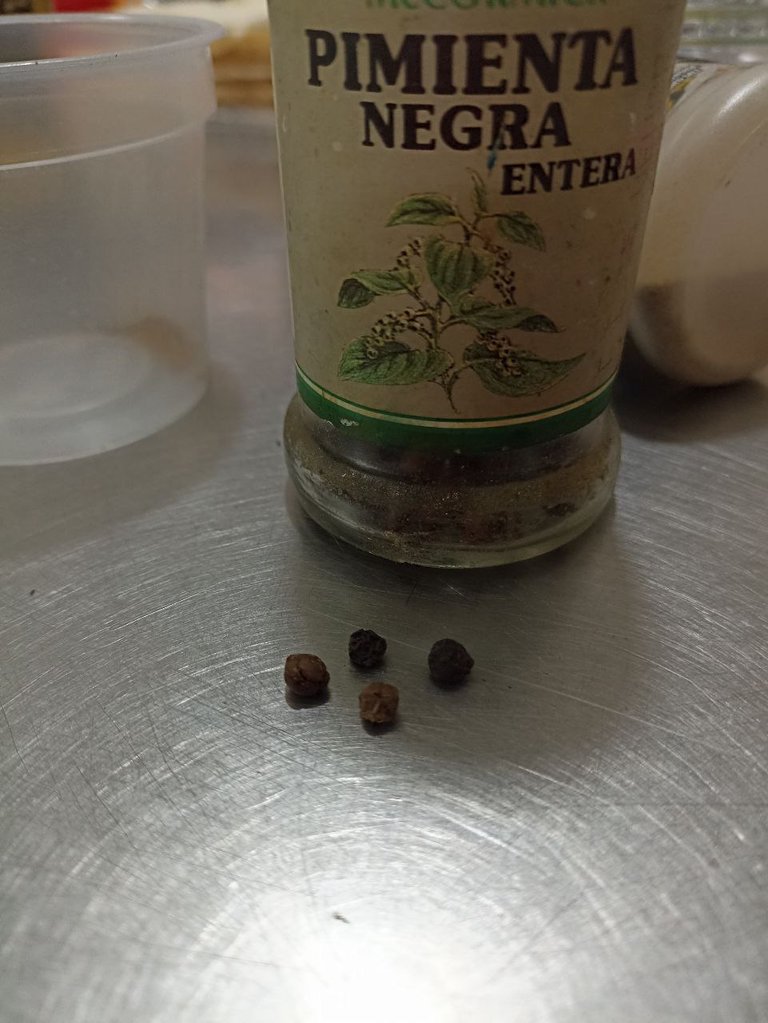
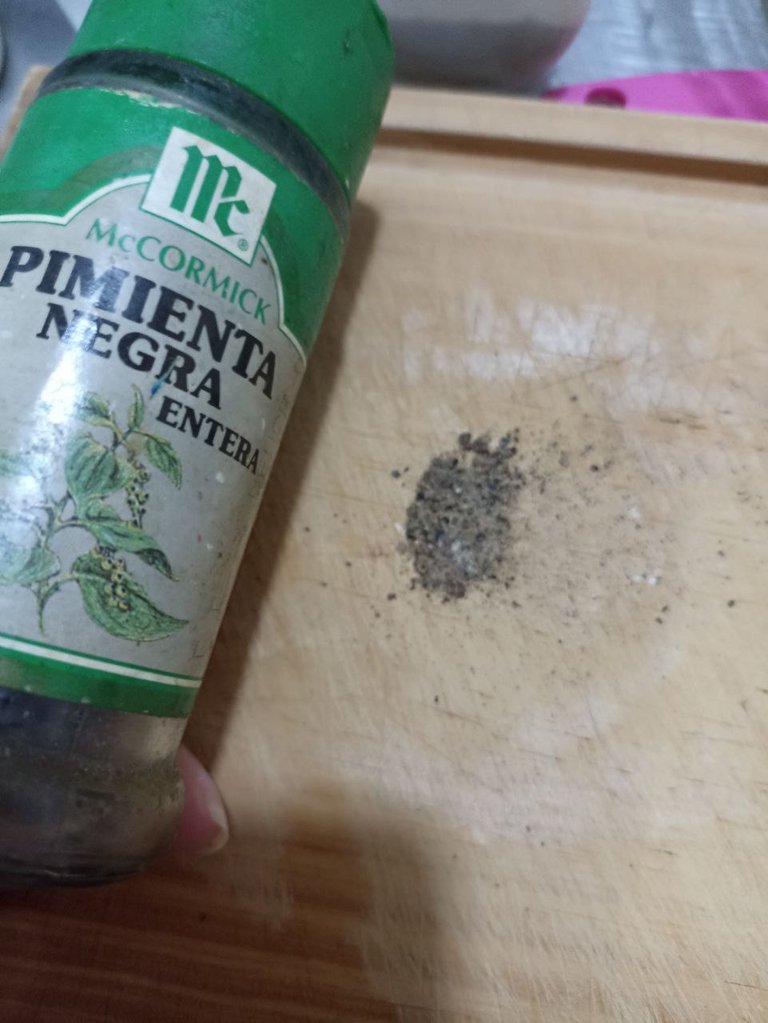
- A pizza of pepper.
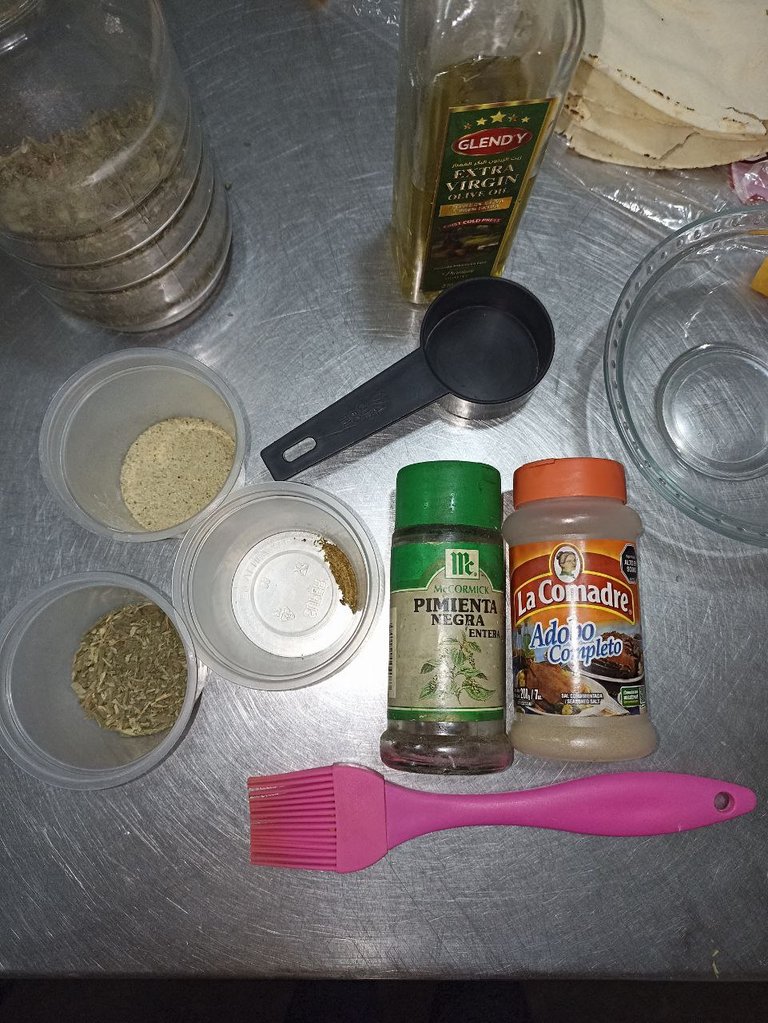
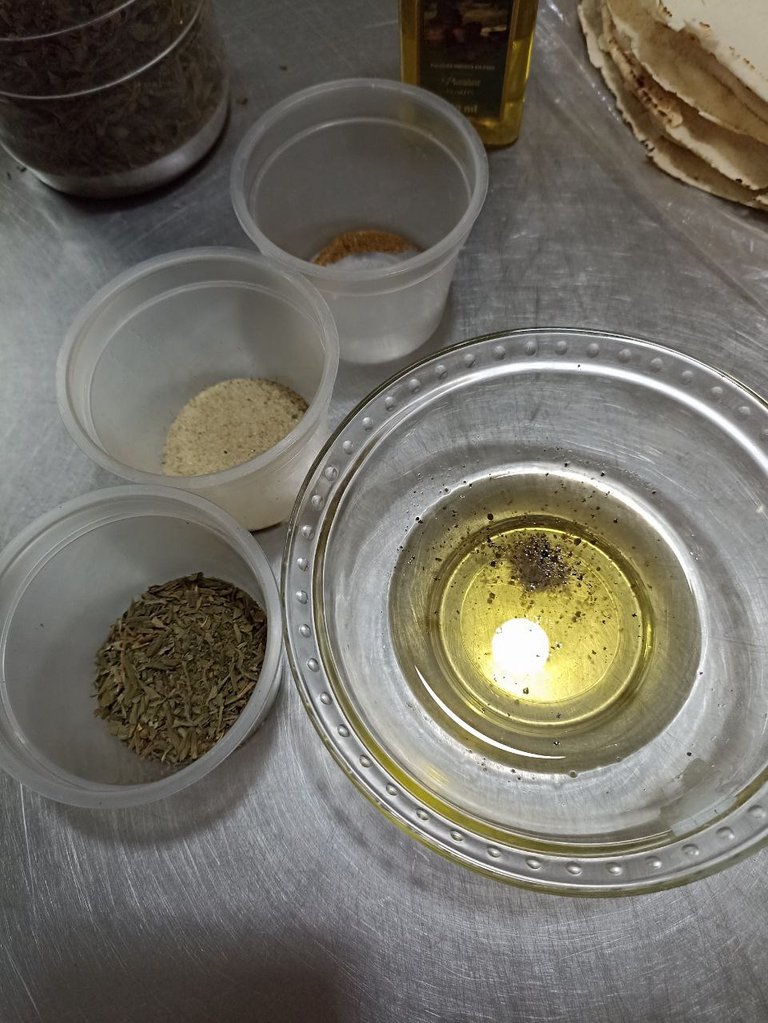
The part of the seasonings is to taste, but these were the quantities I used, the pepper was whole and I crushed it with a stone, I leave here some pictures for visual orientation of the quantities and materials used. You can click on each image to enlarge ❤️.
 |  |
|---|
 |  |  |
|---|
Preparation:
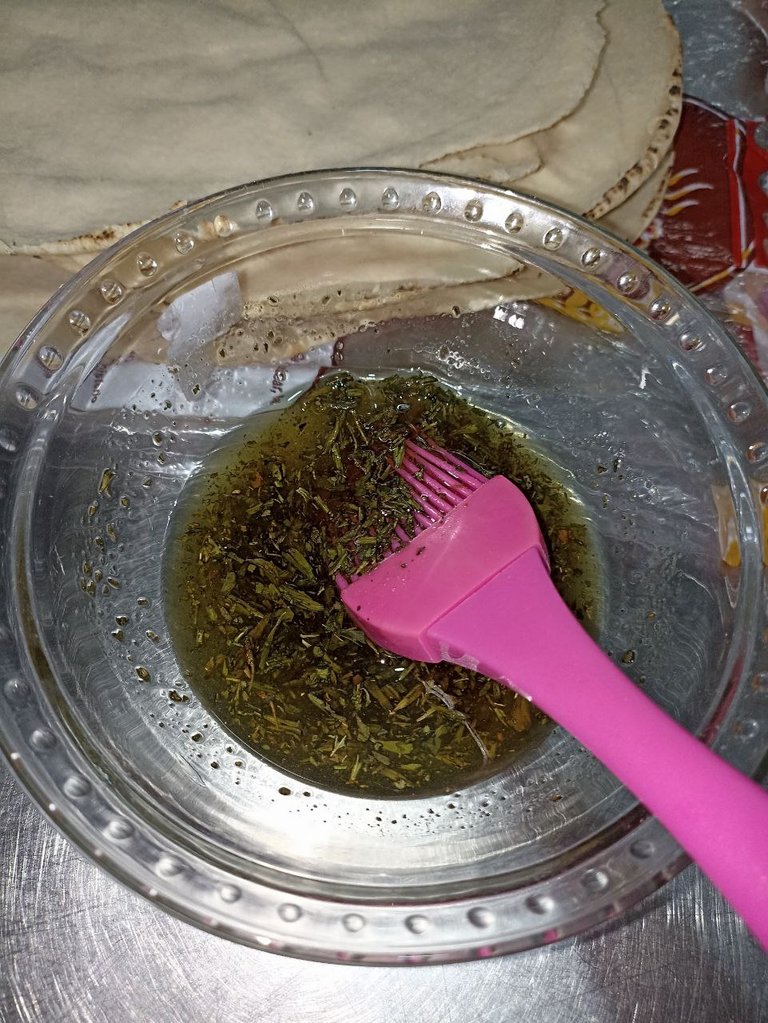
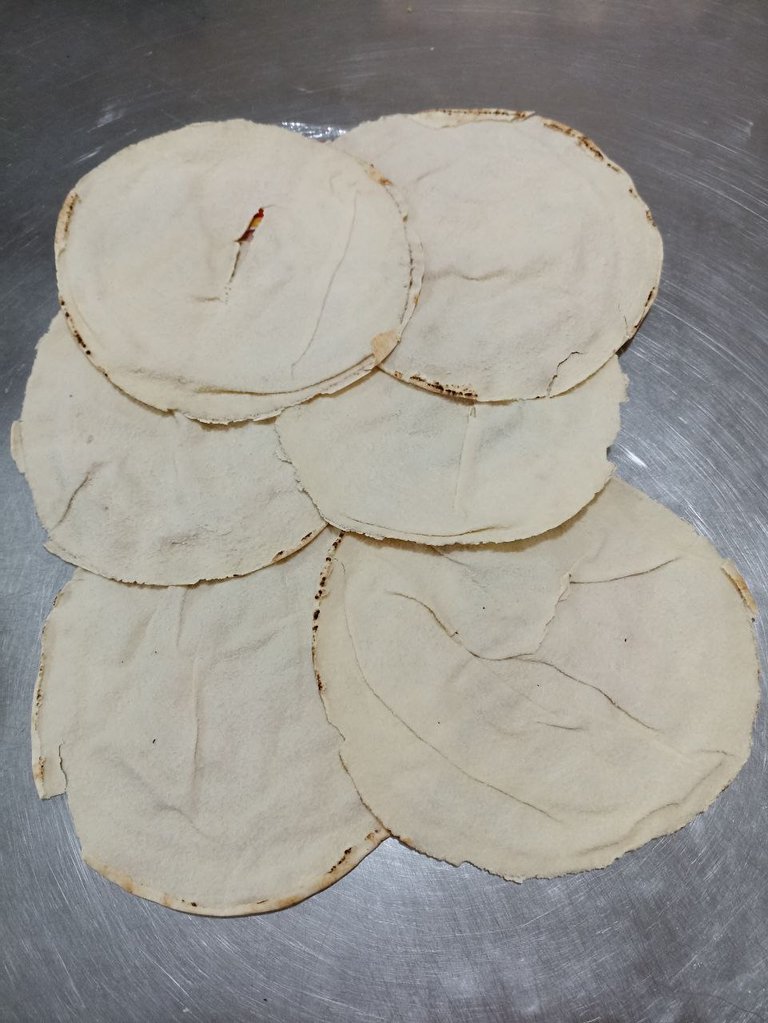
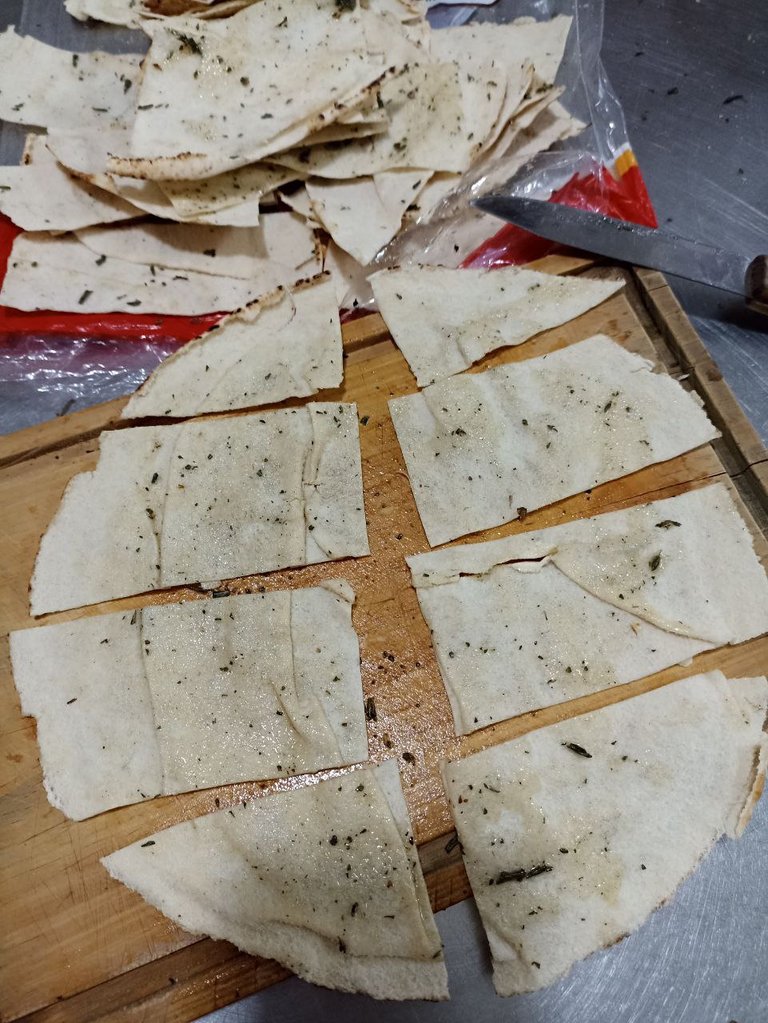
For the preparation the first thing we do is to add all the seasonings to the oil and mix well. And we open in half each Arab bread so that it is thinner, this helps them to be much more toasted, bake faster and yield much more.
 |  |
|---|---|
 |  |
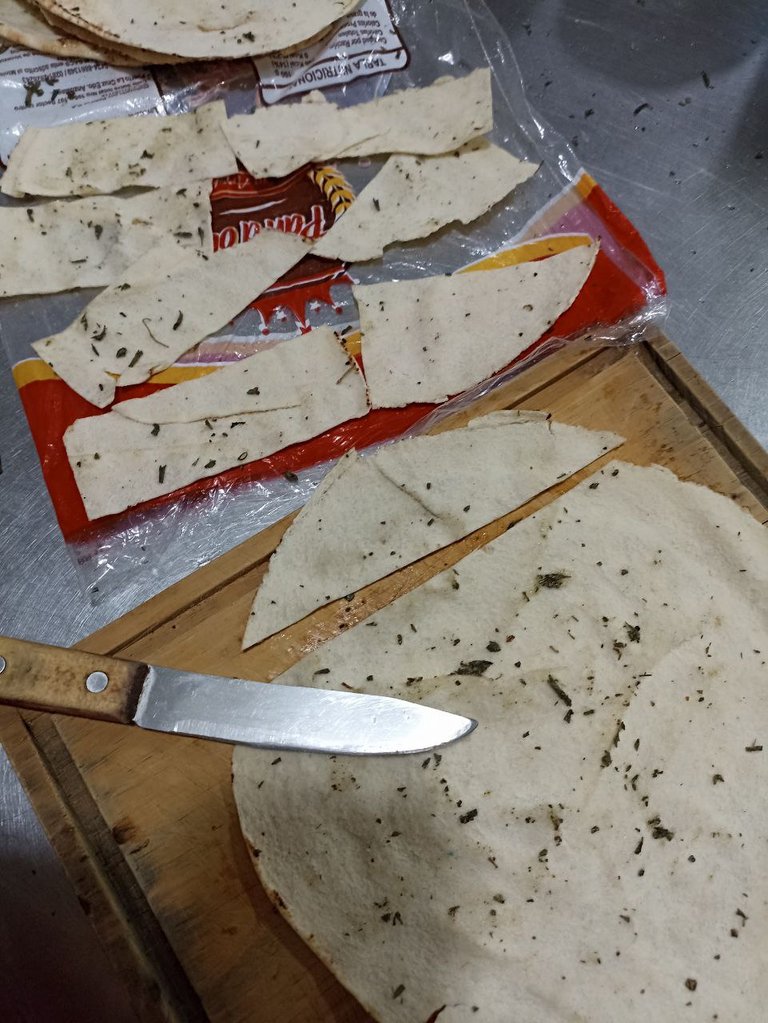
Once the mixture is ready and the breads are half open, we proceed to place it on each one with the help of a brush, stir constantly while we paint the breads with the oil because the salt and some seasonings tend to go to the bottom of the oil and we stir to keep the mixture homogeneous and not to leave everything at the bottom.
Luego que hemos colocado el aceite con condimentos a los panes procedemos a picar y luego de picados, los colocamos en una bandeja para hornear los llevamos al horno por algunos minutos hasta que comience a secar el aceite y estén tostados (no hace falta poner mas aceite ni manteca a la bandeja).
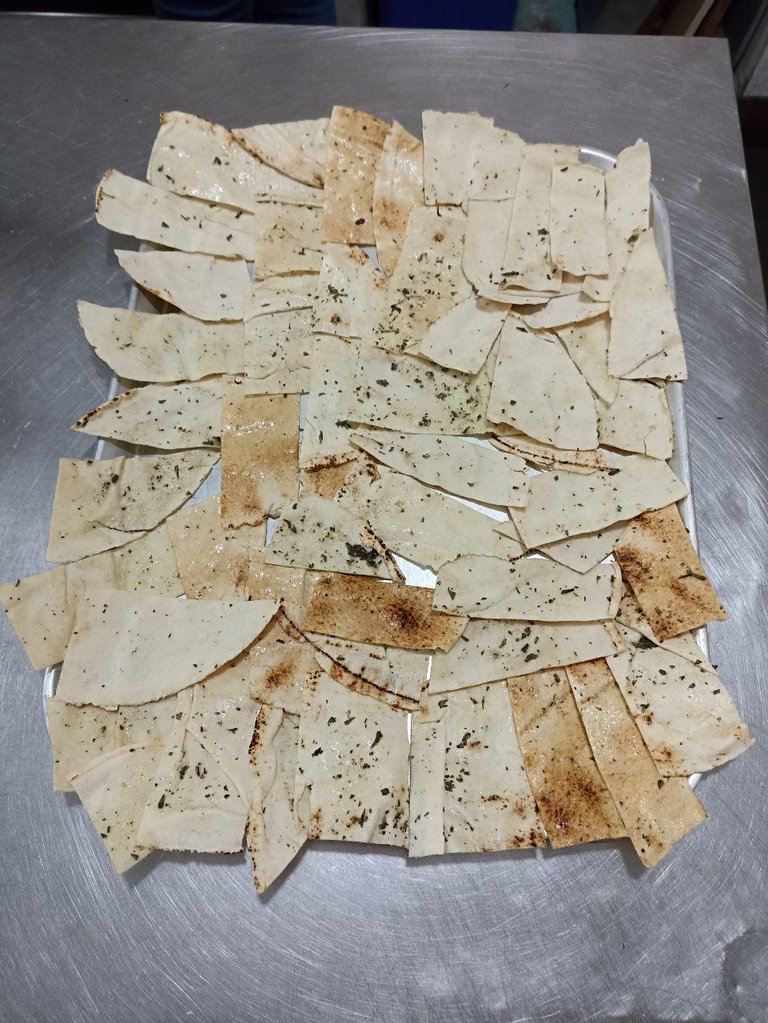
I had them in the oven for approximately 15 minutes at an intermediate temperature and they were already starting to turn golden brown when I took them out, you have to make sure they don't burn.
 |  |  |  |
|---|
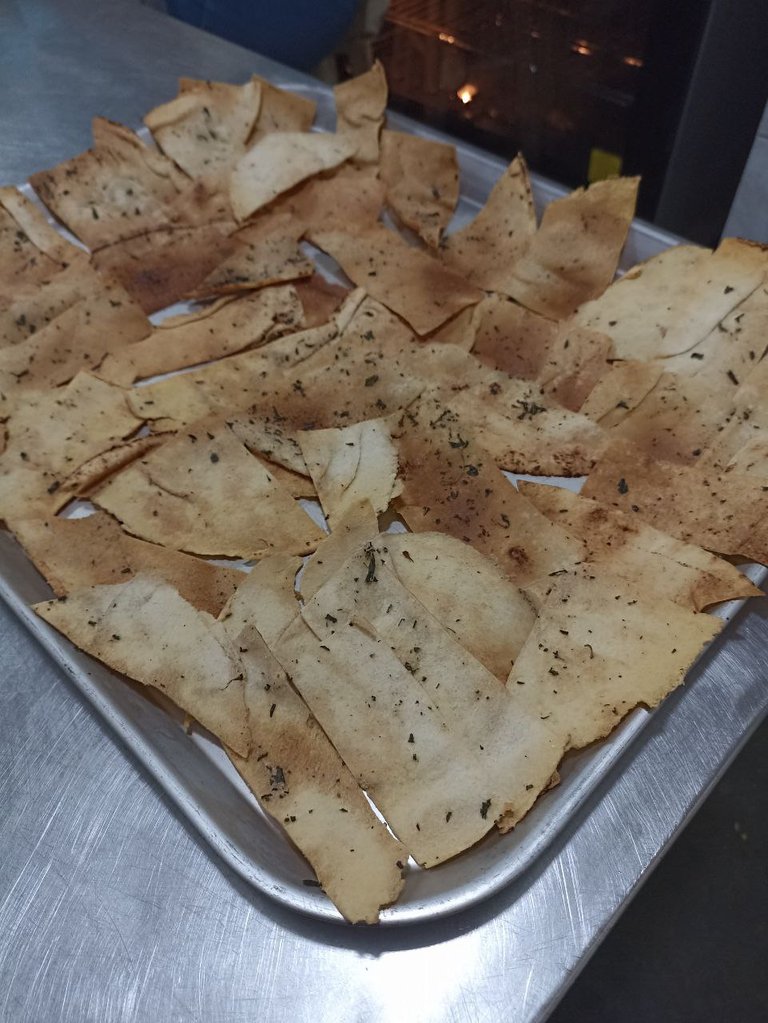
And after enough time has passed we take them out of the oven and we have some delicious Arab bread toasts, they are addictive, they can be eaten alone or accompanied, I accompanied them with the sauce that I mentioned at the beginning. I will show you how I made the sauce.
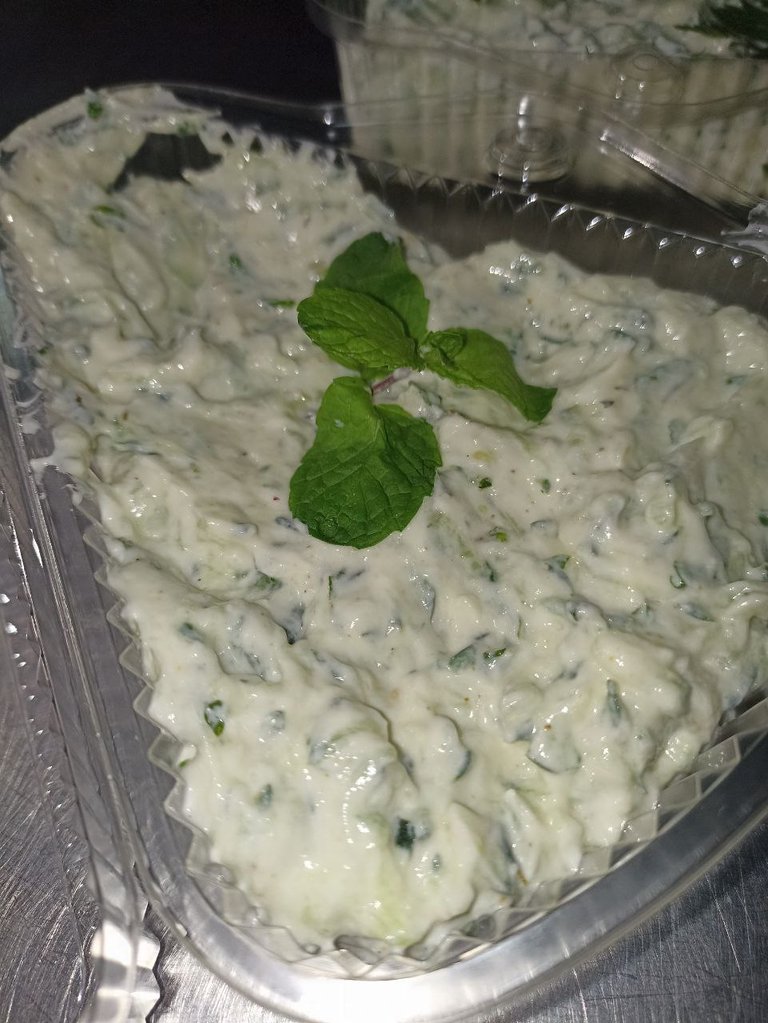
"TZATZIKI" sauce.
(here you can see his post with his recipe). This recipe was shared a few days ago by @zupasteleria and it caught my attention because she said she gave it on her birthday and her guests “loved it”, so I thought if several people liked it, it's for something, this is what encouraged me to prepare it.
The name of this sauce is “TZATZIKI” and its origin comes from the Greek and Turkish cuisine, it is made with healthy ingredients and it is incredibly delicious, I never imagined that a healthy sauce would be so tasty. By the way, I have been seeing recipes for Greek yogurt sauces for a long time but I had not dared to make any because I did not believe that it would be something good, but I must say that I was totally surprised with how divine this sauce turned out to be.
I made some slight changes, I added a little more garlic because the recipe said only one and I thought it was too little, at least taking into account the size of the Creole garlic that we use here, so I didn't put one, but at first I was going to use two and then I added a third, I wanted it to be spicy and it was at a point that I really liked.
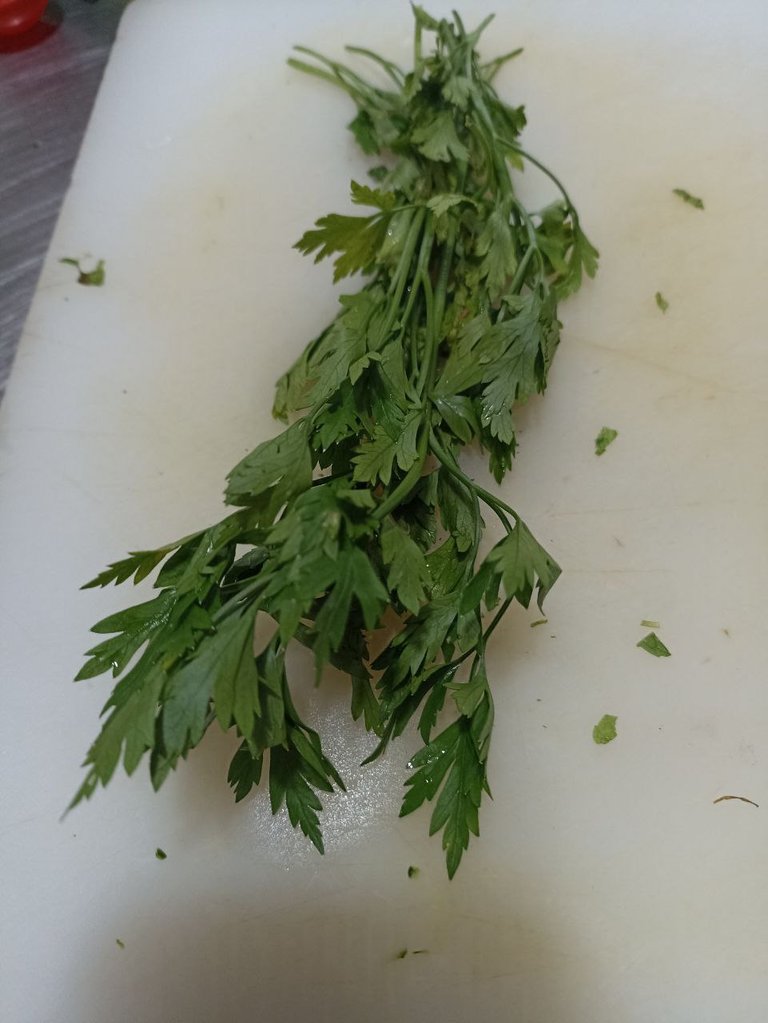
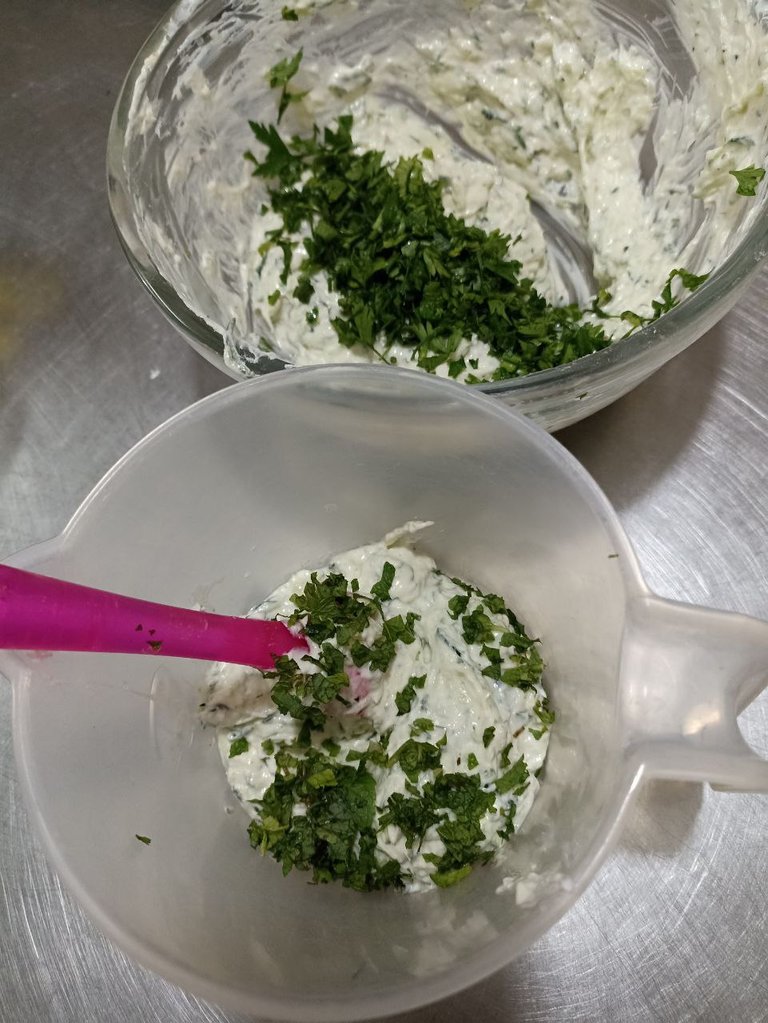
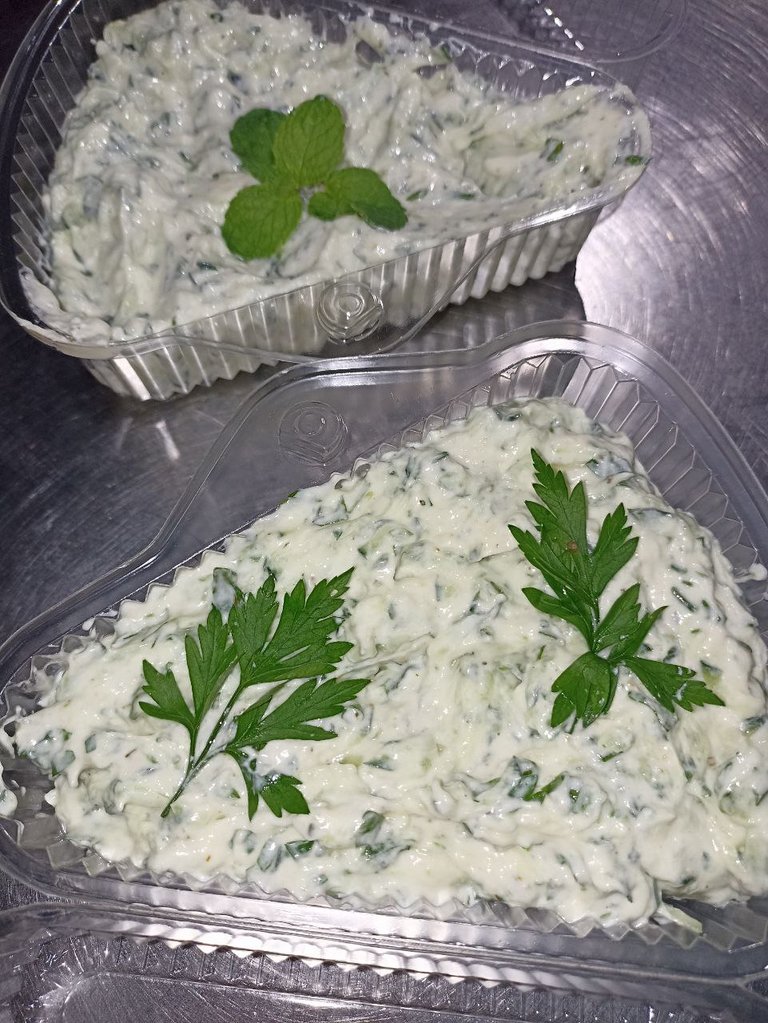
Another small change I made to the recipe is that I divided it into two parts and I added some mint to one as in the original recipe and parsley to the other, because I love parsley and I thought it could be good this way and I can tell you that it was a great success 🤤🤤 both options turned out divine.
Although the recipe is already published, I am going to share here the list of materials and step by step for those who have not seen it yet, if you did not know it I invite you to make it, I guarantee you will love it and it also yields a lot.
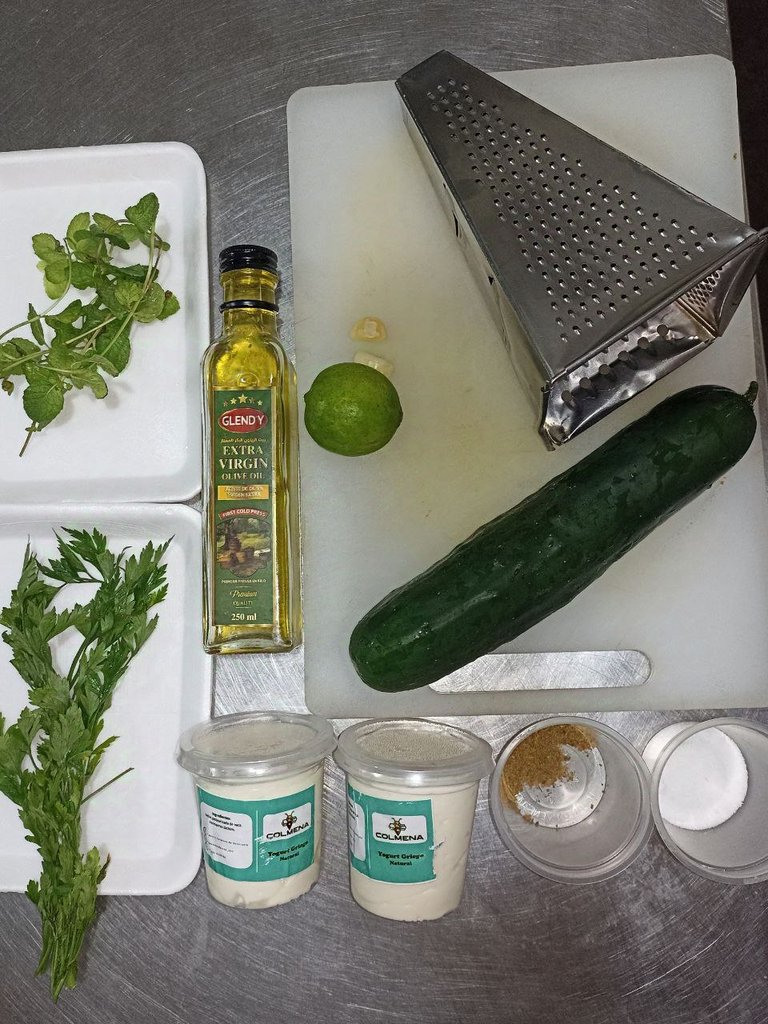
Ingredients:
- 1 cucumber.
- 150 grs. Greek yogurt.
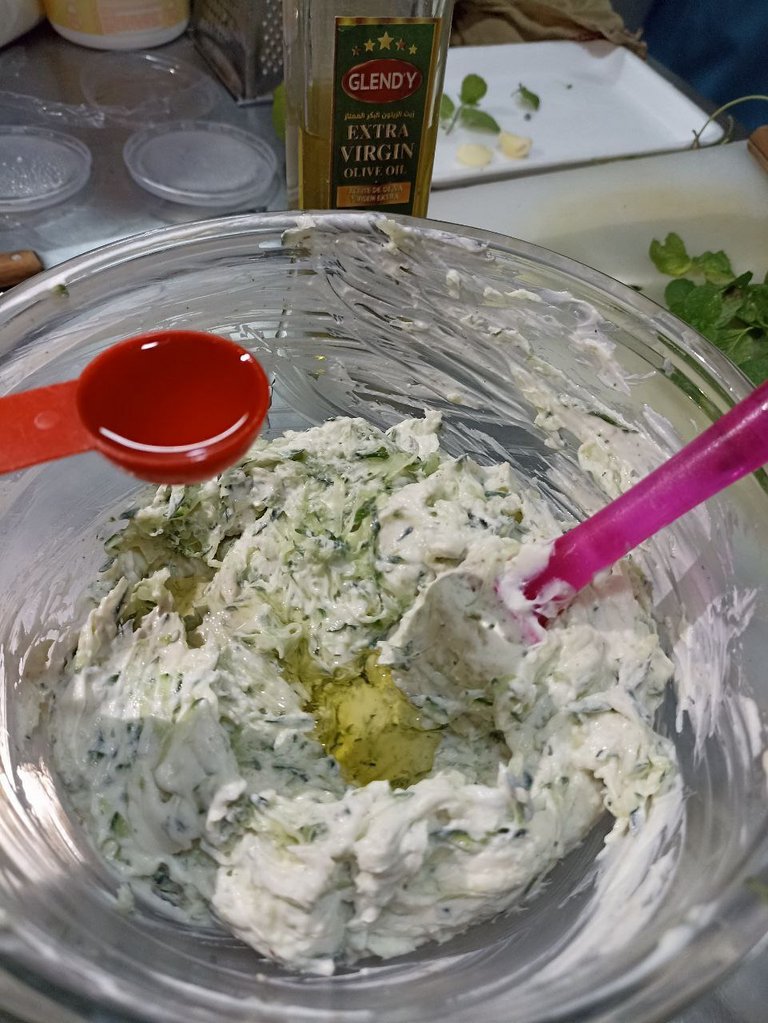
- 2 tablespoons of olive oil.
- 3 garlic.
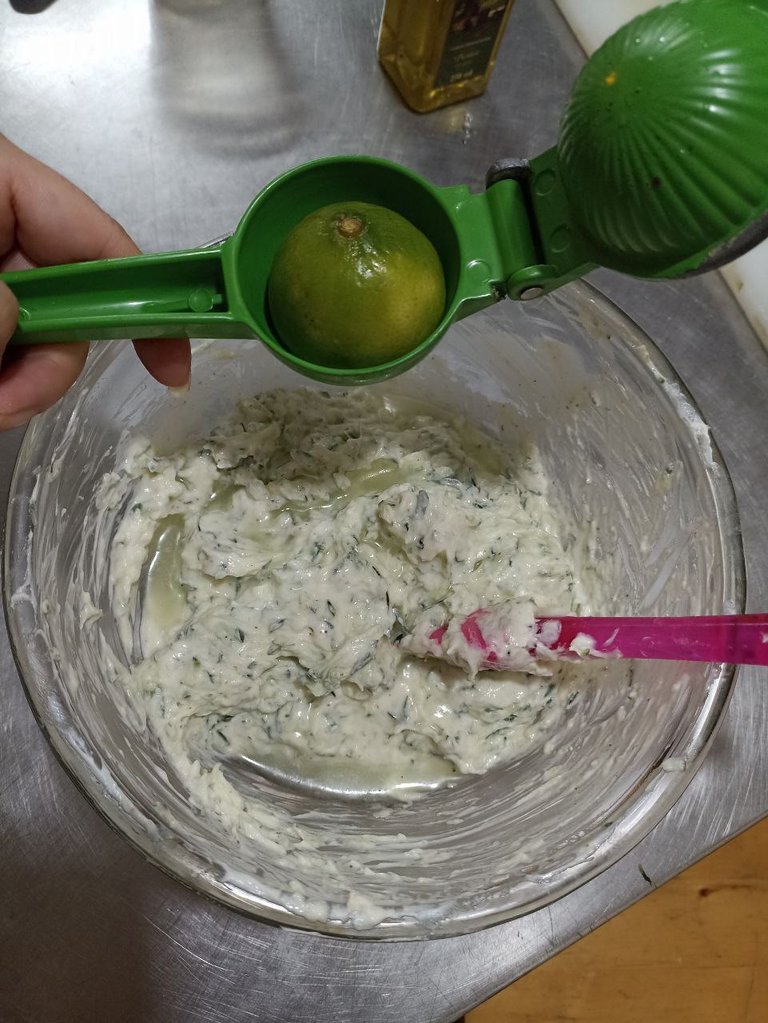
- Juice of 1/2 lemon (one tablespoon approximately).
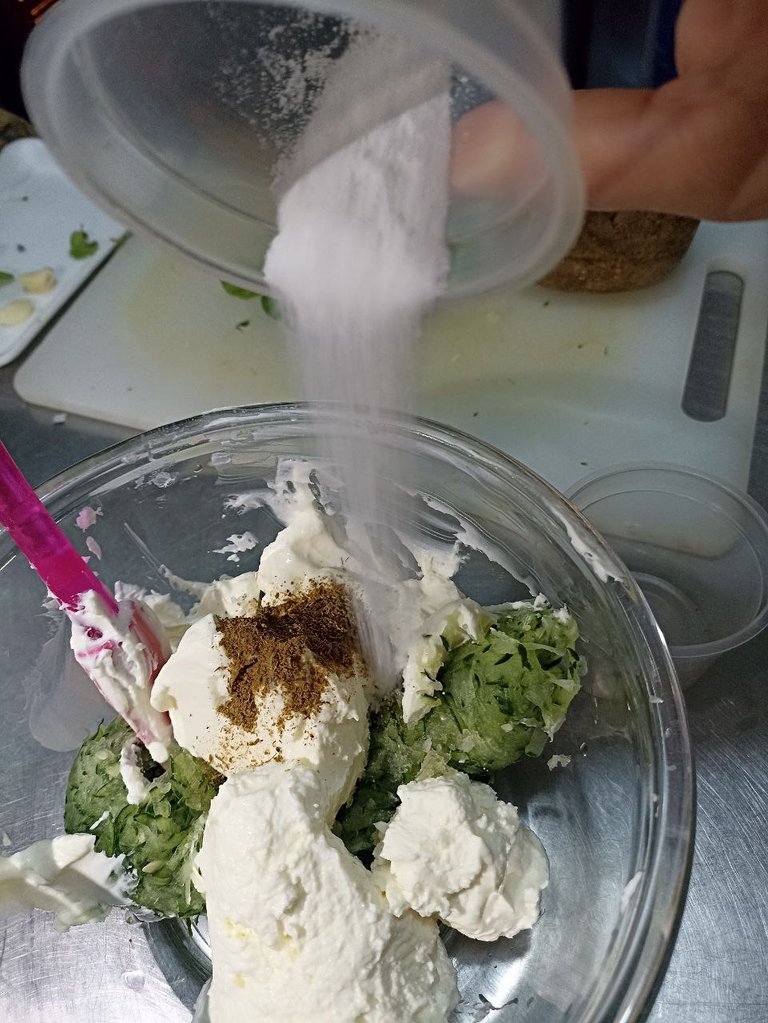
- 1 teaspoon of salt.
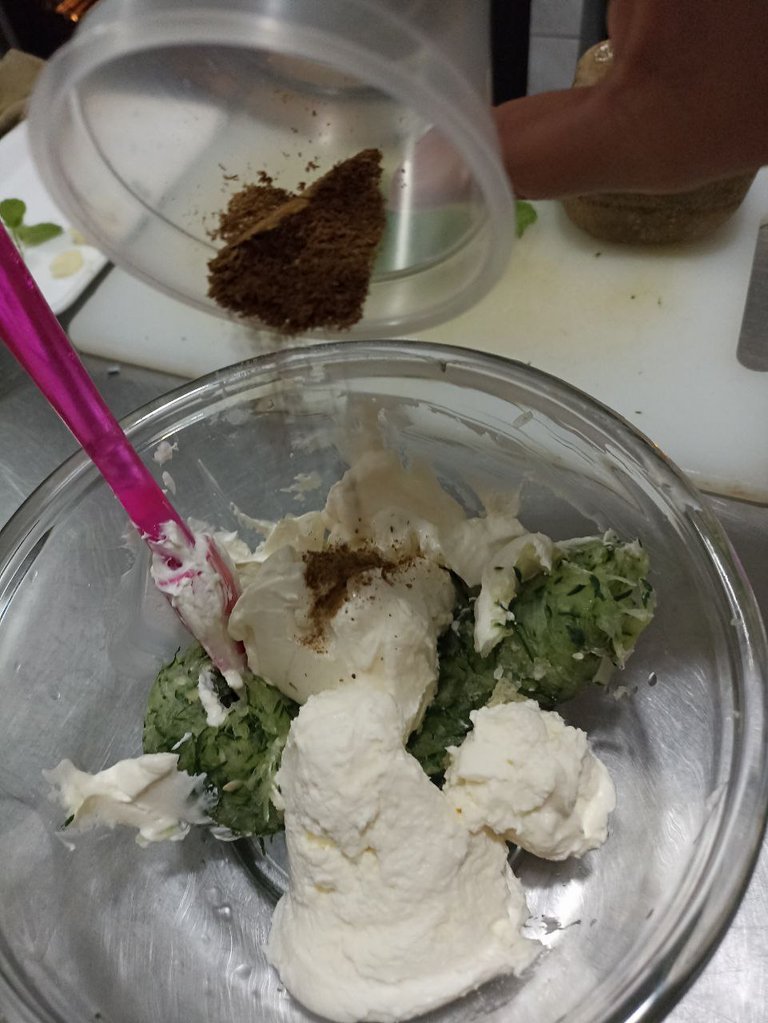
- 1/2 teaspoon cumin.
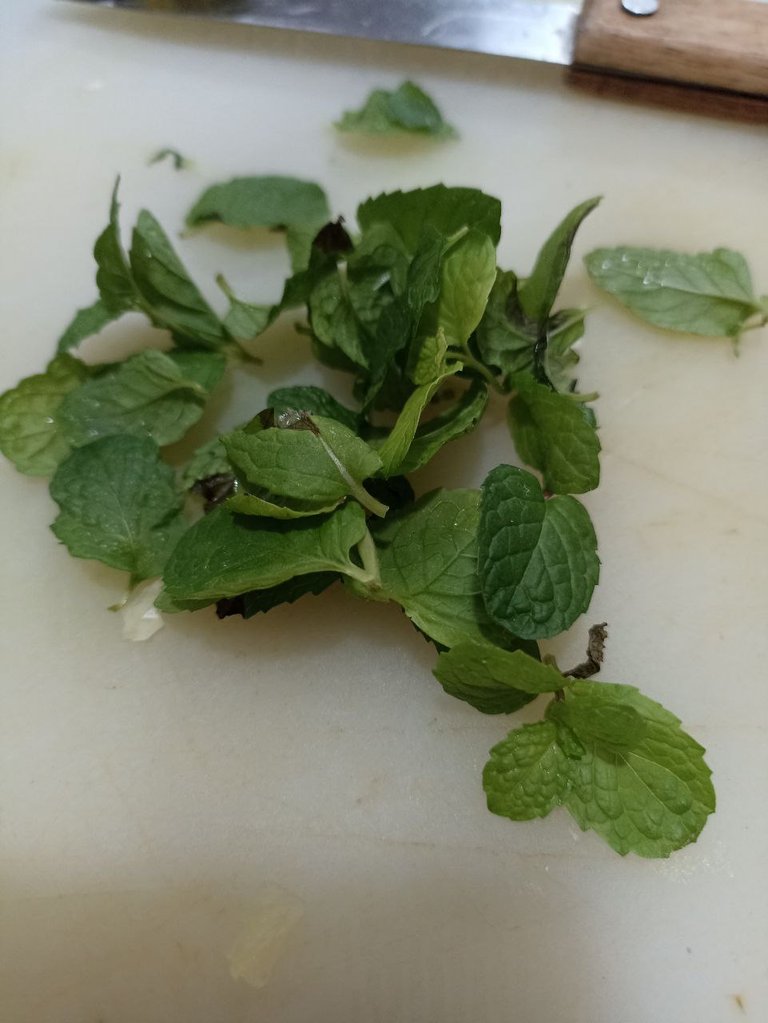
- Mint (good mint).
- Parsley.
The amount of mint and parsley is to taste, I put what you see there in the picture, mint had almost no, my mom has a little plant but had few leaves and that was the harvest that my mom gave me hehehe but I think the amount was in a fairly appropriate proportion 👌.
The lemon in the original recipe said the juice of one lemon, but I was afraid it would be too acidic and I used only the juice of half a lemon, the changes were more garlic, less lemon and the variant with parsley.
 |  |
|---|
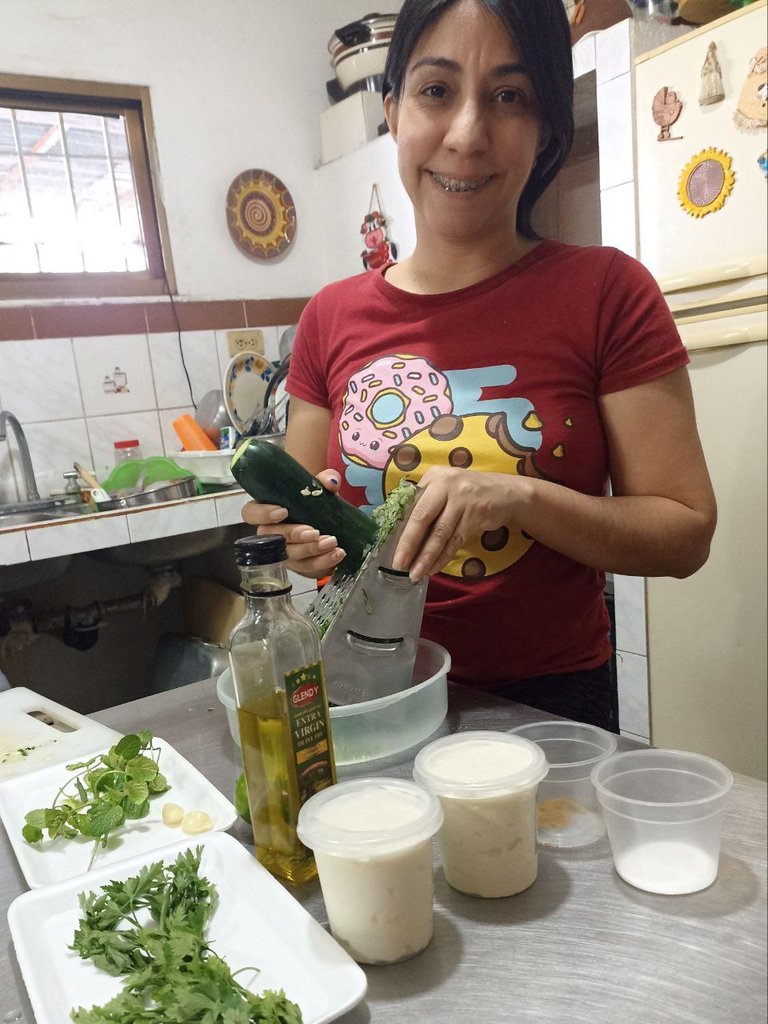
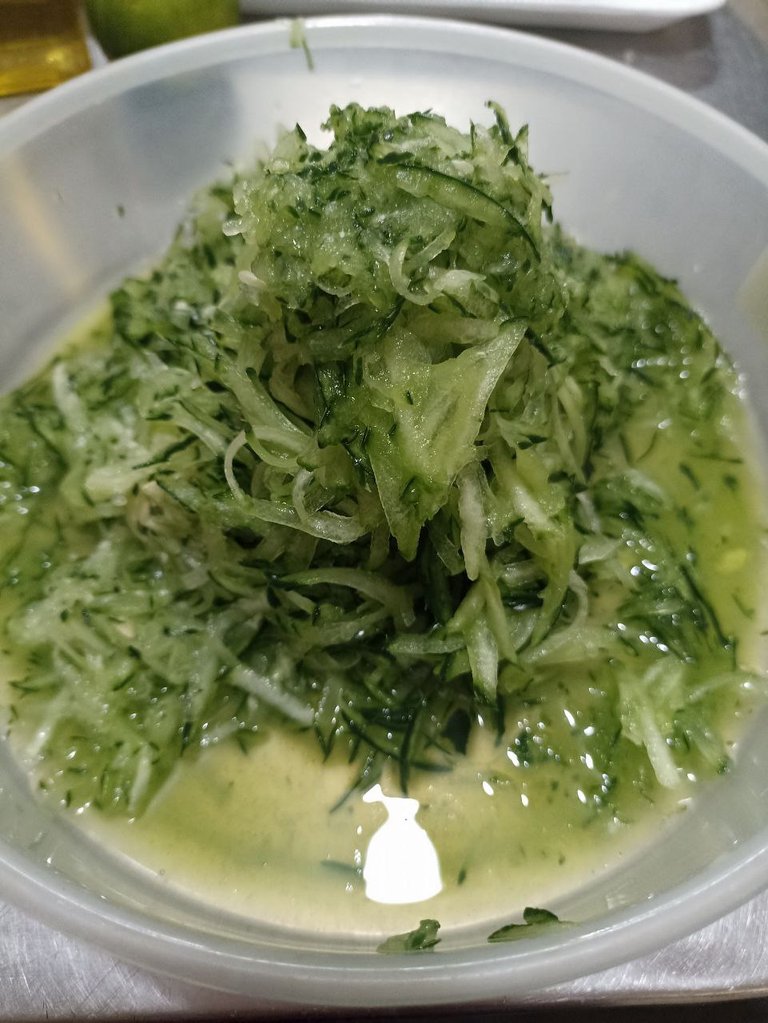
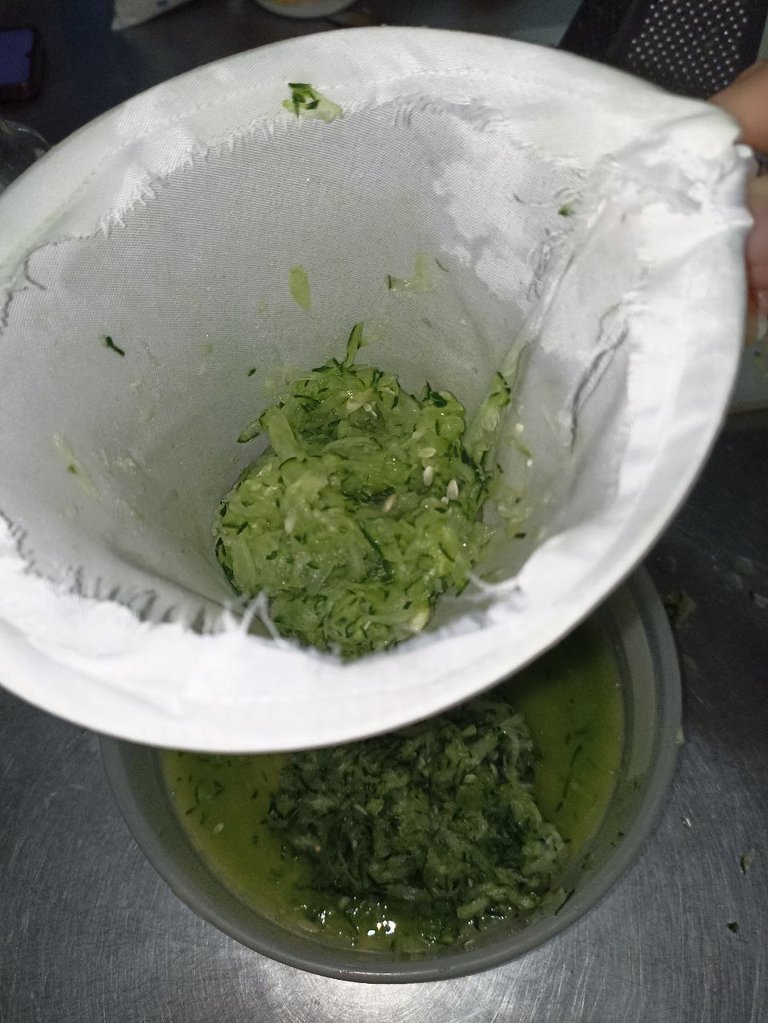
To start preparing this delicious dressing the first thing I did was to grate the cucumber and squeeze it, this is the only part that takes some time, but I don't think it took more than 10 minutes, so it's not so laborious. Then all the other steps are simple and quick.
 |  |  |
|---|
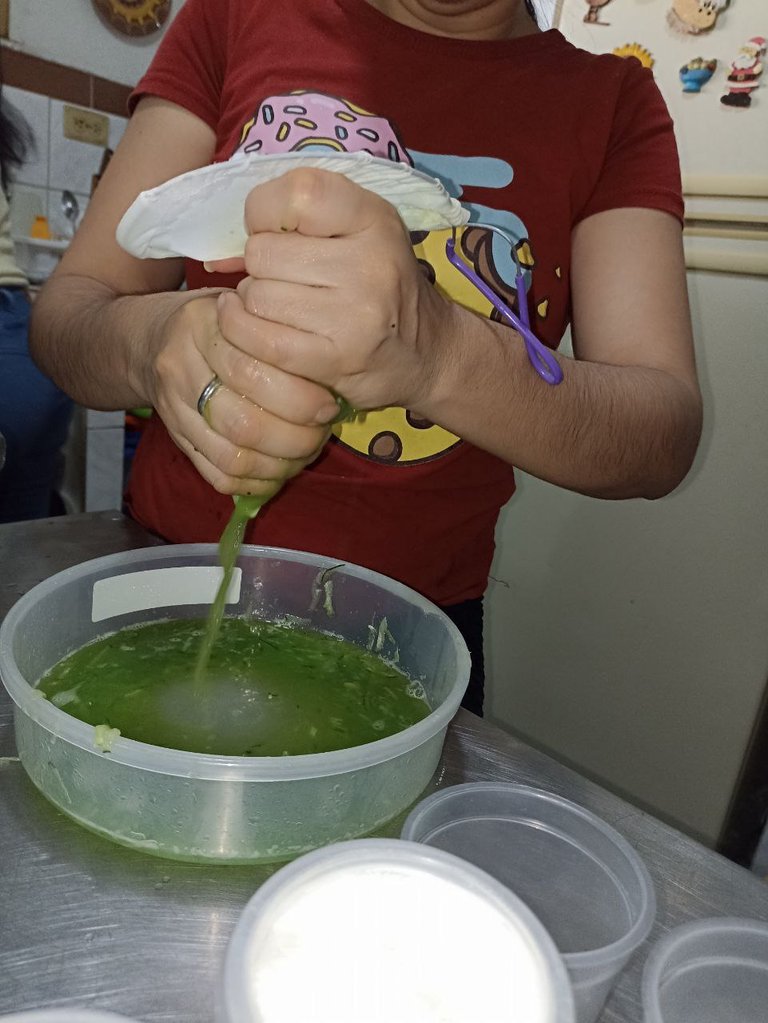
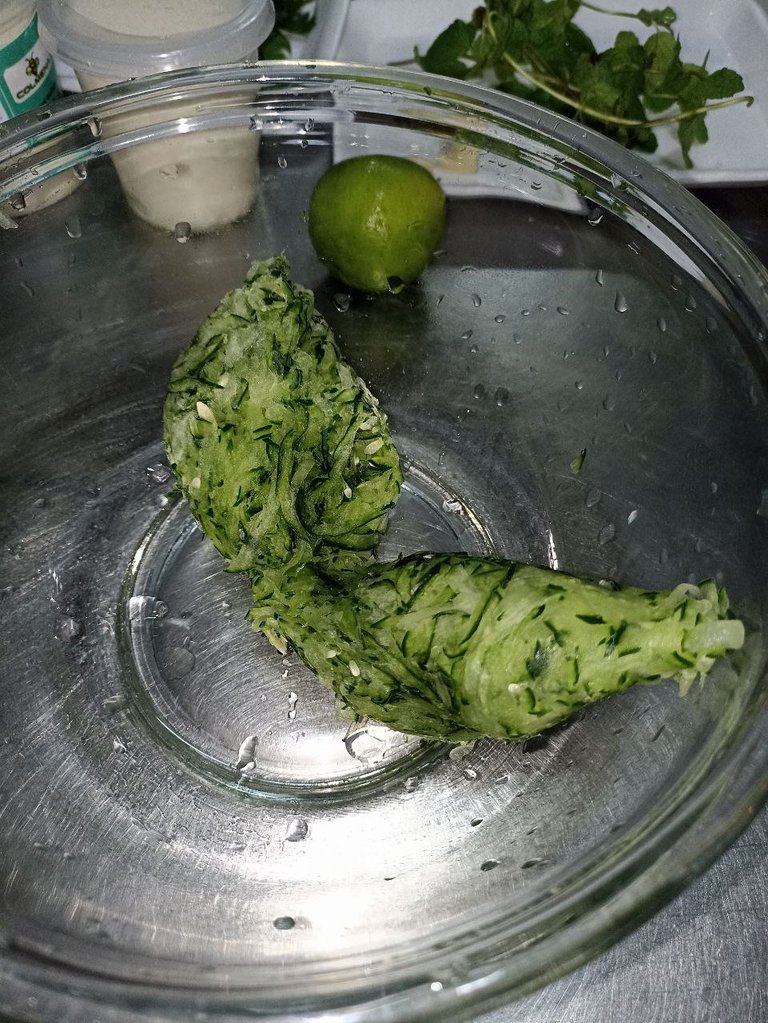
I squeezed the cucumber in one of those coffee strainers that I have clean for this kind of things, you have to squeeze it hard to get all the water out.
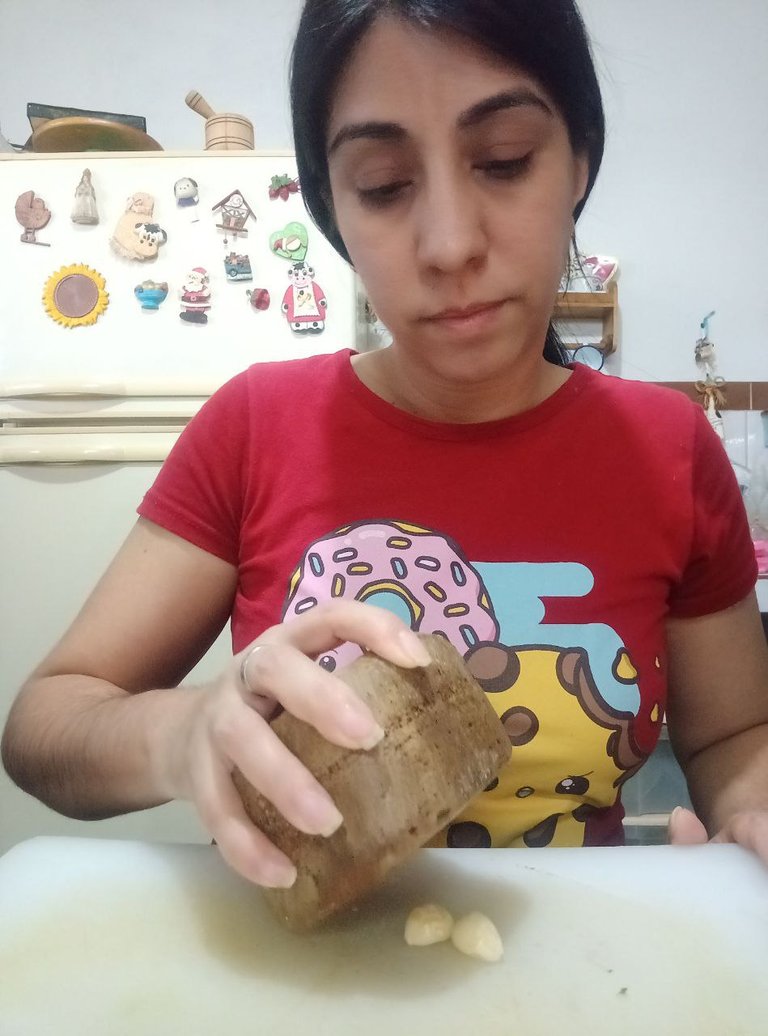
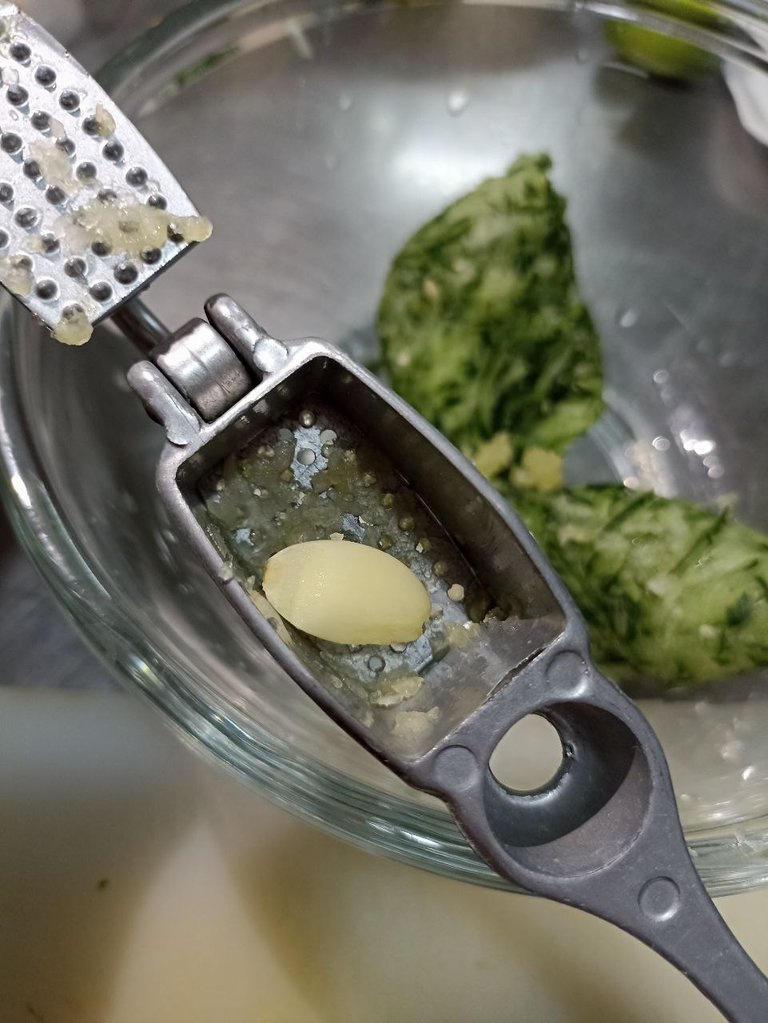
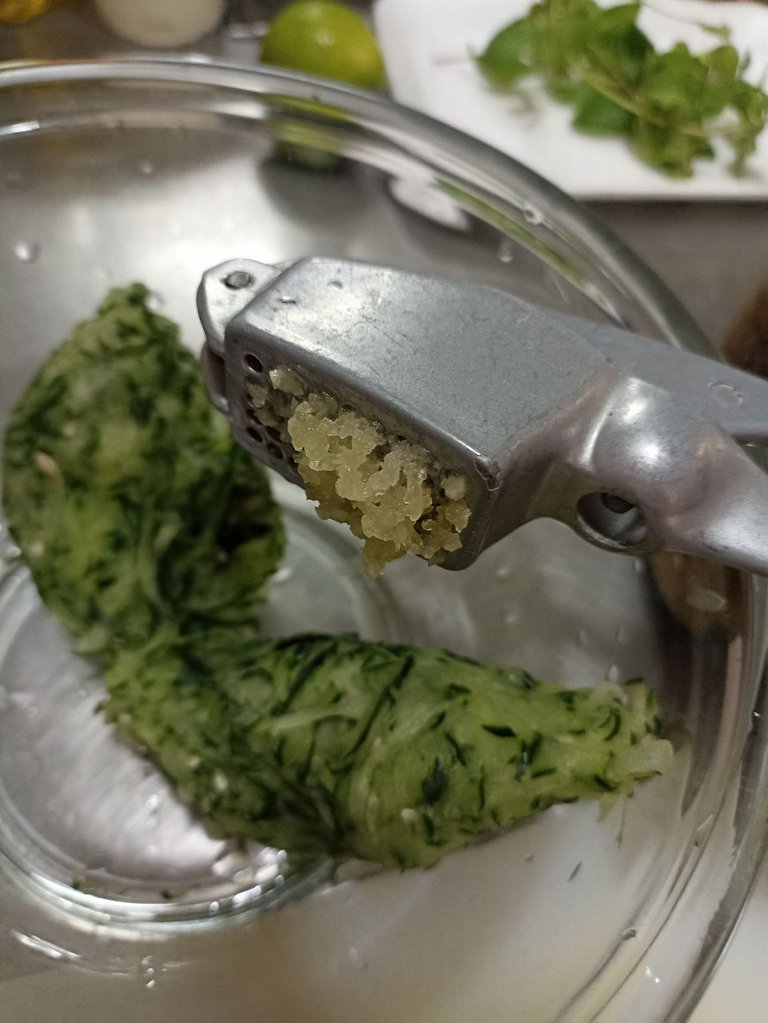
After this step the next thing I did was to crush the garlic, then I tried to chop them as little as possible with the knife, but I was afraid that there would be very large pieces of garlic so I remembered that my mom had a garlic extractor (I don't know if it's called that) and after having crushed and chopped them I passed them through that little device and at that moment I thought 😈 “add another garlic” hehehehe and then I put the third clove of garlic hehehehe.
 |  |  |
|---|
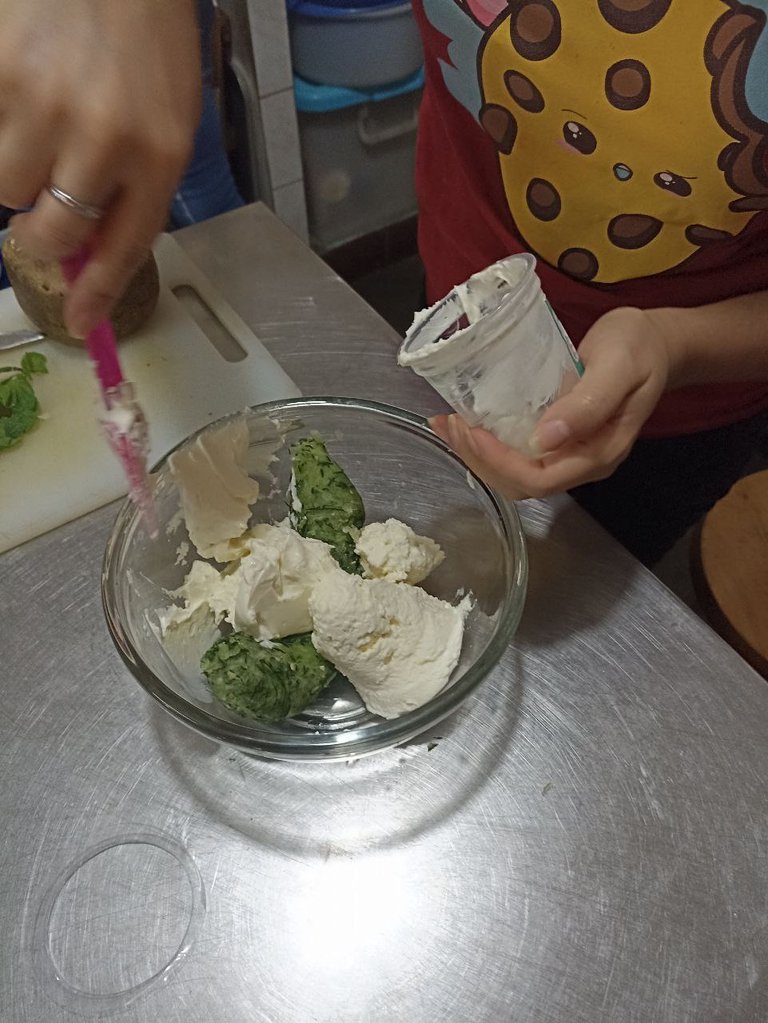
Y ahora sí la parte rápida y fácil, ya en este punto solo queda agregar el resto de los ingredientes y mezclar muy bien para tener lista está deliciosa salsa.
Anecdote: I'm a bit of a Dory, sometimes I have forgotten to prepare some recipes hahaha if I tell them they laugh and cry, and this time I almost forgot to add the lemon, if it wasn't for my friend @ikigaidesign who was there and realized I might have left it without that hehe. By the way she took some of the pictures you see me in here.
 |  |  |
|---|---|---|
 |  | 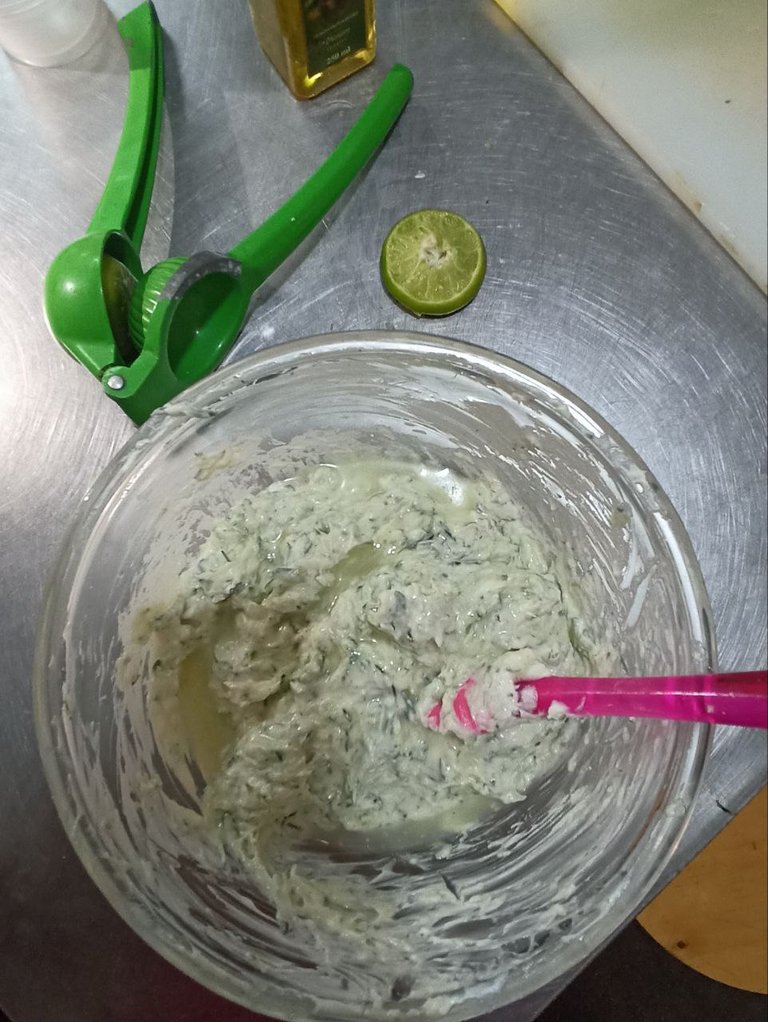 |
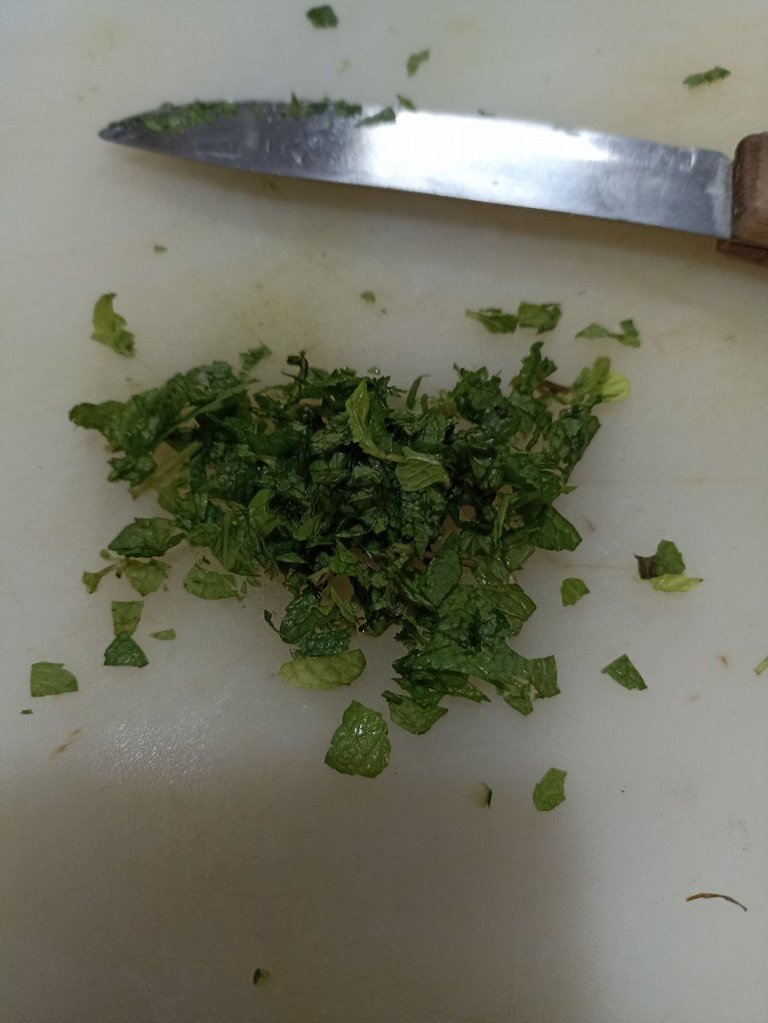
After I made a kind of base sauce, I divided it into two parts and added parsley to one part and mint to the other, both chopped as small as possible.
I mixed each one separately and everyone present loved the result. By the way, I took this sauce to my mother-in-law's house who had a birthday that day and everyone there loved it too, even my dad, who doesn't like cucumber, liked it.
 |  |
|---|---|
 |  |
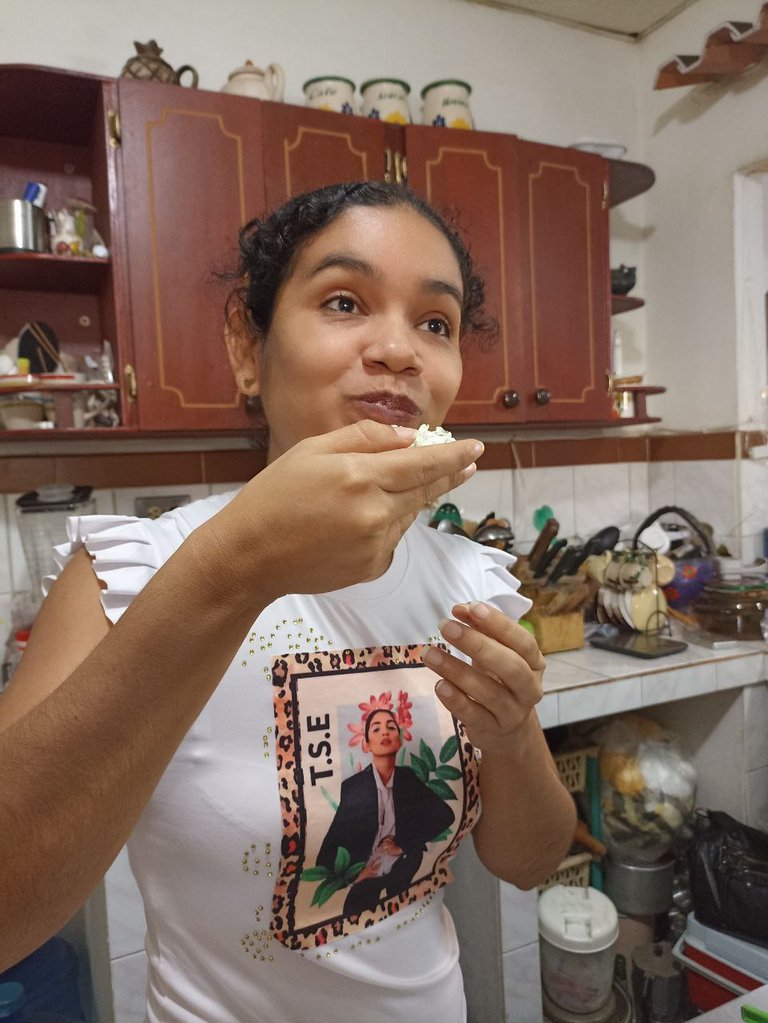
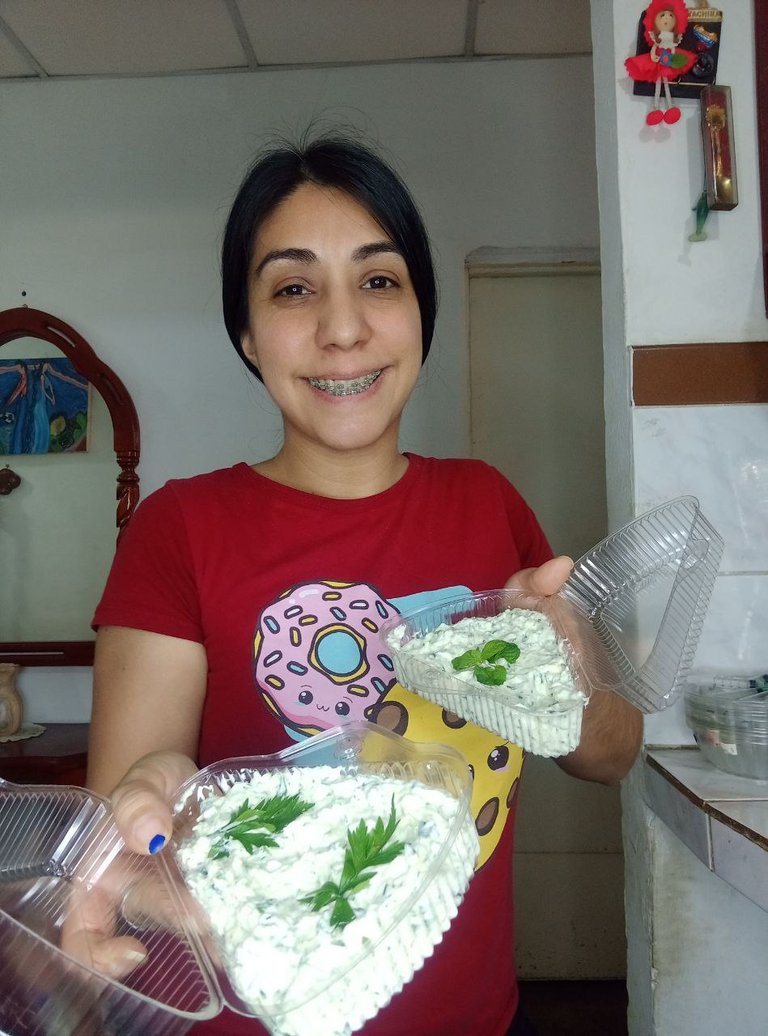
After the sauce was ready, I packed it in two containers to take to my mother-in-law's birthday party and I left a little bit for me and for us to try. I took this picture of my friend Nohe's reaction when she tasted it, I hope she doesn't scold me for sharing her picture, no lie I already asked her permission, her face speaks more than me about how tasty this sauce turned out.
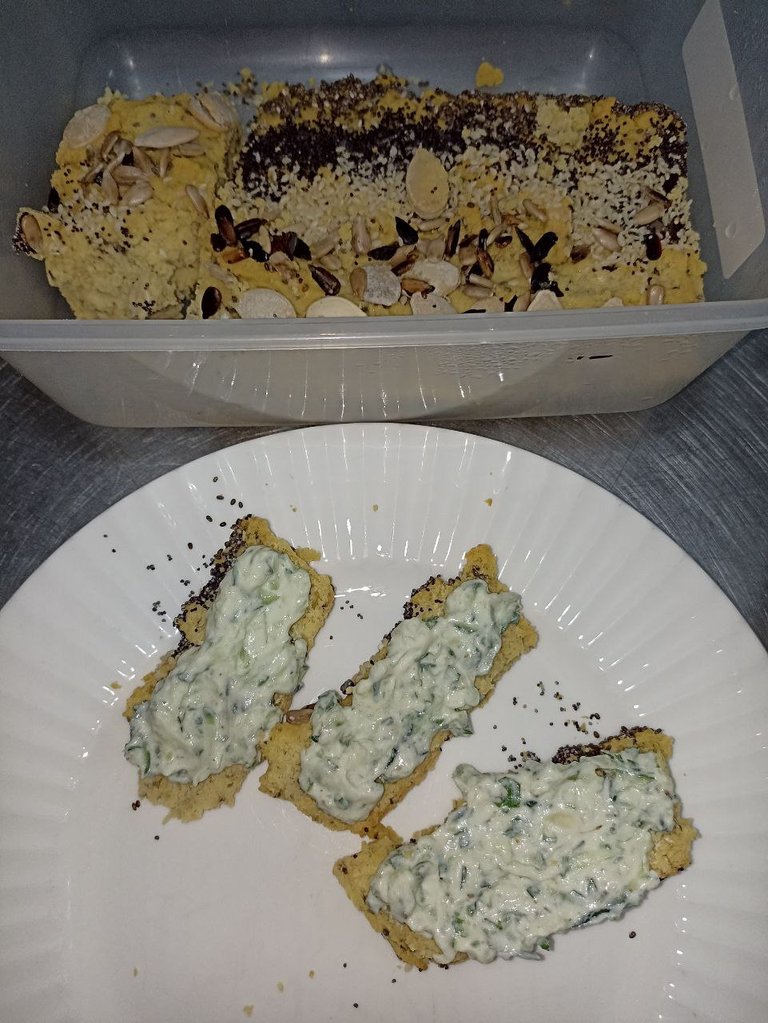
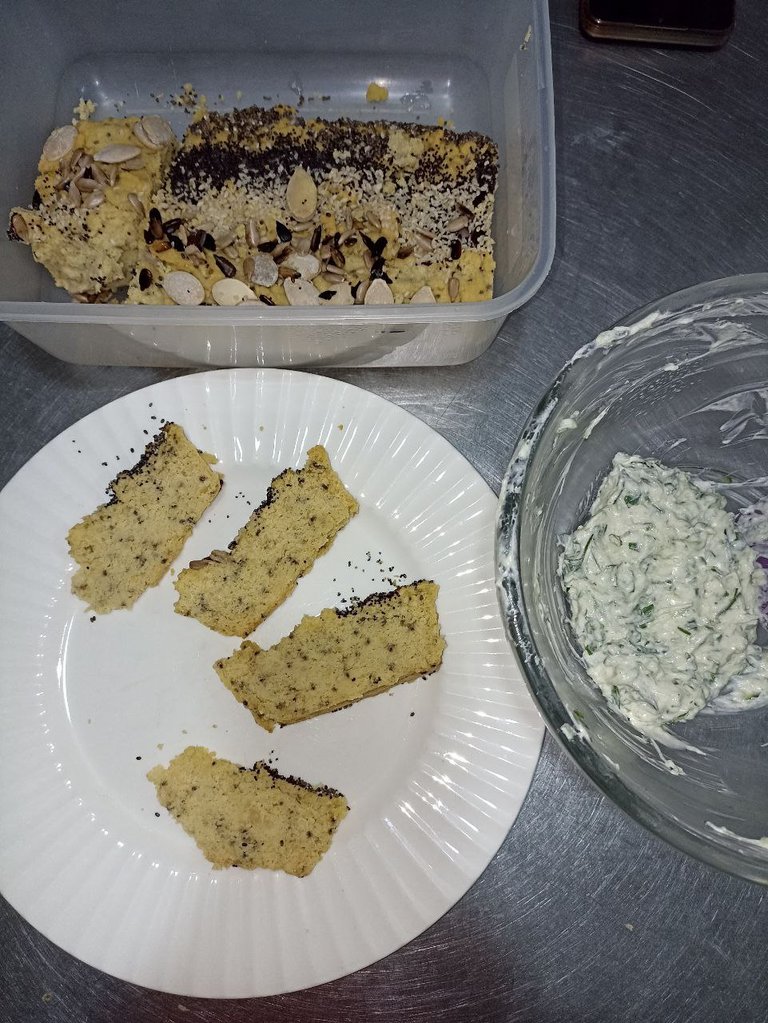
By the way, we accompanied it with a little bit of chickpea bread that I had left over (here the recipe) and wow a super healthy and delicious option, ideal for when we get those anxiety attacks of eating something tasty, or even an excellent healthy combination to give of paspalos, sometimes we go to meetings and everything is unhealthy, well here I leave this idea especially for those who are careful with meals at parties.
 |  |
|---|
 |  |  |
|---|
I hope you liked my post today, thanks again to @zupasteleria for sharing such an amazing and healthy recipe.
The dressings are one of my sufferings in my attempts to eat healthy, but with this sauce I know that if you can dress tasty and healthy 🙏 thank you thank you thank you thank you 🙏 and whoever came here thank you very much for reading me ❤️ many blessings see you in a next post.
The photos used throughout the post were taken with my Redmi 10S phone.
Banners & Signatures Made in Corel Draw Photo-Paint
GIF editing: Capcut
Translation to English with DeepL
My Social Media


Español
Bienvenidos a una receta 2x1 👩🍳
Hola hola gente linda de HIVE y en especial a los fanáticos de la comida en la comunidad @hivefood el día hoy les quiero compartir una receta de unas ricas tostadas árabes y mi experiencia preparando una receta que vi recientemente acá en HIVE de una deliciosa salsa que me sorprendió lo espectacular que queda 🤤.
Este par de recetas son un dúo súper fácil y rápido de hacer, ideales para compartir en reuniones, las tostadas quedan súper crocantes y deliciosas, mi sobrino dice que parecen Doritos y le encantan jejeje y el acompañarlas con este aderezó saludable es una combinación deliciosa, excelente para consentir a nuestros invitados o llevar a algún compartir.
Receta Tostadas de pan árabe:
Ingredientes:
- 3 rebanadas de pan árabe.
- 1/4 de taza de aceite de oliva.
- 1 cucharadita de adobo (este ya tiene sal).
- 2 cucharadas de orégano molido.
- Una pizca de curri.
- Una pizza de pimienta.
La parte de los condimentos es al gusto, pero estás fueron las cantidades que yo utilicé, la pimienta era entera y la trituré con una piedra, les dejo acá unas fotos para orientación visual de las cantidades y materiales usados. Pueden dar clic en cada imagen para ampliar ❤️.
| |
|---|
| | |
|---|
Preparación:
Para la preparación lo primero que hacemos es agregar al aceite todos los condimentos y mezclar bien. Y abrimos a mitad cada pan árabe para que quede más delgado, esto ayuda a que queden mucho más tostados, se horneen más rápido y rindan mucho más.
| |
|---|---|
| |
Luego que tenemos la mezcla lista y los panes abiertos a mitad procedemos a colocarla sobre cada uno con ayuda de un brochita o pincel, revolvemos constantemente mientras vamos pintando con el aceite los panes porque la sal y algunos condimentos tienden a irse al fondo del aceite y revolvemos para mantener la mezcla homogénea y no se nos quede todo en el fondo.
Luego que hemos colocado el aceite con condimentos a los panes procedemos a picar y luego de picados, los colocamos en una bandeja para hornear los llevamos al horno por algunos minutos hasta que comience a secar el aceite y estén tostados (no hace falta poner mas aceite ni manteca a la bandeja).
Yo los tuve en el horno por aproximadamente 15 minutos a una temperatura intermedia y ya estaban comenzando a ponerse dorados cuando los saqué, hay que estar pendiente de que no se nos quemen.
| | | |
|---|
Y ya luego de pasado el tiempo suficiente sacamos del horno y tenemos unas ricas tostadas de pan árabe, son adictivas, se pueden comer sola o acompañadas, yo las acompañe con la salsa que les comenté al principio. Ya les voy a enseñar como hice la salsa.
Salsa "TZATZIKI".
(acá pueden ver su post con su receta). Está receta de la compartió hace algunos días @zupasteleria y me llamó mucho la atención porque ella comentó que la dio en su cumpleaños y a sus invitados "les encantó", entonces pensé si a varias personas le gustó es por algo, esto fue lo que me animó a prepararla
El nombre de esta salsa es "TZATZIKI" y su origen viene de la cocina griega y turca, es realizada con ingredientes saludables y queda increíblemente deliciosa, nunca imaginé que una salsa saludable fuera a quedar tan sabrosa. Por cierto tengo mucho tiempo viendo recetas de salsas con yogurt griego pero no me había animado a hacer ninguna porque no creía que fuera a salir algo bueno, pero debo decir que quedé totalmente sorprendida con lo divina que quedo esta salsa.
Yo hice unos ligeros cambios, le coloqué un poquito más de ajo porque la en la receta decía uno solo y pensé que era muy poquito, a menos tomando en cuenta el tamaño de los ajos criollos que son los que usamos acá, entonces no puse uno, sino al principio iba a usar dos y luego sume un tercero, es que quería que quedara picosita y pues quedó en un punto que me gustó mucho la verdad.
Otro pequeño cambio que le hice a la receta es que dividí en dos partes y a una le coloqué hierva buena (menta) como en la receta original y a la otra perejil, porque me encanta el perejil y pensé que podría quedar buena así y pues les cuento que fue un gran acierto 🤤🤤 ambas opciones quedaron divinas.
Aunque ya la receta está publicada, voy a compartirles por acá la lista de materiales y paso a paso para quienes no la habían visto aún, si no la conocían les invito se animen a hacerla, les garantizo que la amaran y también rinde bastante.
Ingredientes:
- 1 pepino.
- 150 grs. De yogurt griego.
- 2 cucharadas de aceite de oliva.
- 3 ajos.
- El jugo de 1/2 limón (Una cucharada aproximadamente).
- 1 cucharadita de sal.
- 1/2 cucharadita de comino.
- Menta (hierva buena).
- Perejil.
La cantidad de menta y perejil es al gusto, yo le coloqué lo que ven allí en la foto, menta no tenía casi, mi mamá tiene una plantita pero tenía pocas hojas y pues esa fue la cosecha que mi mamá me dio jejeje pero creo la cantidad estuvo en una proporción bastante apropiada 👌.
El limón en la receta original decía el zumo de un limón, pero me dio miedo quedará demasiado ácida y me puse solo el jugo de medio limón, los cambios fueron más ajo, menos limón y la variante con perejil.
| |
|---|
Para comenzar a preparar este delicioso aderezo lo primero que hice fue rayar el pepino y exprimirlo, está es la única parte que toma algo de tiempo, pero no creo haya sido más de 10 minutos, así que tampoco es que sea algo tan trabajoso. Luego aquí todos los demás pasos son sencillos y rápidos.
| | |
|---|
El pepino lo exprimí en un colador de tela de esos de café pero que tengo limpio para este tipo de cosas, hay que exprimirle con fuerza para sacar toda el agua.
Luego de este paso lo siguiente que hice fue pisar los ajos, luego intenté picarlos lo más mínimamente con el cuchillo, pero sentí miedo que fueran a quedar pedazos muy grandes de ajo entonces me acordé que mi mamá tenía un extractor de ajo (no se si se llama así) y pues luego de haberlos pisado y picado los pase por allí por ese aparatito y en ese momento pensé 😈 "agrégale otro ajo más" jejeje y pues le puse el tercer diente de ajo jejeje.
| | |
|---|
Y ahora sí la parte rápida y fácil, ya en este punto solo queda agregar el resto de los ingredientes y mezclar muy bien para tener lista está deliciosa salsa.
Anécdota: yo soy un poco Dory, me han pasado a veces algunos olvidos preparando recetas jajaja que si les cuento se ríen y lloran, y en esta oportunidad casi casi se me olvida agregarle el limón, si no es por mi amiga @ikigaidesign que estaba allí y se dio cuenta quizás lo dejo sin eso jeje. Por cierto ella me tomó algunas de las fotos en las que me ven por acá.
| | |
|---|---|---|
| | |
Luego que hice como una mi especie de salsa base la dividí en dos partes y a una parte le agregué perejil y a otra menta, ambas cosas picadas lo más pequeño posible.
Mezclé por separado cada una y el resultado nos encantó a todos los presentes. Por cierto está salsa la lleve a casa de mi suegra que estaba a de cumpleaños ese día y también les encantó allá a todos allá, hasta a mi papá que no le gusta pepino le gustó.
| |
|---|---|
| |
Luego que estuvo lista la salsa empaque en dos envases para llevar al cumpleaños de mi suegra y dejé un poquito para mi y para probar nosotras. Le tome esa foto a la reacción de mi amiga Nohe cuando la probó, espero no me regañe por compartir su foto, no mentira ya le pedí permiso, es que su cara habla más que yo de lo sabrosa que quedó está salsa.
Por cierto la acompañamos con un poquito de pan de garbanzo que me quedaba (aquí la receta) y wow una opción súper saludable y deliciosa, ideal para cuando nos dan esos ataques de ansiedad de comer algo sabroso, o incluso una excelente combinación saludable para dar de páspalos, a veces vamos a reuniones y todo es poco saludable, pues acá les dejo está idea en especial para quienes se cuidan con las comidas en las fiestas.
| |
|---|
| | |
|---|
Espero que les haya gustado mi post de hoy, agradezco nuevamente a @zupasteleria por haber compartido tan increíble y saludable receta.
Los aderezos son uno de mis sufrimientos en mis intentos por comer sano, pero con esta salsa ya se que si se puede aderezar sabroso y saludable 🙏 gracias gracias gracias 🙏 y a quien llegó hasta acá muchas gracias por leerme ❤️ muchas bendiciones nos vemos en un próximo post.
Las fotos usadas a lo largo del post fueron tomadas con mi teléfono Redmi 10S.
Banners y Firma Hechos en Corel Draw Photo-Paint
Edición de GIF: Capcut
Traducción al Inglés con DeepL
Mis Redes Sociales
Congratulations @gelart! You have completed the following achievement on the Hive blockchain And have been rewarded with New badge(s)
Your next target is to reach 1250 upvotes.
You can view your badges on your board and compare yourself to others in the Ranking
If you no longer want to receive notifications, reply to this comment with the word
STOPCheck out our last posts:
🥳🥳 thanks
Delicioso 😋, se ve riquisimo!
Gracias ❤️🥰🤗 te aseguro que si es riquísimo ambas cosas 👌🤤 gracias por comentar ❤️🙏
Esas salsitas son muy ricas, y de verdad sirven para darse un gustico sin temor a salirse del régimen.
A mi me gustan más las que se hacen a base de yogurt griego.
Así mismo jejeje un gusto sin remordimiento, si está es con yogurt griego, solo que esos yogures que use son unos de una marca local y quizás el envase no te es tan familiar.
Definitivamente ese aderezo es todo un exito, o sea mi cara lo dice todo jajajaja, de verdad con el pan, está salsa pega muy bien, se disfruta más jiji, y bueno yo disfrute verte prepararla y luego probarla, espero poder hacerla también, yo estaba pendiente de todo el paso a paso jajaja, cómo dices es muy saludable y para nosotras nos cae muy bien.😋😋, y las tostadas muy buenas, pero una pregunta tiene q ser al horno, no se podrá en el sartén, no se preguntó xq mi horno no está muy bueno jejeje
Gracias por pasarte por acá nohe si tú cara fue súper expresiva lo dice todo 🤭🤭 mira supieras que creo si, no lo he intentado allí pero esto 99,9% segura que si jejeje porque yo como con frecuencia pan árabe para el desayuno y del integral que cuesta un poco más para tostarse y lo dejo bastante y se pone todadito, esto casi segura que si se puede.
Está interesante lo experimentes y pruebes, porque no todo mundo tiene horno y estaría genial comprobar esa opción, para snacks son súper finas aunque te digo algo no te van a durar mucho,así sean solitas uno prueba una tostada y cuesta parar de comer jajaja
Ah y otro detalle, según me han dicho y he leído el pan tostado tiene menos impacto en las cosas de insulina así que tostar el pan hace un poco menos dañino sus efectos del gluten, harina y esas cosas ...