
Banner creado con Canva
Banner created with Canva
¡Hola querida comunidad! He estado pensando en expandir mis horizontes aquí en Hive, y quise compartir mi primer post en esta comunidad de maquillaje. Y ayudarles a conocer como puede cuidar de su piel.
Uno de mis pasatiempos favoritos es el maquillaje, podría pasar horas y horas aplicándome productos en mi rostro, y practicar con personas alegadas a mí. Pero para poder hacer eso debo darle una buena preparación a mi piel para que se mantenga sana y además el maquillaje quede lo más lindo y natural posible, por eso el día de hoy les explicaré como yo cuido mi piel en casa con simples pasos.
Paso numeró 1: Limpiar tu rostro
Sé que quizás pienses que limpiar el rostro nos es un paso relevante, pero si lo es antes de aplicar cualquier producto en tu rostro debes limpiarlo muy buen, preferiblemente con un jabón adecuado para tu tipo de piel. Luego, para asegurarte de que tu rostro está completamente limpio y sin ninguna impureza, podrías aplicar en un pedazo de algodón un poco de agua micelar o desmaquillante y frotarlo suavemente por toda la extensión de tu cara de forma circular.
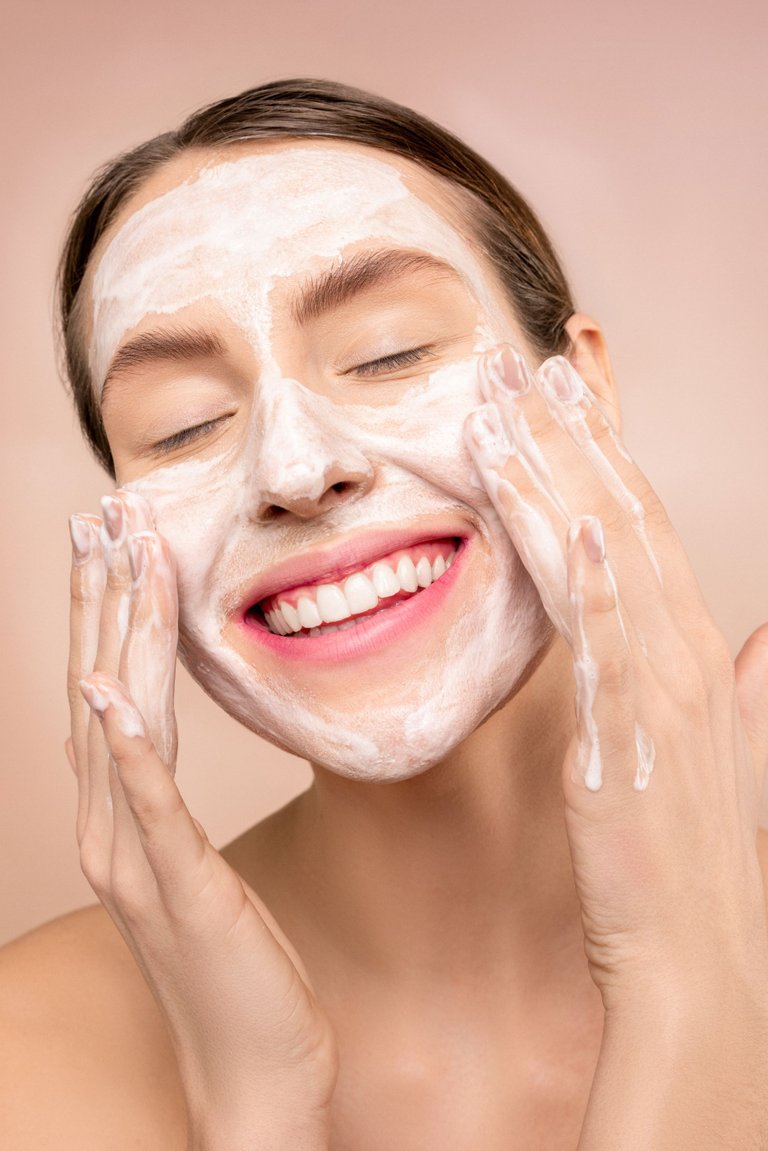
Foto tomada de Pexels
Paso numeró 2: Tonificar la piel
Este paso no es muy conocido, por esa razón tiende a omitirse, hace muy poco fue que yo misma lo descubrí y lo comencé a incorporar en mi rutina de cuidado de la piel.
La función del tónico es cerrar los poros y restablecer el pH de tu piel. Además, puede ayudar a hidratar y refrescar tu rostro. Estoy segura de que en estos momentos debes de estar pensando que este producto no se encuentra en tu hogar, pero no te preocupes, puedes utilizar tónicos caseros muy fáciles de hacer y que no contiene ningún químico, yo por ejemplo estoy utilizando un tónico de zanahoria, el cual fabrique yo misma. ¿Les gustaría que les compartiera como hacer tónicos en casa?
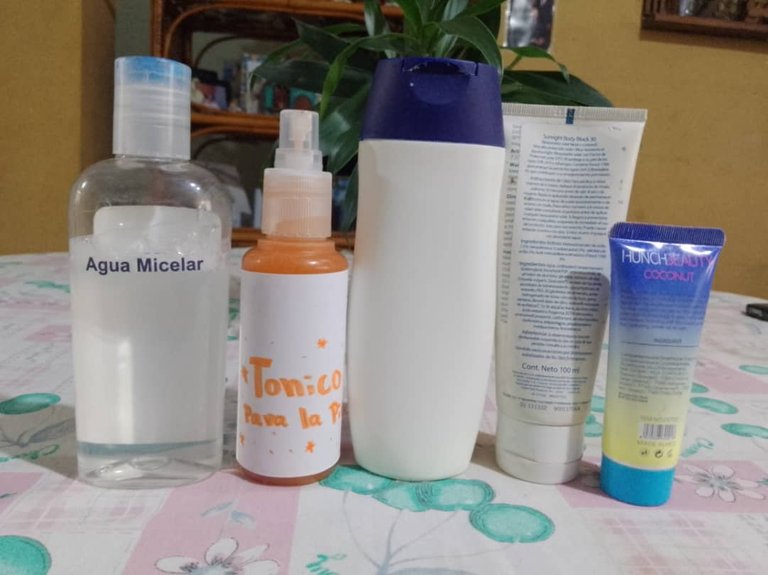
Foto tomada con mi Redmi 9C, me reservo los derechos de autor. Productos utilizados en este proceso.
Paso numeró 3: Hidratar la piel
Este es un paso muy importante, al hidratar tu piel adecuadamente hará que se vea más suave y tersa, te ayudara a prevenir las arrugas y a eliminar los puntos negros del rostro, todo esto ayudara a que la piel esté cuidada y así el maquillaje se verá mucho mejor y el efecto será muchísimo más natural.
Cabe resaltar que deber utilizar un hidratante que vaya con tu tipo de piel, ya sea grasa, seca, mixta o muy sensible, te sugiero que utilices productos libres de grasas y que en la medida de lo posible sea en base de productos naturales, también podrías crear tus propias mascarillas hidratantes en casa a base de pepino, aguacate, avena, miel y entre otros muchos más. Te recomiendo que si vives en un lugar que en el que el clima es muy frío, hidrates muy bien tu piel, porque este factor suele resecar la piel. Tampoco te olvides de hidratar muy bien tus labios con un buen bálsamo labial.
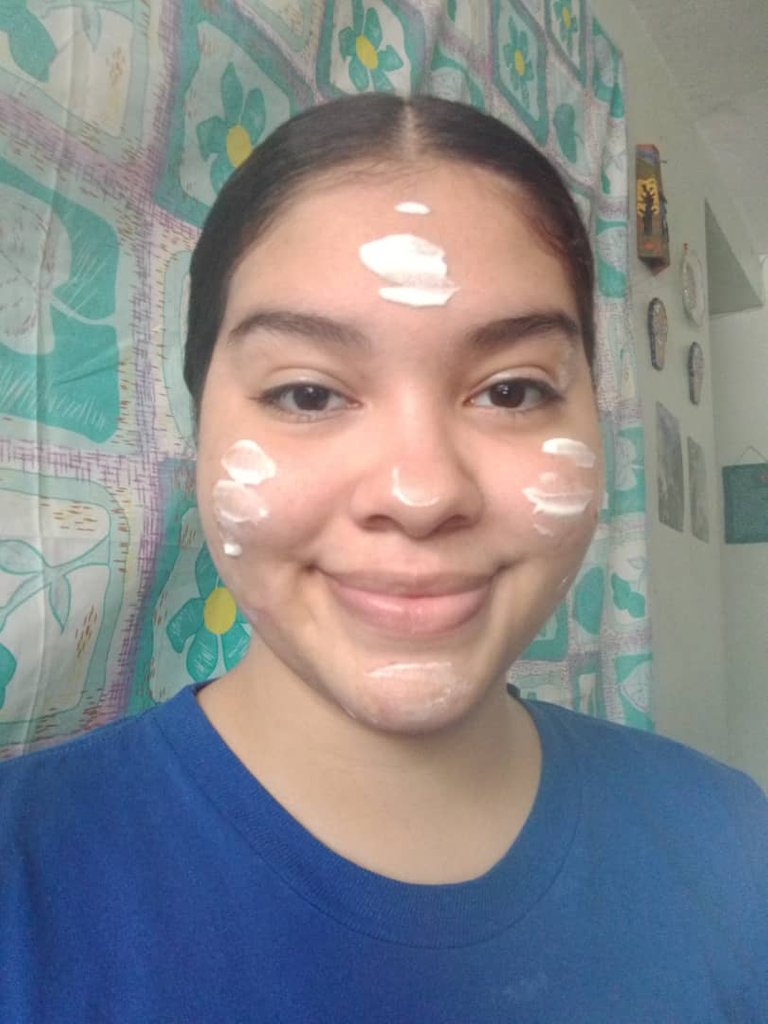
Foto tomada con mi Redmi 9C, me reservo los derechos de autor. Mi hermana menor fue mi modelo.
Paso numeró 4: Aplicar el protector solar
La luz solar posee muchos beneficios para nuestra salud, pero también tiene sus desventajas si nos exponemos al sol sin la protección requerida, ya que puede causar varios problemas en nuestra piel, por ejemplo, rojeces, machas en la piel, quemaduras y envejecimiento. El protector solar fue diseñado para proteger nuestra piel del sol y no sufra las consecuencias de estar expuesto ante el durante mucho tiempo.
Mi sugerencia es que siempre te coloques cremas o gel de protección solar, en la medida de lo posible que ese protector solar no reseque la piel, más bien que sea hidratante y que no deje grasosa ni brillante la piel.
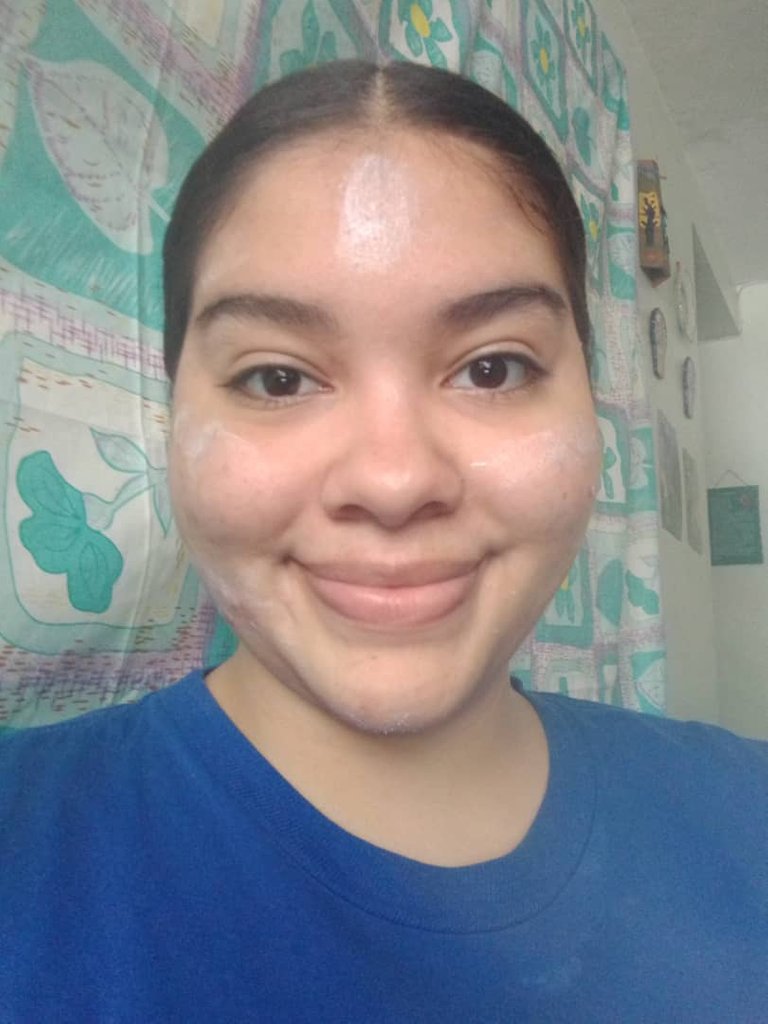
Foto tomada con mi Redmi 9C, me reservo los derechos de autor. Mi hermana menor fue mi modelo.
Paso numeró 5: Aplicar primer
Para finalizar, aplica el primer antes de la base, ya que este ayuda a controlar la grasa de nuestra piel, tapa los poros abiertos, reduce la textura y las arrugas de la piel y ayuda a disimular las marcas de acné. Este producto hará que el maquillaje se vea mucho mejor y que permanezca en la piel durante mucho más tiempo.
Si sufres de acné te recomiendo que nunca te saltes este paso, ya que el primar cubre los poros abiertos evita que el maquillaje entre en esos poros abiertos y produzca acné.
Si sigues cada uno de los pasos ya antes mencionados estoy muy segura de que notaras una diferencia a la hora de maquillarte, notaras que tu maquillaje durará más tiempo y tendrá un acabado más natural. Además, preparar tu piel antes del maquillaje no solo te ayudara con tu apariencia física, sino que también mejorara la salud de tu piel, debemos cuidar con mucho esmero nuestra piel porque es una de las partes más delicadas de nuestro cuerpo y cuando sufre un gran daño es muy difícil a que vuelva a su estado anterior, así que espero que comiences a cuidar tu piel si es posible hoy mismo.
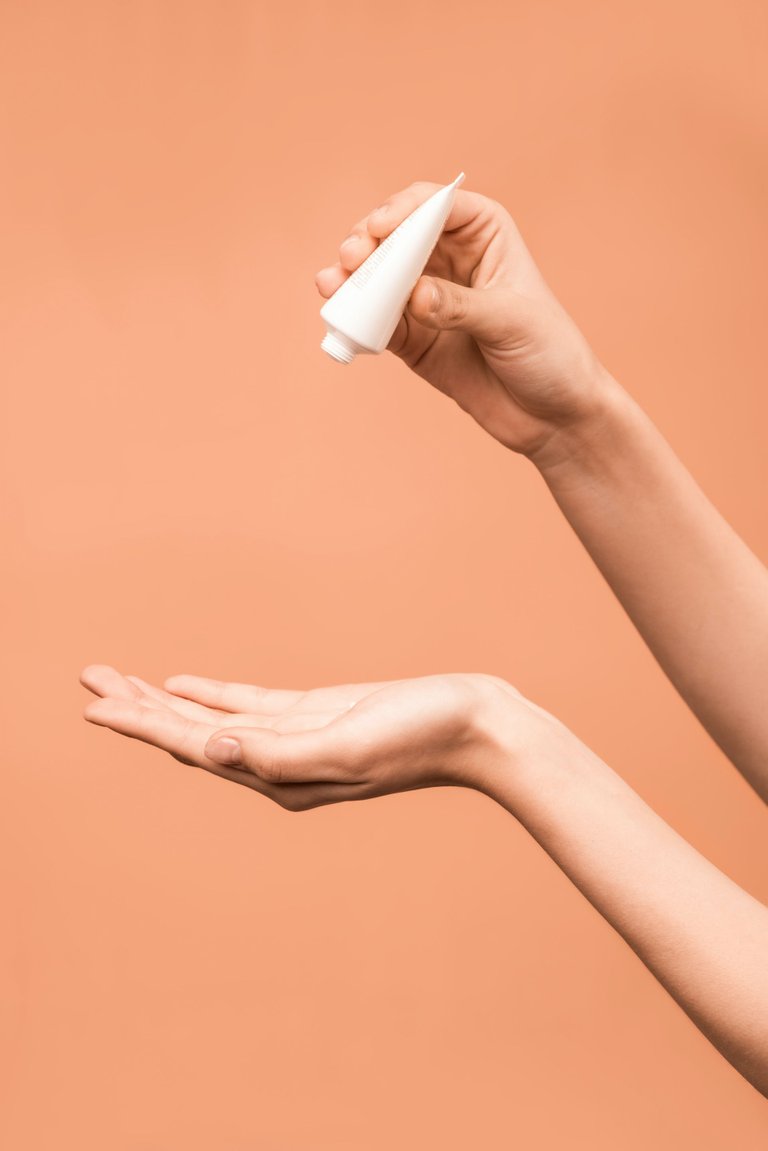
Foto tomada de Pexels
¡Espero que te haya gustado el post del día de hoy! Dime ¿Qué otro consejo de belleza te gustaría saber? Estaré muy pendiente de sus sugerencias.
Hello dear community! I've been thinking about expanding my horizons here on Hive, and wanted to share my first post in this makeup community. And help you know how you can take care of your skin.
One of my favorite hobbies is makeup, I could spend hours and hours applying products on my face, and practice with people who are close to me. But to do that I have to give a good prepare to my skin to keep it healthy and also the makeup looks as nice and natural as possible, so today I will explain how I take care of my skin at home with simple steps.
Step 1: Clean your face
I know you may think that cleaning your face is not a relevant step, but if it is, before applying any product on your face you should clean it very well, preferably with a bar of soap suitable for your skin type. Then, to make sure your face is completely clean and free of any impurities, you could apply on a piece of cotton a little bit of micellar water or makeup remover and rub it gently over the entire length of your face in a circular motion.

Photo taken from Pexels
Step 2: Toning the skin
This step is not very well known, for that reason it tends to be omitted, I only recently discovered it myself and started incorporating it into my skin care routine.
The function of a toner is to tighten pores and restore your skin's pH. In addition, it can help hydrate and refresh your face. I am sure that right now you must be thinking that this product is not in your home, but don't worry, you can use homemade toners that are very easy to make and do not contain any chemicals, for example, am using a carrot toner, which I made myself. Would you like me to share with you how to make toners at home?

Photo taken with my Redmi 9C, I reserve the copyright. Products used in this process
Step 3: Moisturize the skin
This is a very important step, moisturizing your skin properly will make it look softer and smoother, it will help you prevent wrinkles and eliminate blackheads from the face, all this will help the skin to be cared for and so the makeup will look much better and the effect will be much more natural.
It should be noted that you should use a moisturizer that goes with your skin type, whether oily, dry, combination, or very sensitive, I suggest you use fat-free products and as far as possible is based on natural products, you could also create your moisturizing masks at home based on cucumber, avocado, oatmeal, honey, and many others. I recommend that if you live in a place where the climate is very cold, moisturize your skin very well because this factor tends to dry out the skin. Do not forget to moisturize your lips with a good lip balm.

Photo taken with my Redmi 9C, I reserve the copyright. My younger sister was my model.
Step 4: Apply sunscreen
Sunlight has many benefits for our health, but it also has its disadvantages if we expose ourselves to the sun without the required protection, as it can cause several problems in our skin, for example, redness, skin blemishes, burns, and aging. The sunscreen was designed to protect our skin from the sun and not suffer the consequences of being exposed to the sun for a long time.
My suggestion is that you always use sunscreen creams or gels, and as far as possible that the sunscreen does not dry the skin, but rather that it is moisturizing and does not leave the skin greasy or shiny.

Photo taken with my Redmi 9C, I reserve the copyright. My younger sister was my model.
Step 5: Apply primer
Finally, apply primer before foundation, as it helps control the oiliness of our skin, covers open pores, reduces skin texture and wrinkles, and helps conceal acne marks. This product will make your makeup look much better and stay on your skin for much longer.
If you suffer from acne I recommend that you never skip this step, as priming covers open pores and prevents makeup from getting into those open pores and causing acne.
If you follow each of the above-mentioned steps I am very sure that you will notice a difference when applying makeup, you will notice that your makeup will last longer and will have a more natural finish. In addition, preparing your skin before makeup will not only help you with your physical appearance, but it will also improve the health of your skin, we must take good care of our skin because it is one of the most delicate parts of our body and when it suffers great damage is very difficult to return to its previous state, so I hope you start taking care of your skin if possible today.

Photo taken from Pexels
I hope you liked today's post! Tell me what other beauty tip would you like to know? I'll be very much looking forward to your suggestions.